Camera Animation
Basics of Animation Controls in Maya
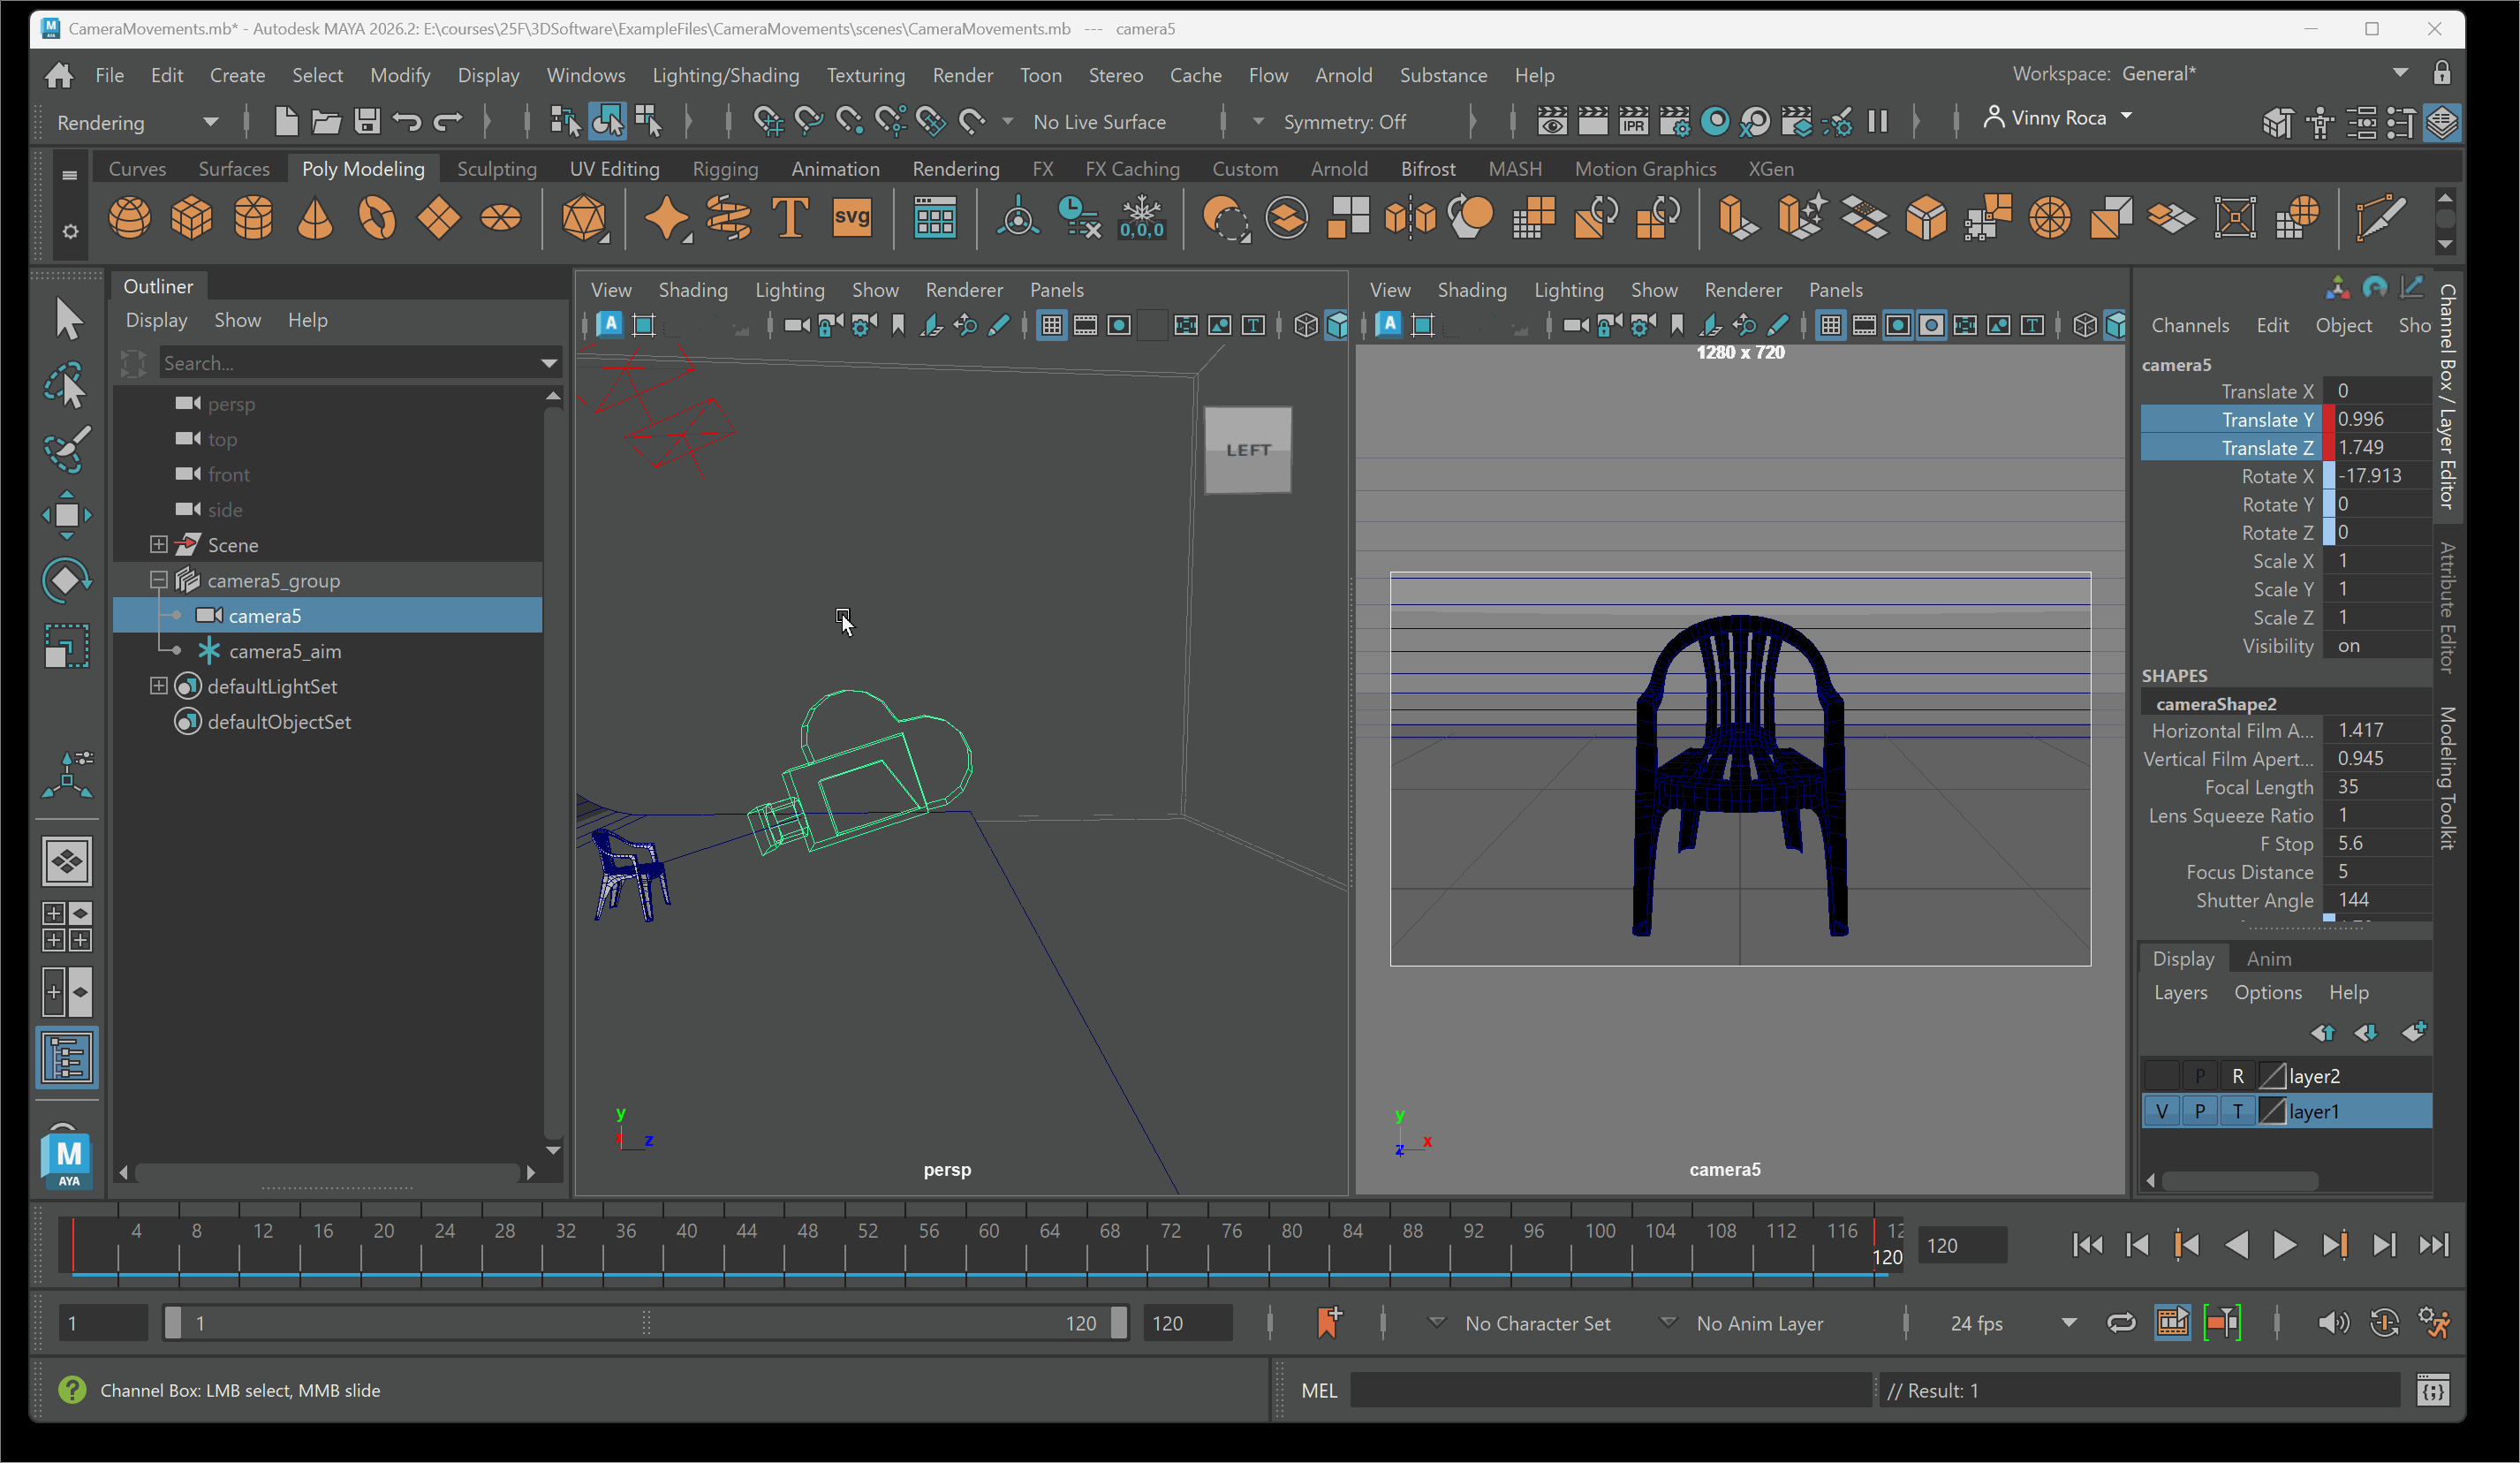
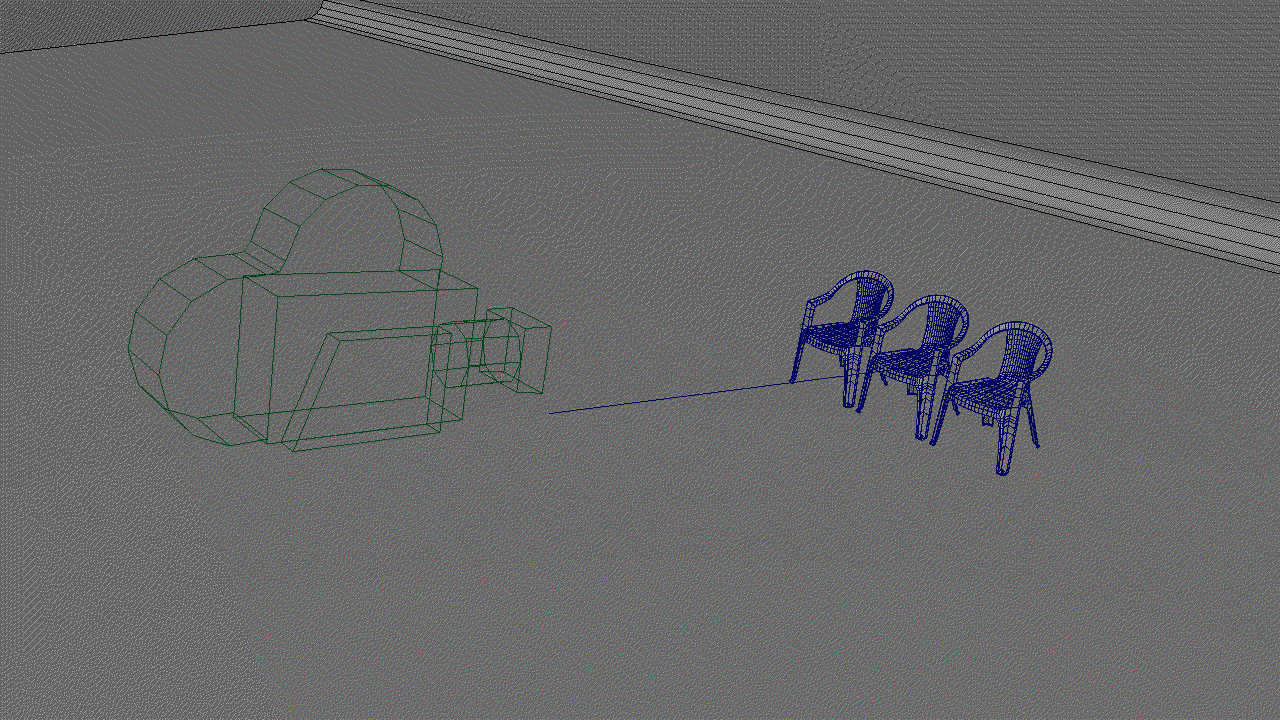
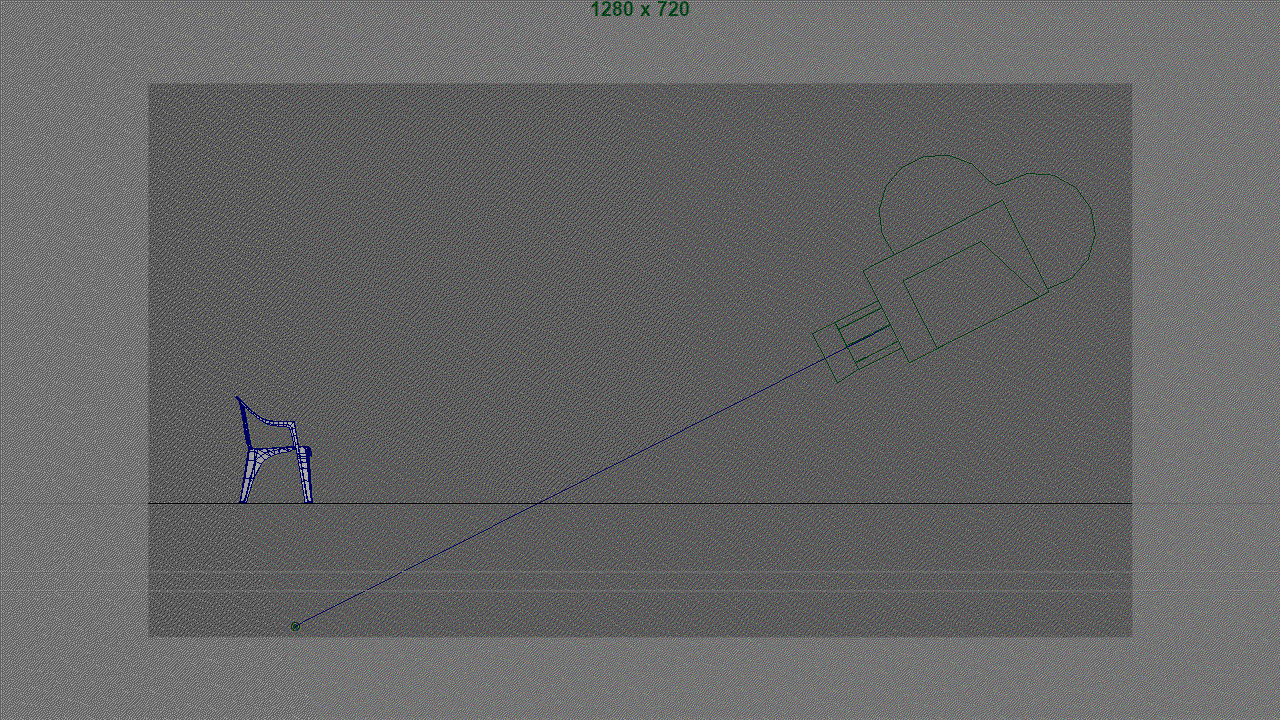
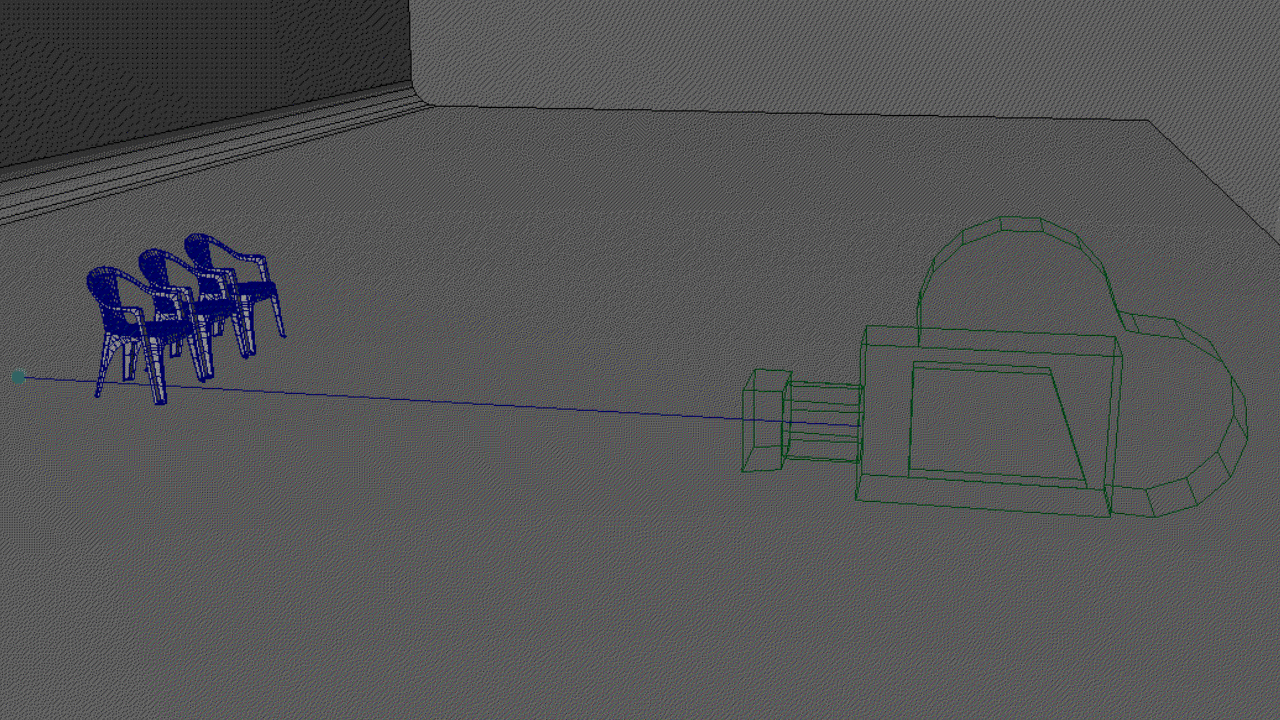
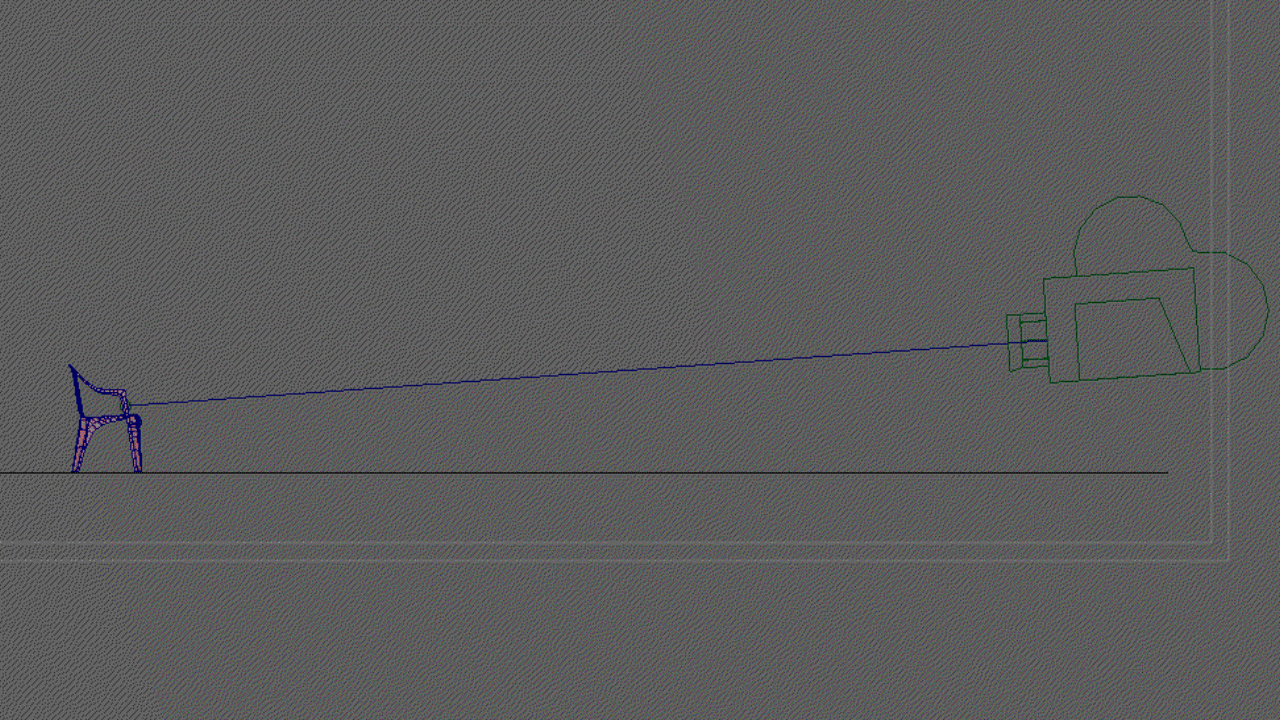
To create basic camera animations within Maya, we first need to understand the system of key frames and inbetweens. Animations in Maya are created by setting key frames. Key frames are poses or positions that are stored within a certain frame marker in the timeline. For example, if I want my camera to move into my chair over five seconds, I’ll set one key frame at frame 1 with my camera far away as well as set an additional key at frame 120 with my camera close to my object.
The reason I set my close camera at frame 120 is because I need to consider the frame rate of my animation. Most animation is created with a frame rate of 24 frames per second. We can see the frame rate of our Maya project below our timeline. This means that for every second of animation, 24 frames or images will play in rapid succession. This rapid playing of images creates the illusion of motion, allowing us to create movement within our renders.
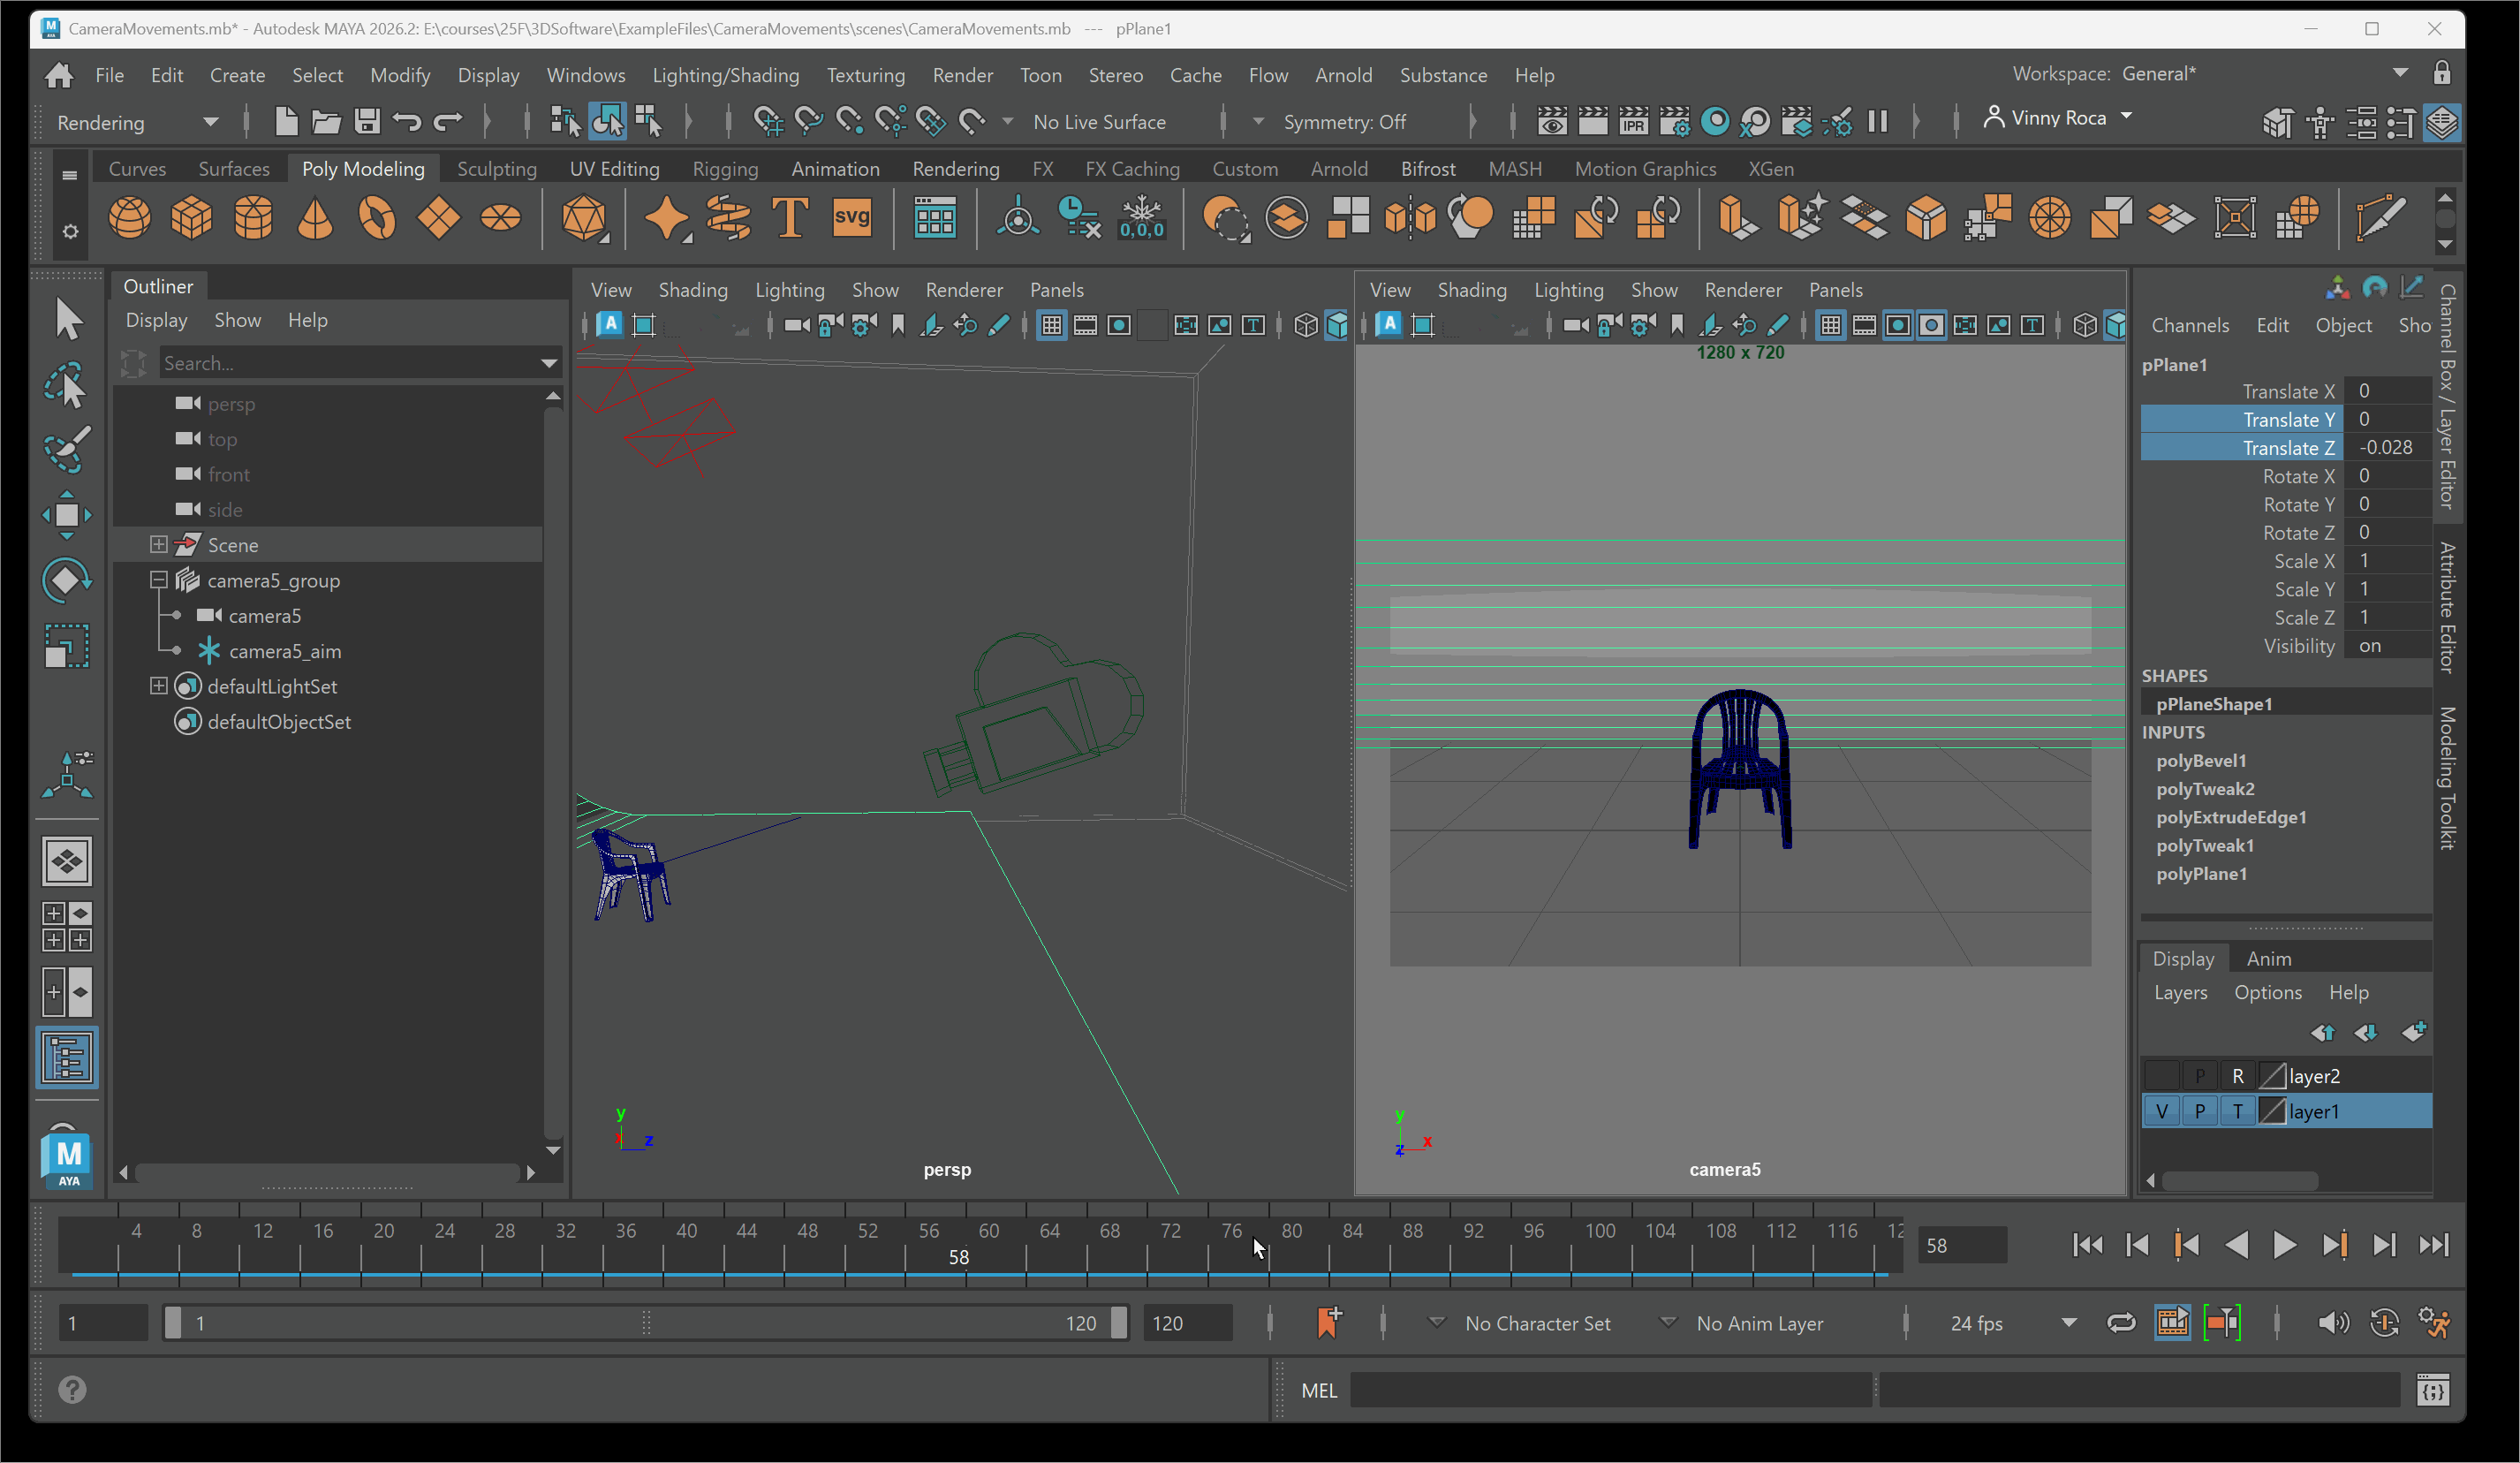
By setting a key frame at frame 1 and frame 120, Maya will figure out how to move my camera so that it starts relatively far away from my object before moving closer to my object over five seconds. The frames between our keyframes are called inbetweens. In traditional hand drawn animation, all inbetweens must be drawn. In 3D computer animation, the 3D software handles the creation of inbetween based on keypoints and our graph editor.
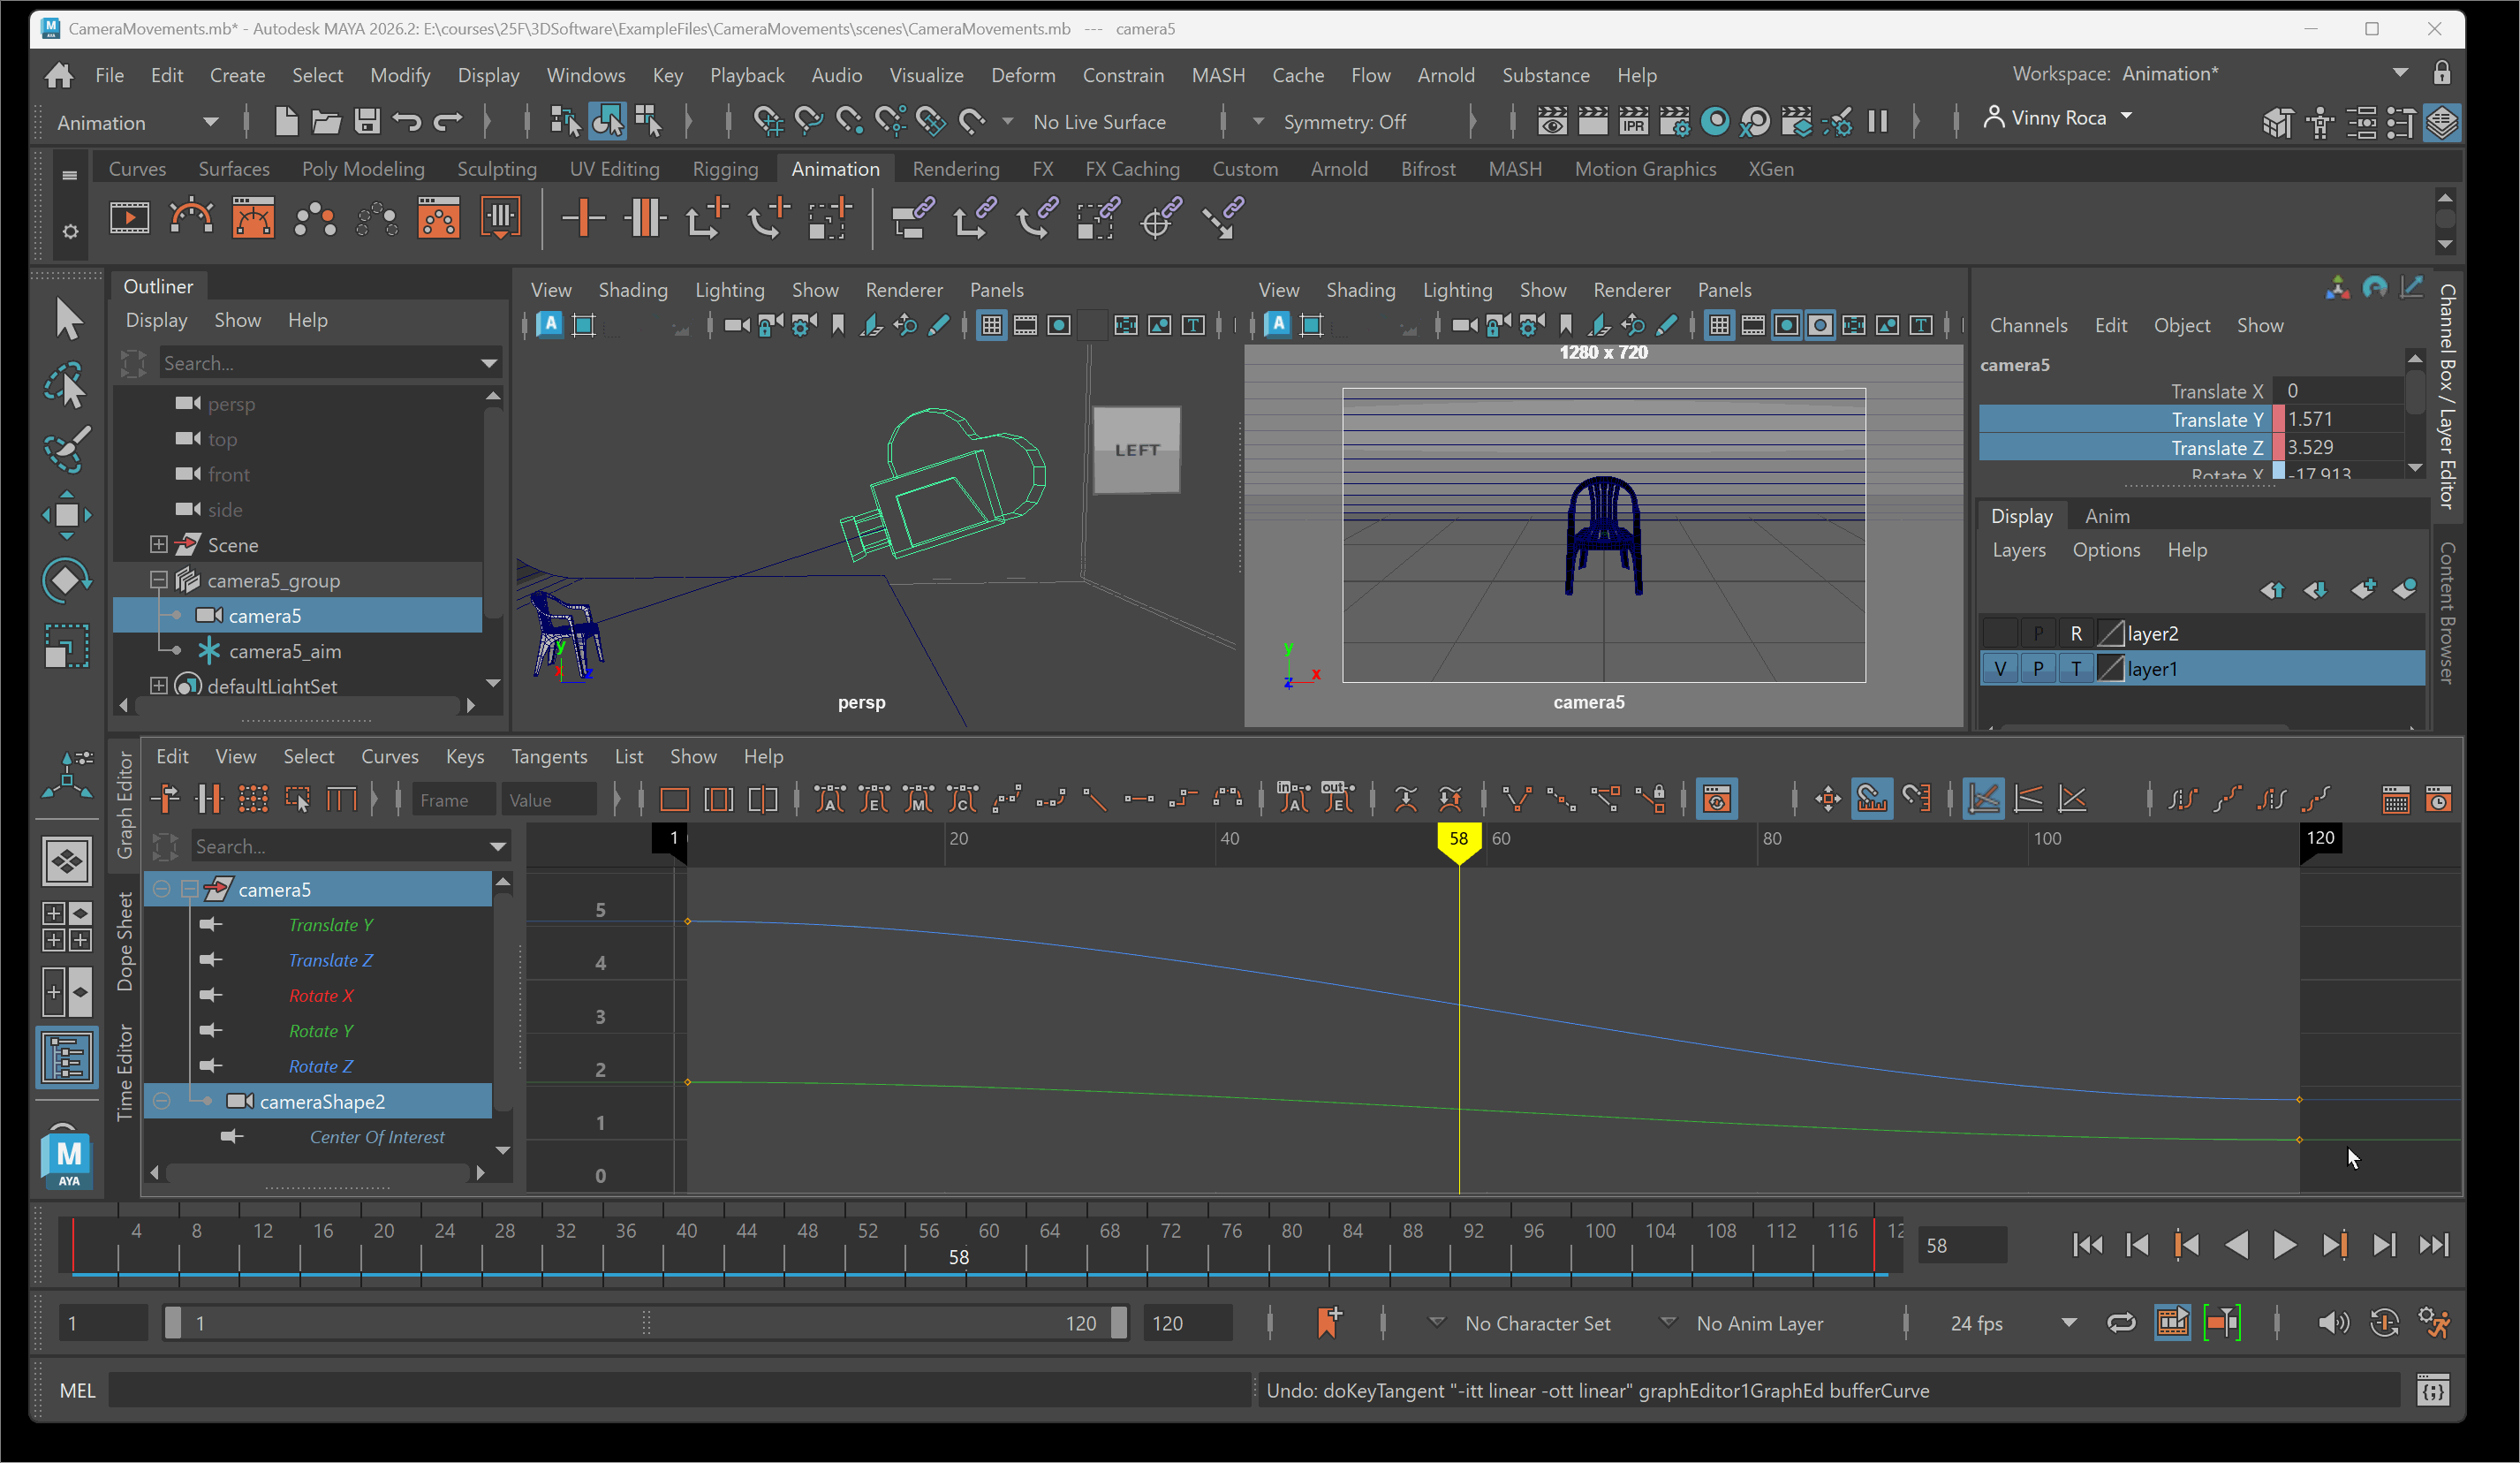
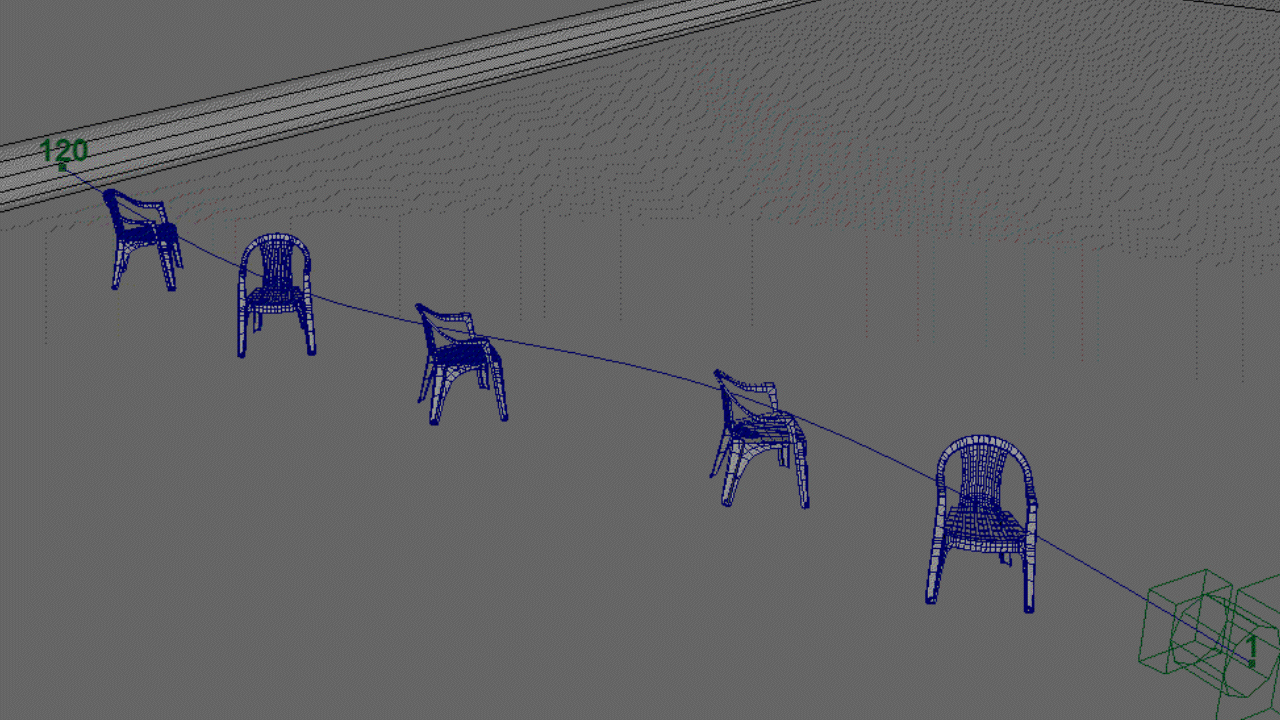
If I look at this motion of the zoom closely, I notice that it starts off slow, gets to a steady rate, and then ends slowly. This motion path is called an ease-in/ease-out. My animation eases into the main motion and then eases out of the motion towards the end. If we look at the graph editor for the animation, we can see this ease-in/ease-out motion represented in the grapheditor. We can notice that instead of a straight line between the two points, there is an s shaped line. What this s shaped line indicates is that the change in distance of the camera is much smaller towards the beginning and end of my animation. This smaller distance creates the effect of my camera easing in and easing out of the animation.

Creating Key Frames
Key Frames are created in Maya using a variety of methods. The most common method of creating a key frame is selecting a property for which you want to create a key frame, picking a point on the timeline, setting a key frame for that property, and then repeating this step for other points in the time line. For example, if I wanted to create an animation to push my camera into my object:
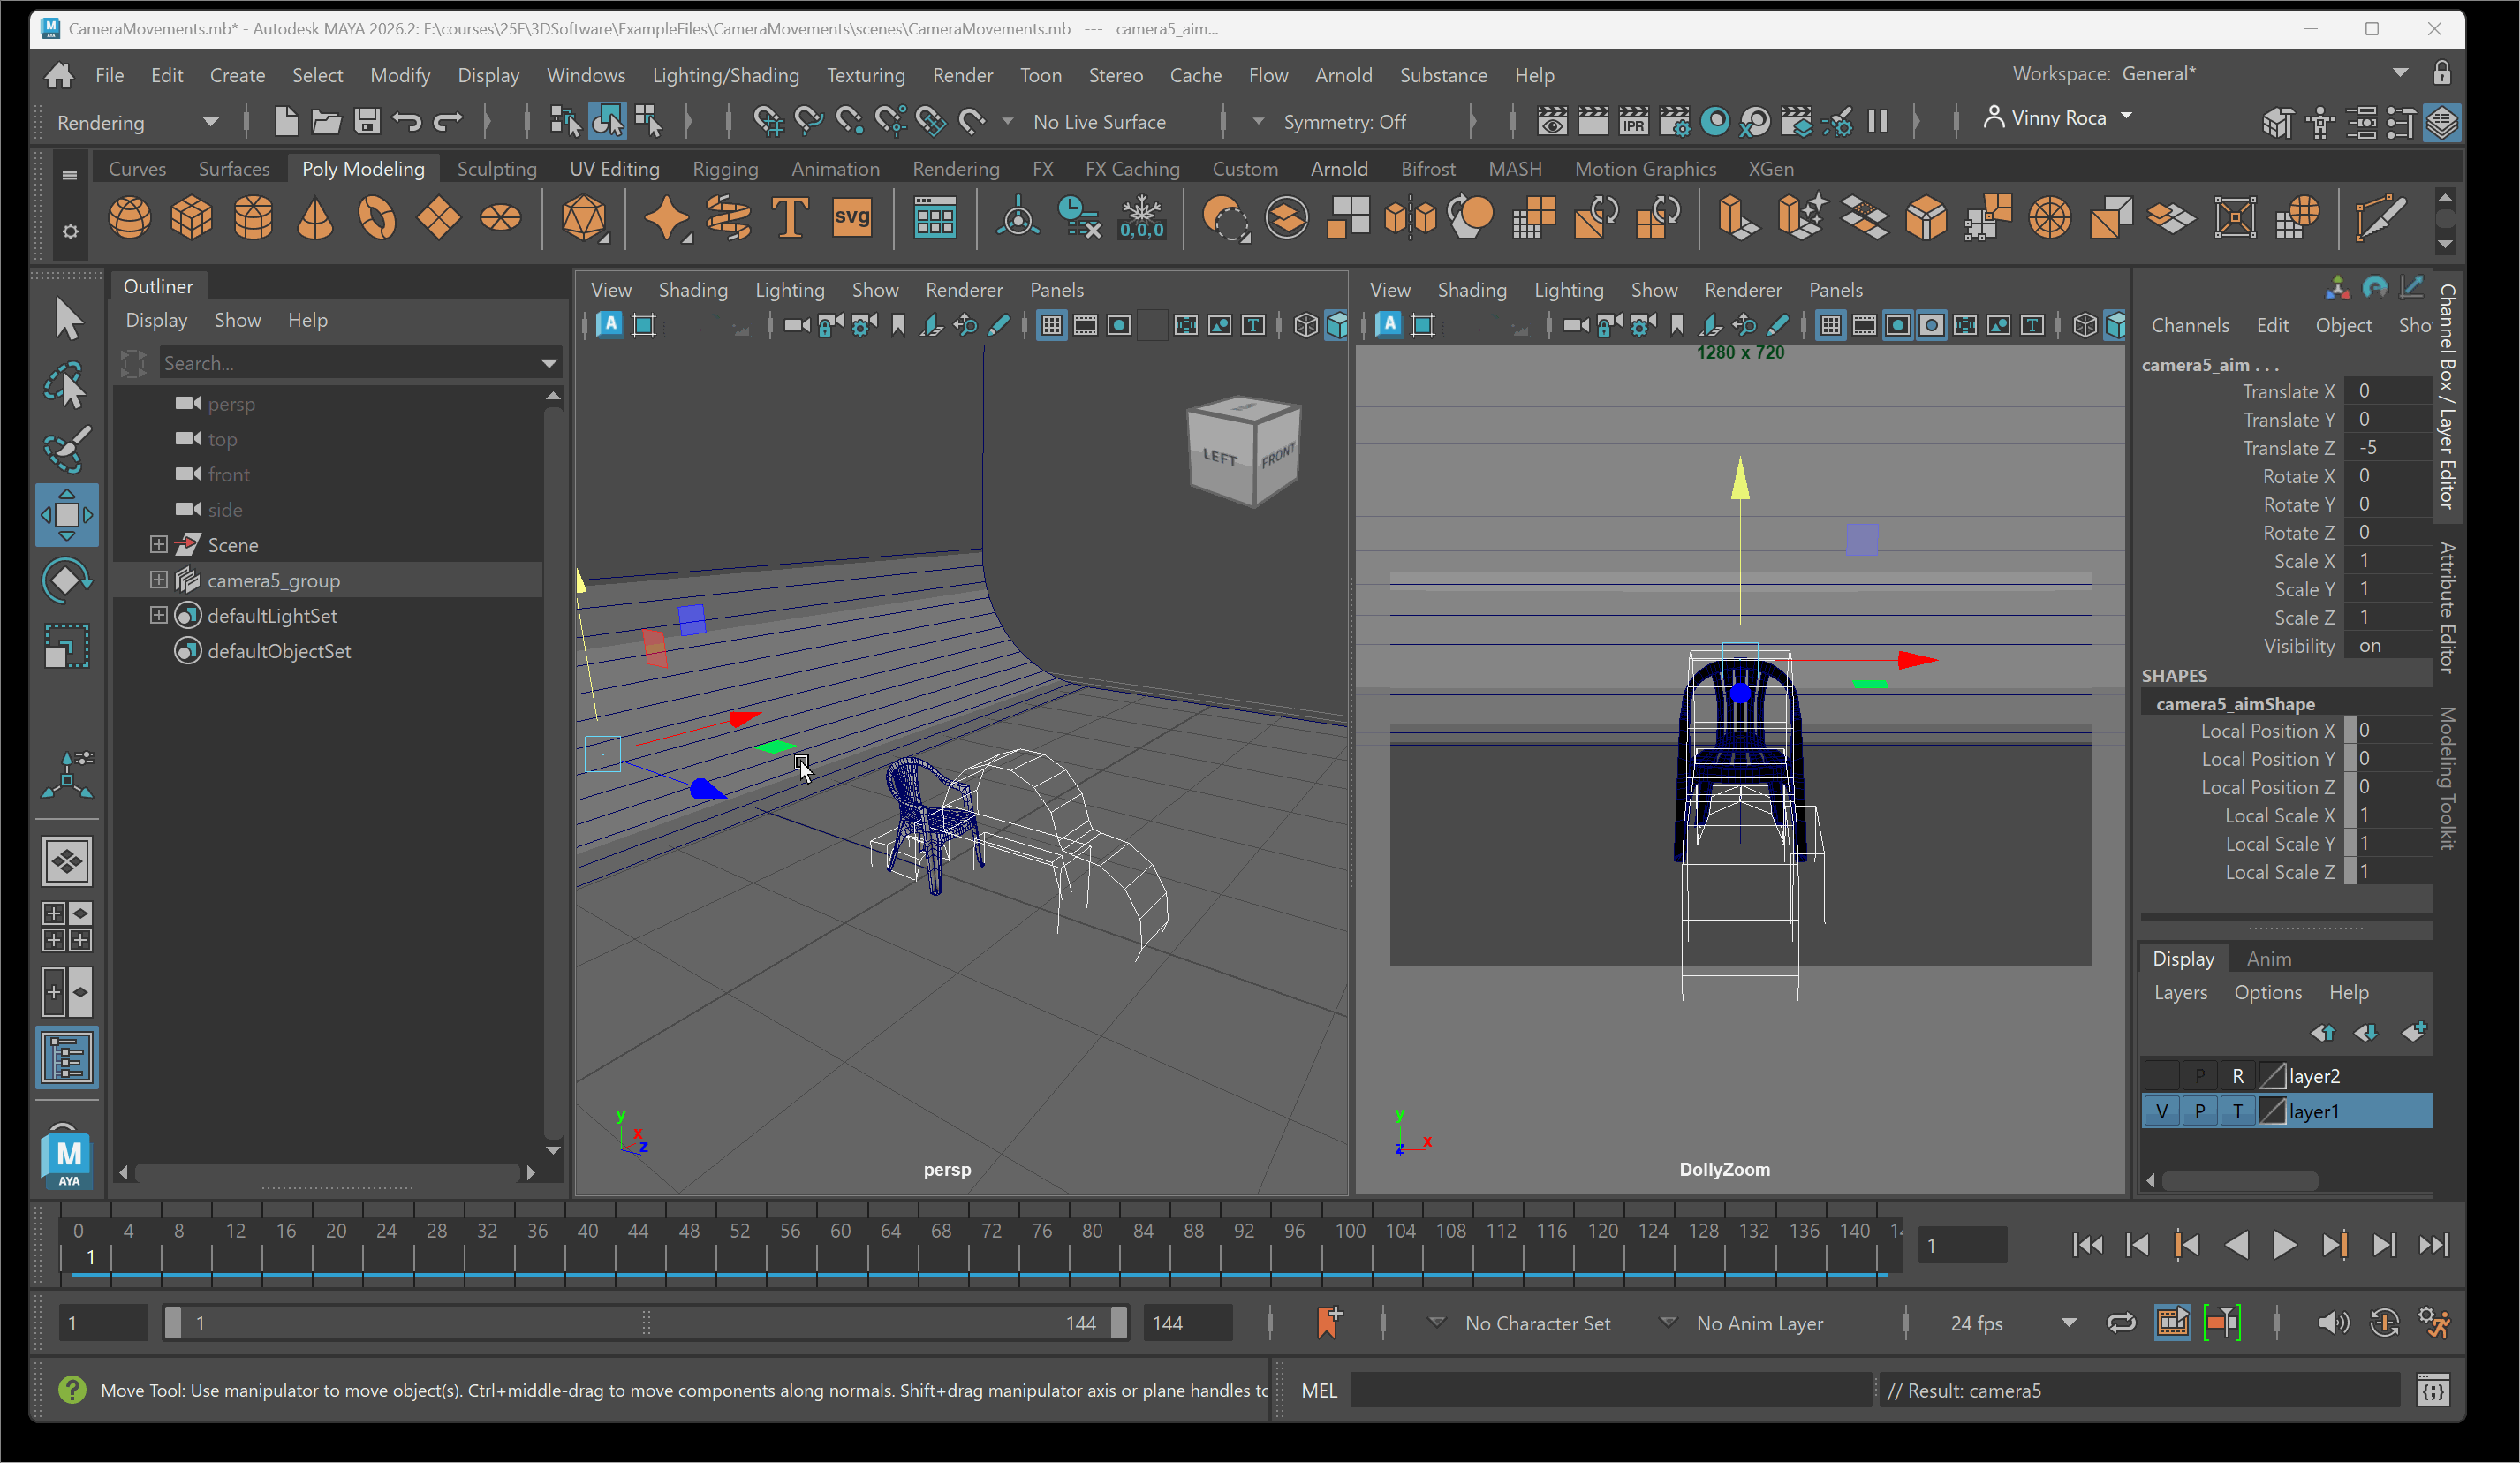
- Create a Camera and Aim object
- Set the Aim on the object and move the Camera a certain distance from my object
- Set my frame count to 120 for a five second animation
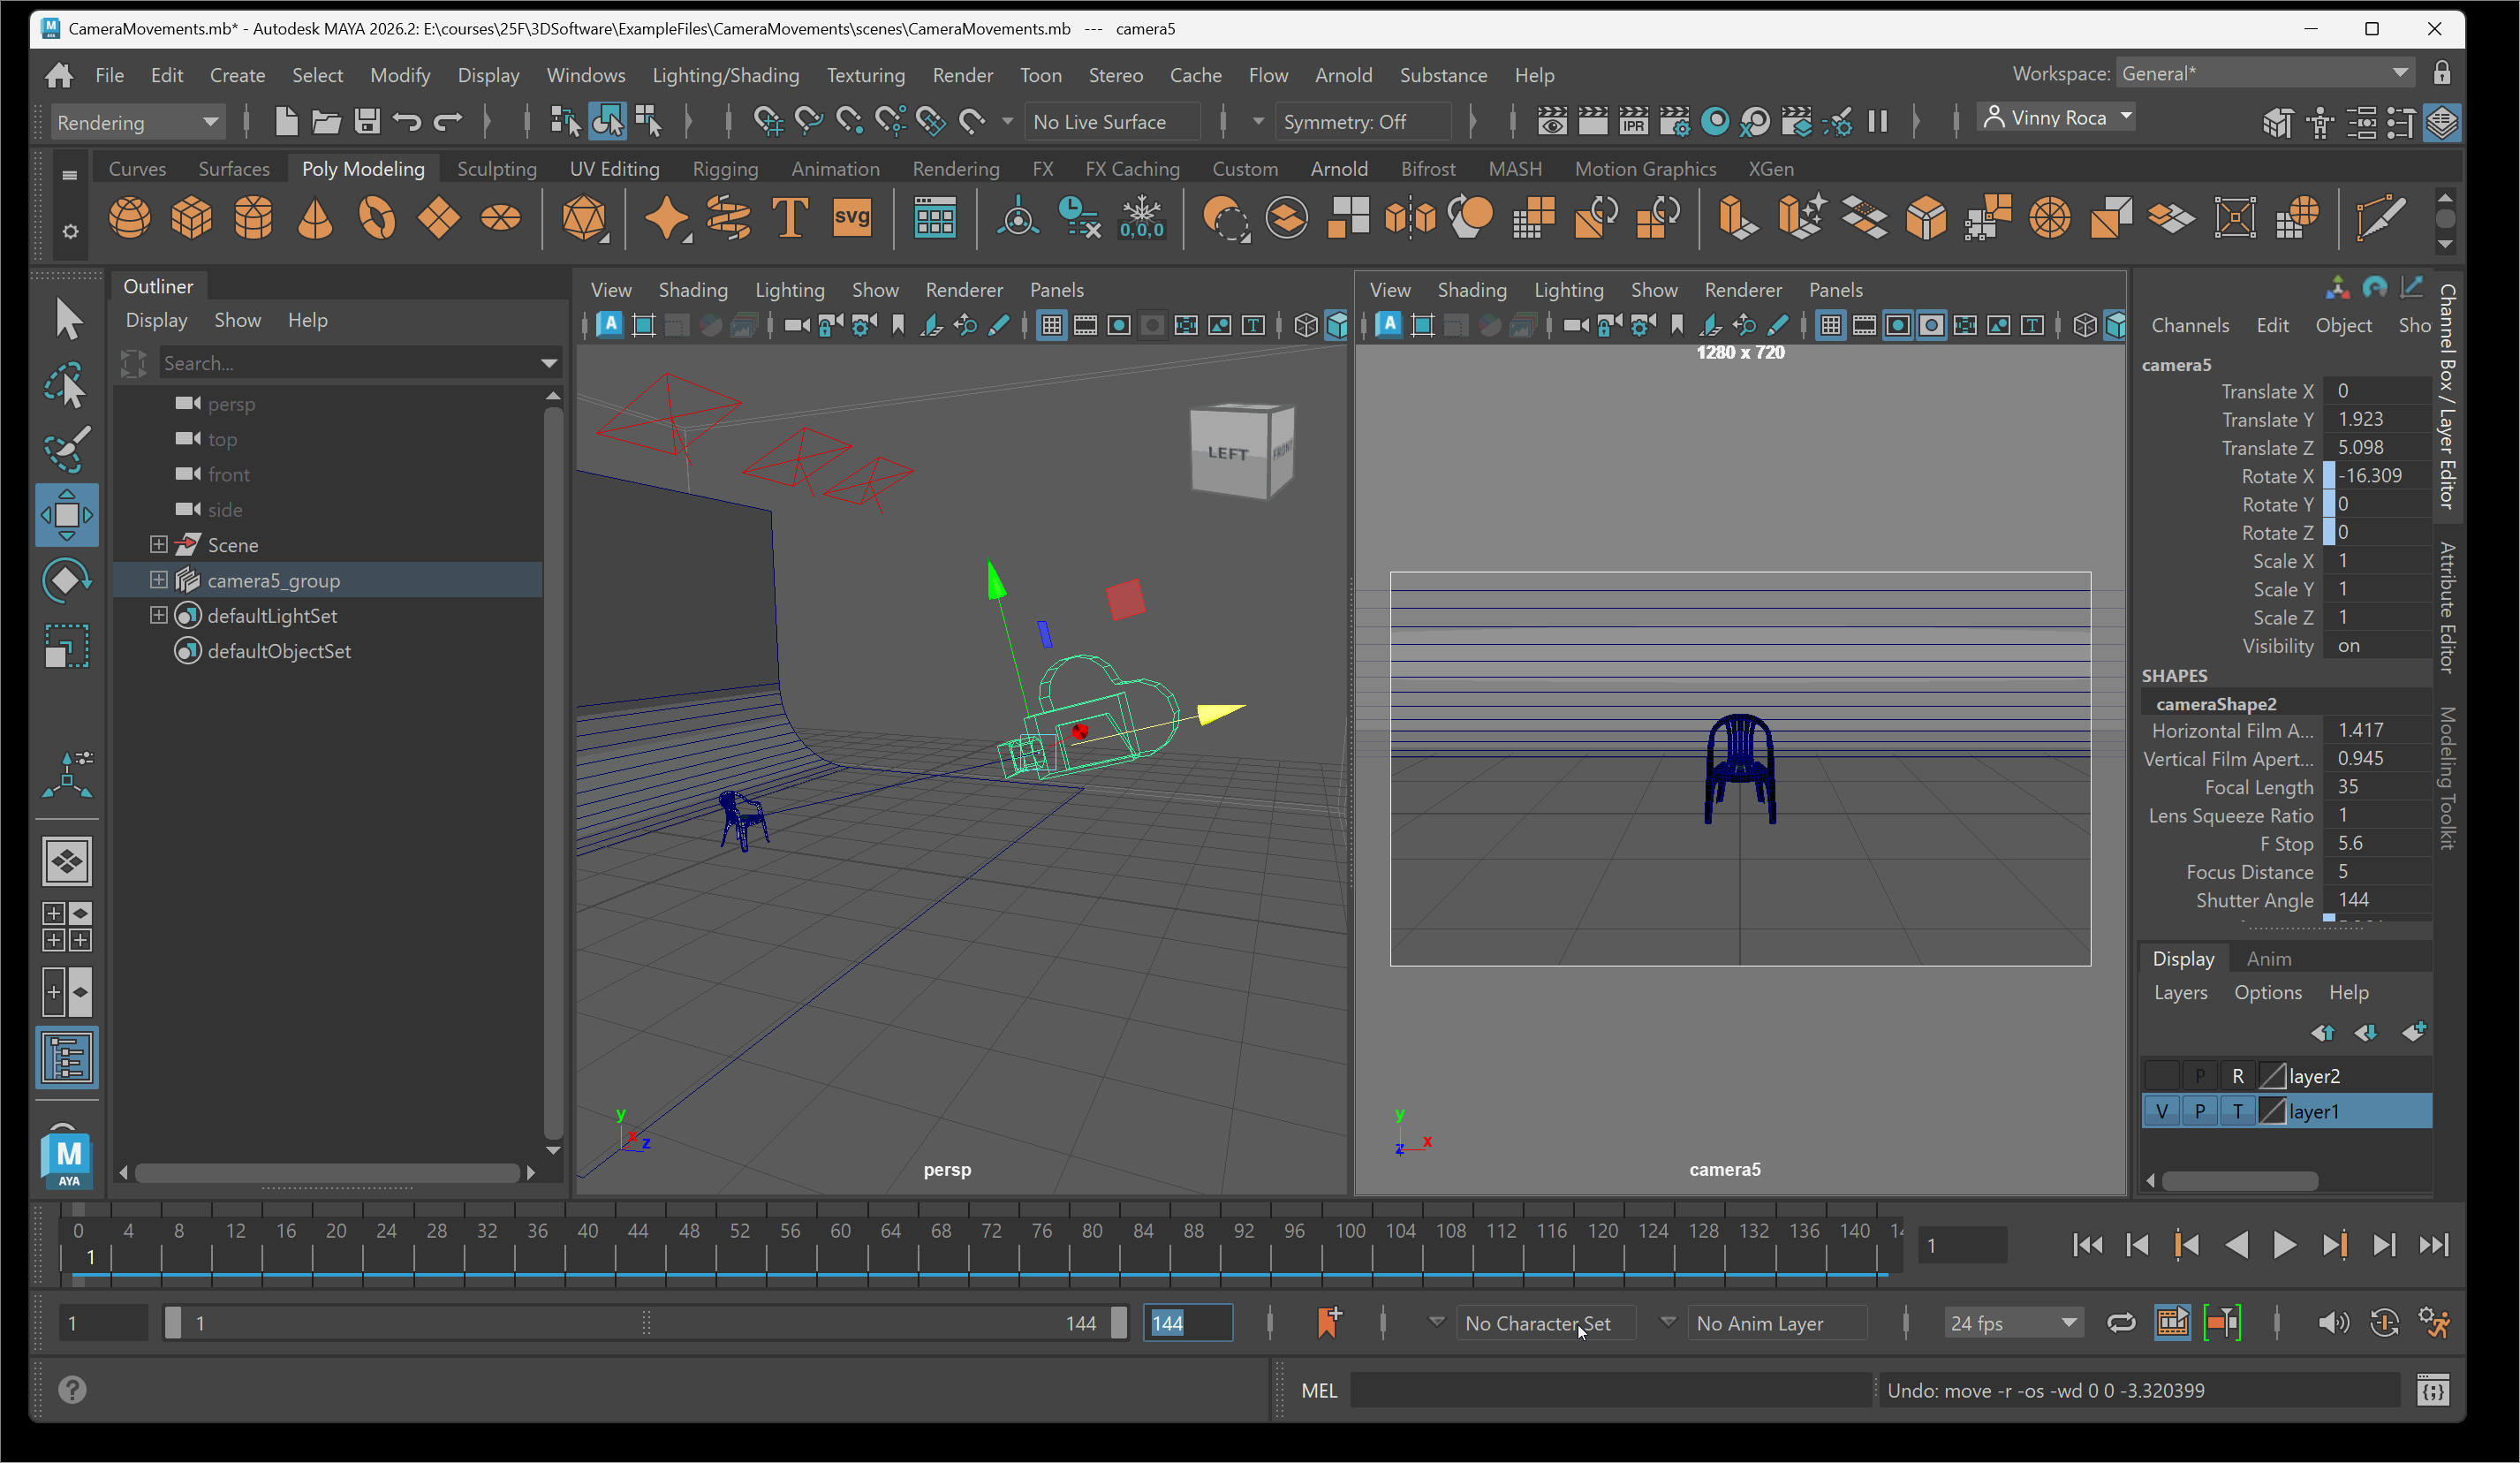
- Click on frame 1 > Select TranslateZ and TranslateY in Channel Box on camera > Right Click and press Key Selected
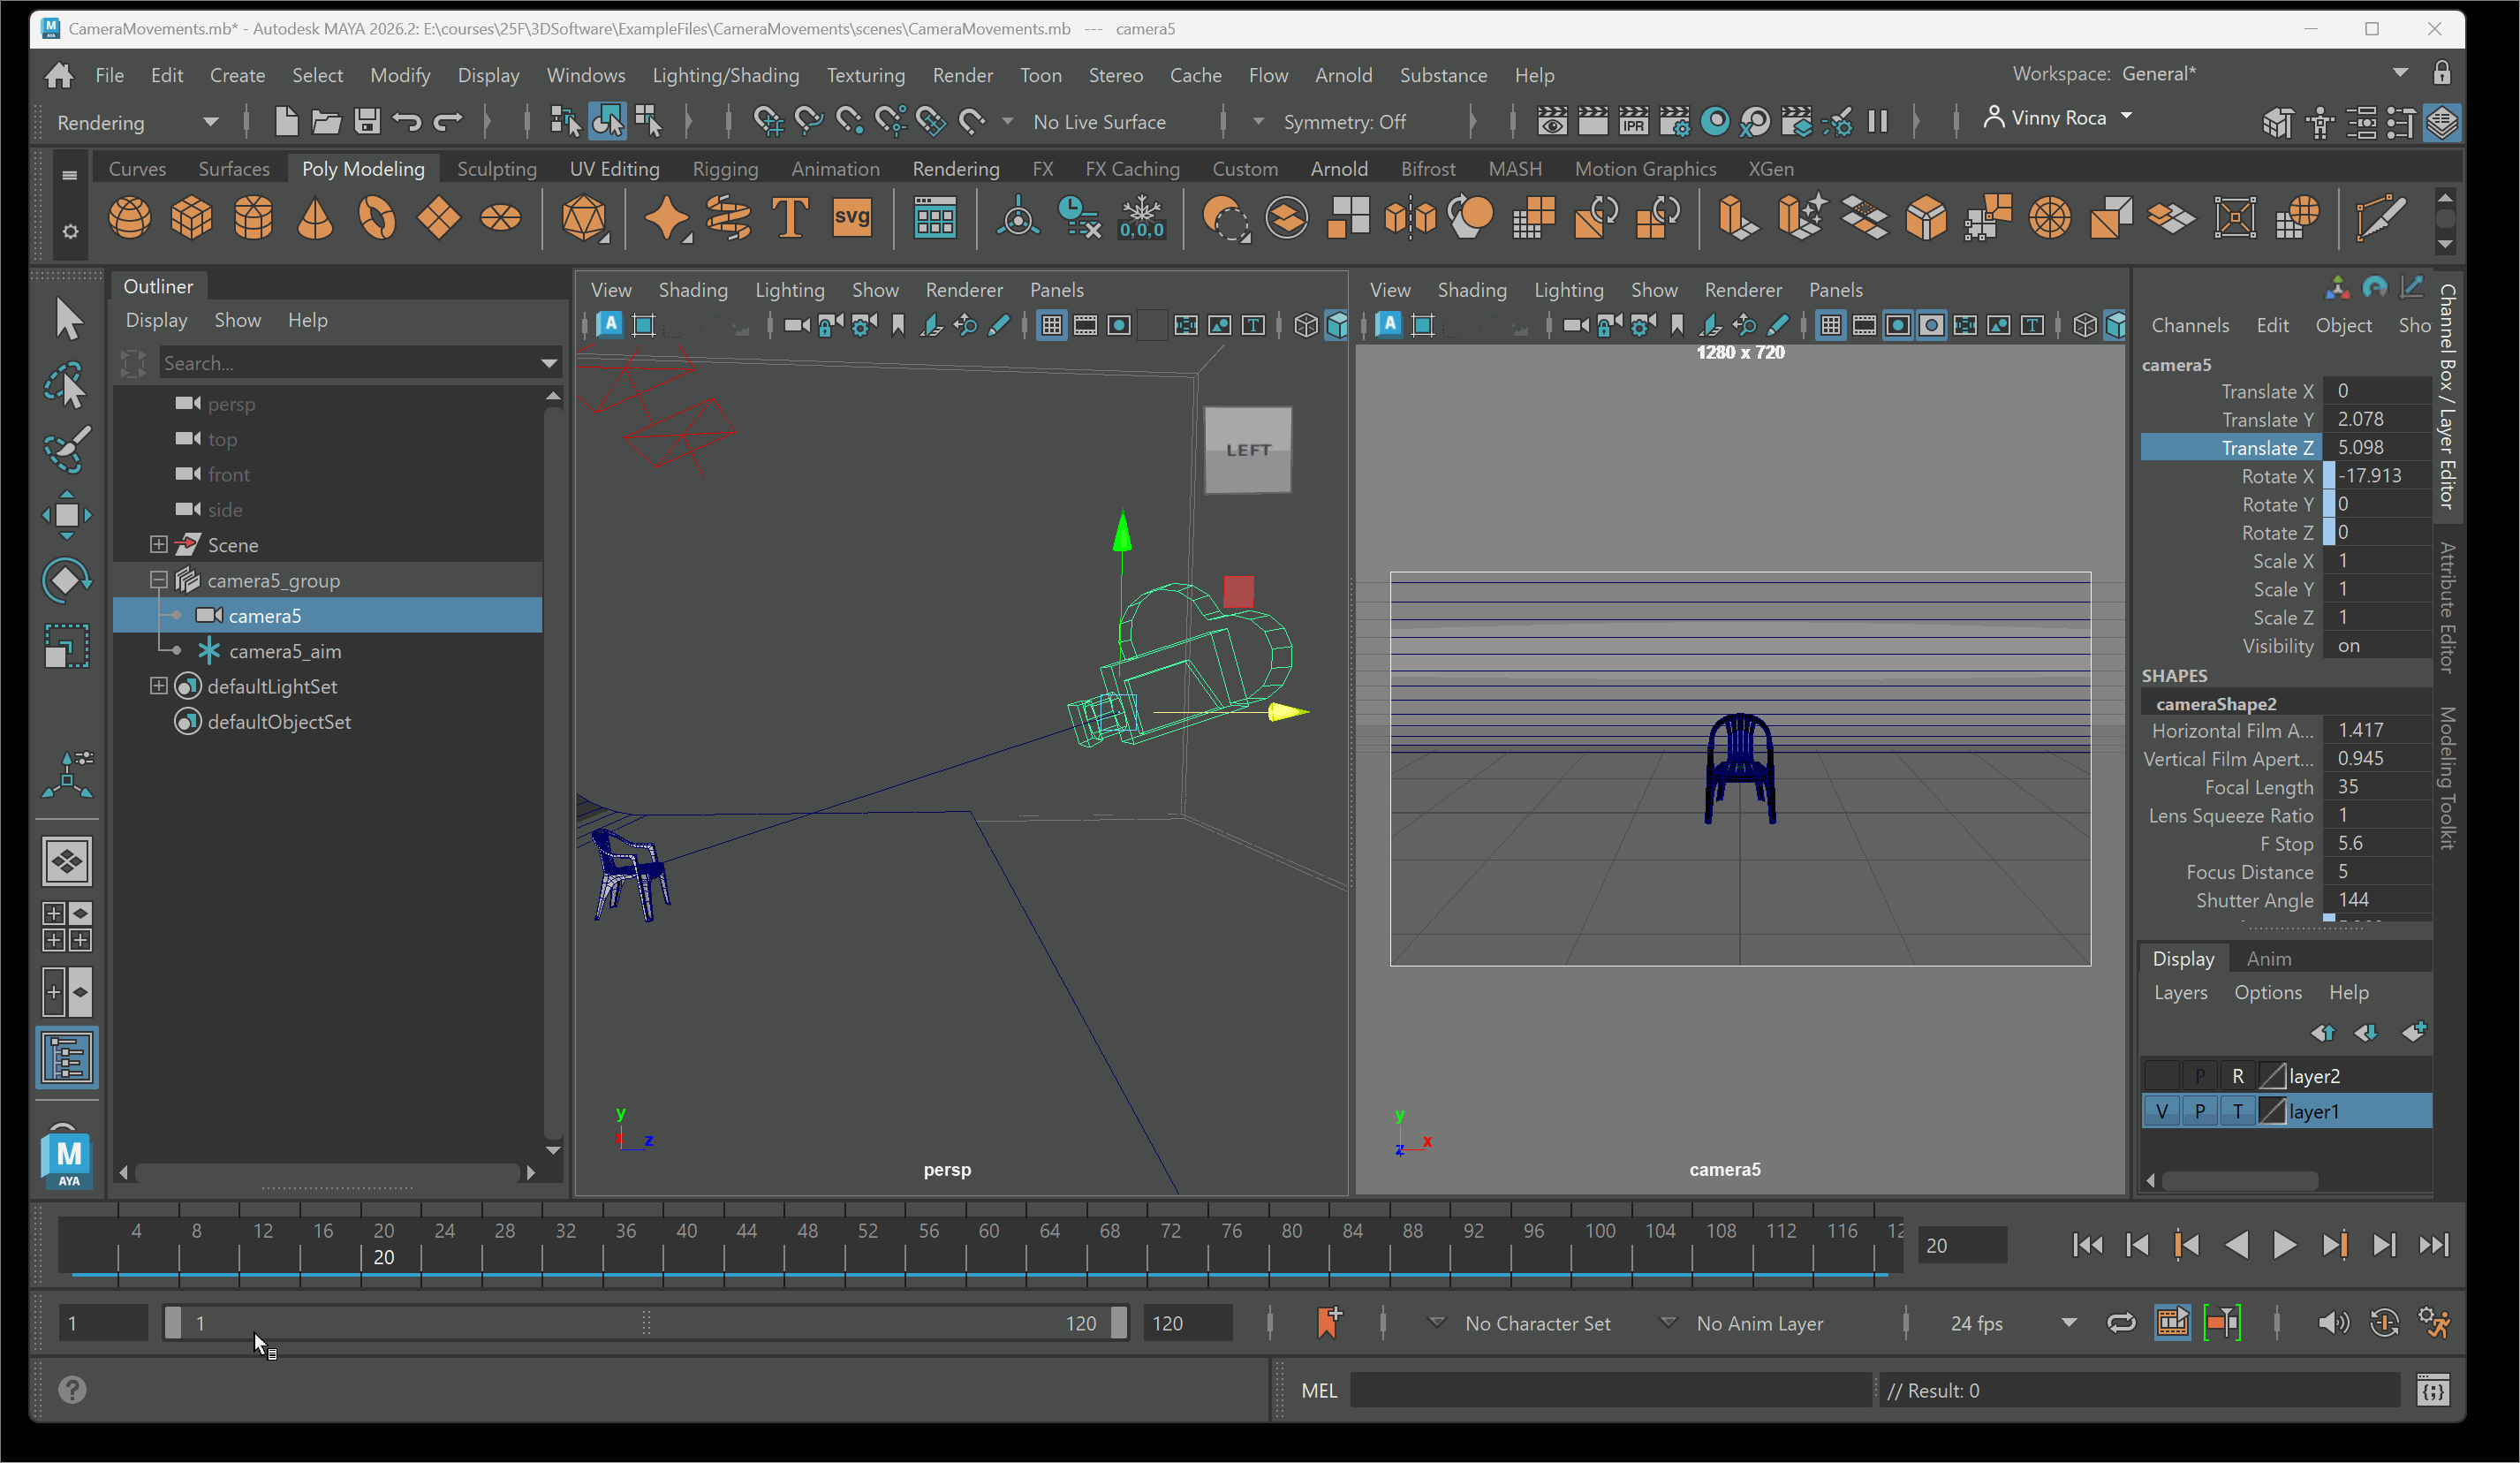
- Click on frame 120 > Move in Camera on Local Z Axis> Select TranslateZ and TranslateY in Channel Box on camera > Right Click and press Key Selected
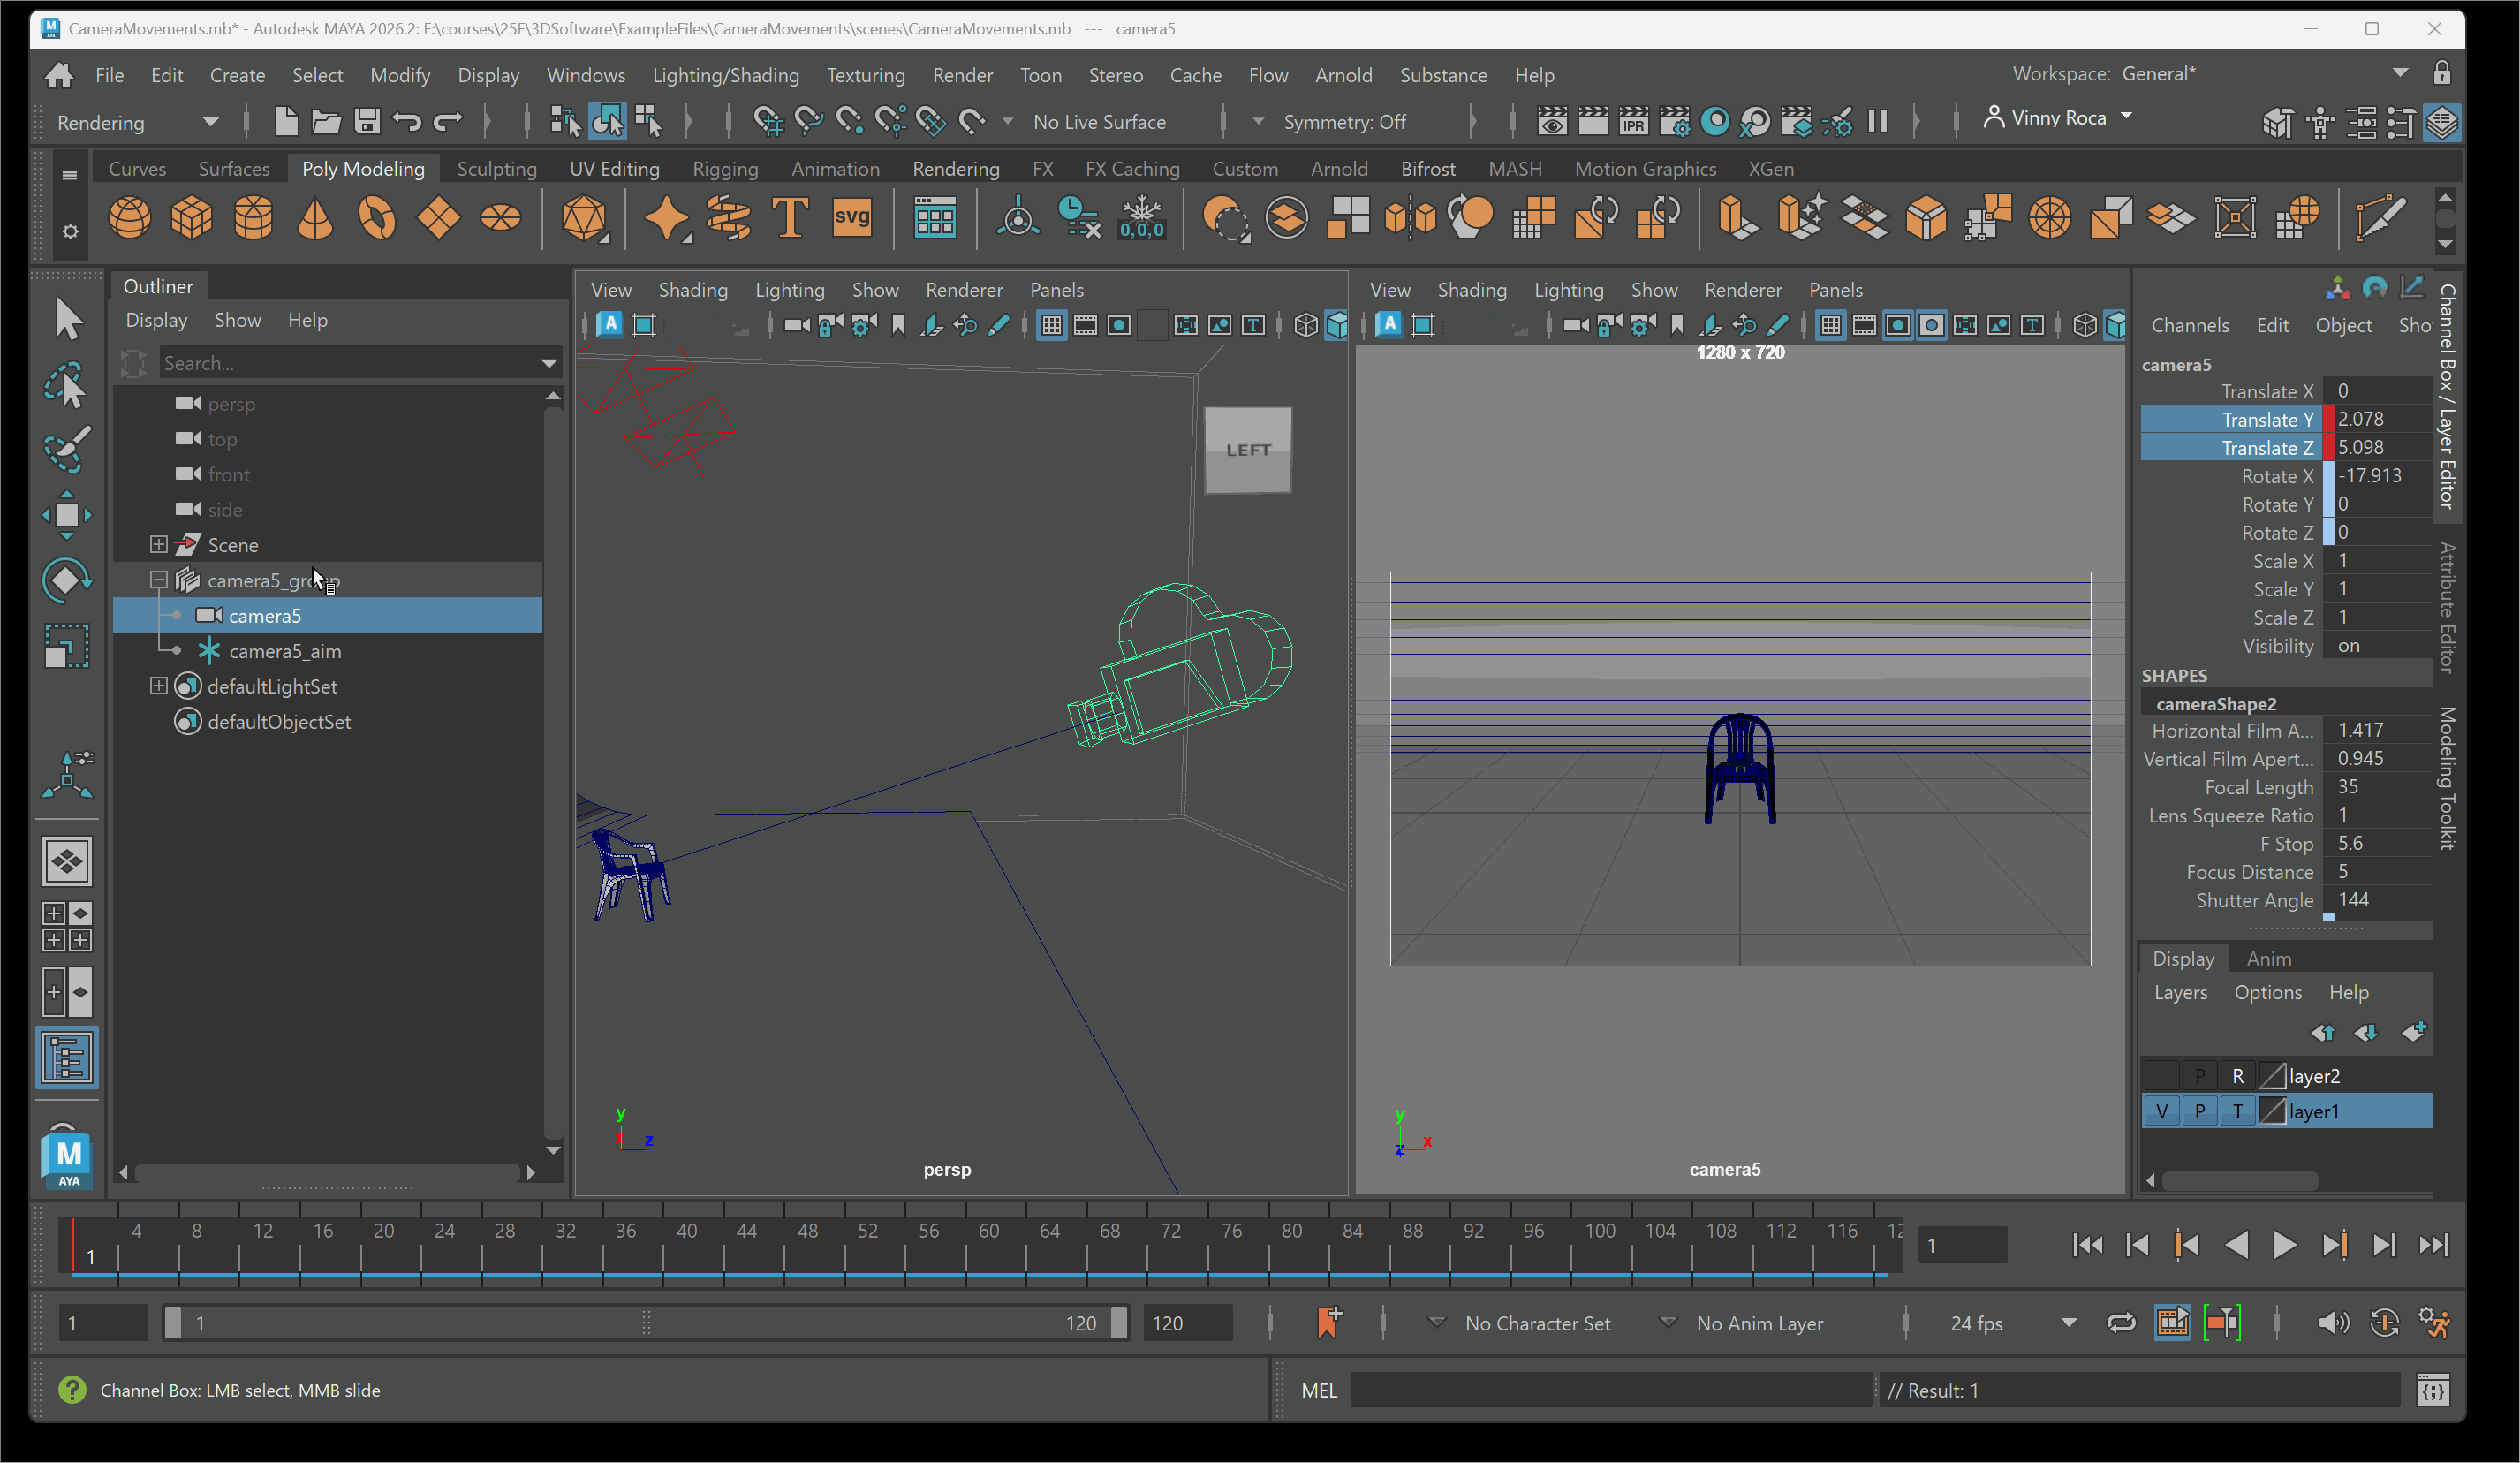
- Test Animation by pressing play
Playback Speed
If animation is playing too fast:
Right-click on timeline> Select Playback speed > set Real Time:
Changing Animation Curves
To open animation curves in the Graph Editor, navigate to the Animation workspace in the upper right corner of Maya’s UI.
Making curves linear:
To make an animation curve linear, select the key points and press the linear button in the UI:
Alter curve using Handles
To alter a curve using a Bezier handle: Select a key frame point and move the Bezier handle to effect the easing of the animation curve:

Creating Playblast
You can preview an animation using a playblast. A playblast will create an animation of your view port. Playblasts are helpful for creating rough cuts of your animation and to properly test timing.
To create a playblast:
- Click on viewport you want to make a playblast from
- Right click on timeline and choose the playblast settings
- Make sure mode is set to AVI and Display Size is from render settings
- Press playblast to view the animation
Camera Motion
Dolly and Tracking
Dolly or Tracking camera movements refer to the camera physically moving location. This can be achieved in Maya by keying the Camera and Aim group on one of the three movement axes.
X Axis on Camera and Aim group keyed:
Y and Z Axis on Camera keyed:

Pan and Tilt
Pan and Tilt camera movements refer to the camera rotating either horizontally (pan) or vertically (tilt). Pan and tilt can be achieved in Maya by animating the movement of the Aim target to rotate the camera.
Tilt: Aim object keyed on Y Axis
Pan: Aim object keyed on X Axis

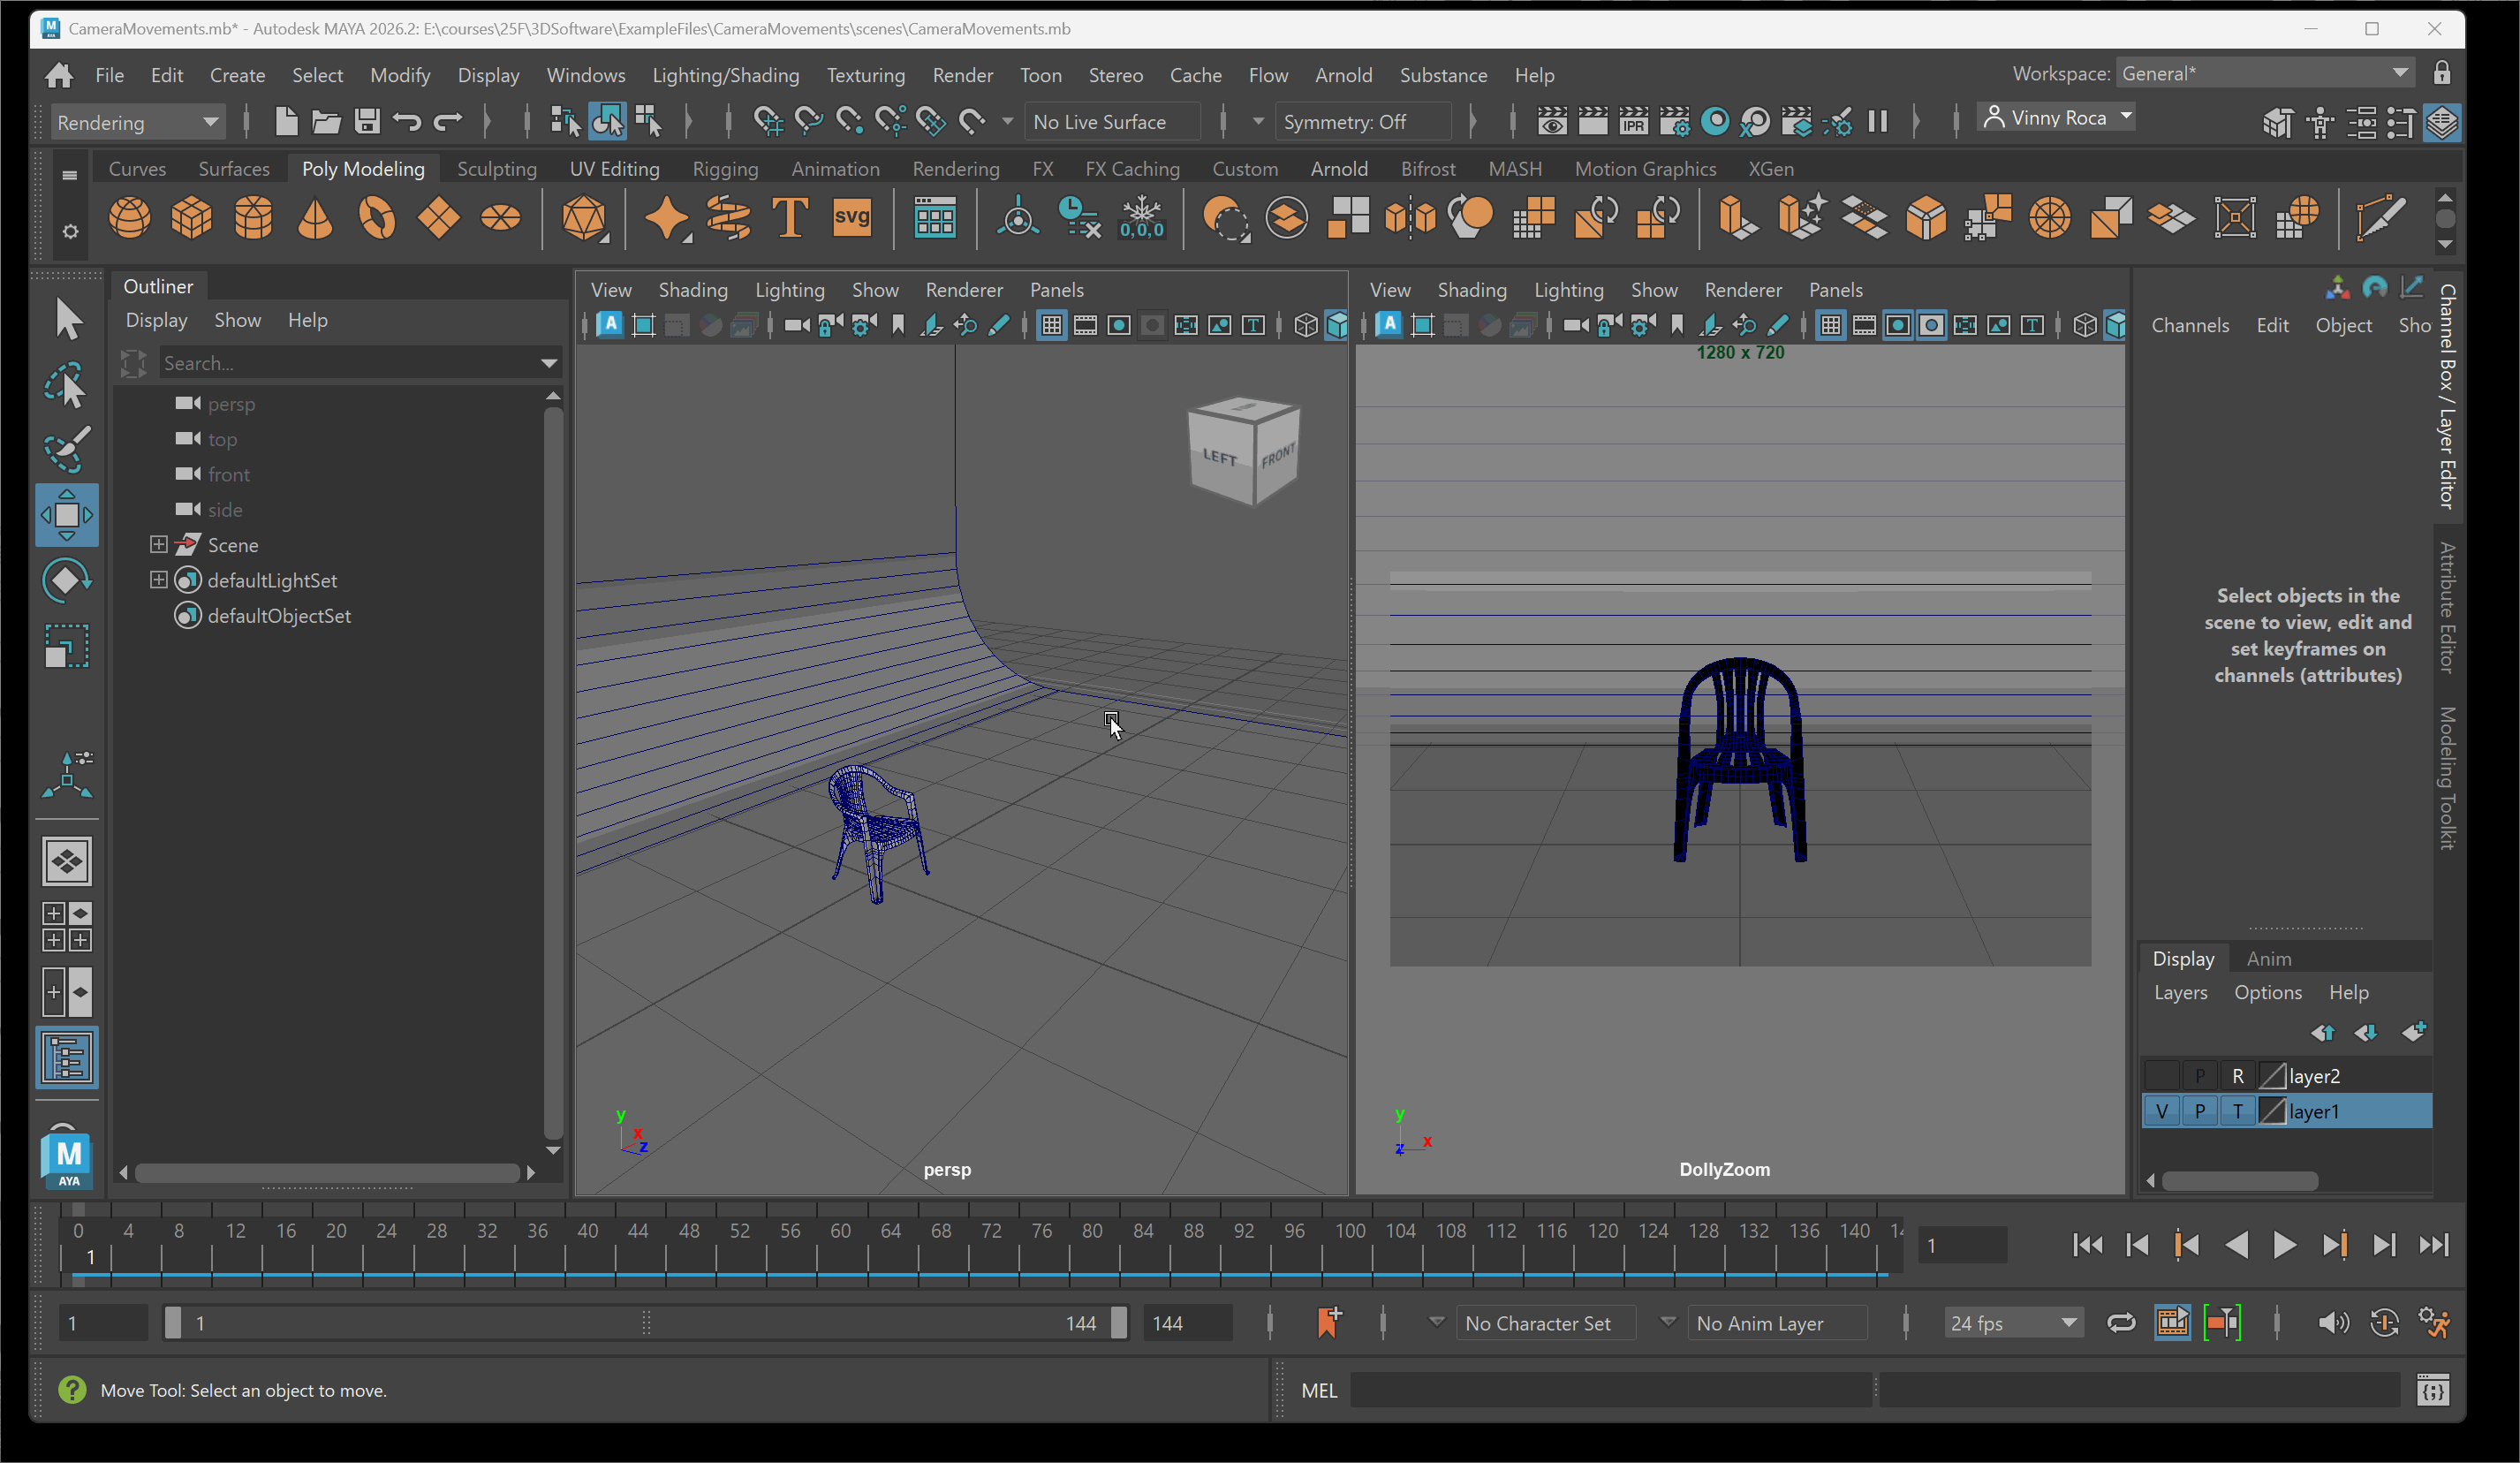
Focal Zoom
Focal Zoom is a non-movement camera change that creates the illusion of the camera zooming in on a subject. A focal zoom is achieved by increasing or decreasing the focal length of a camera in Maya.
Increasing focal length from 17mm to 120mm over 5 seconds:
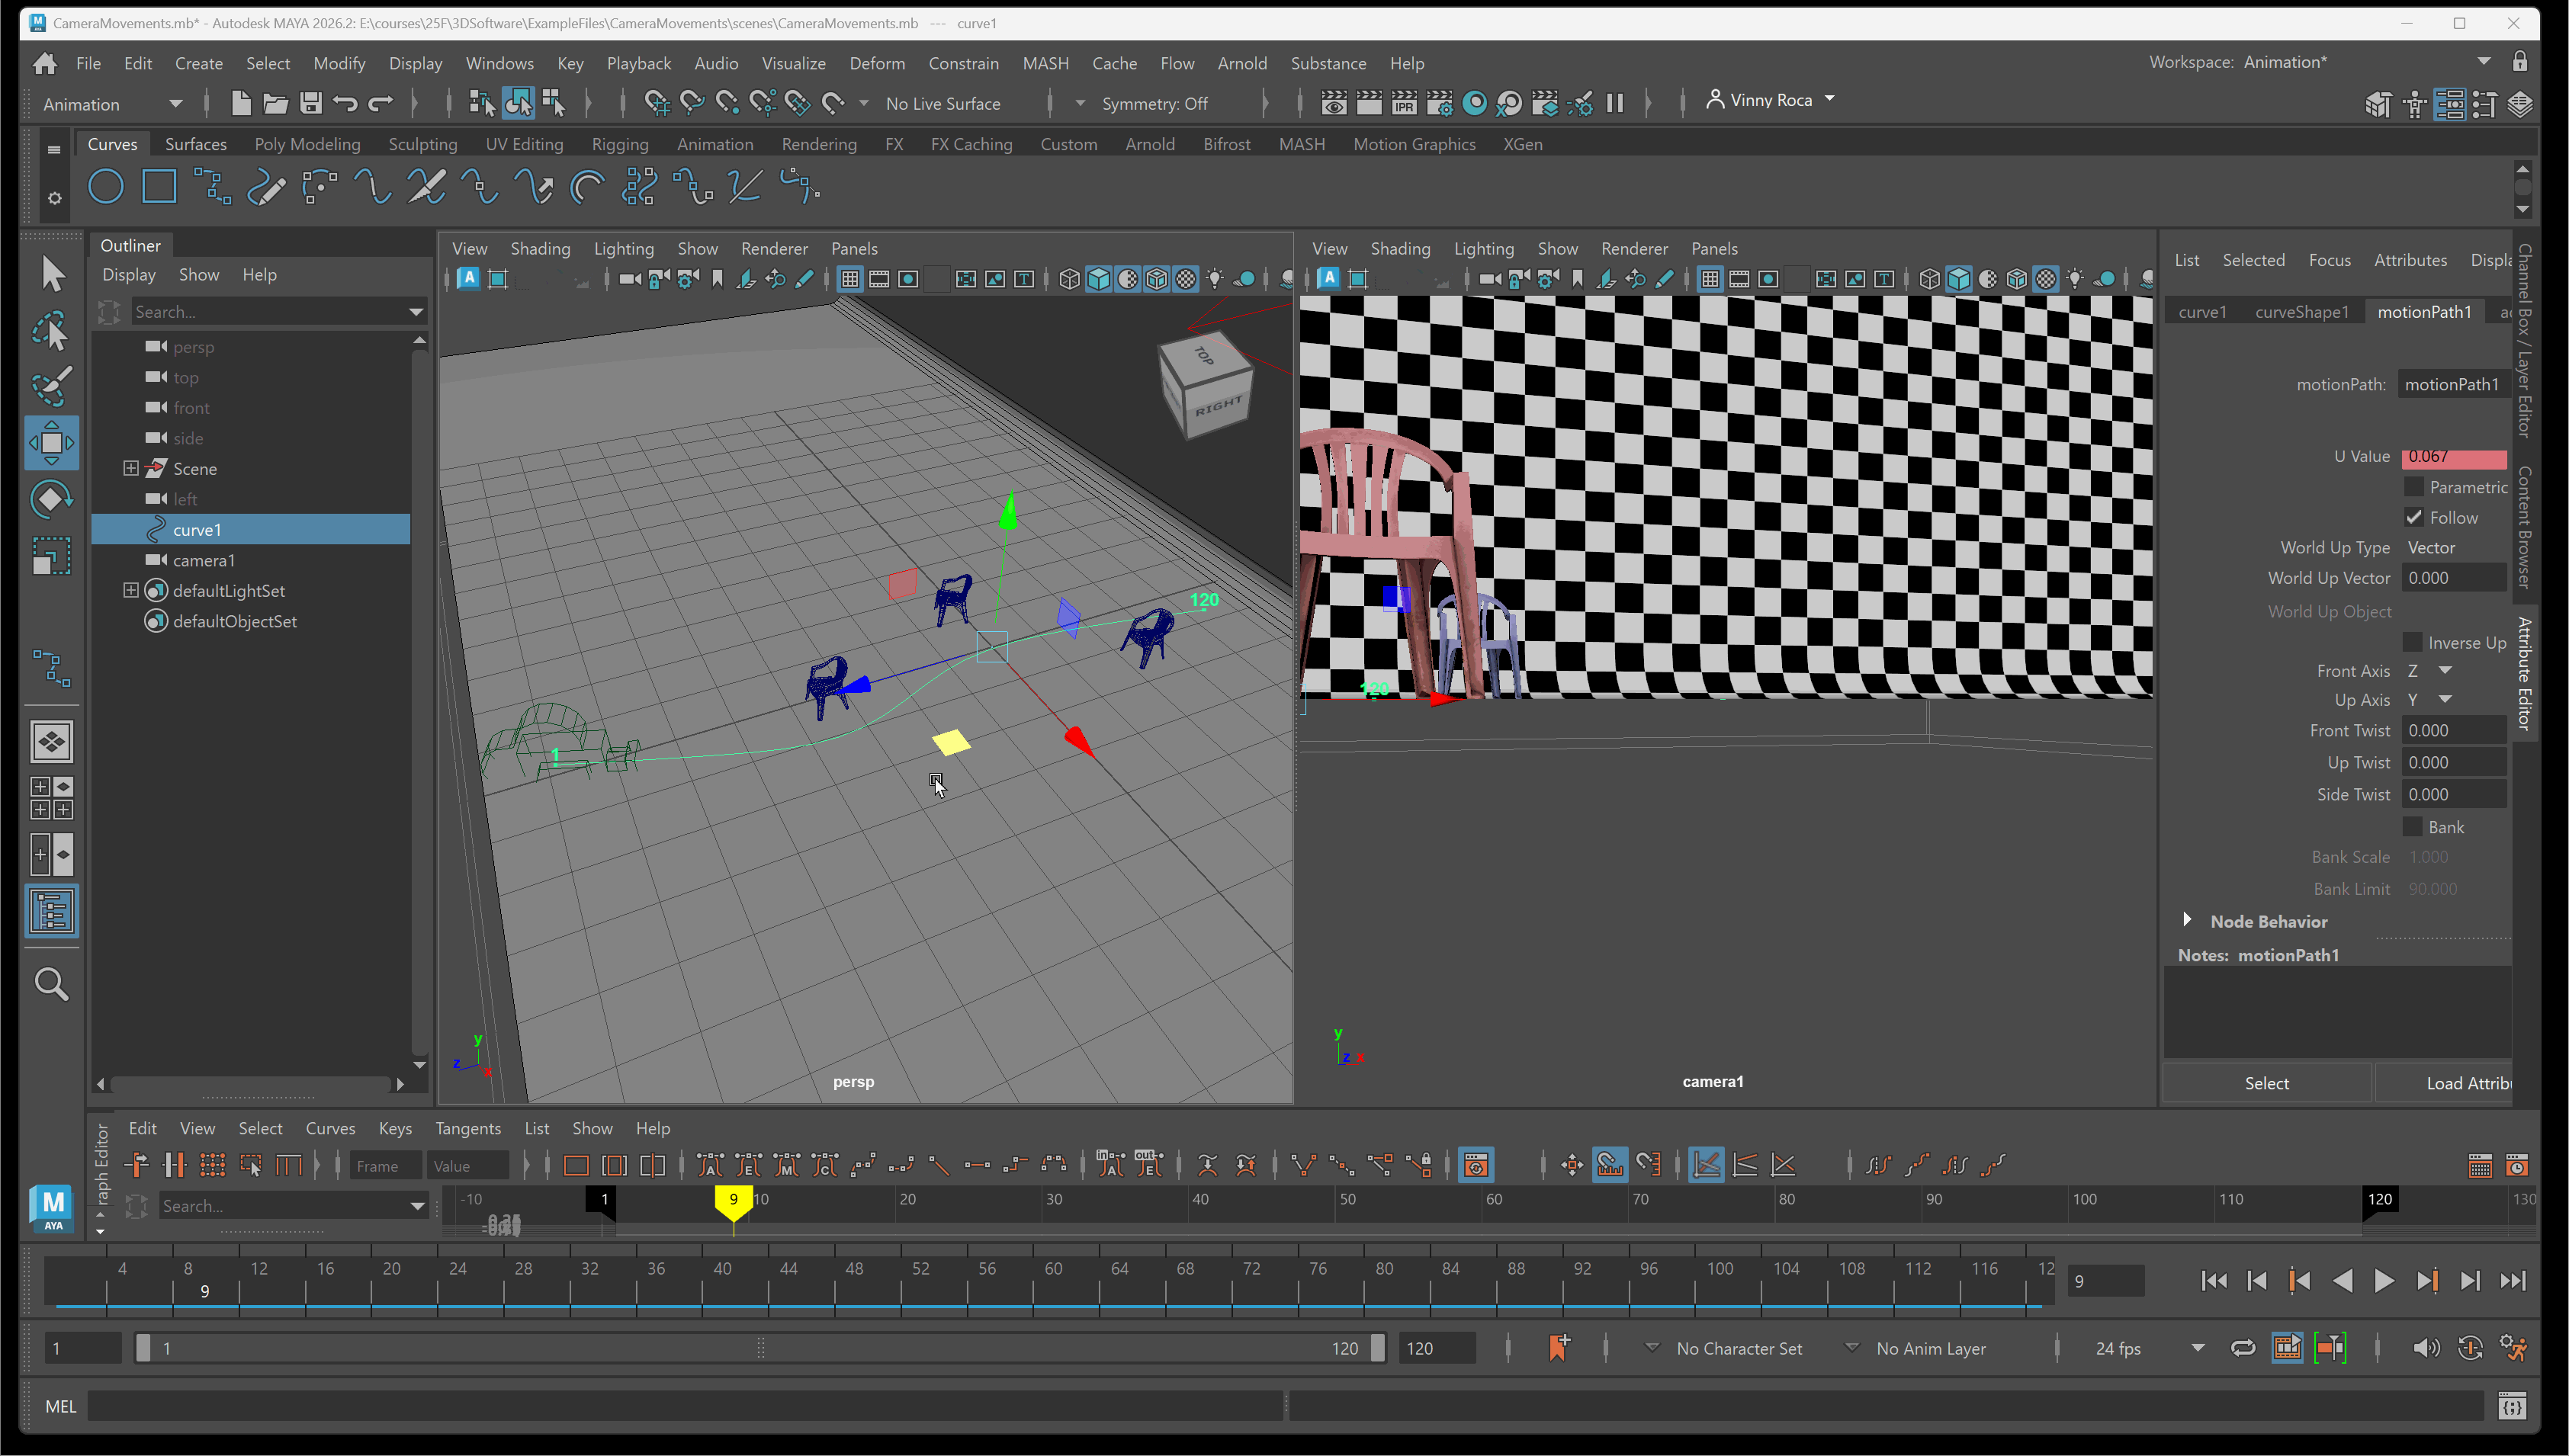
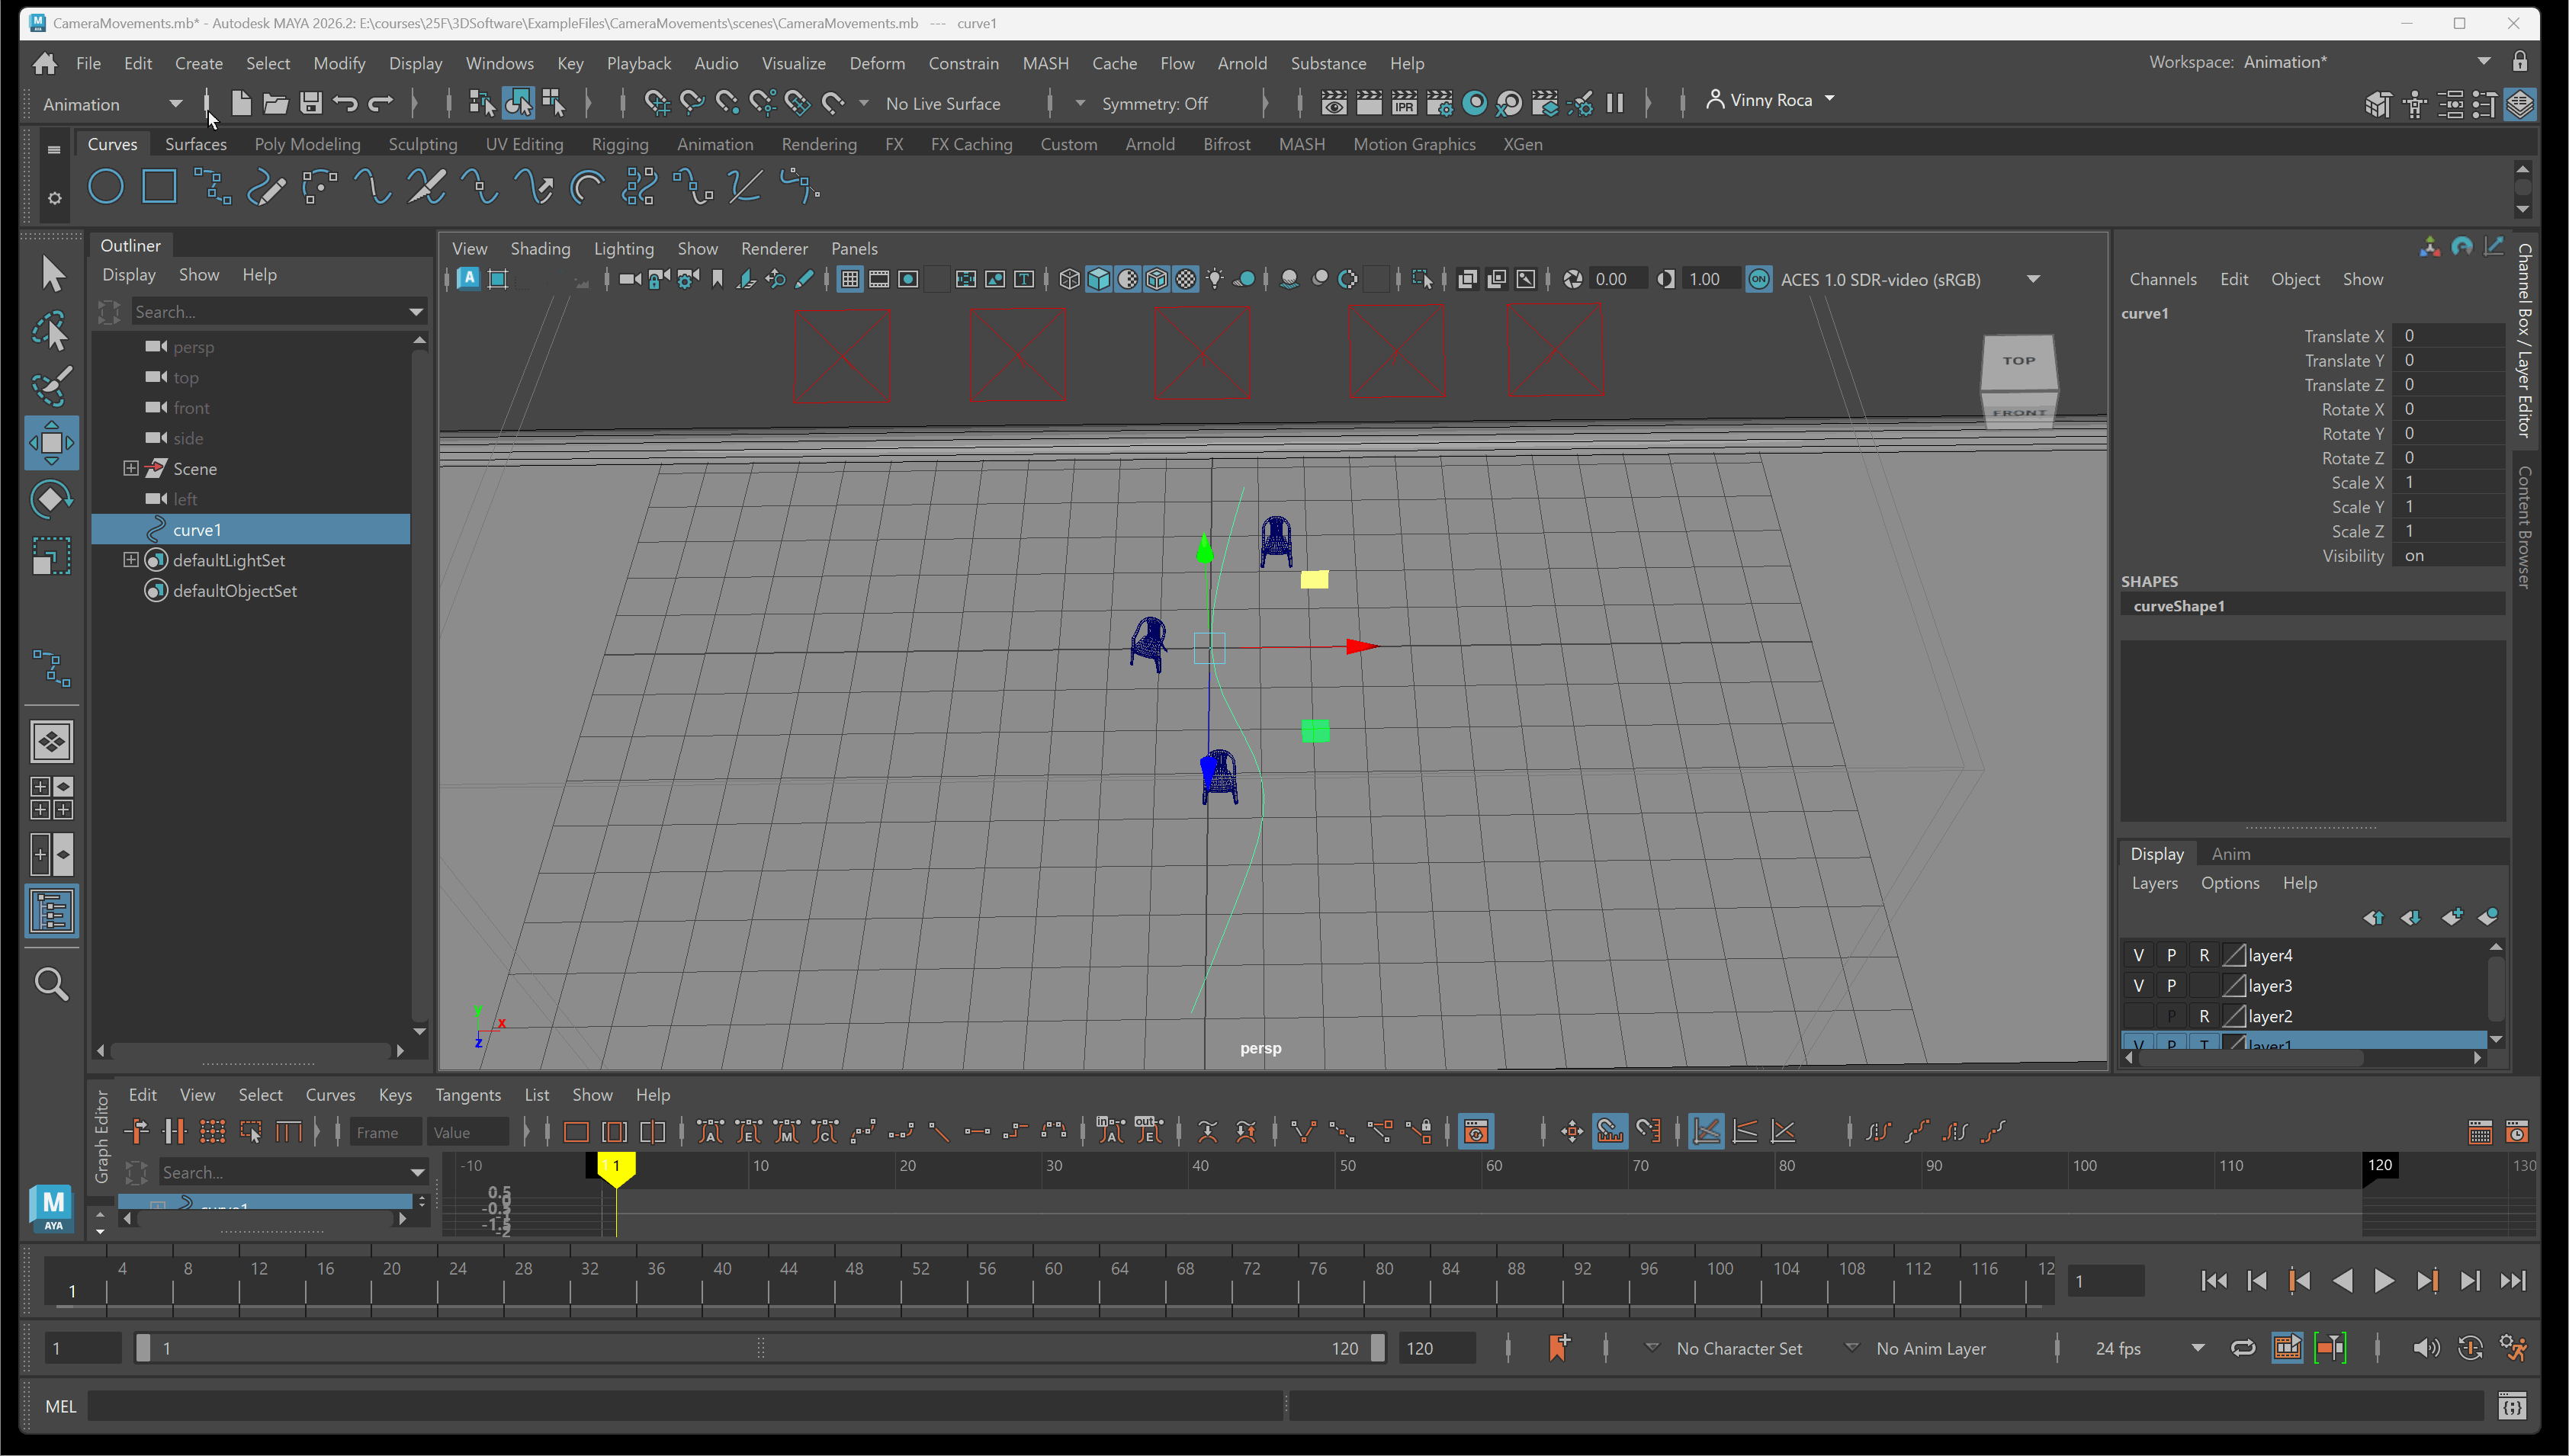
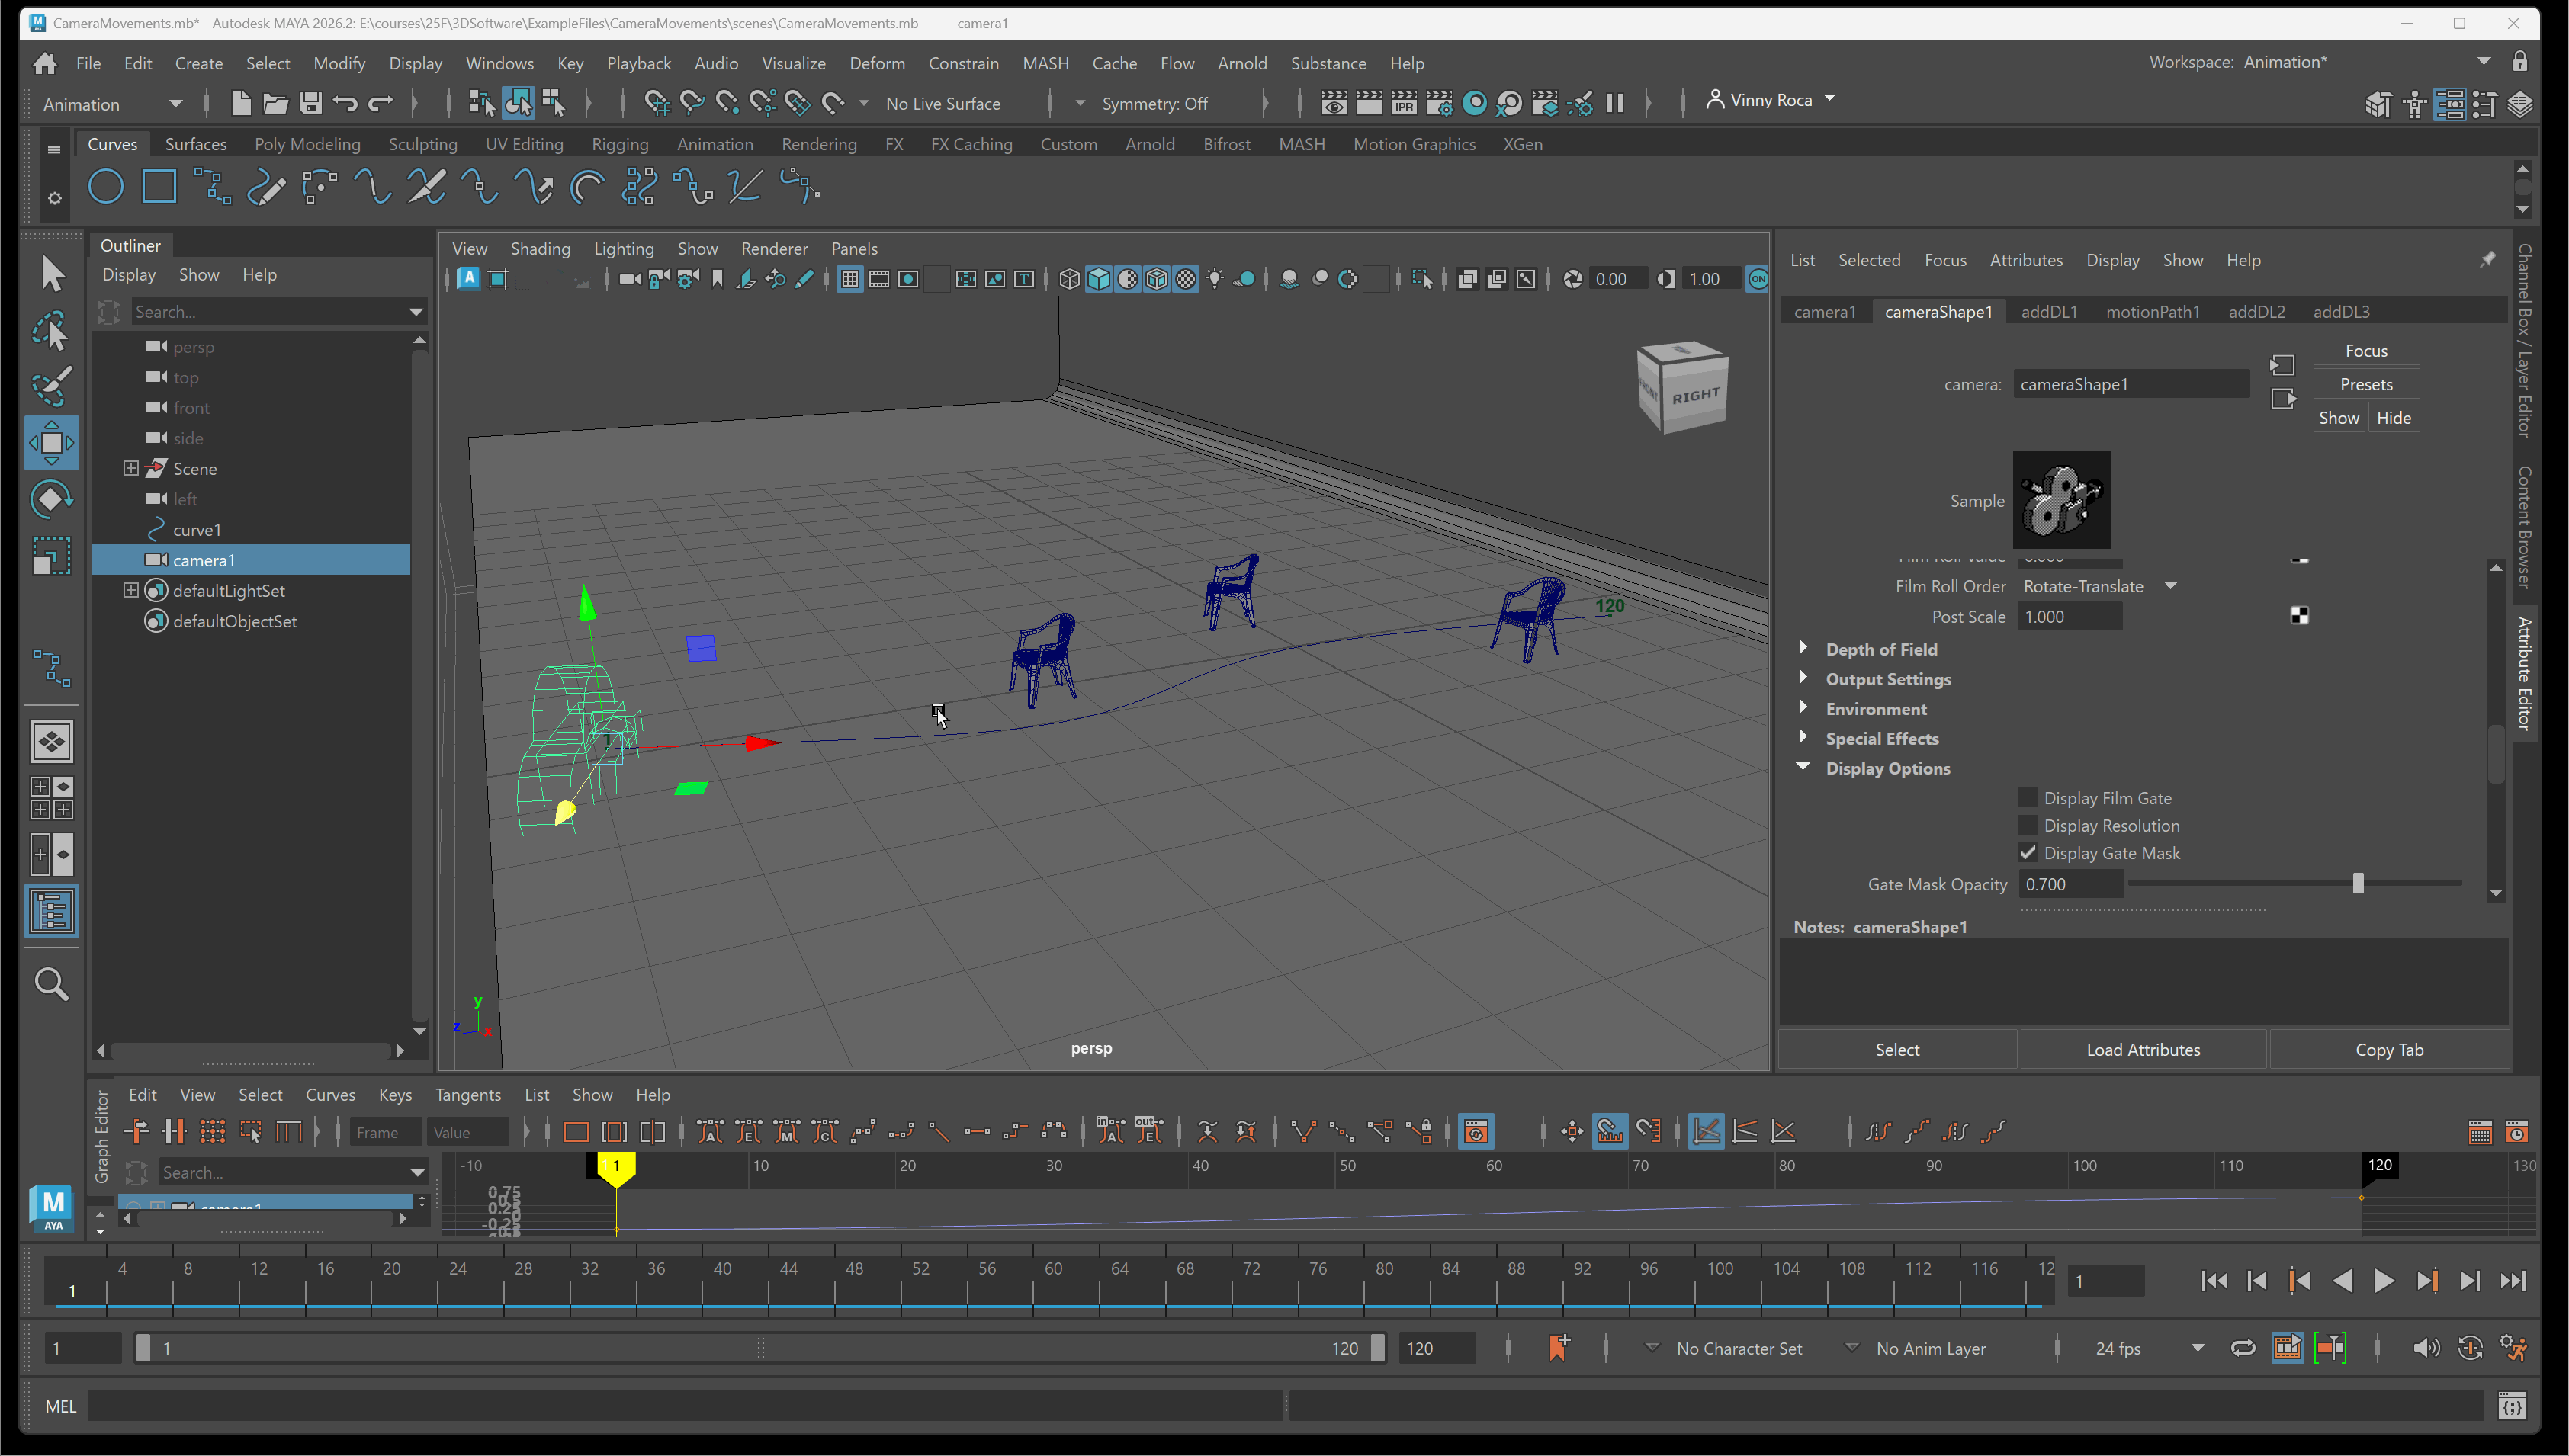
Camera Path
Camera paths are used to create more complex camera movements. Camera paths are a two part process:
- Create a NURBS spline for the camera path
- Group a Camera and attach the camera group to the spline
A curve can be created using multiple tools. One commonly used tool is the EP curve tool. To create a curve and attach the camera to the path:
- Navigate to Create > Curve Tool > EP Curve tool > Draw a curve on grid for camera path> Press enter to end curve
- Create a Camera with Create >Cameras > Camera
- Shift Select the Camera and Curve > Navigate to Constrain > Motion Paths > Attach to Motion Path (Notice: if you do not see constrain navigate to the Animation workspace.)
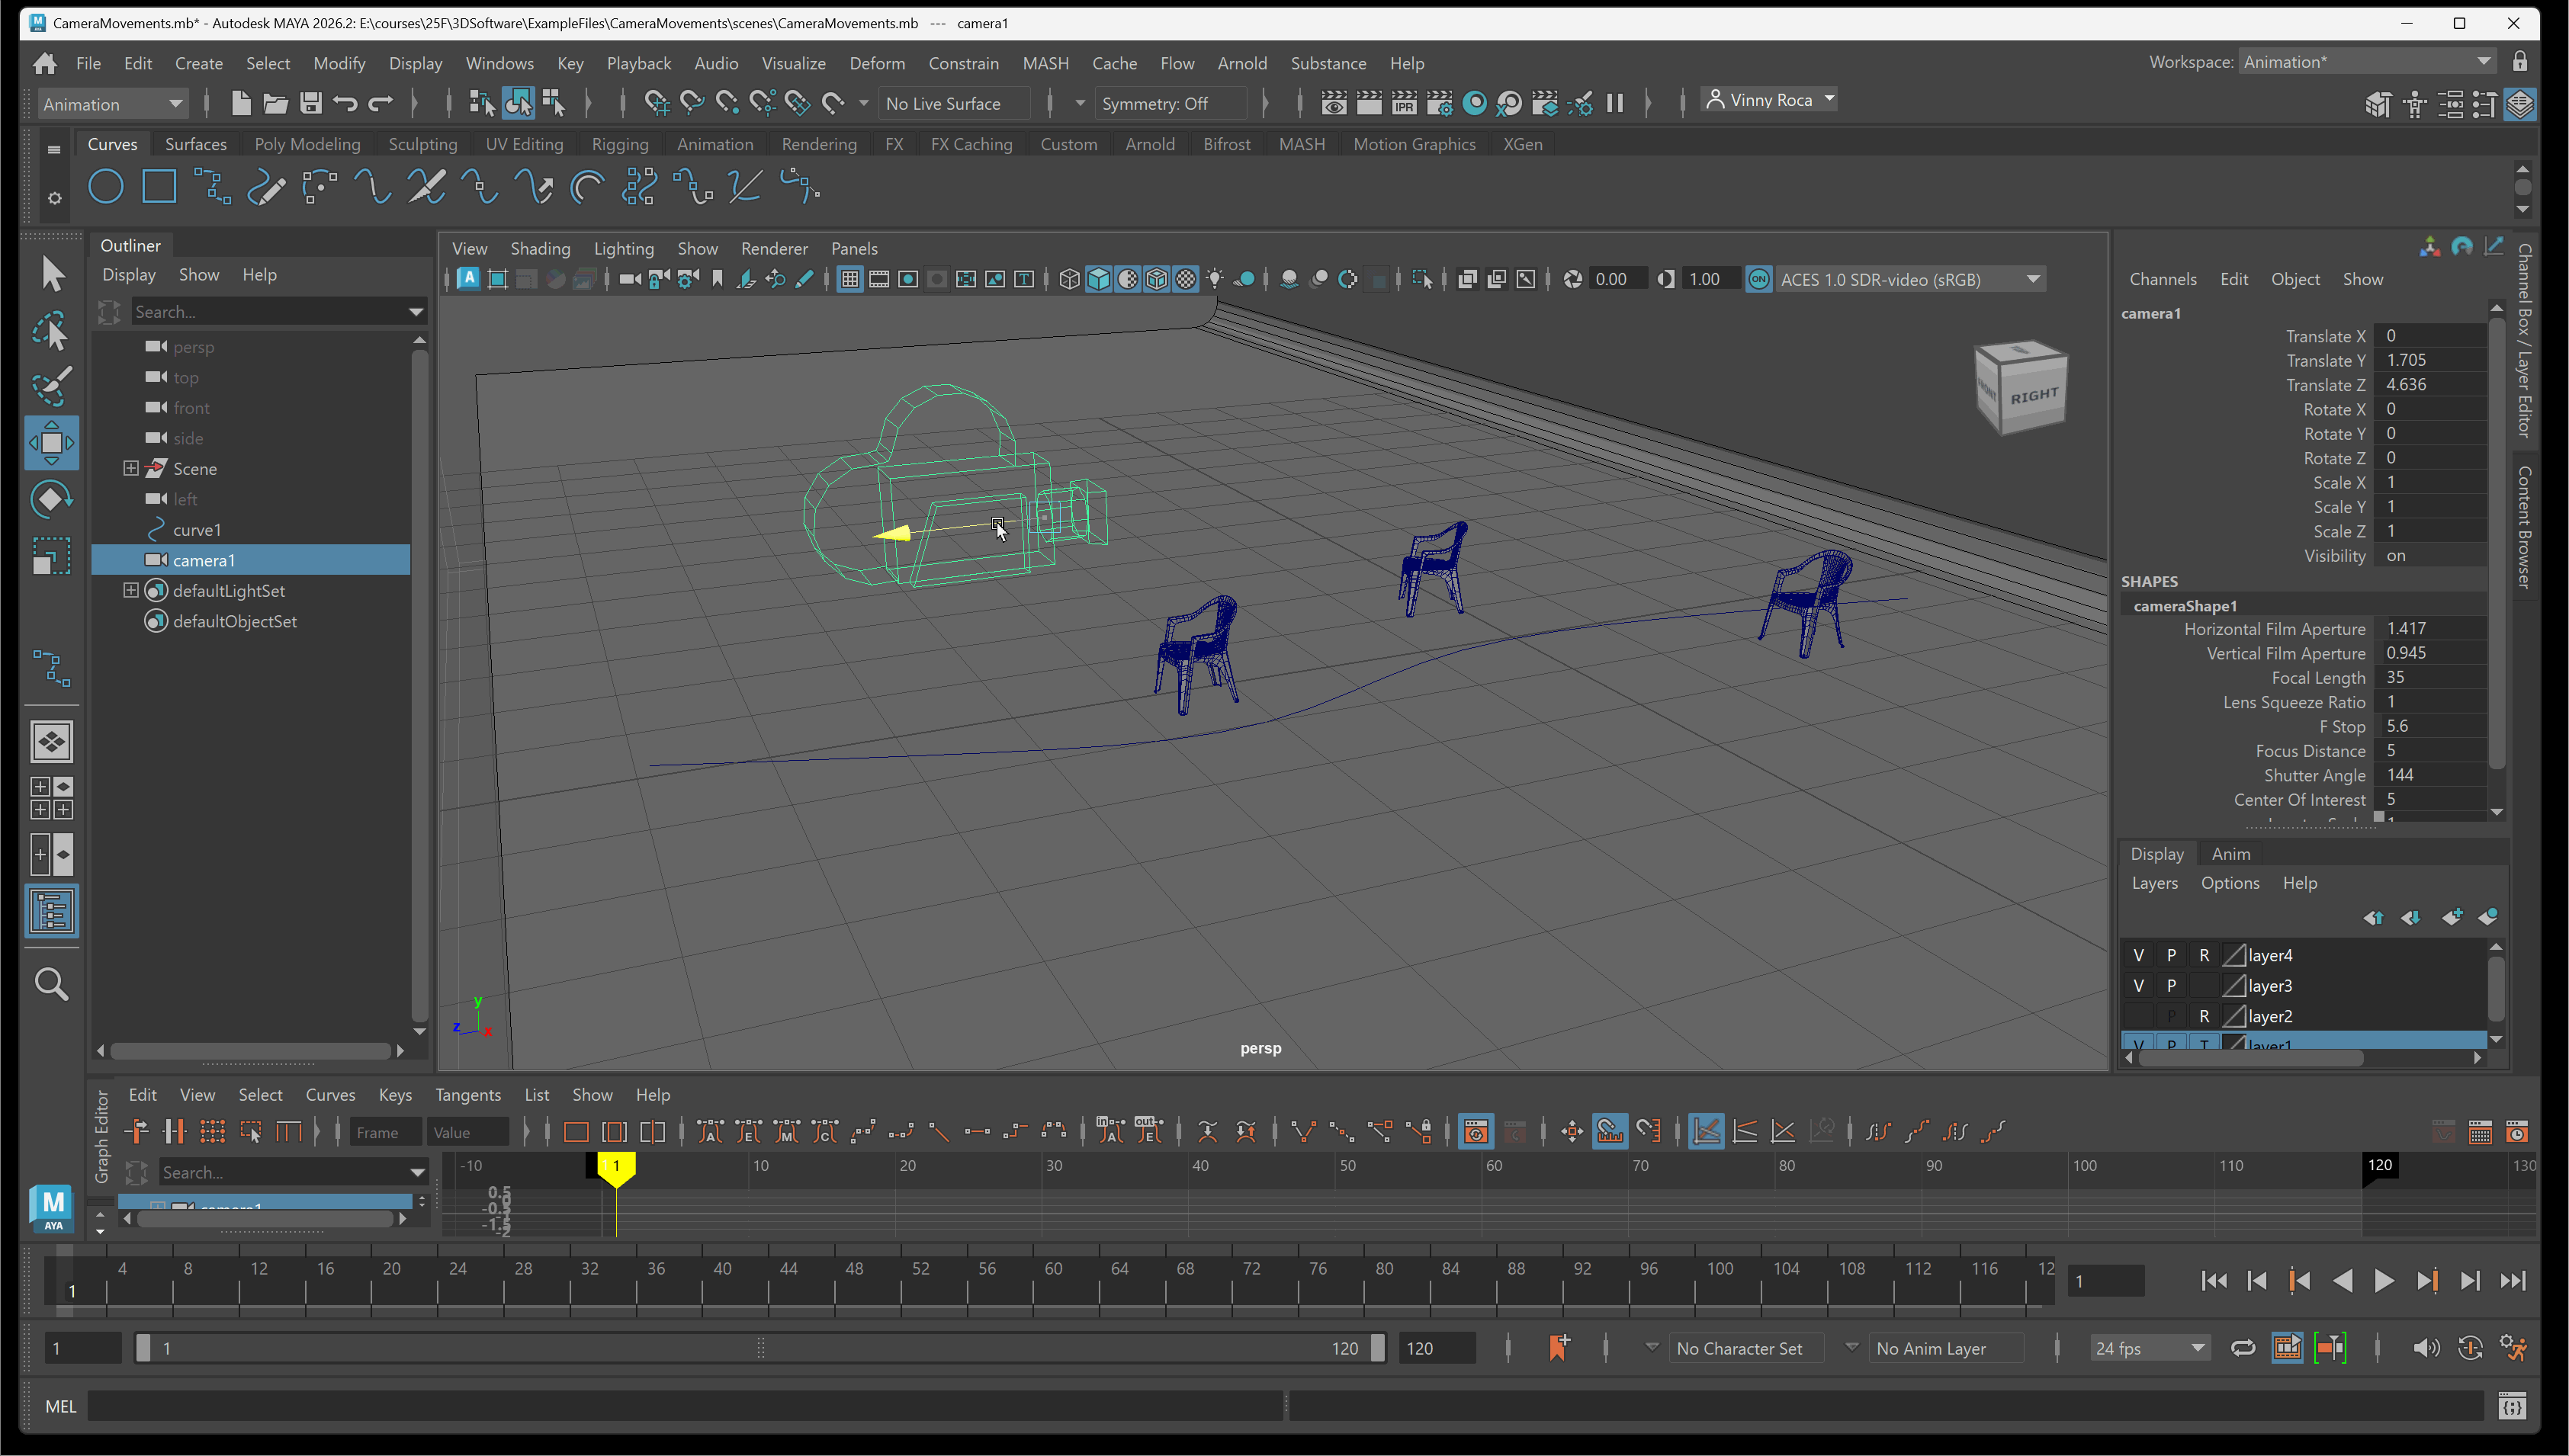
- To make sure your Camera is aligned to the curve in the direction you want it to move: Navigate to Camera > Attribute Editor > motionPath tab > Change Front Axis and/or Inverse Front to get correct motion
- Change animation to linear if you want to remove easing
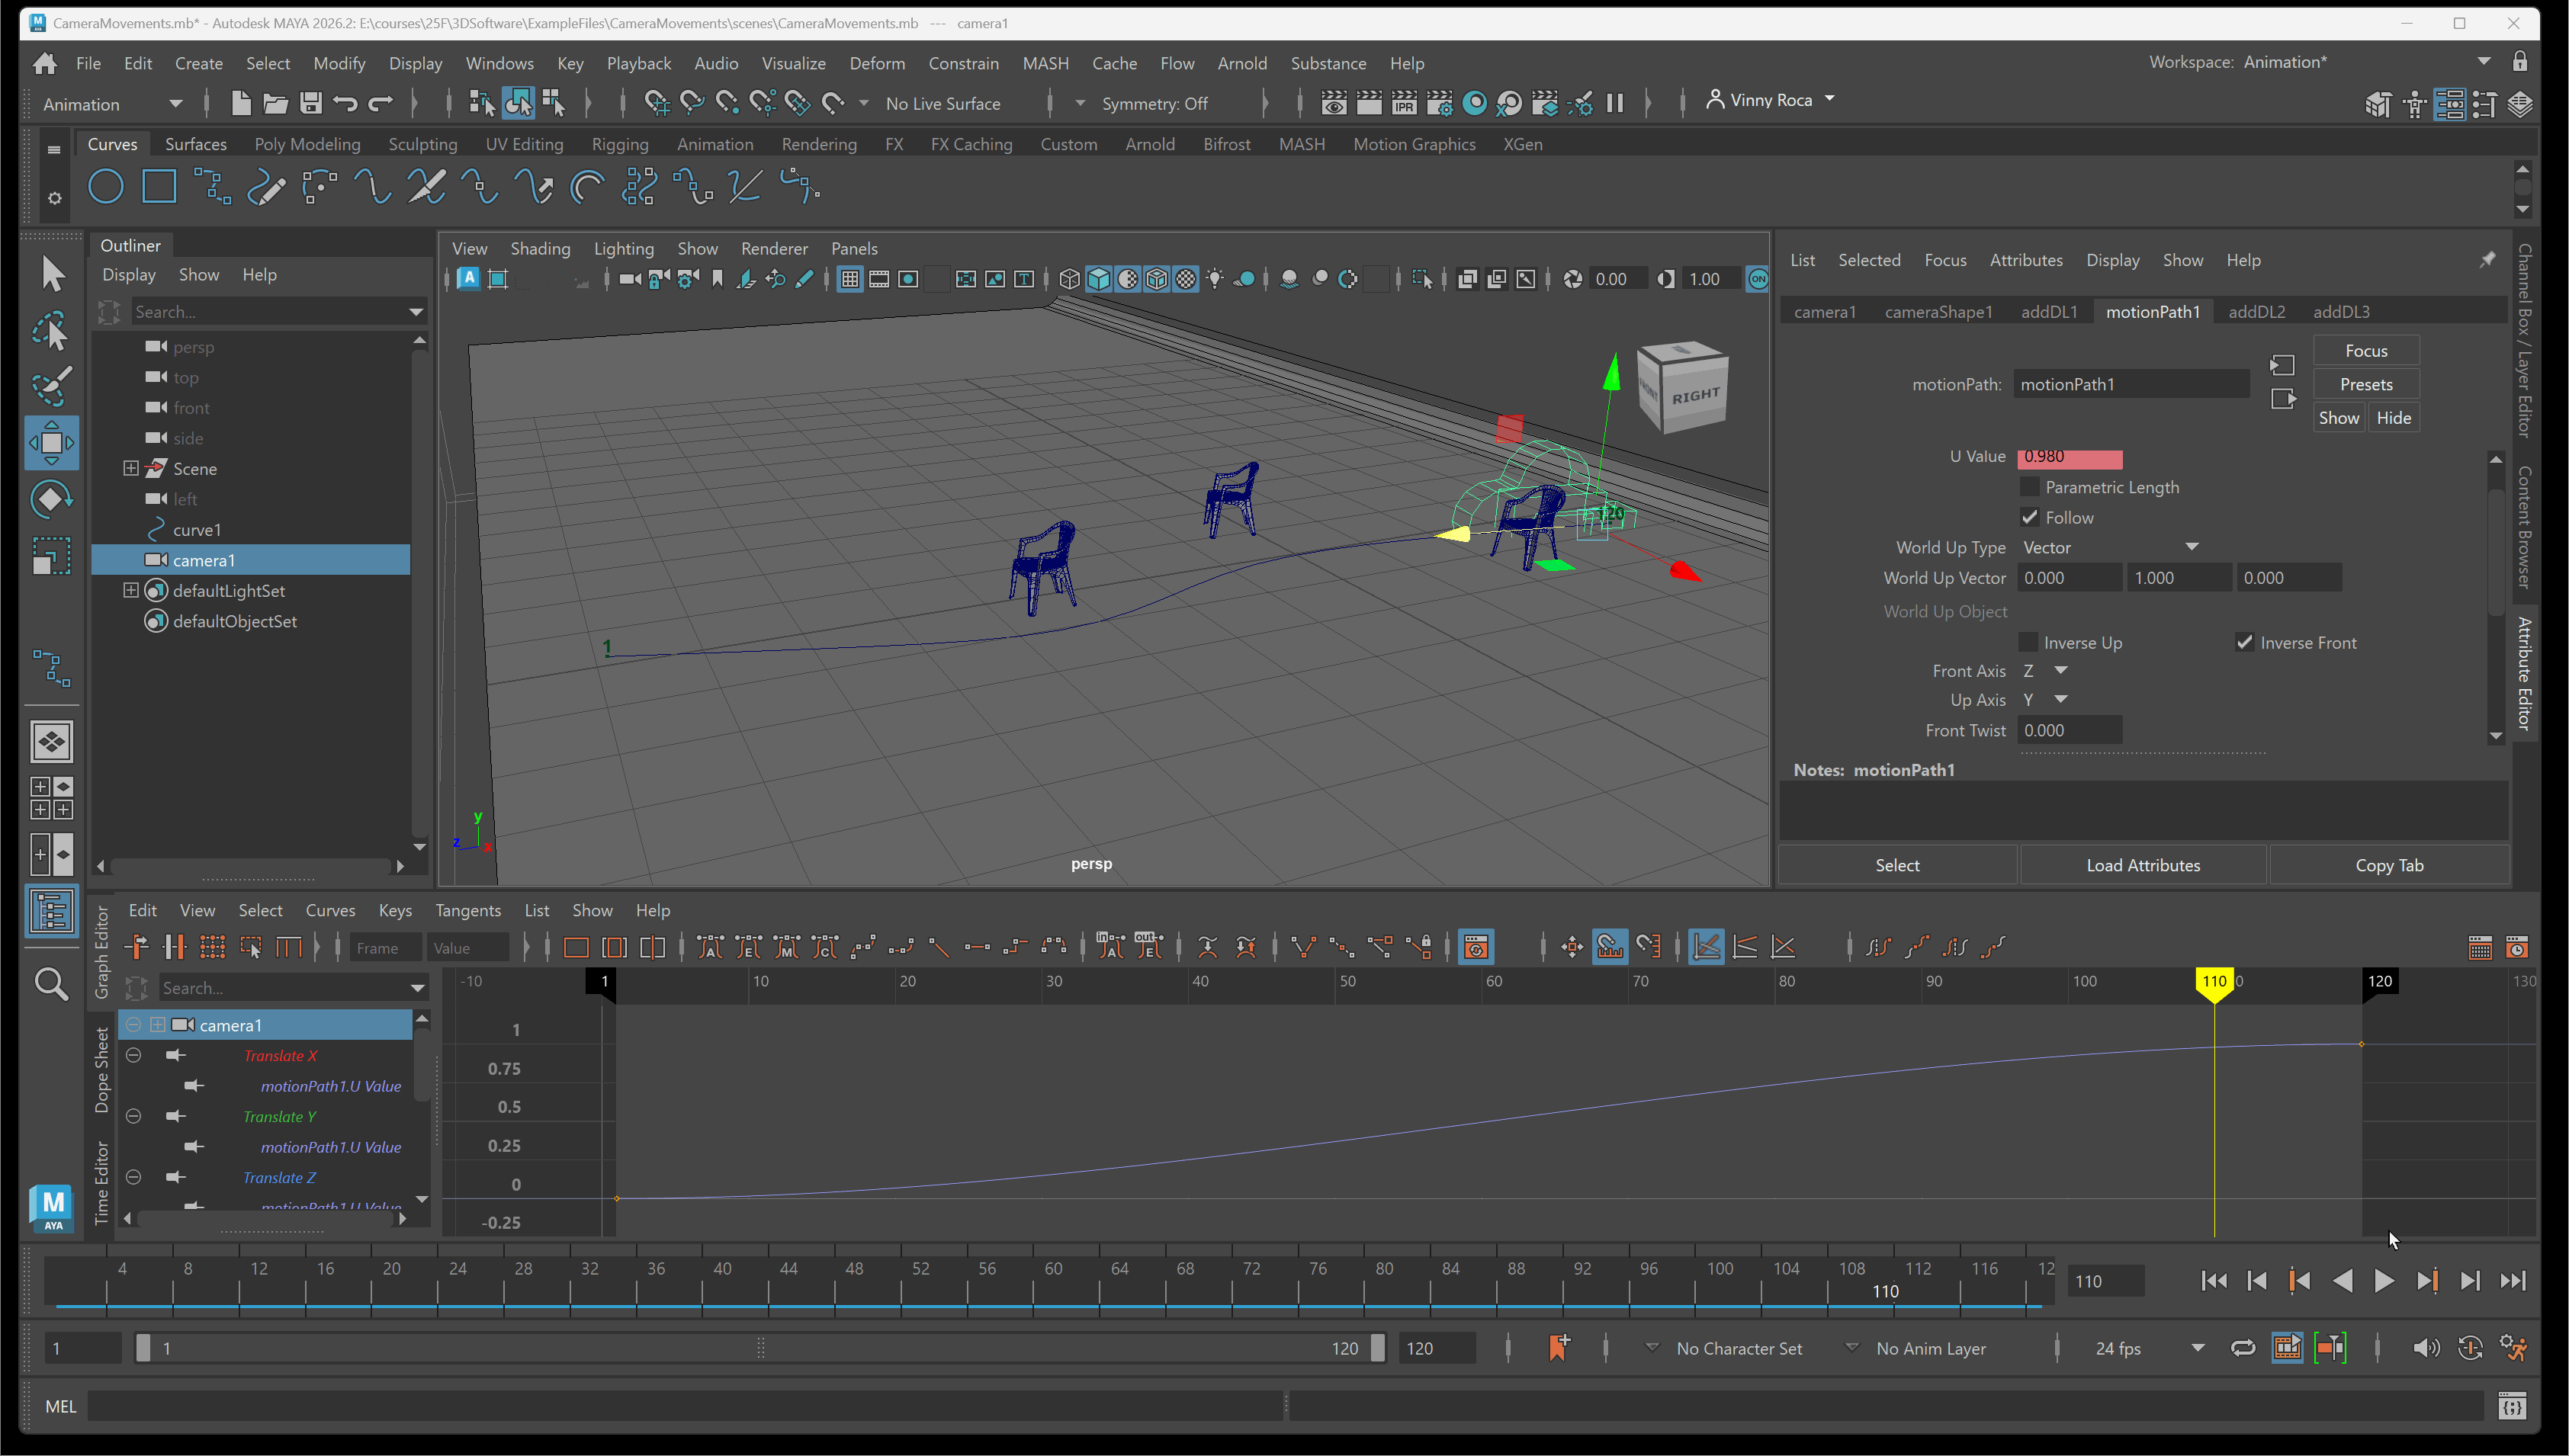
- After attaching camera to curve, the curve can be adjusted using move, rotate scale as well as by navigating to and changing the control vertices of the curve: To select the control vertices: Navigate using Right-click on the curve > Select Control Vertex > Move the control vertices to change the shape of the curve