Rendering Animations
Render Settings for Animation:
To render each clip of final animation:
Make sure your project is set and Check the following render settings:
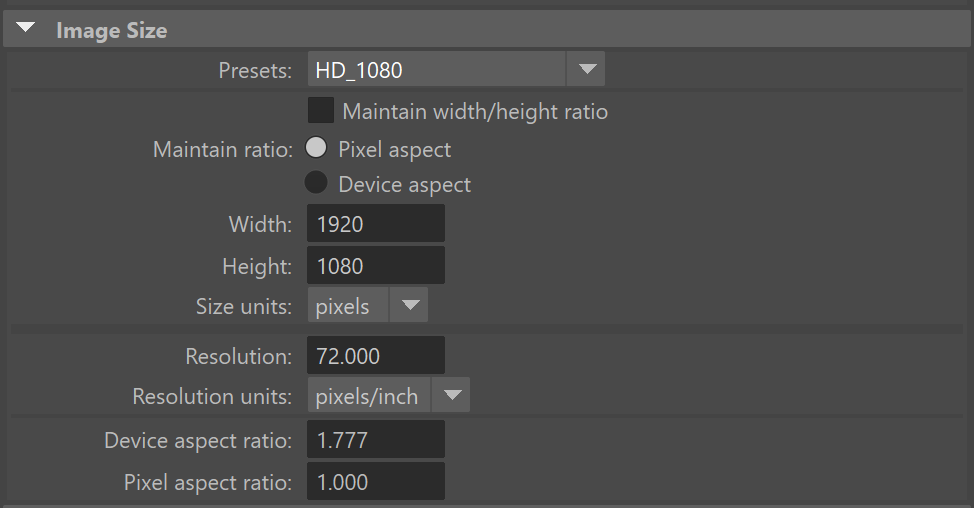
- Resolution is set to HD_1080
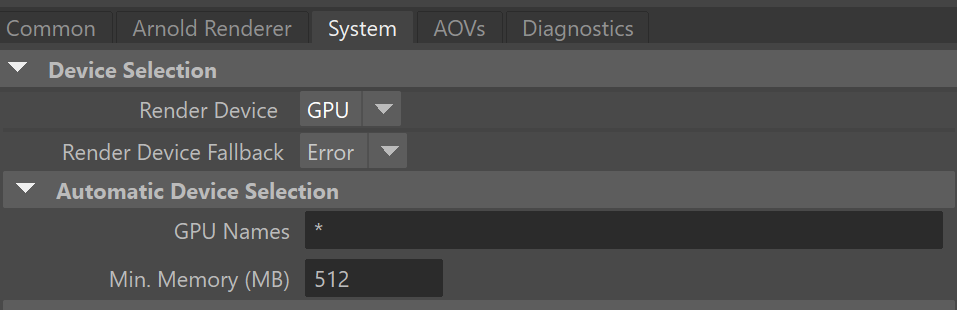
- Renderer is set to GPU
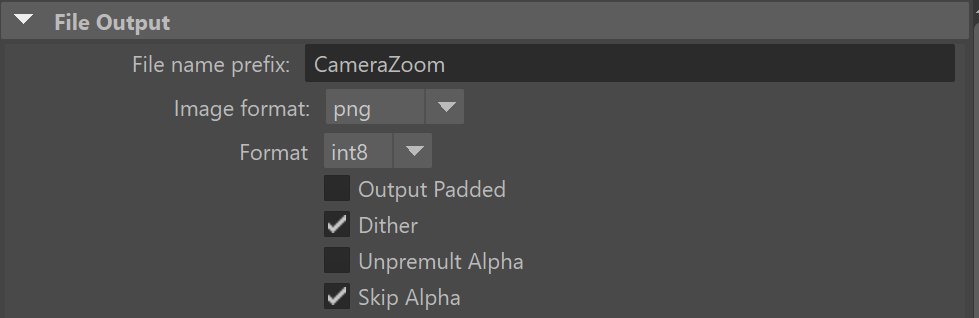
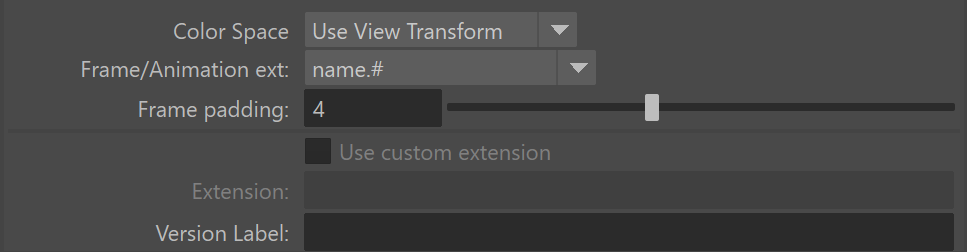
- File name of animation is set and img set to correct format
- Frame/Animation ext: is set to name.#
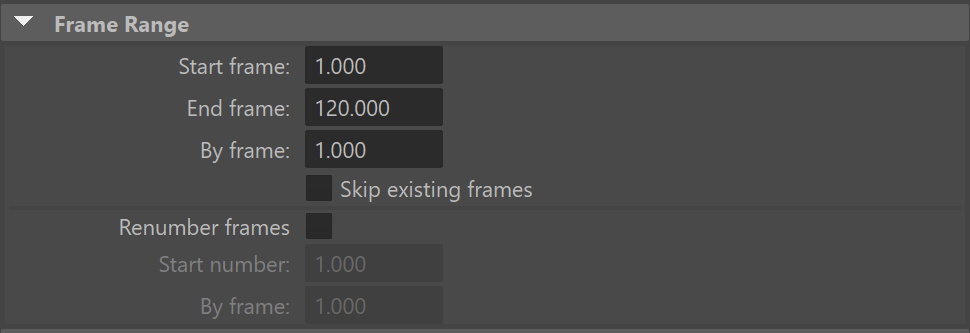
- Frame Range is set to the correct range (dependent on your animation)
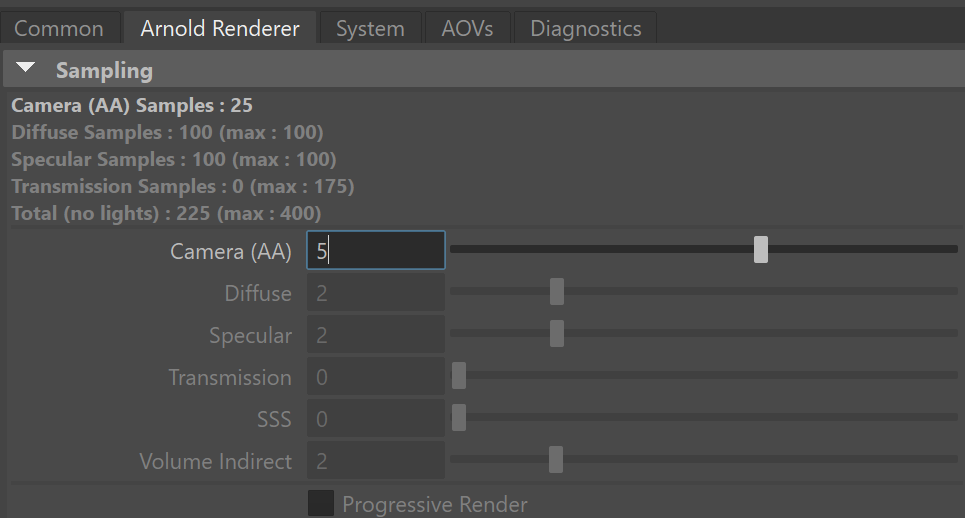
- Sampling is set between 4 and 6 (increase if render produces noise)
To Render a Sequence
In the Rendering Workspace, navigate to Render > Render Sequence > Settings Box
Check the Current camera is the correct camera and press Render Sequence
Importing Image Sequences into Premiere Pro
After your image sequences have been rendered, you can import your image sequence into Adobe Premiere Pro.
Begin by openning Premiere Pro and creating a new project.
Importing Sequence
You can import an image sequence by clicking on import in your project window or by Right-click in your project window and pressing import.
When importing an image sequence, click on the first image in that sequence and make sure Image Sequence is checked on.
Set footage to 24 frames per second
Right click on imported footage > Modify > Interpret Footage > Set Assume this frame rate to 24 fps.