Opening Maya will bring you to the Maya homepage. You can create a new scene by pressing new.
Maya Interface
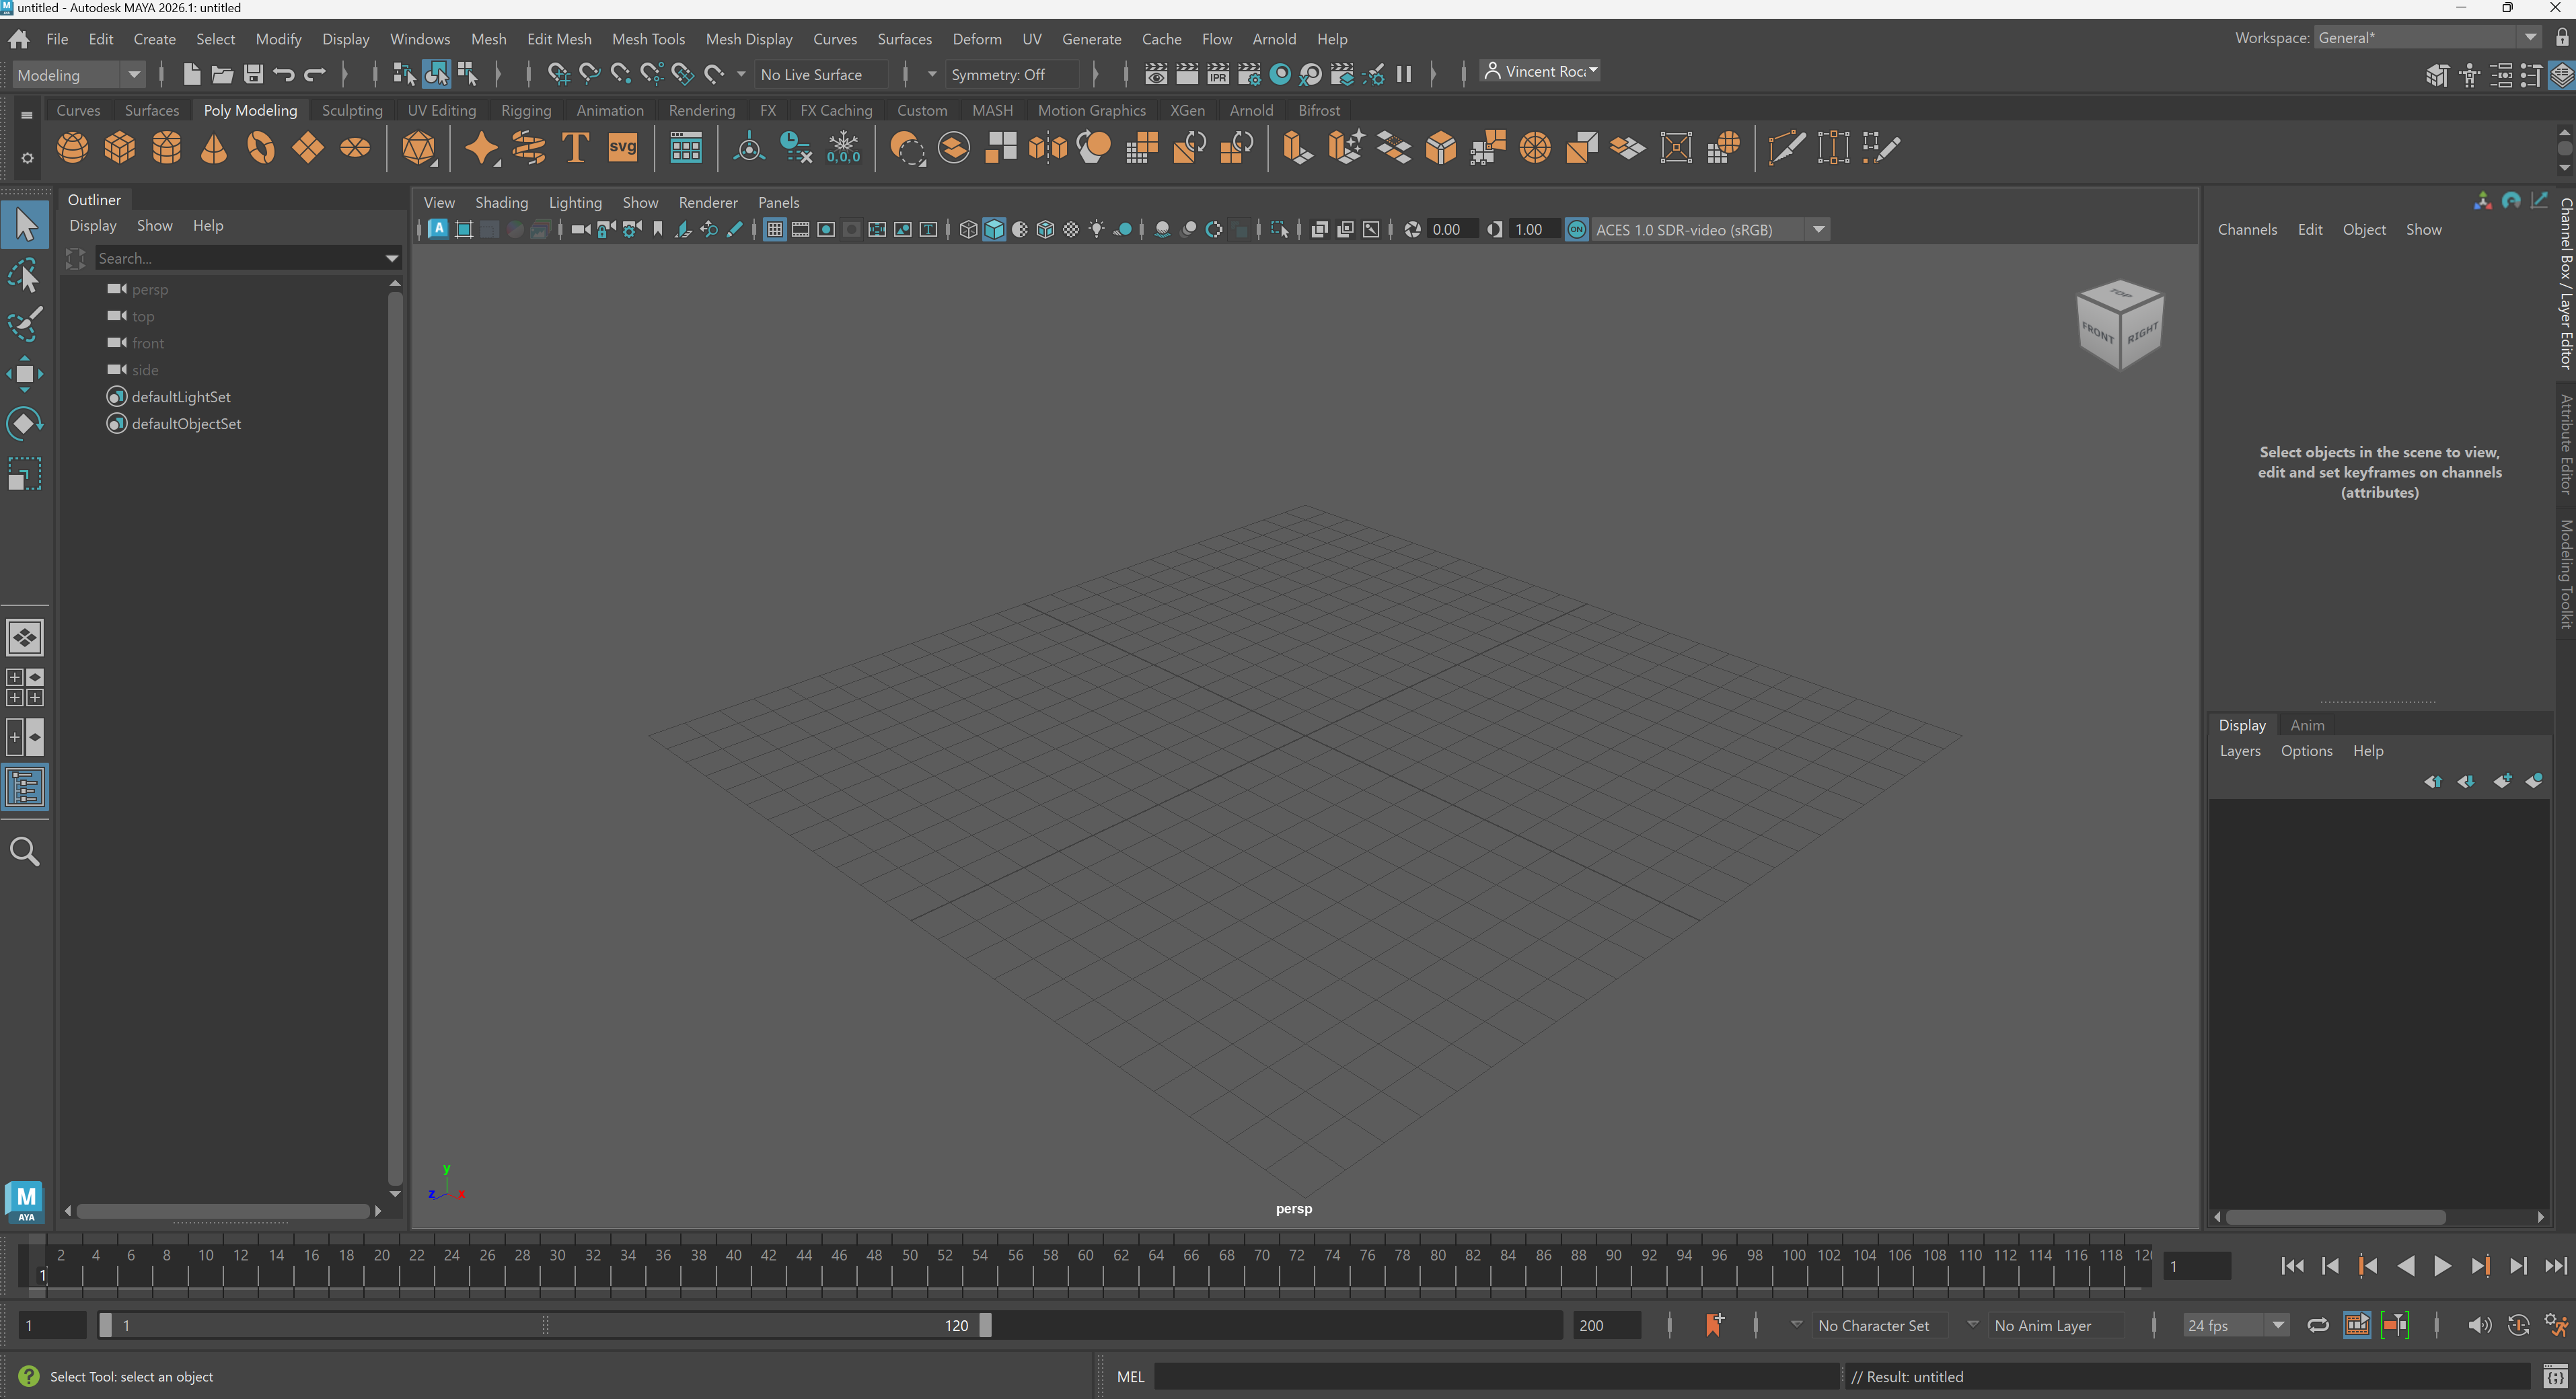
My Maya interface
Although the Maya interface seems very confusing at first, as we move through the course, you will notice that your navigation of buttons and menus will become more intuitive. Our readings for this introductory module will introduce software studies through an examination of Maya's interface.
To keep things simple, we will cover parts of the interface as needed for different parts of the course. As a continuous reminder, as an experimental arts course, we are not looking for technical mastery, we are looking to understand Maya/3D software in general artistically and critically.
Polygon Primitives
Polygon primitives are basic 3D shapes that we can use to build our models.
The most important polygon primitives are cube, cylinder. and plane.
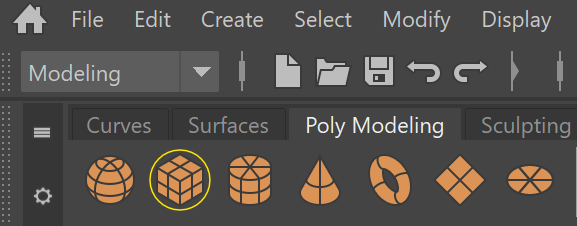
Poly Modeling Shelf
We can make basics objects, called polygon primitive by using the Poly Modeling Shelf. The Poly Modeling Shelf is located in the upper left corner of your UI.
In the center of our screen, we have our view panel. This is where we can view 3D objects and manipulate them in real time.
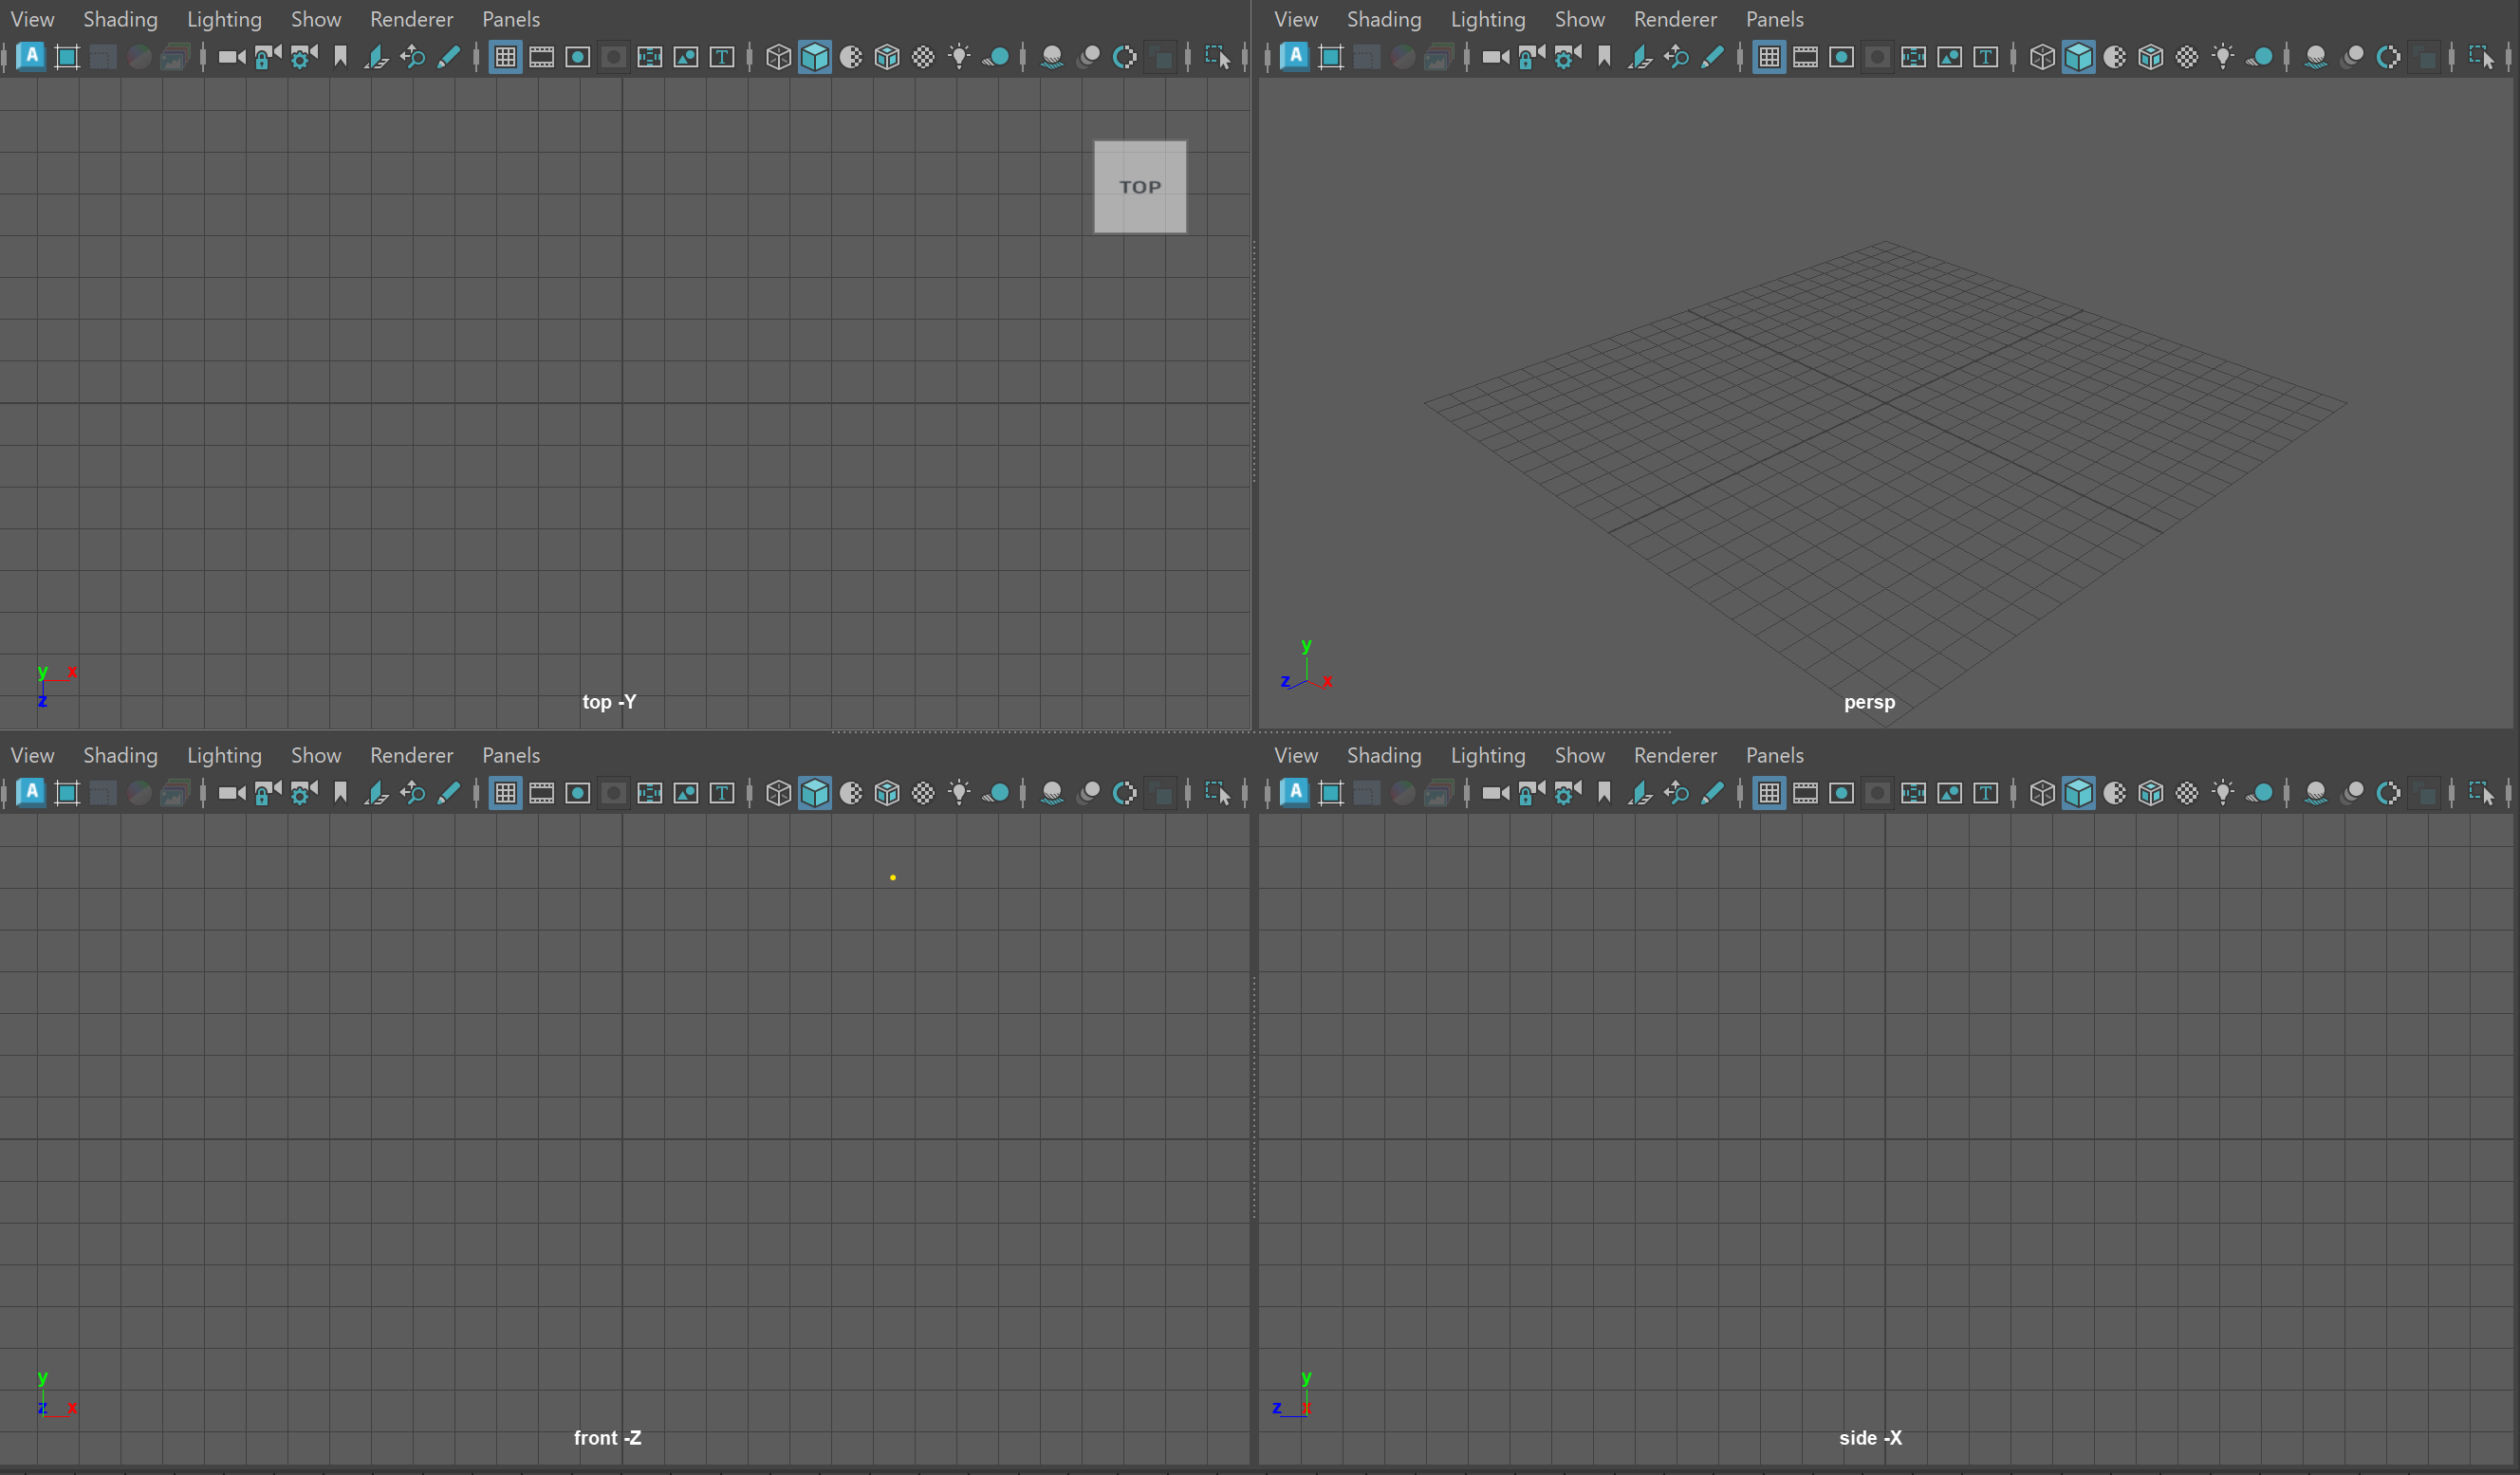
You might see four view panels as shown below:
Four view panels
If you do not see four panels, hover over your main panel and tap the space key. This will switch to 4 views.
Each of these view panels represents a different way of viewing our model.
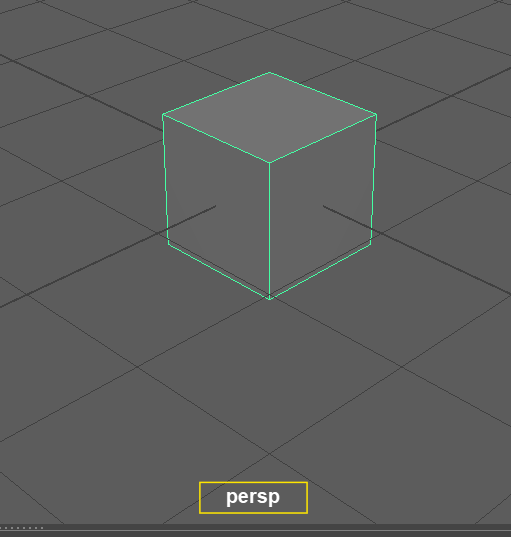
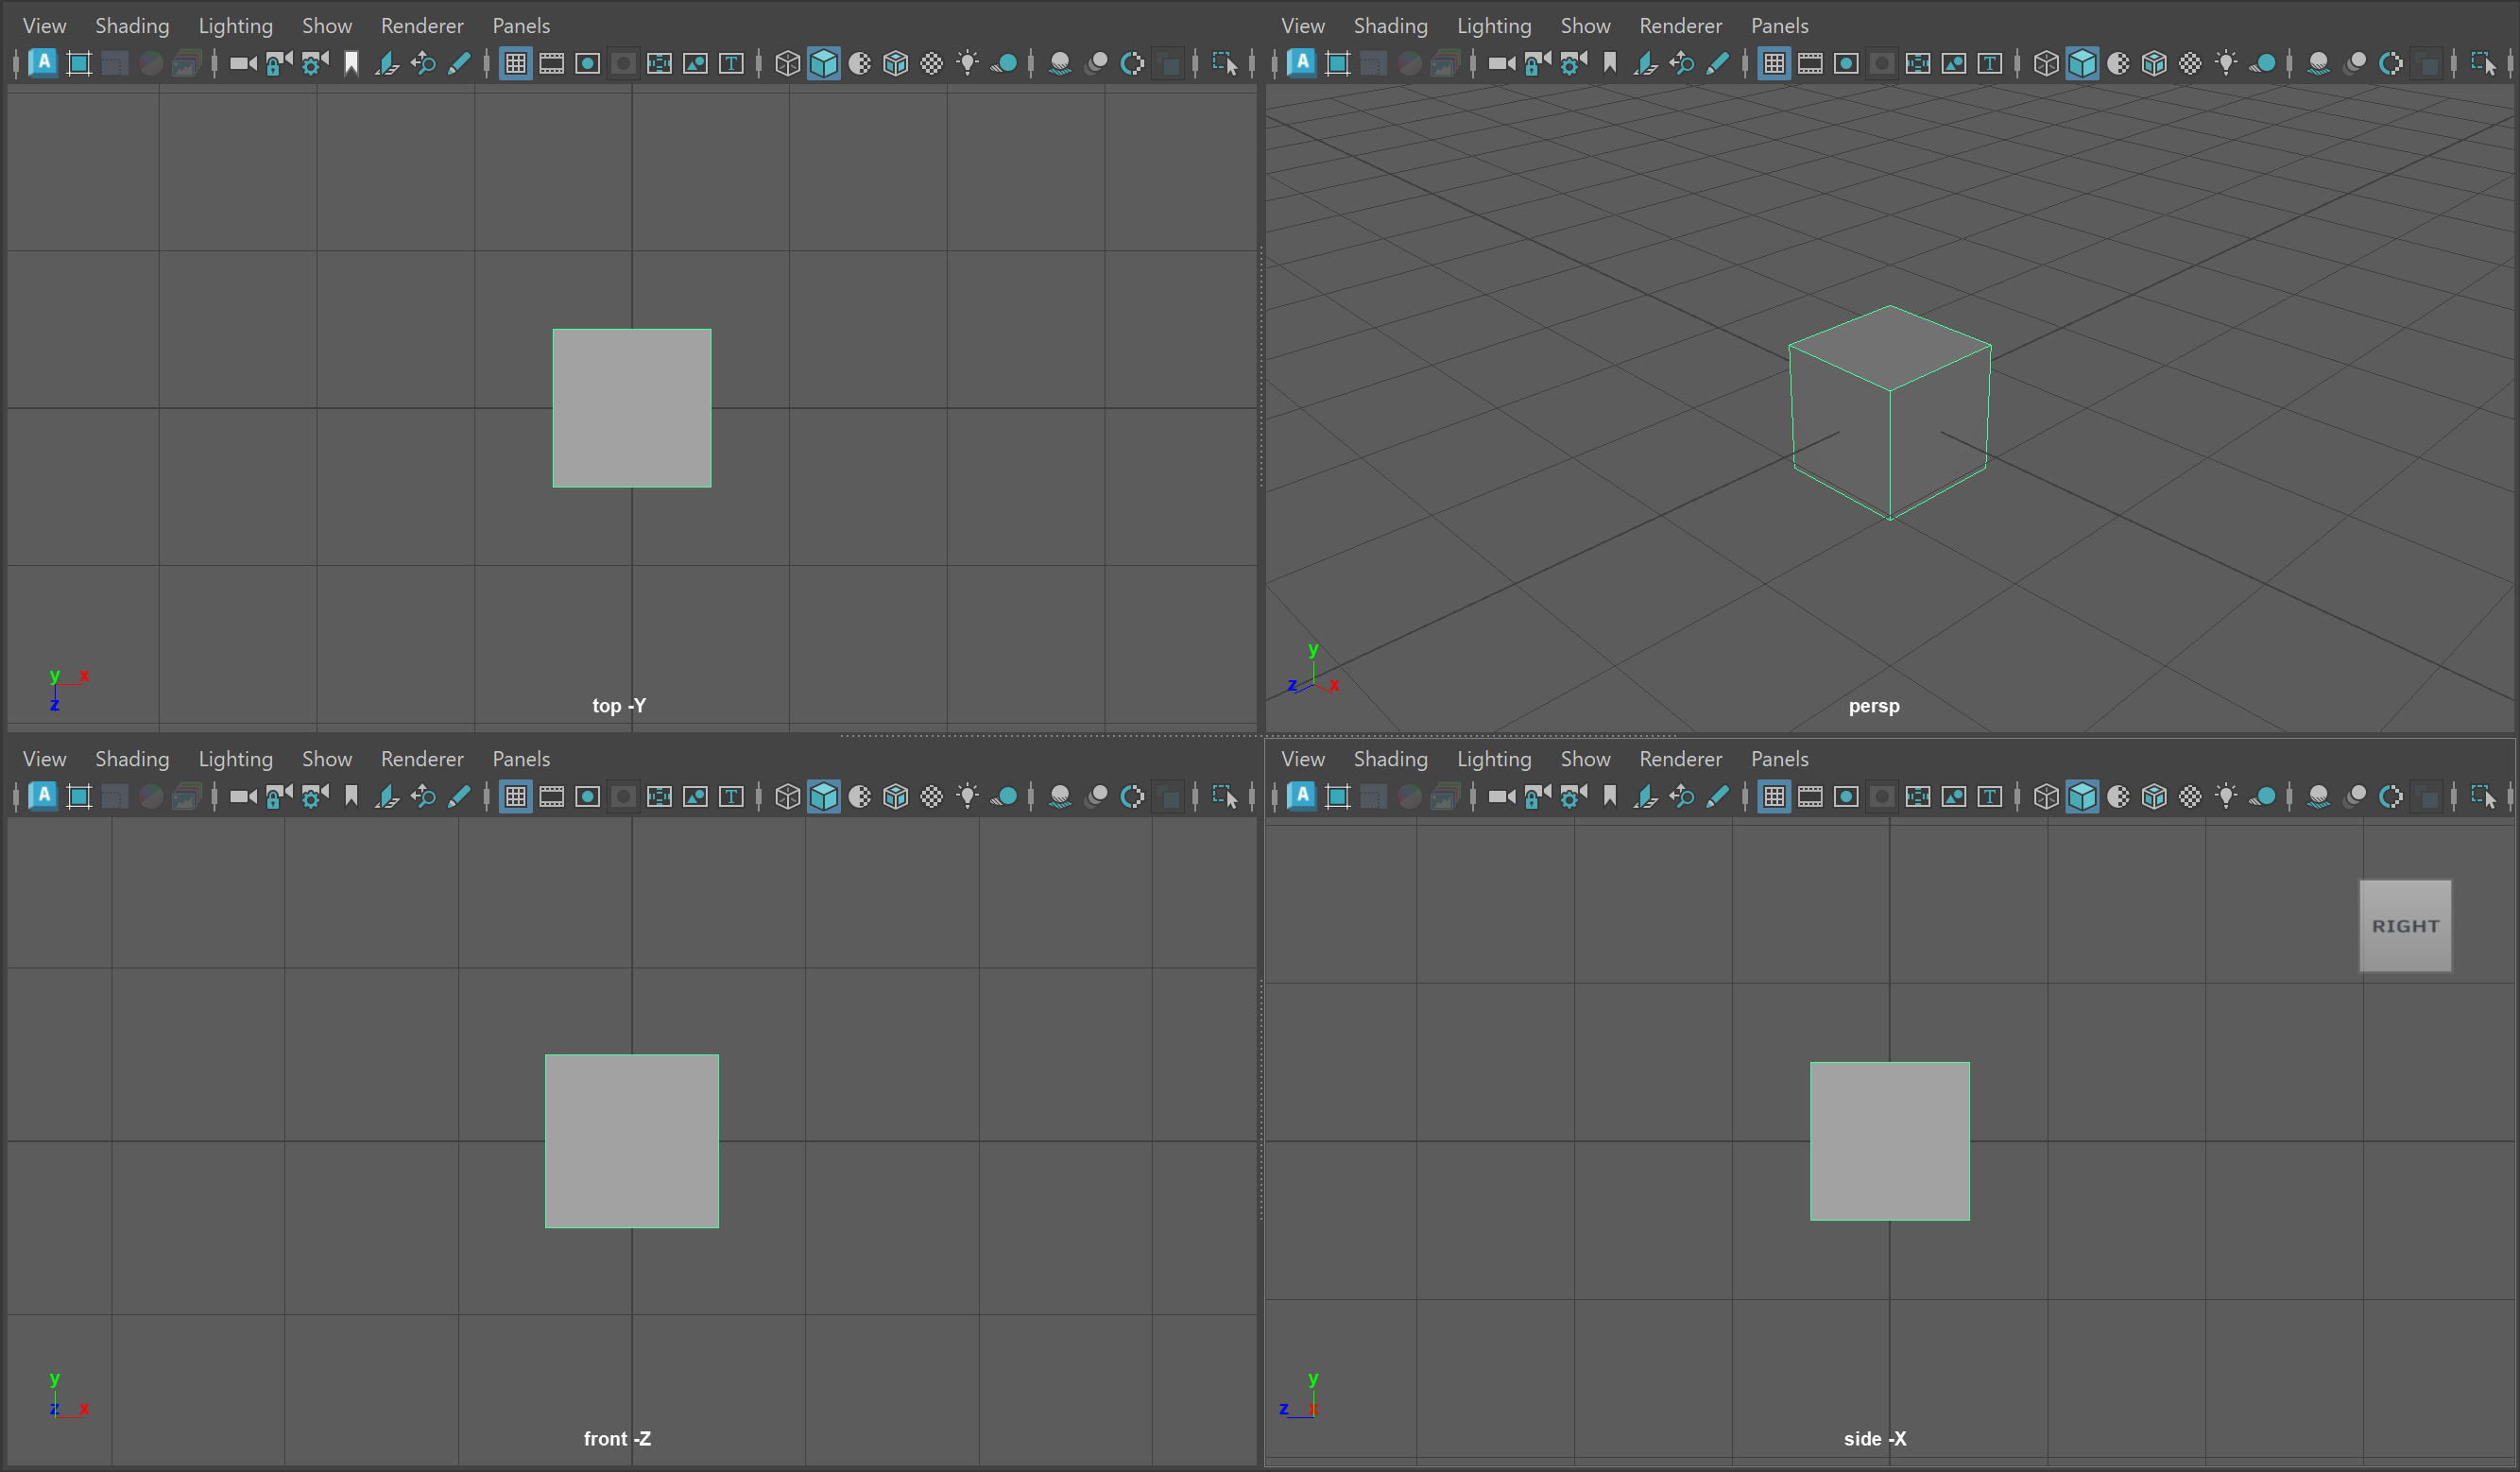
Four view panels with Cube
The image below shows the name of the perspective view port (persp). While the other view panels show the cube from the top, front and side position using orthographic projection.
Perspective Projection: a method for projecting a 3D object onto a 2D picture plane to approximate how a 3D object might be viewed by a camera IRL.
Orthographic Projection: a method for projecting an 3D object to make all lines parallel. You might think for now of isometric projection used in many video games or architectural drawings.
We can activate the Selection Tool using the Q on our keyboard.
Single Objects
We can select an object by using the Left Mouse Button (LMB)
To deselect an object, we can click in an open space in our view panel.
Multiple Objects
To select multiple objects, we can use Shift+Left Mouse Button
To deselect an object from our multi-selection, use Ctrl+Left Mouse Button
Box Selection
Click and drag in your view port to create a selection box. The selection box works with the above hot keys.
Select All
Use Ctrl + Shift + A to select all the models in your scene.
Invert Selection
Use Ctrl+Shift+I to invert your selection
Cartesian Coordinate Space
You might remember from your math classes learning about unit space, or what is more formally known as Cartesian Coordinate space (named after René Descartes). This is a simple coordinate system where, generally, each whole number is marked in a grid structure. You can see a simple example below with some points marked using the common (x,y) notation with x being the horizontal axis and y being the vertical axis.
The important thing to know here is that Maya, and all 3D programs, make use of this coordinate space to visualize the location of models within our scene. The only difference from the image above is that instead of making use of a 2D x,y space, in Maya we use a 3D (x,y,z) space.
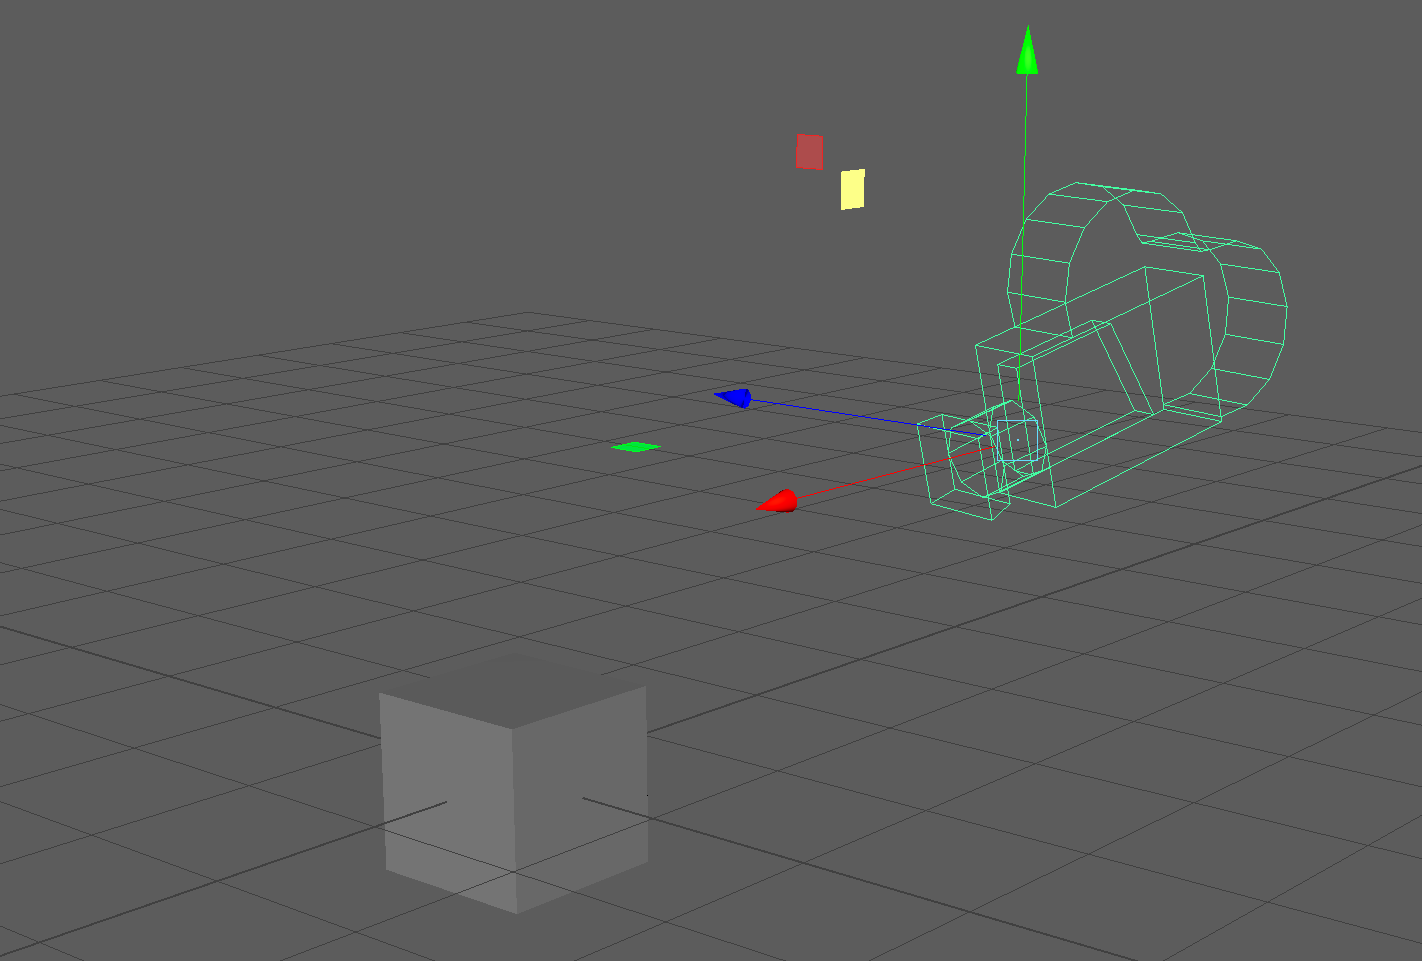
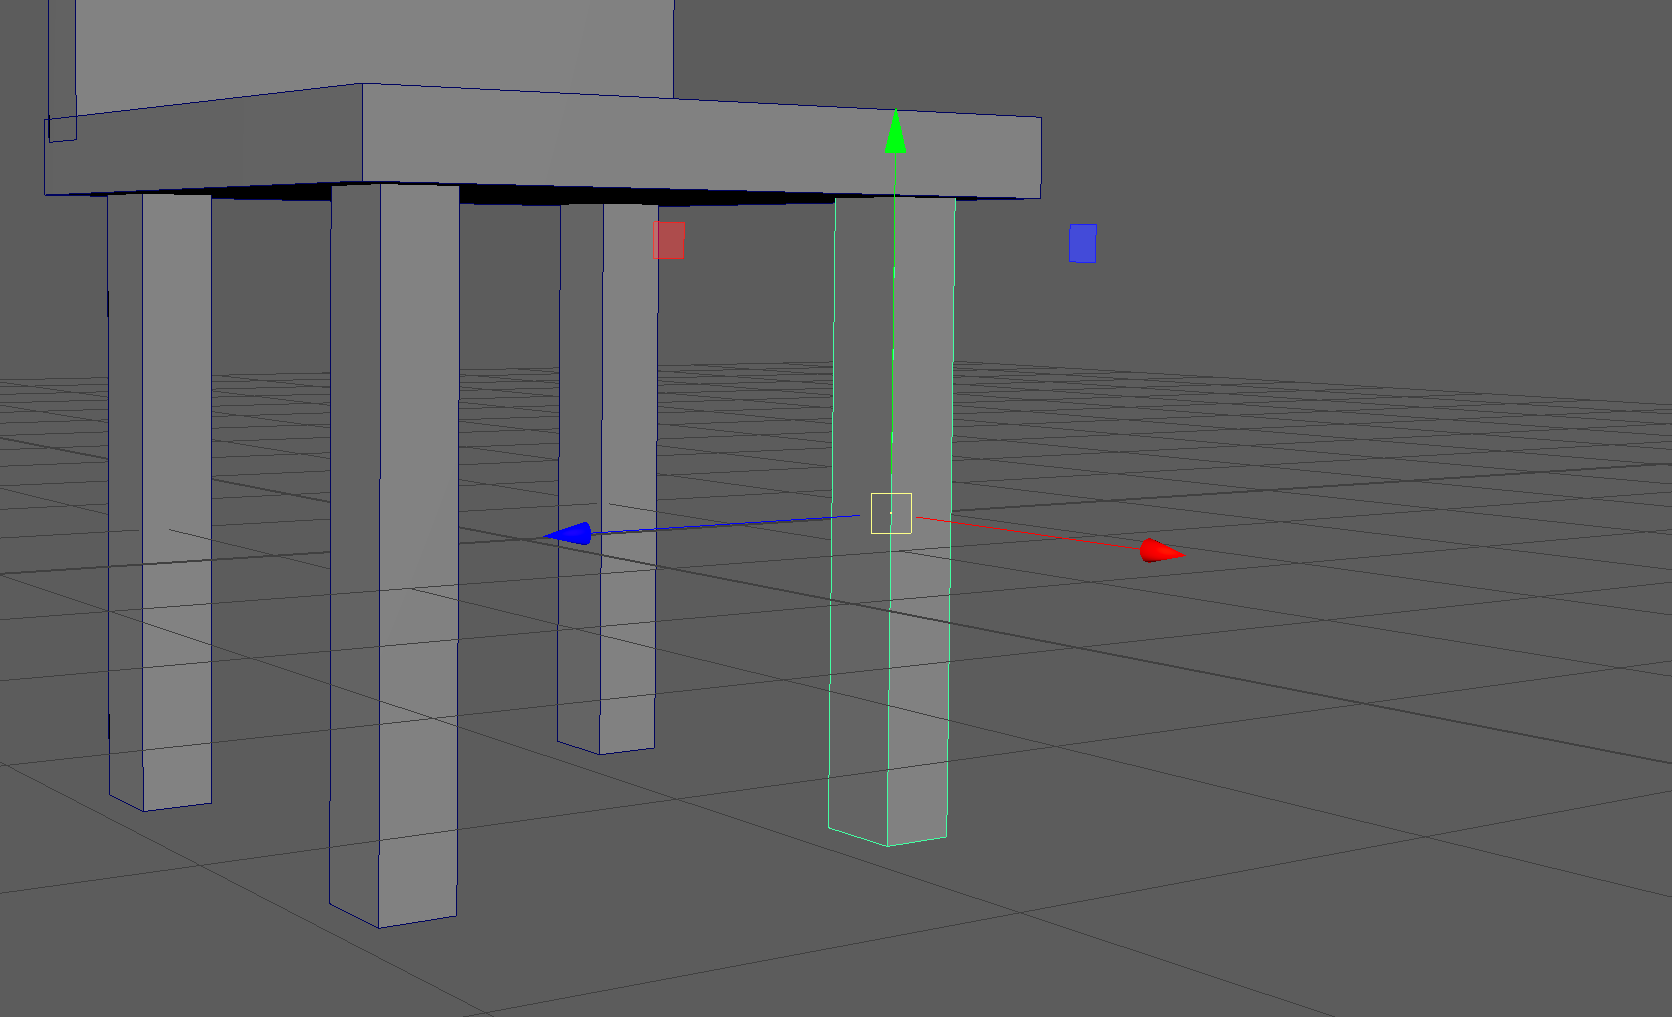
UI TIP: Press the + or - key to change the size of your gizmo
The Red Arrow points in the direction of the positive X Axis, the Blue Arrow, the positive Z Axis, and the Green Arrow, the positive Y Axis.
NOTE: Different 3D software represent the coordinate space differently. While Maya uses the Y Axis to represent the vertical direction, some software use the Z Axis.
What we can infer is that this cube, being in the center of the grid, is at the (0,0,0) position, also known as the origin point.
ZOOM (Alt + RMB):
First, let's try zooming into our cube. Hold the Alt Key and Right Mouse Button and begin dragging in the vertical or horizontal direction. You will notice that dragging on the positive Y and positive X zoom us out, while dragging on the negative Y and negative X zoom us in. Zooming In and Out
ROTATE (Alt + LMB):
Next, let's try rotating around our cube. Hold the Alt Key and Left Mouse Button and begin dragging in the vertical or horizontal direction. Notice the different behaviors between dragging vertically and horizontally. Rotating around our Cube
PAN (Alt + MMB):
To pan, hold the Alt Key and Middle Mouse Button and begin dragging in the vertical or horizontal direction. Panning allows us to focus on different parts of our scene.Panning around our Scene
Focus
UI TIP: If you loose track of your object in your scene or if you want to focus on a particular object, you can click on any give object and press the F Key to focus on that object.
When you focus on an object and then rotate your camera, you will notice that the camera will rotate around the particular focused object.
Camera
NOTE: What is actually happening behind the scenes when we pan, rotate and zoom, is that we are moving a camera called "persp" (from which our View Panel gets its name) changing the properties of this camera. You can click on this camera in the left side of your screen in the Outliner (which we will cover shortly) and edit properties such as the Focal Length of your persp camera in the Channel Box.persp camera made visible!
NOTE: In our orthographic view panels, we are only able to pan and zoom.
Move (W):
Use the W Key to activate the move tool. We can notice that one of the menus on the left highlights. Tool bar showing our Selection, Move, Rotate and Scale Tools
Although we can click on this button on the left, it is best practice to begin memorizing essential Maya hot keys.
We can move a model by click and dragging on an axis in the move gizmo.
UI TIP: If you click and drag on the plane between two axis, this will move your object along two axes simultaneously. Also notice that our last click axis is highlighted yellow. By clicking on this highlighted plane, we can move our object along multiple axes
Rotation (E):
We can also rotate objects in our scene by pressing the E Key on our keyboard to bring up our rotation gizmo. By click and dragging on a particular axis, we can rotate our object.
Notice in our Channel Box we are rotating our object in terms of Degrees. If we enter 45 in RotateY in our channel box, our cube with turn 45 Degrees around its Y Axis.
UI TIP: By pressing and holding the J Key before rotating, we can precisely rotate our object by 15 Degree increments.
UI TIP: We can rotate our model based on the camera view by using the large circle around the axes of our rotate gizmo.
Scale (R):
We can change the size our object with the scale tool. The R Key to bring up our scale tool.
We can notice in our Channel Box, the scale values by default are equal to 1. This value works as a multiplier. For example, a scale value of 2 will be twice our original scale.
NOTE: By default Maya uses centimeters for its unit of measurement. Thus, our cube is currently 1cm by 1cm by 1cm. By changing a scale channel value to 2, our object would then be 2 cm on the particular axis. Our grid coordinate by default also uses centimeters.
We can scale our object uniformly by clicking and dragging on the yellow cube in the center of our scale gizmo. Notice all all Scale Channel values change by the same amount.
We can also scale our object on each axis by clicking and dragging on an axis of the scale gizmo.
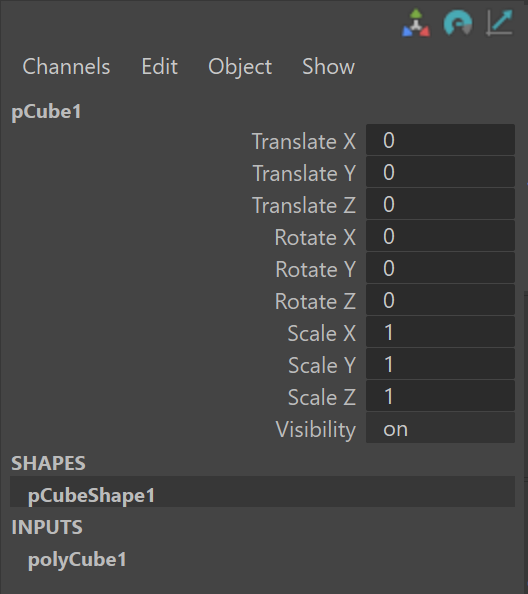
The Channel Box is UI panel that allows us to quickly see information about our model. The Channel Box is most commonly used in animation to edit various aspects about our models quickly, but it is also a great descriptor of basic information about our model.
We can notice that our Channel Box is separated into different values:
Translate: The position of our object.
Rotate: The rotation of our object.
Scale: The size of our object.
Visibility: Whether or not our object is visible in the scene (we'll touch on this later in the course.)
Changing these values directly affects the selected object within the scene.
UI TIP: If you click on a channel such as TranslateX and see it highlight, you can click and drag your middle mouse key to smoothly change the values of the channel.
UI TIP: If you want to change the value of more than one channel in your channel box, you can click and then shift click to select all the values your want to change. Then enter the value you want all the channels to have and press enter. Below, I click on TranslateX then shift click on RotateZ and then enter 0 to reset all channel values.
Outliner
The Outliner can be used for getting an overview of our scene. The Outliner is on the left side of our UI and displays all the objects within our scene.
When we make a new object, it appears the Outliner.
We can also rename our objects within our Outliner by double click on the name of an object.
Duplicating Objects
We can copy and paste and object by cloning it, or duplicating it.
You can duplicate a model using any of these options with a model selected:
Press Ctrl + D.
Select Edit > Duplicate.
Shift + drag any transformation manipulator while in Object mode (also known as smart duplicating).
Pivot Point & Snapping
Pivot Points
When we select an object and turn on a gizmo, such as the Move gizmo, the location of this gizmo on our object is our pivot point. This the point around which our object moves, rotates and scales.
By default, the pivot point is at the center of newly created objects.
Pivot point at the center of object
We often want to edit our pivot point so that we might be able to place objects more precisely.
By toggling the D key, we can enter and exit the pivot point editing mode. In this mode, we can edit the position and rotation of our pivot point. We can use the gizmo to edit our pivots position.
Snapping
Snapping is one of the core features of Maya and many 3D applications. By using snapping, we can precisely place objects. Snapping in Maya is controlled by holding different hot keys:
v - vertex snapping
x - grid snapping
c - edge snapping
You can either use the center of the gizmo to snap on all Axes or you can snap along one particular Axis.
Examples:
We can hold the v key to snap pivot points:
We can also use all types of snapping to move objects.
Below, the v key is used to snap the cube to a corner.
UI TIP: Objects will snap based on their pivot point.
Save and Auto-save
Save
To Save your scene, us ctr+s, or navigate to file > save.
To Auto Save:
Select Windows > Settings/Preferences > Preferences. The Preferences window appears.
In the Categories, under the Settings section, select Files/Projects.
In the Autosave section, turn on Enable.
Set any additional options and click the Save button.