Class Exercise: Archway
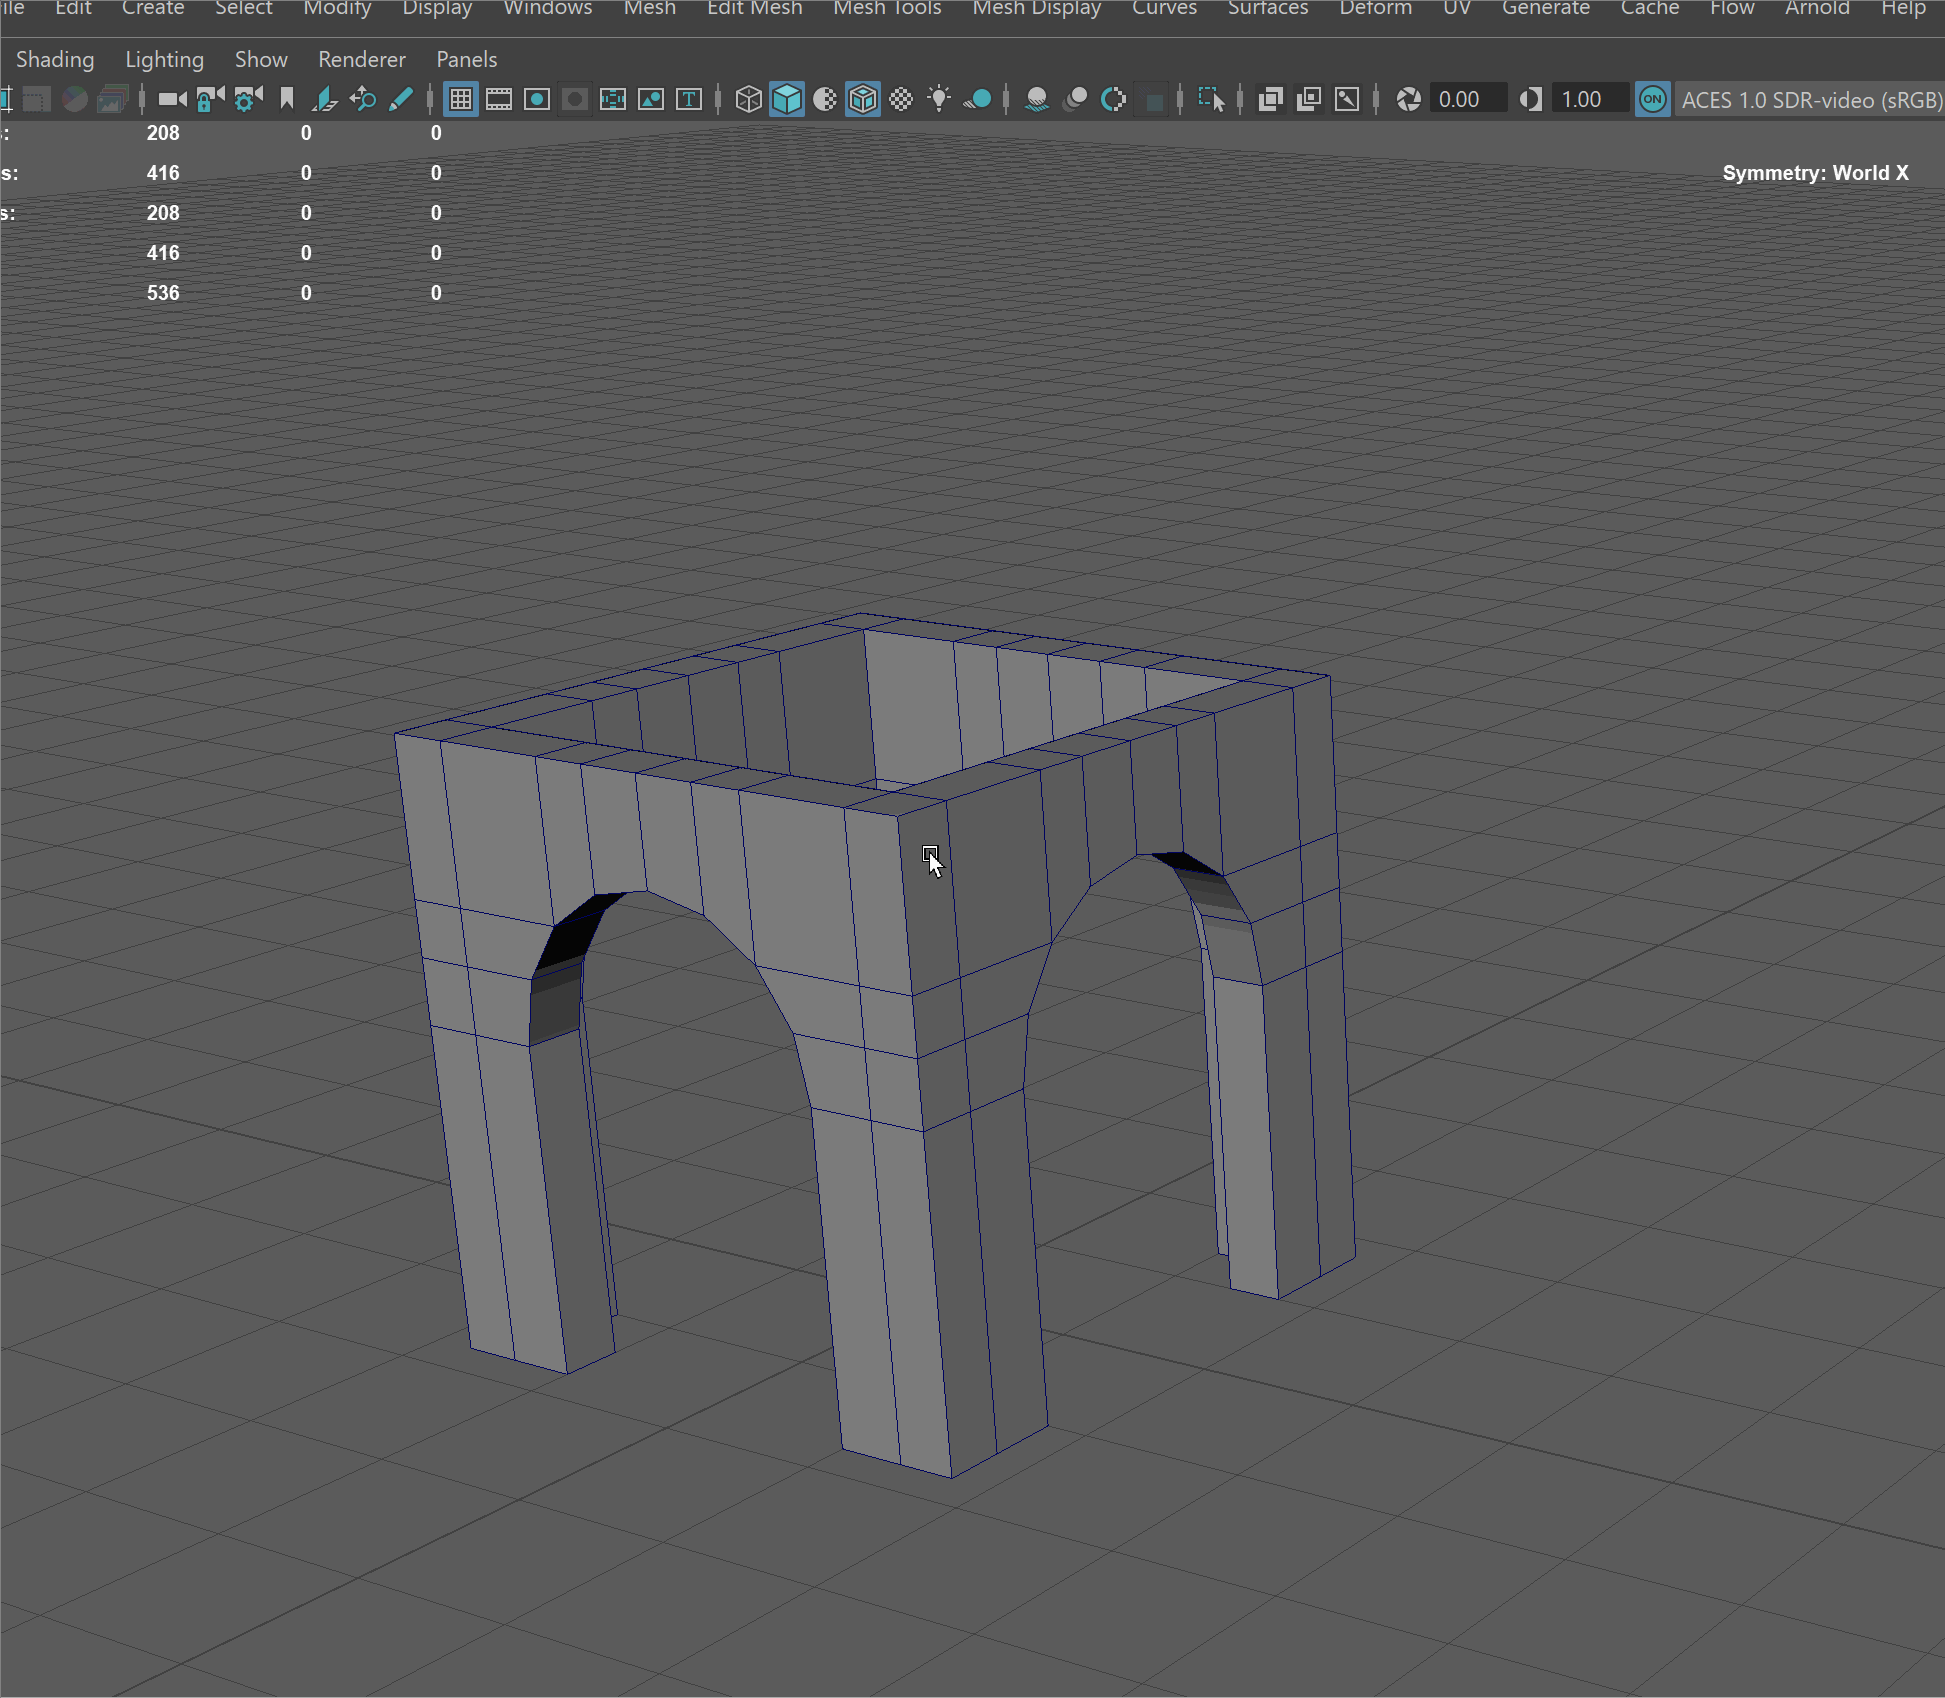
To combine all the skills we learned today, we are going to be making this archway!
You can preview the final model by turning on the visibility of the "ARCH" layer in the Polygon Modeling practice file.
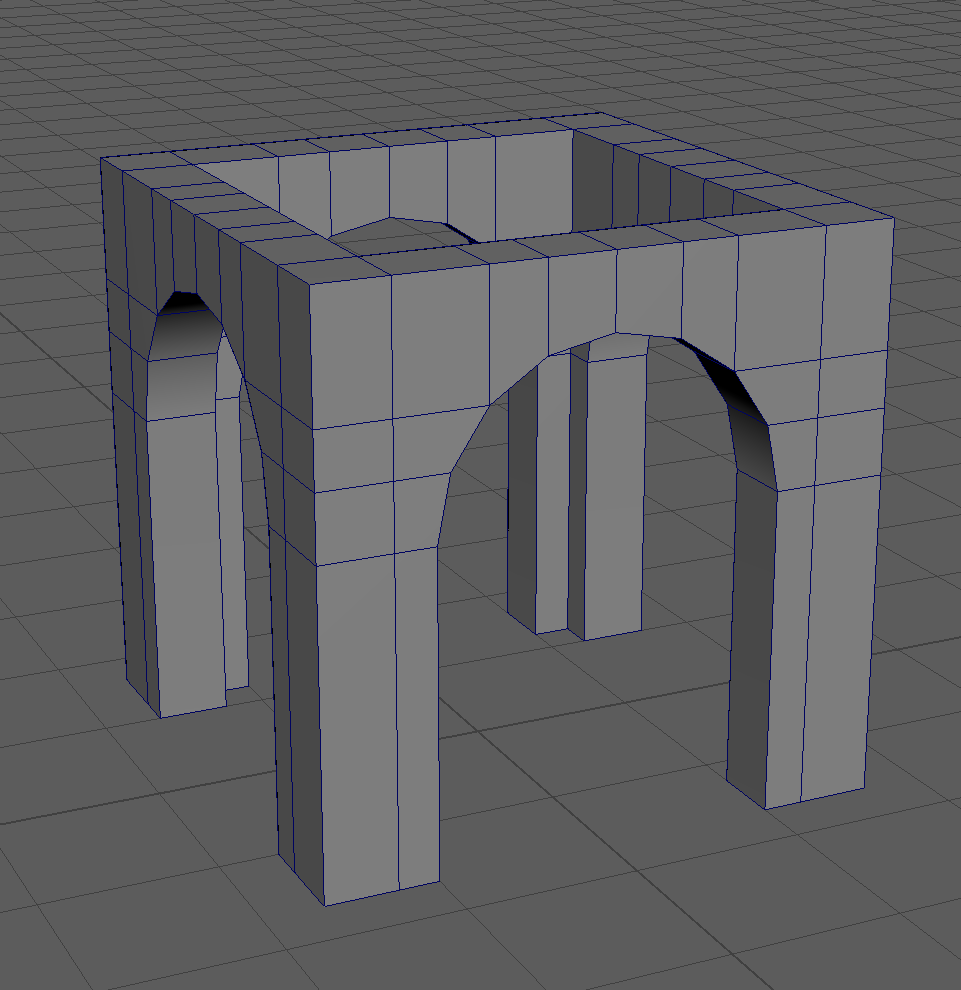
NOTE: There are many correct ways to make the same 3D model! This is just one way of many to make this archway.
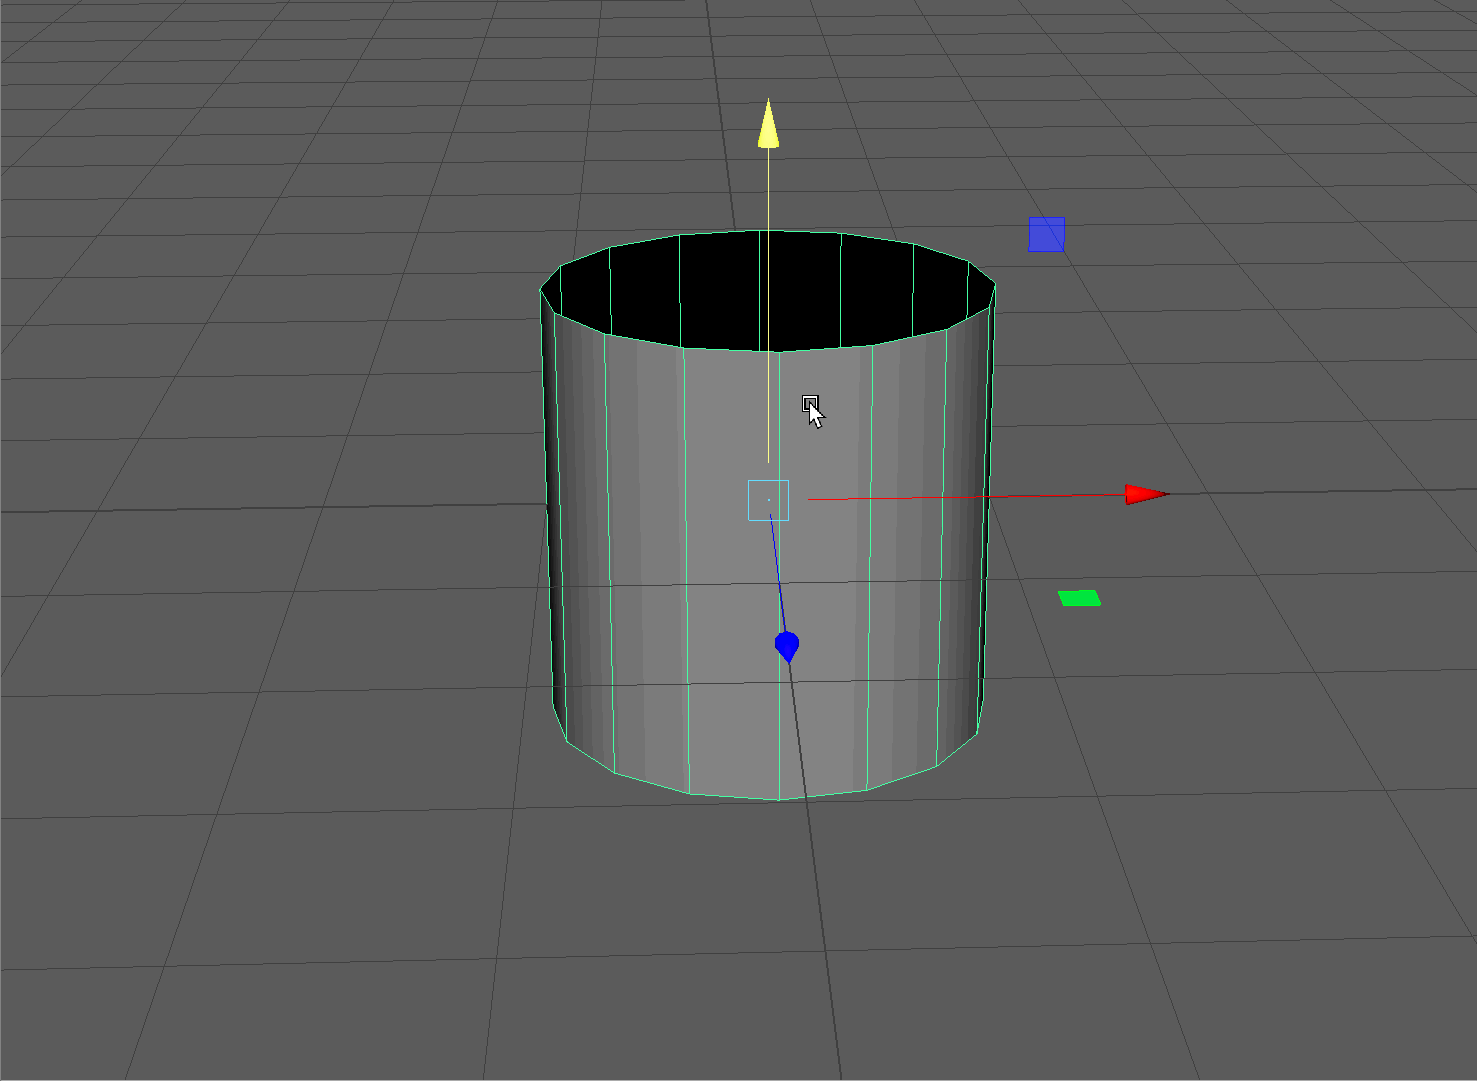
- Make a cylinder and use the channel box to give it 16 sides - enter the value in "Subdivision Axis"
- Select all the sides of the cylinder by either using Box Select or by using selecting one face and the Shift+Double Clicking on an adjacent face.
Then invert the selection using Ctrl+Shift+I and delete the top and bottom faces.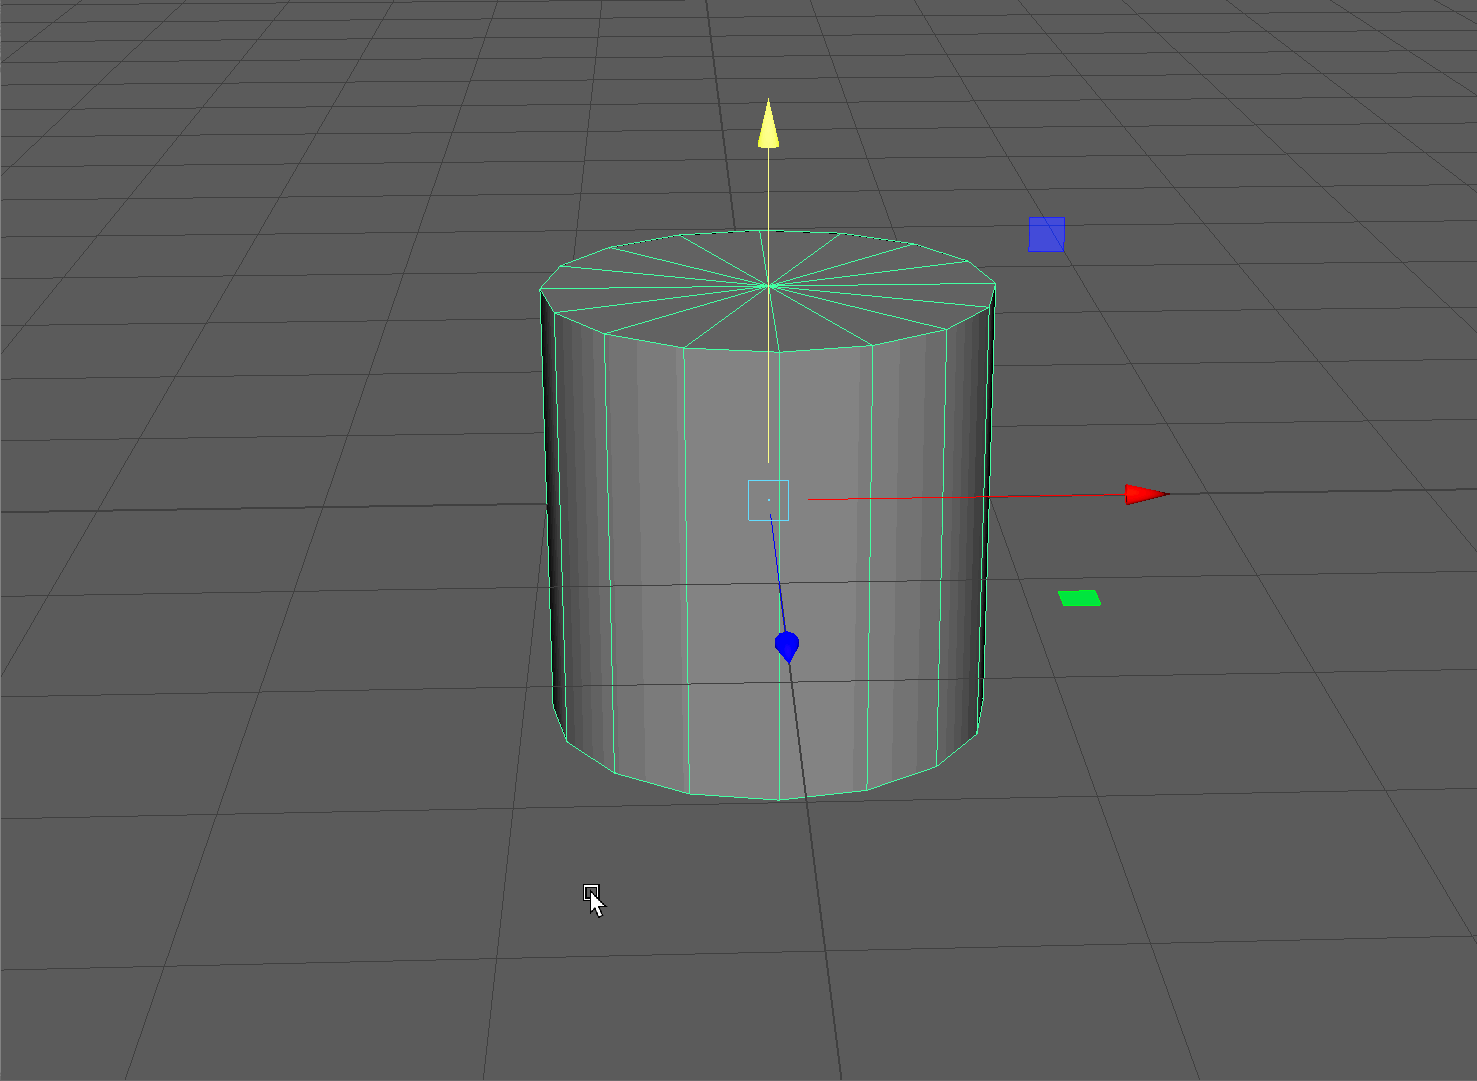
- Rotate the cylinder 90 degrees along the X Axis. Hold the J key while rotating to snap to 15 degree increments.
- Enter face mode, and delete the bottom half of our cylinder.
Use the scale tool in object mode to make it thinner along the Z Axis.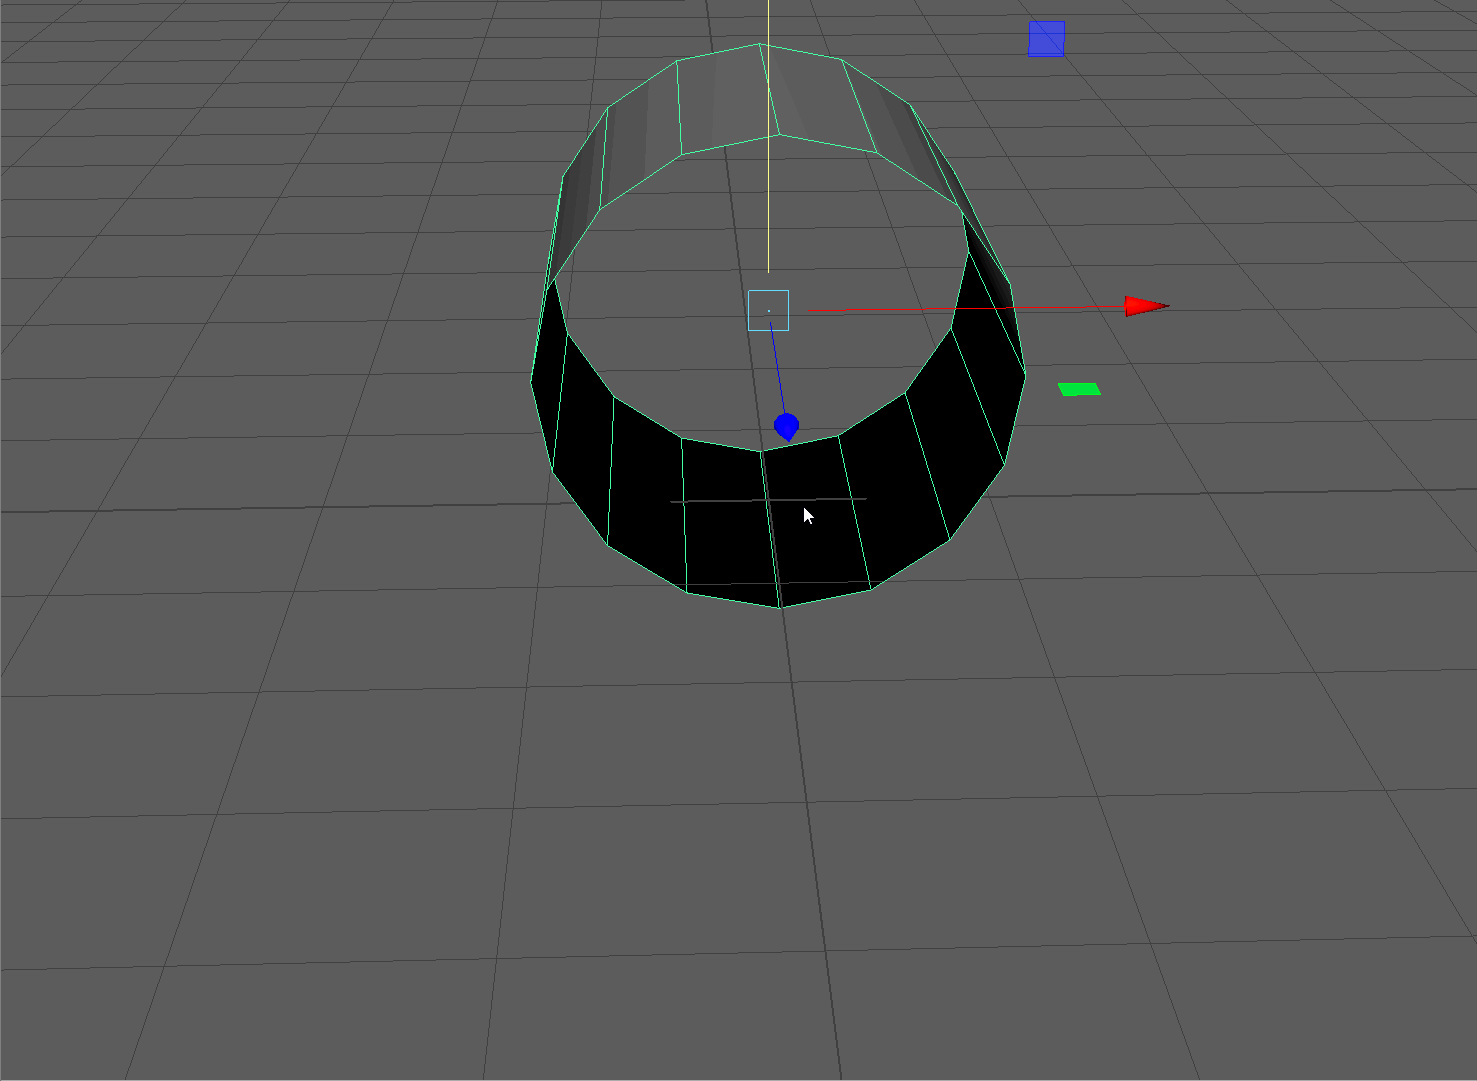
- Select the center 8 edges on the outside of our arch and extrude them along the Y Axis.
- The scale tool can also be used to flatten edges to a common height
With the top 8 edges selected, scale the edges along the Y Axis to make them level.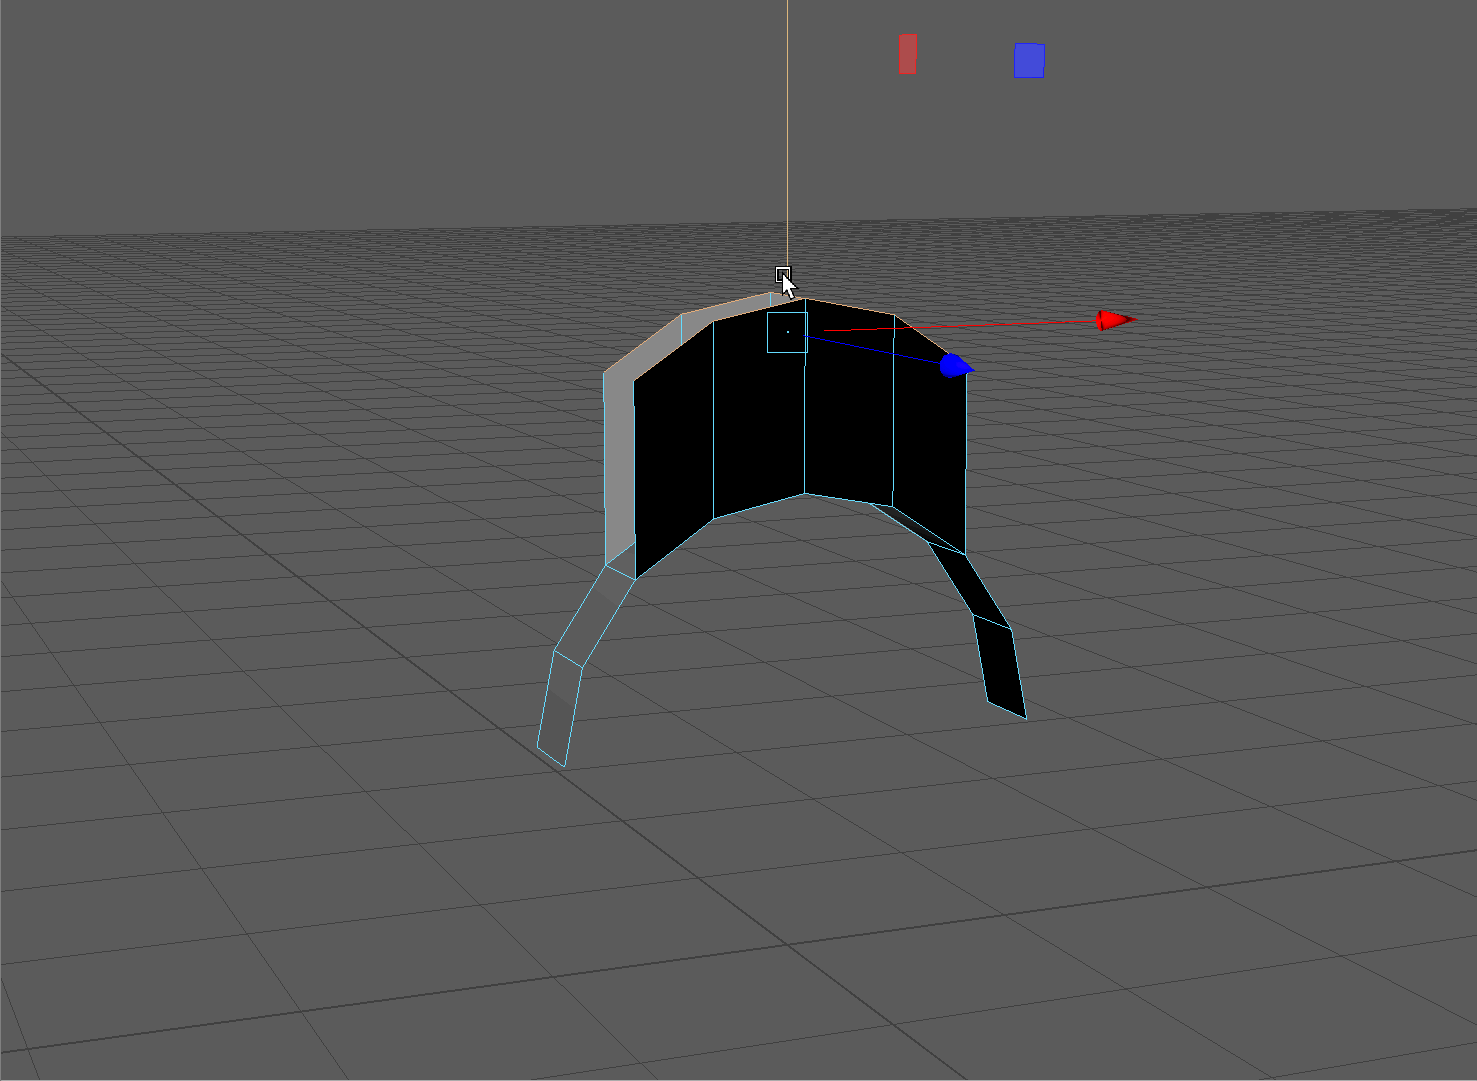
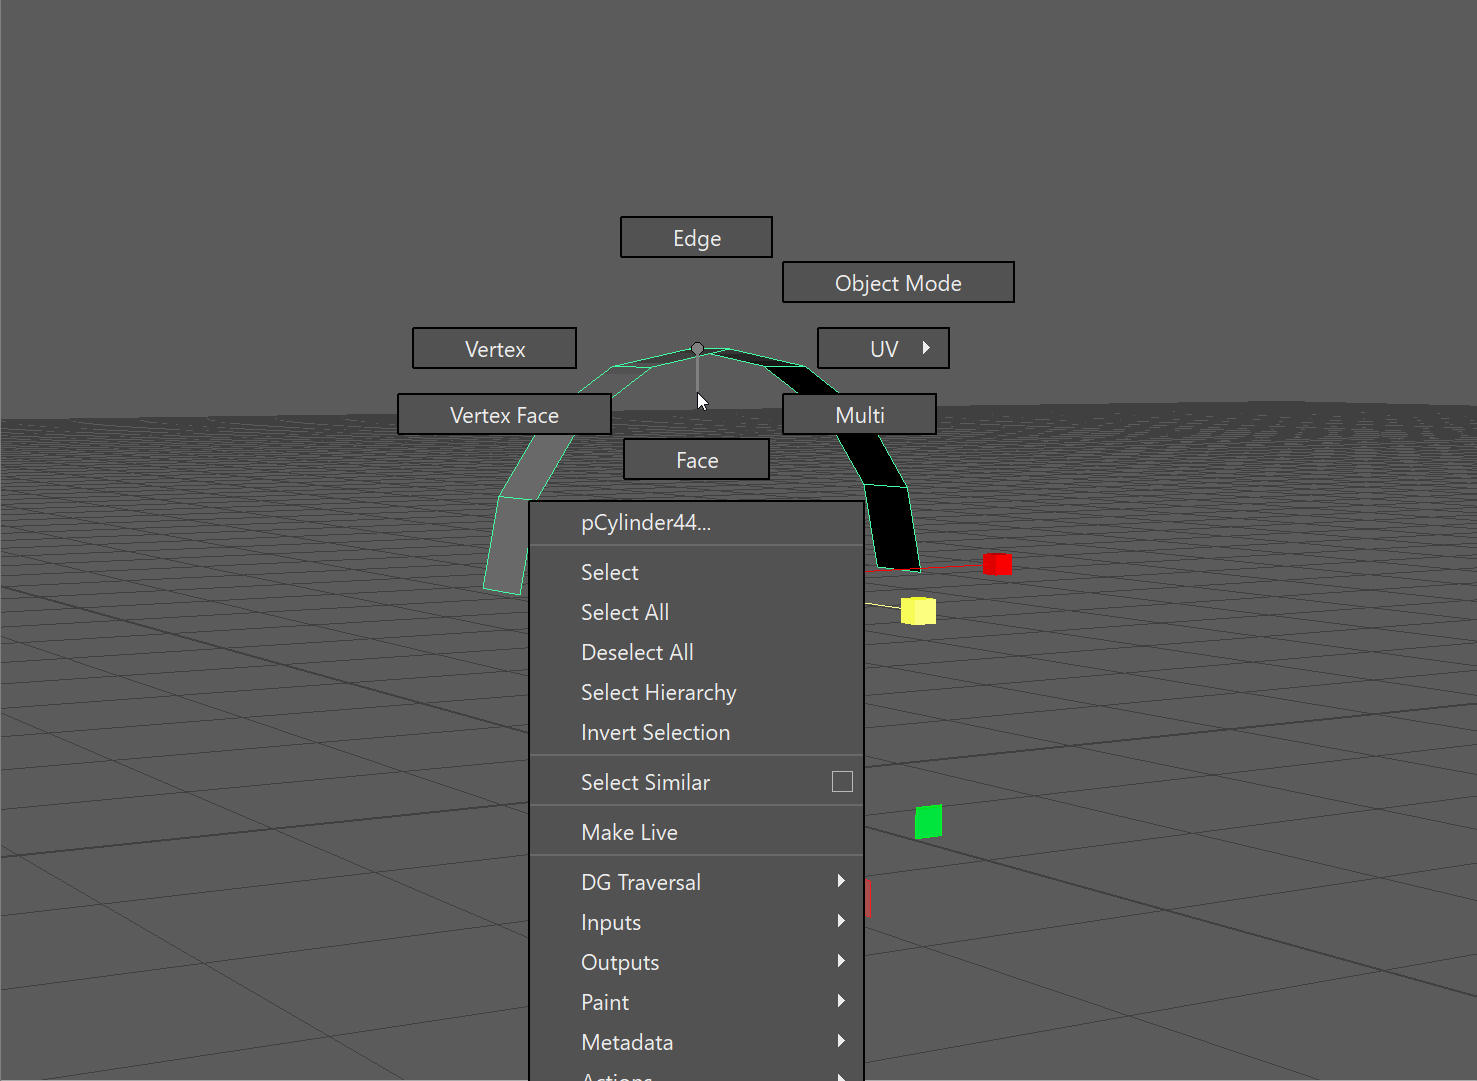
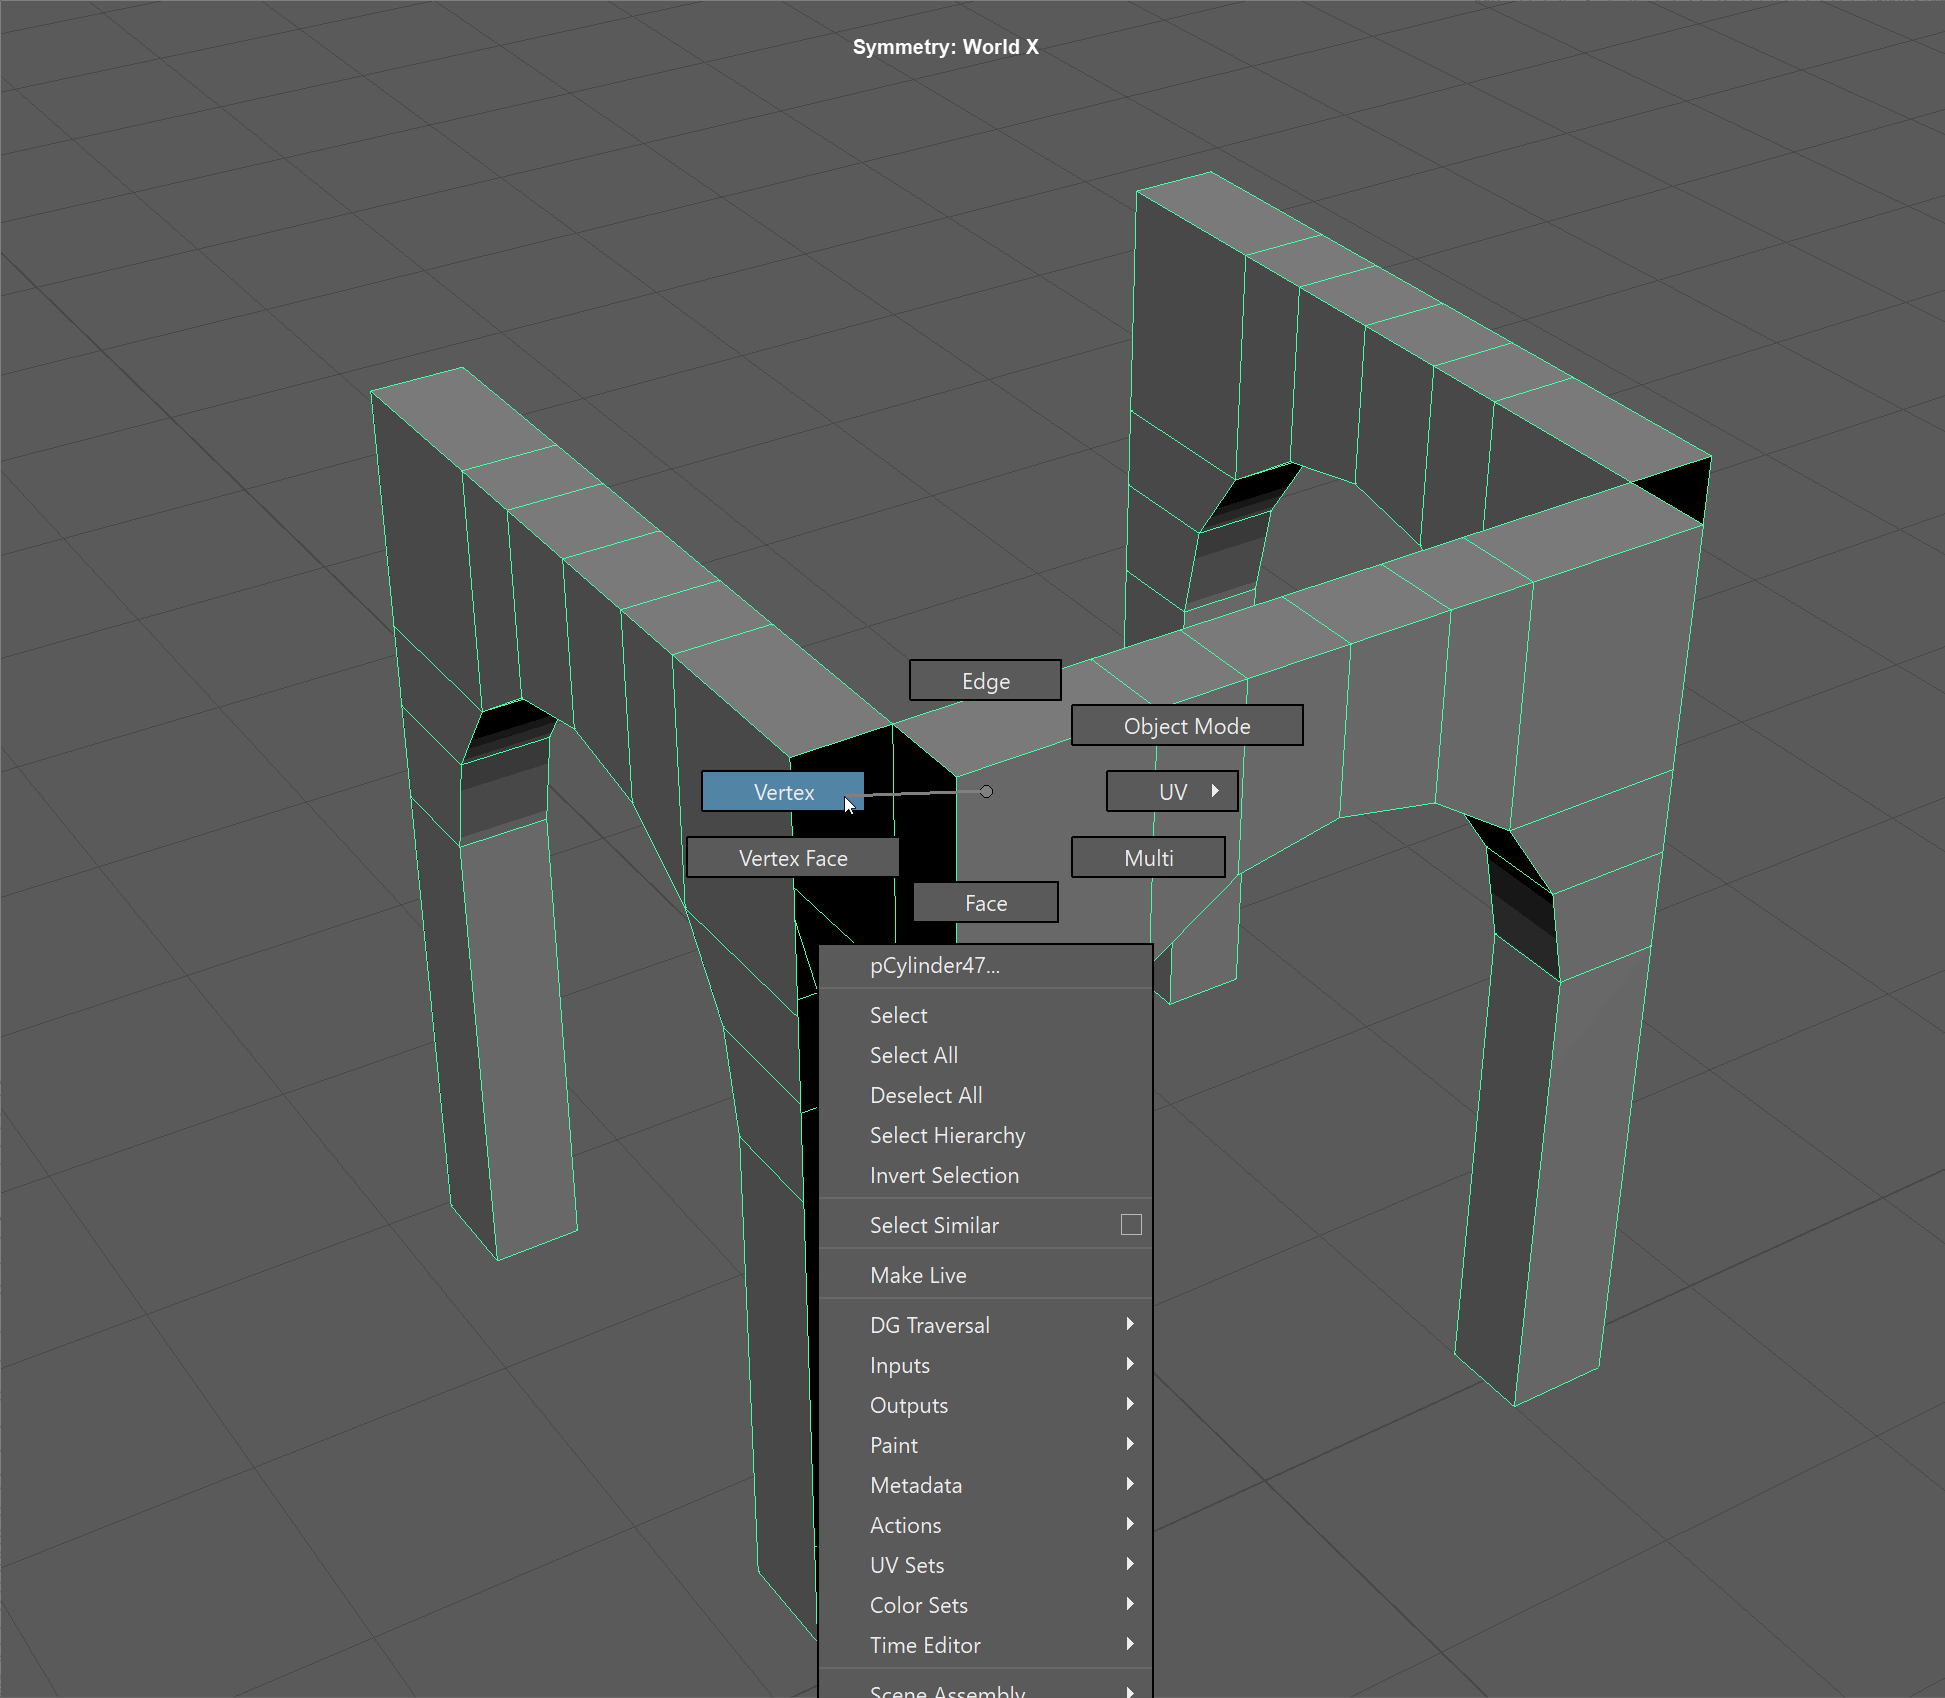
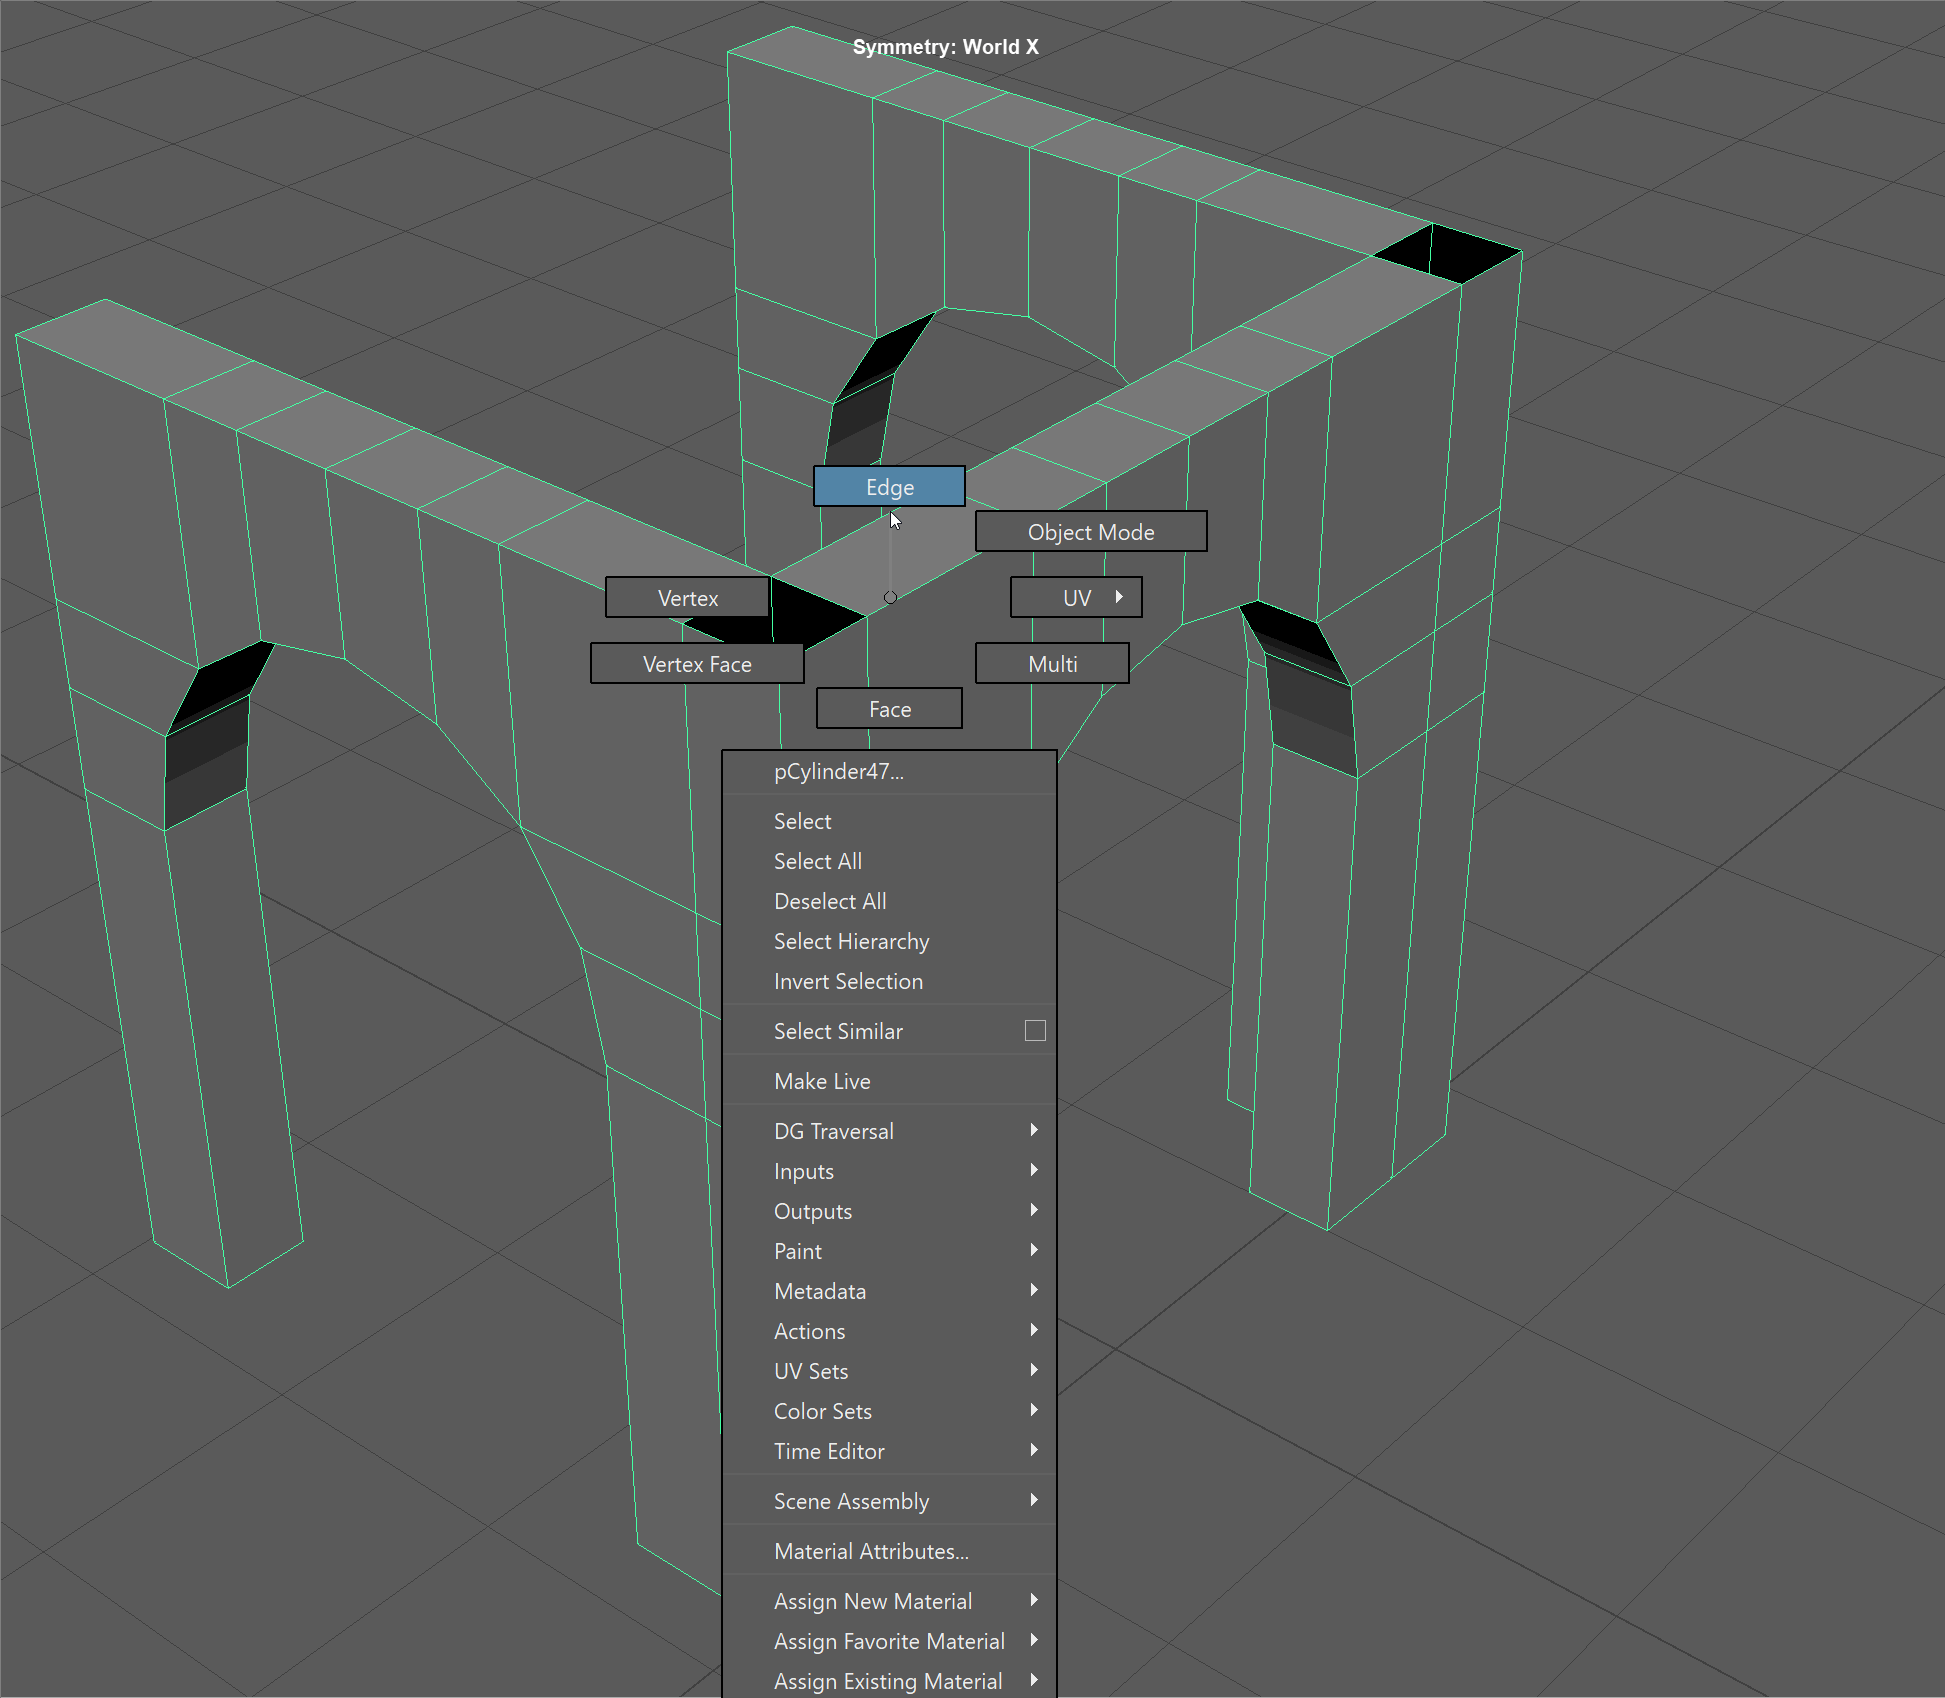
- Our normals are facing the wrong direction! Enter face mode, select all the faces using Ctrl+Shift+A, and navigate holding Shift+RMB to Face Normals -> Reverse Normals
-
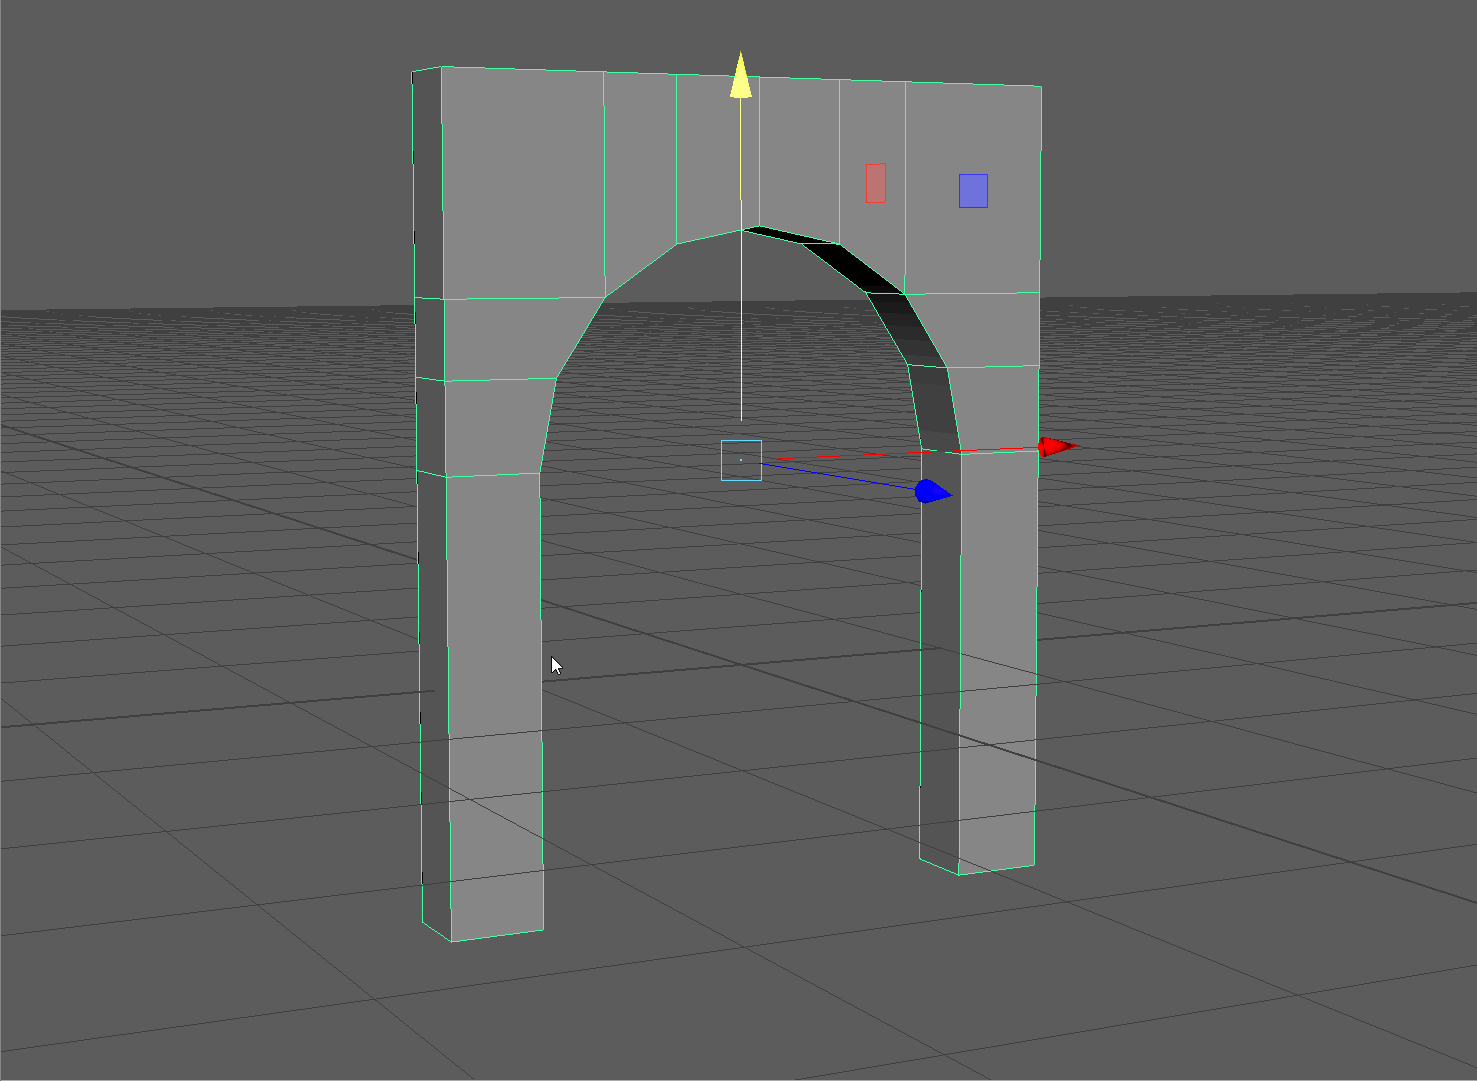
We want to extrude the sides of our arch. Our model is symmetrical so we can turn on Symmetry to carry out the same operations on both sides of our model.
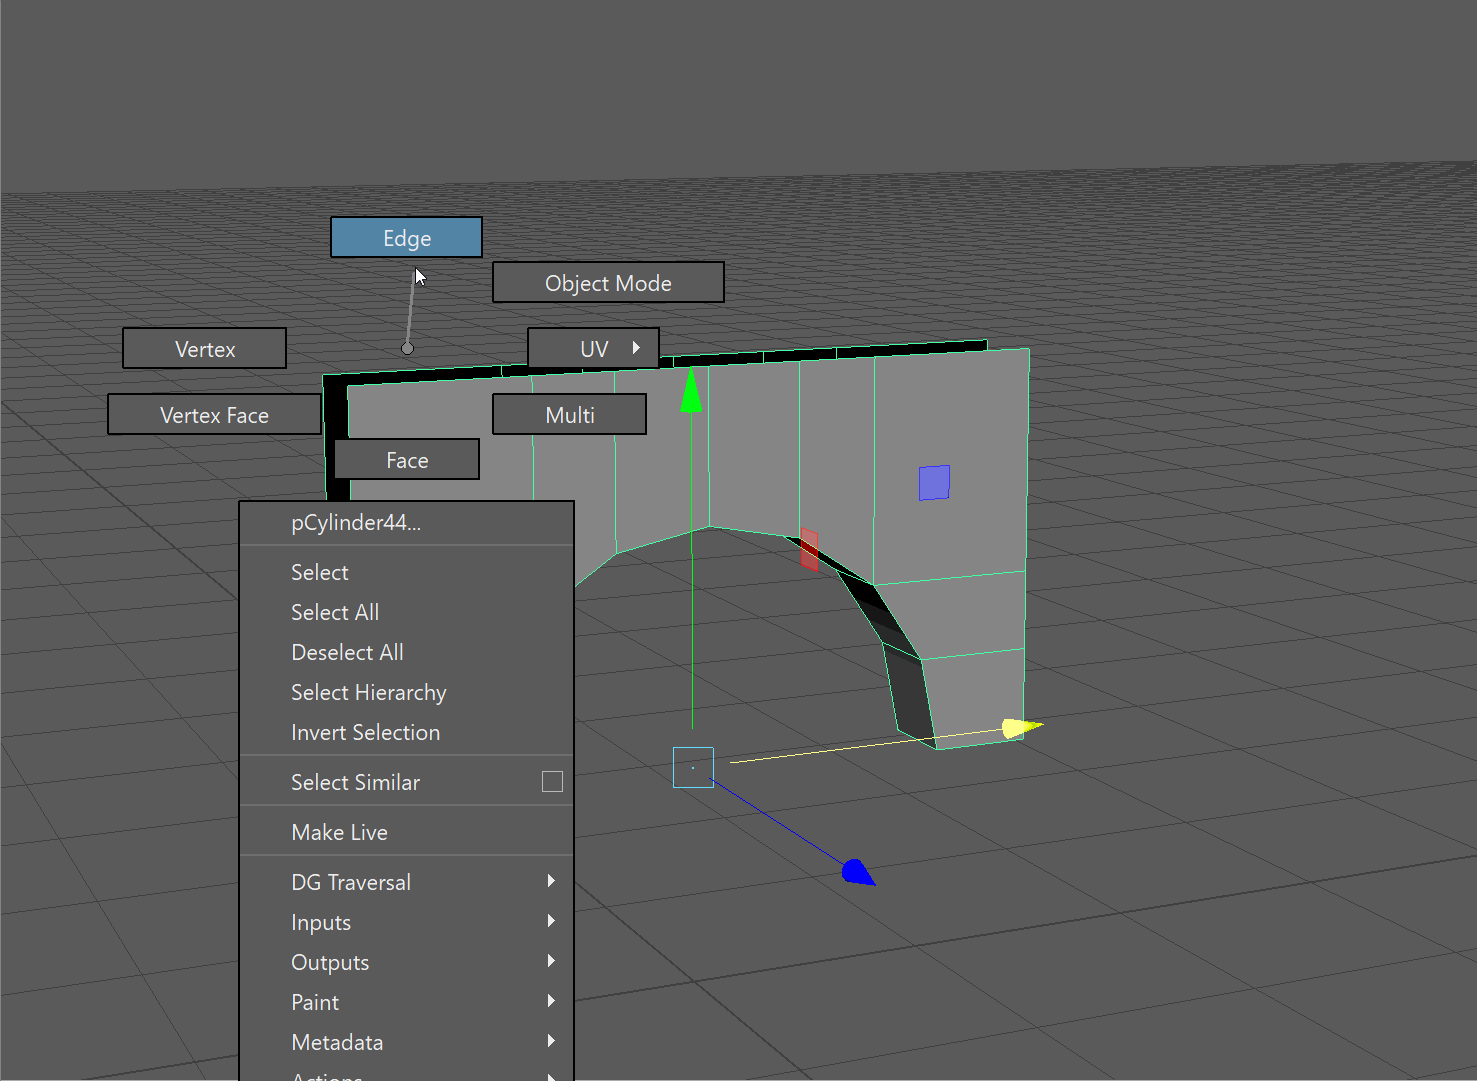
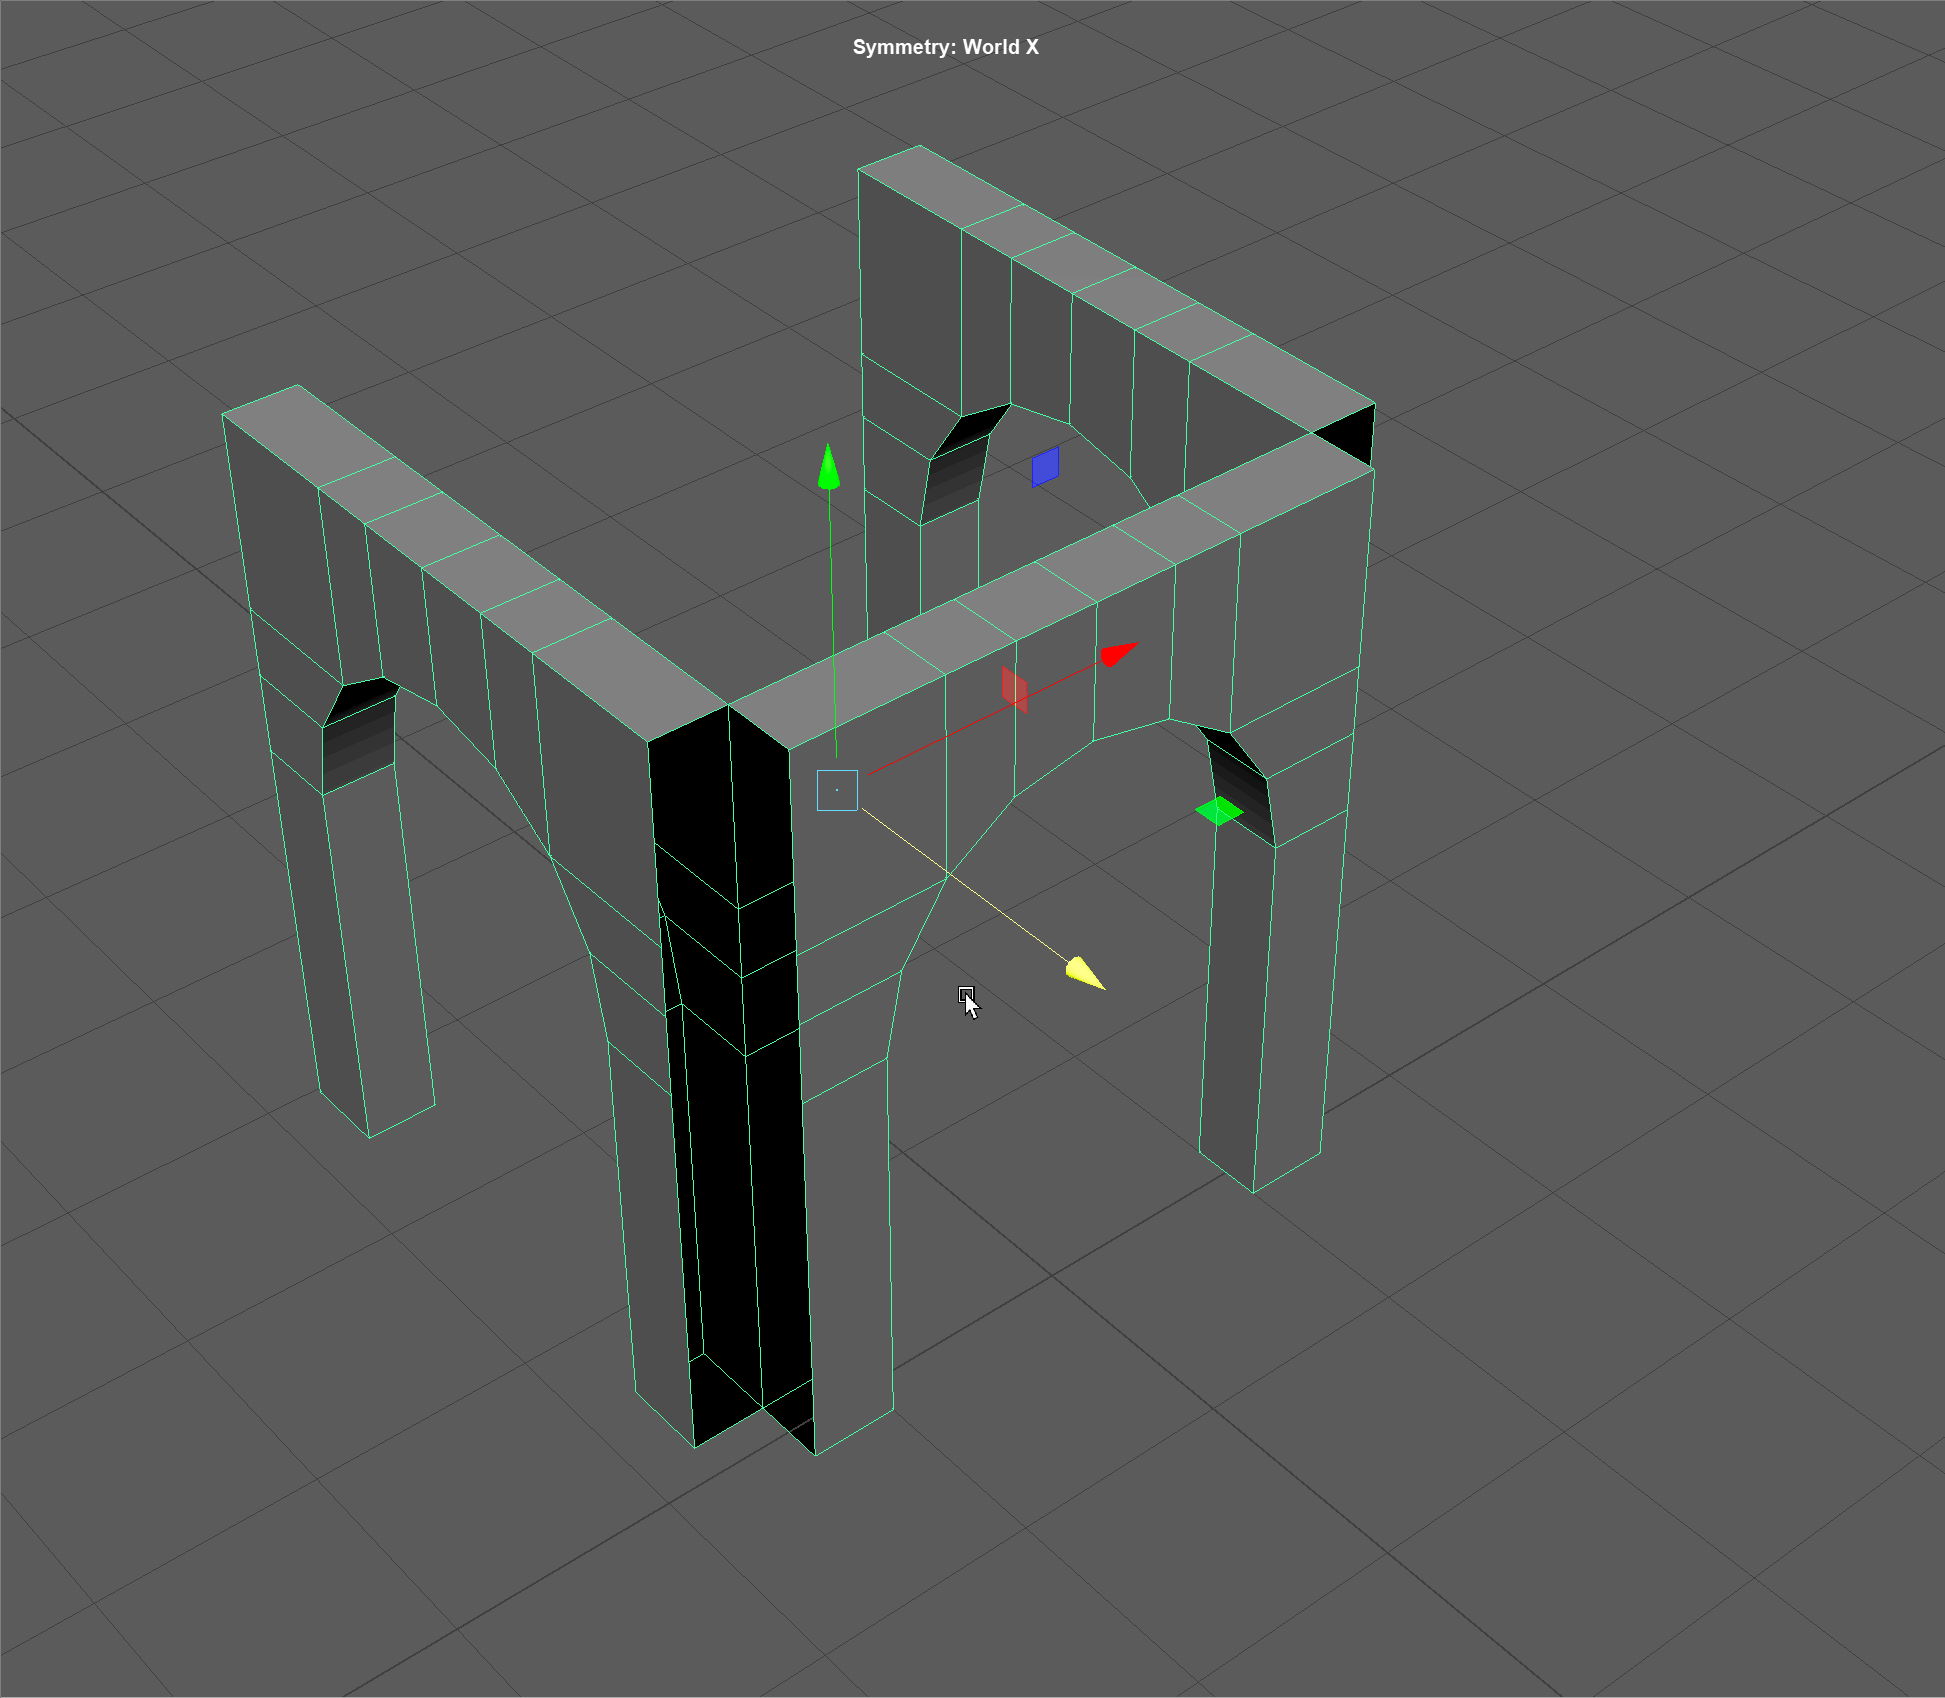
Select your model and make sure the move tool is active.
Holding Shift+Ctrl+RMB to open up the setting for our move tool.
Navigate to Symmetry
Make sure the following are checked on.World (the space of our symmetry)
X Axis (the Axis on which we want symmetry to happen)
Symmetry (activates our Symmetry tool)
UI TIP: At the top of your View Panel, you can see if symmetry is active.
-
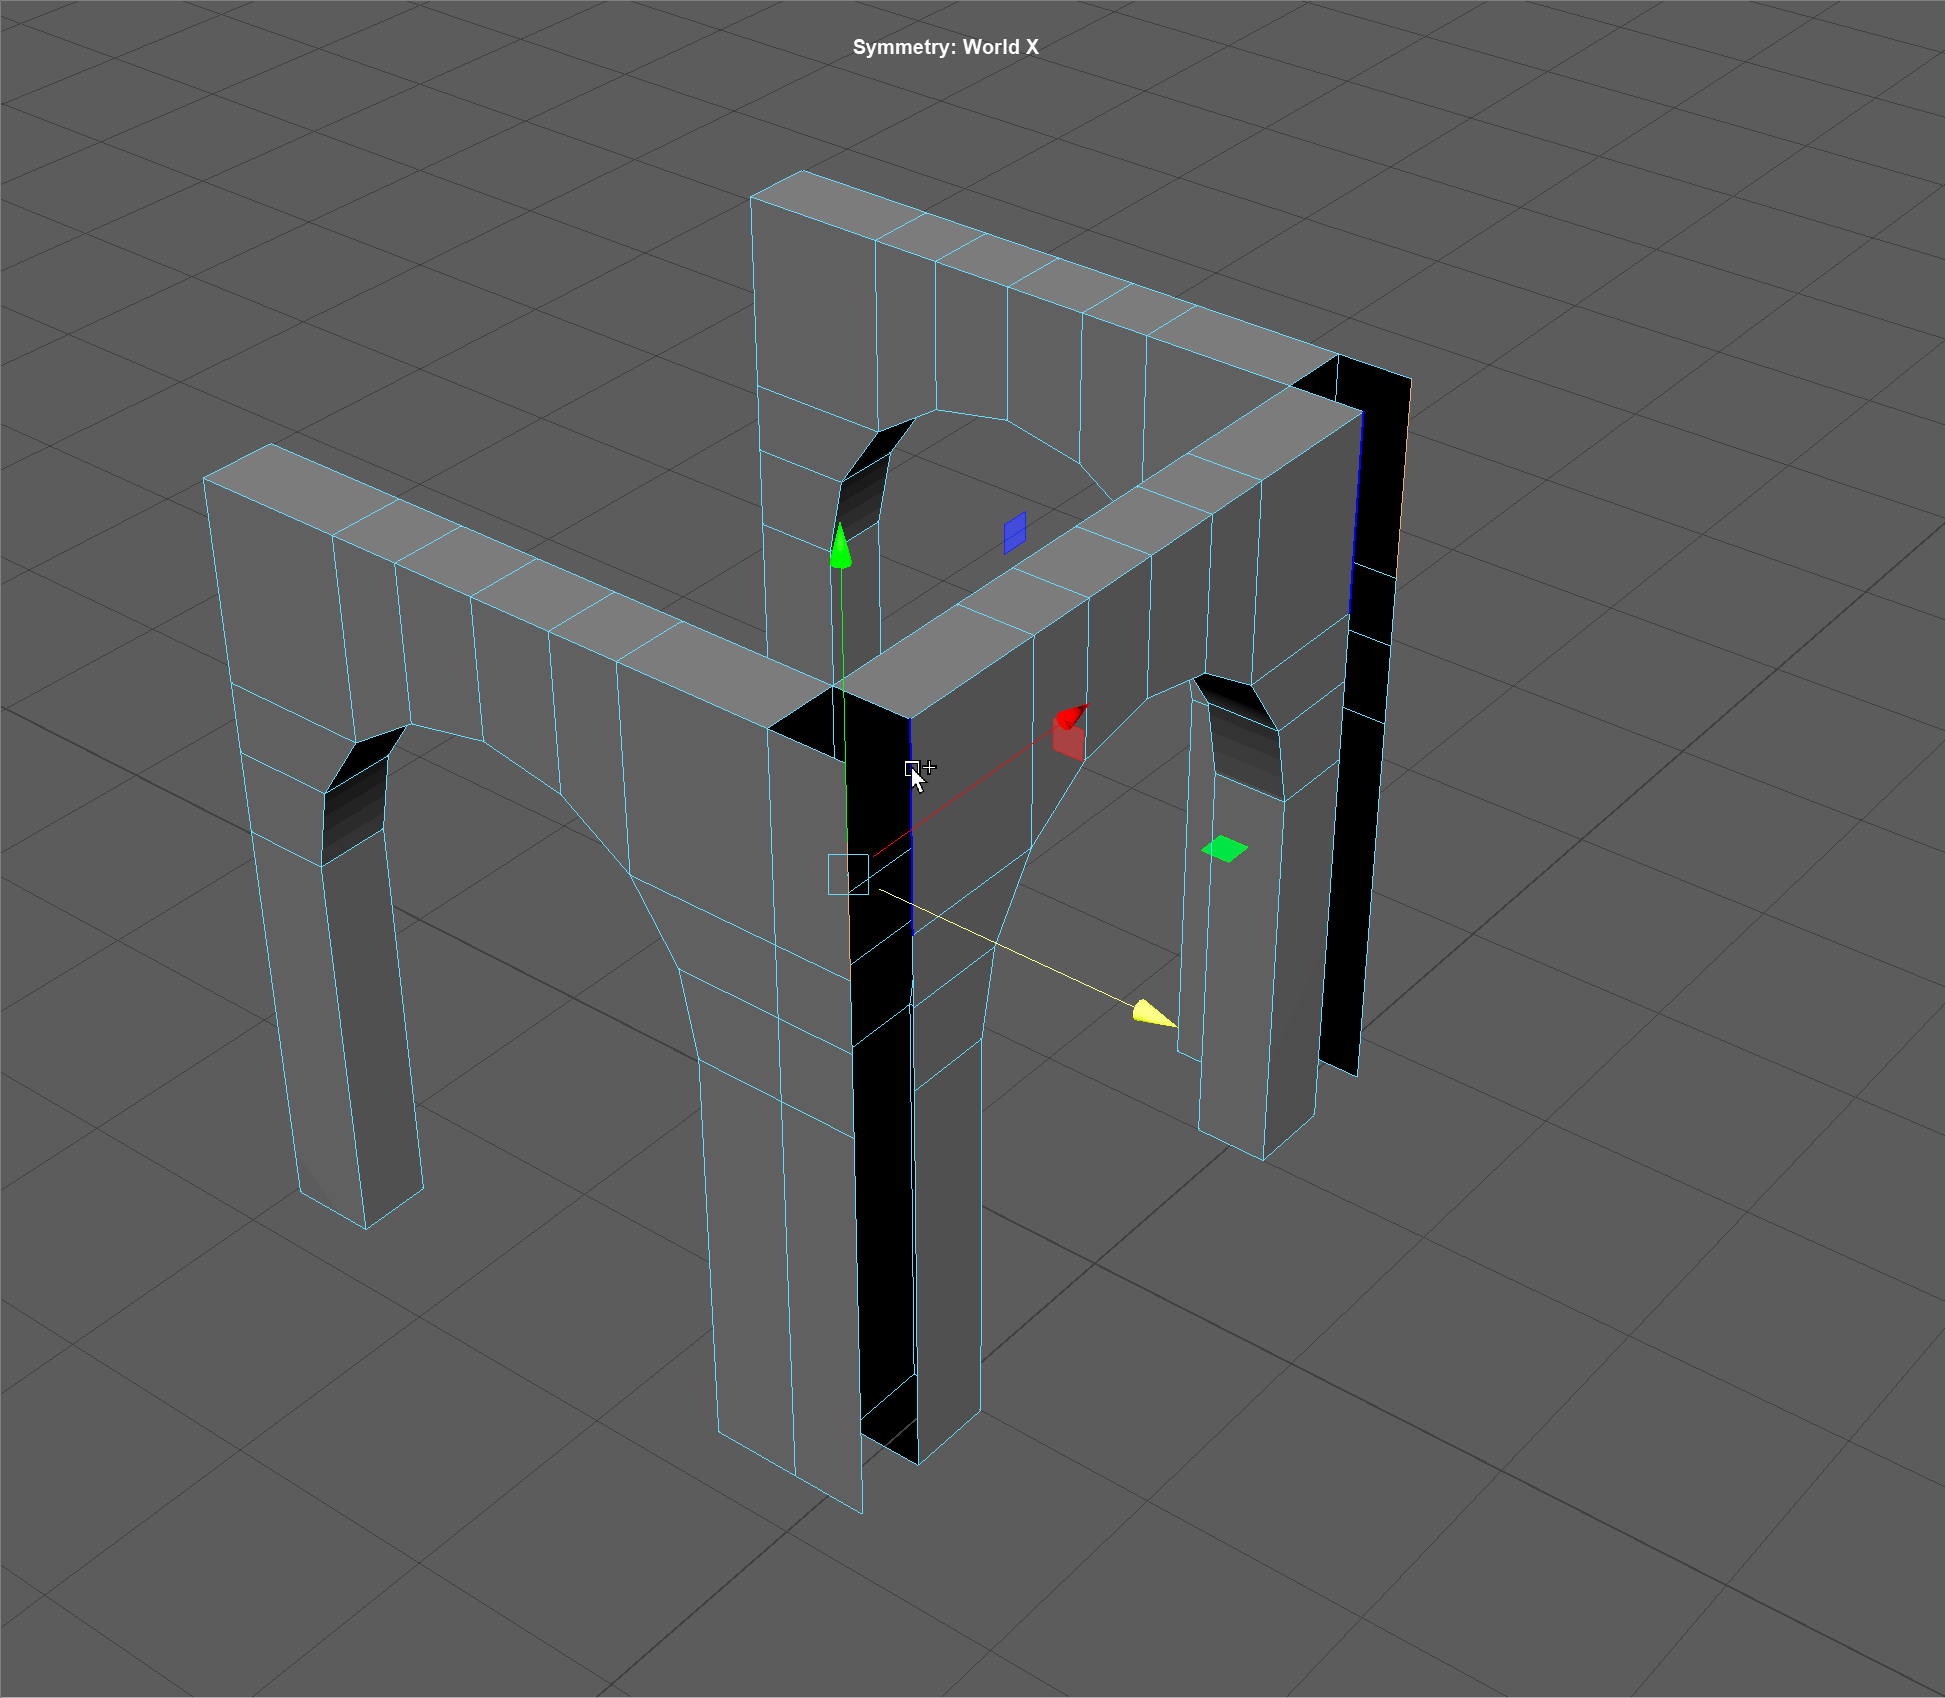
Extrude the side edges of our arch along the X Axis.
- Scale the sides along the X Axis to make the level
- Select the top edges on one of our newly extruded sides.
Extrude along the Y Axis and snap them to the top vertices of our model.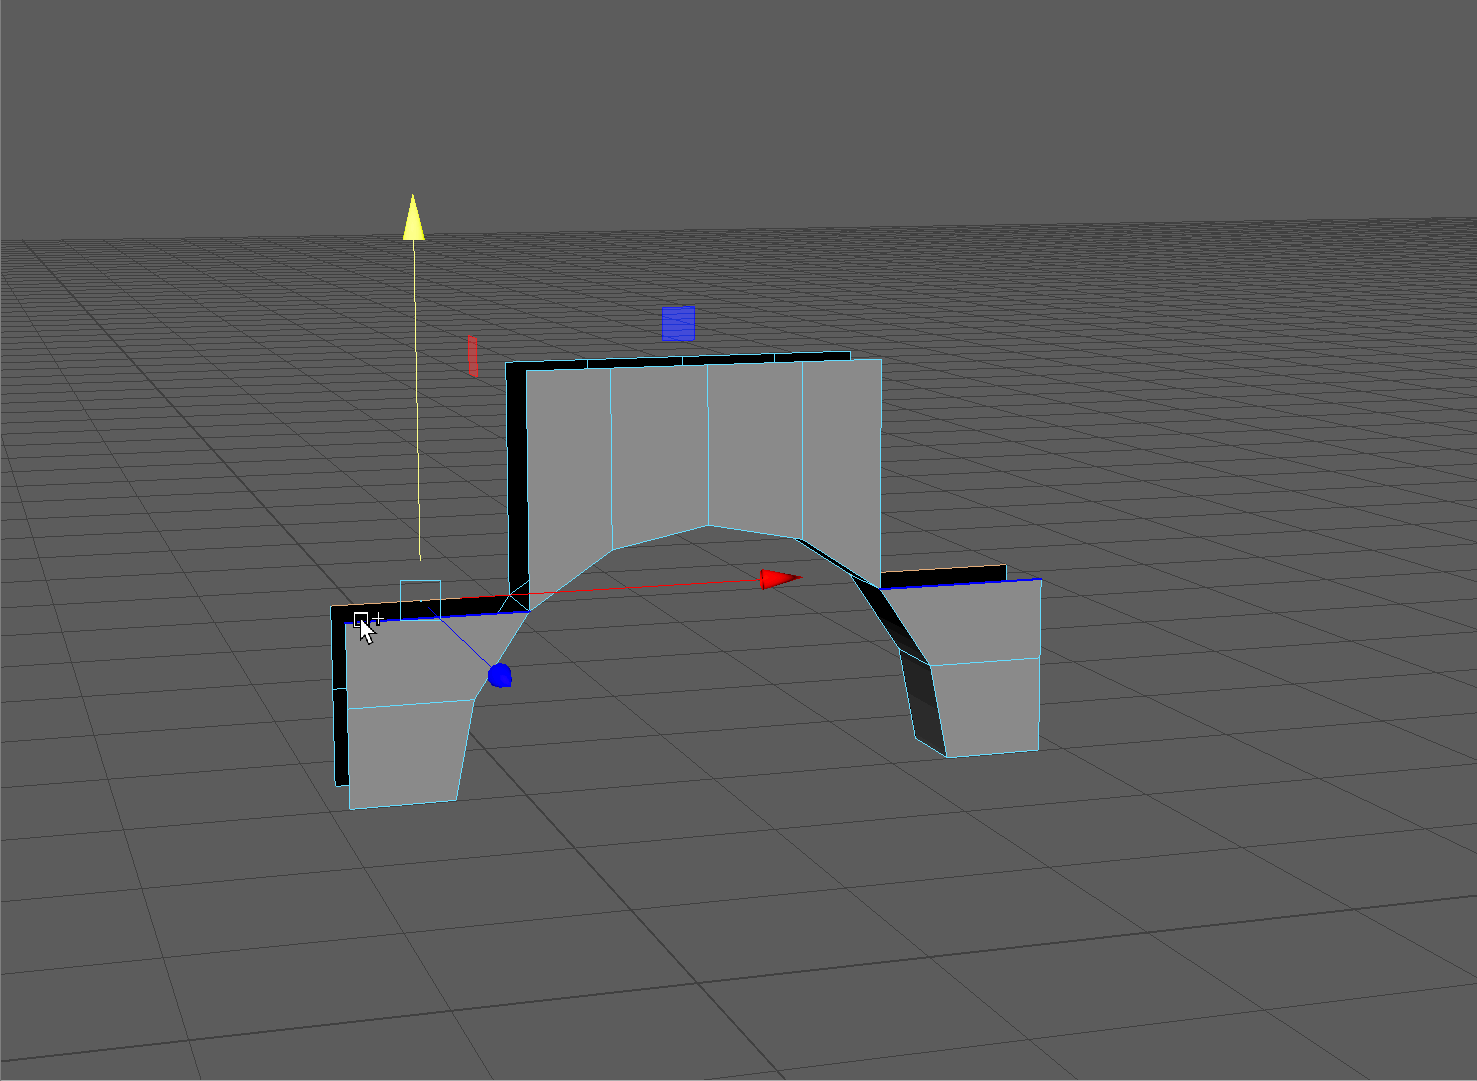
- Select all the vertices of our model using Ctrl+Shift+A
Use the Merge Vertices tool to merge them together.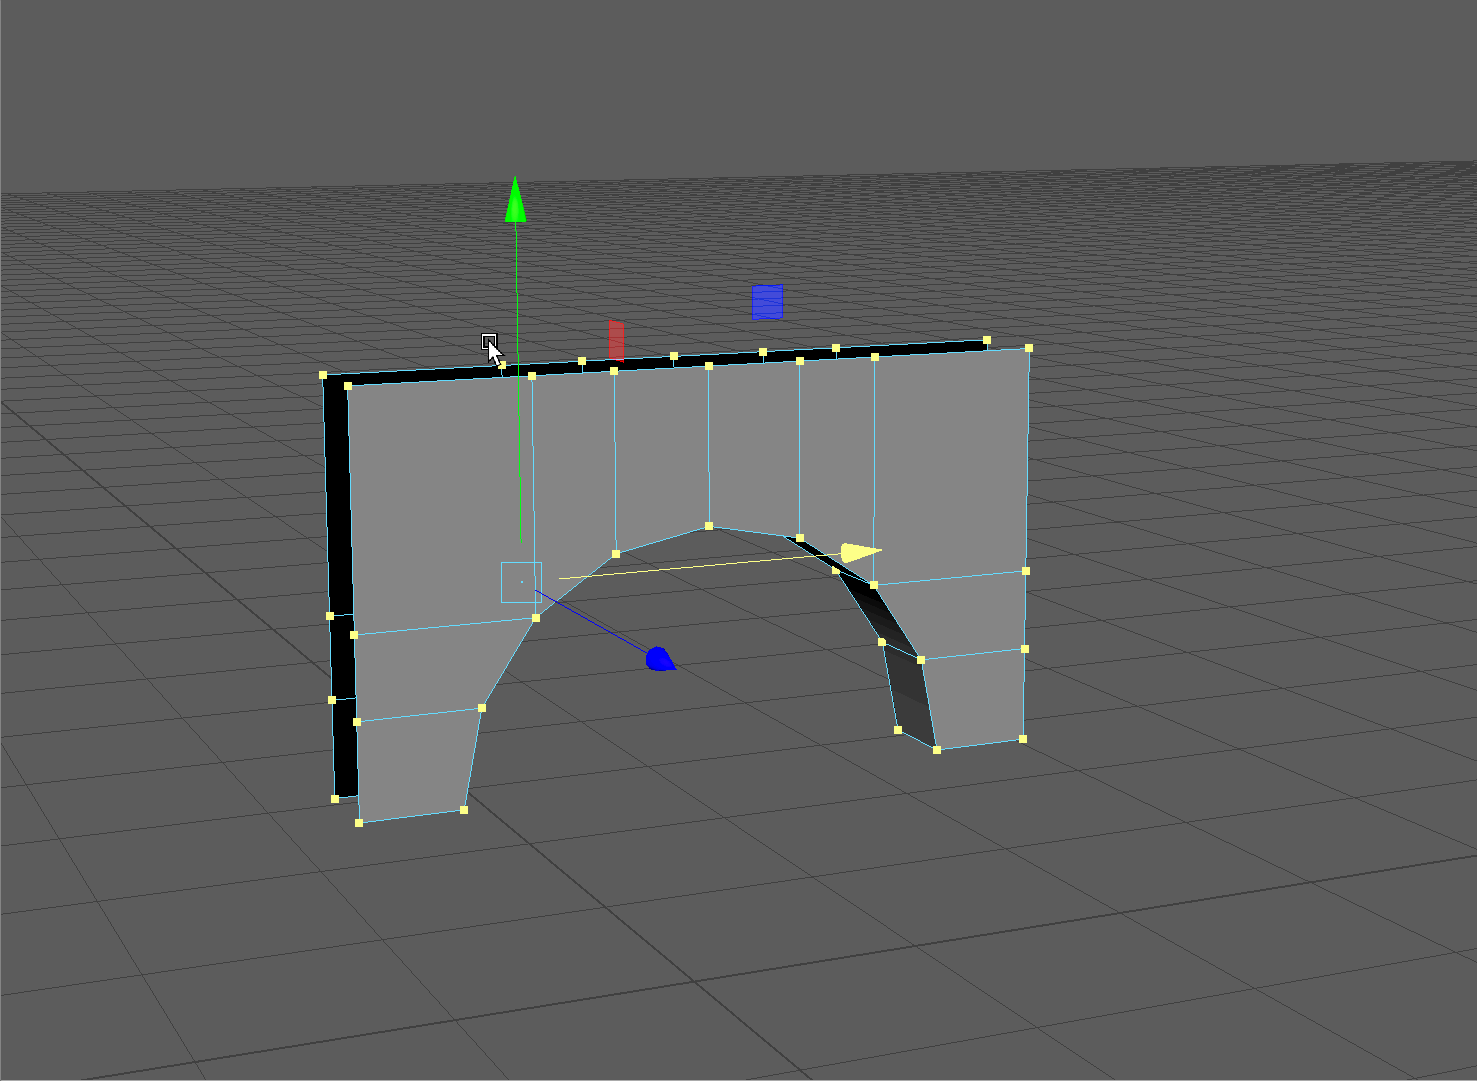
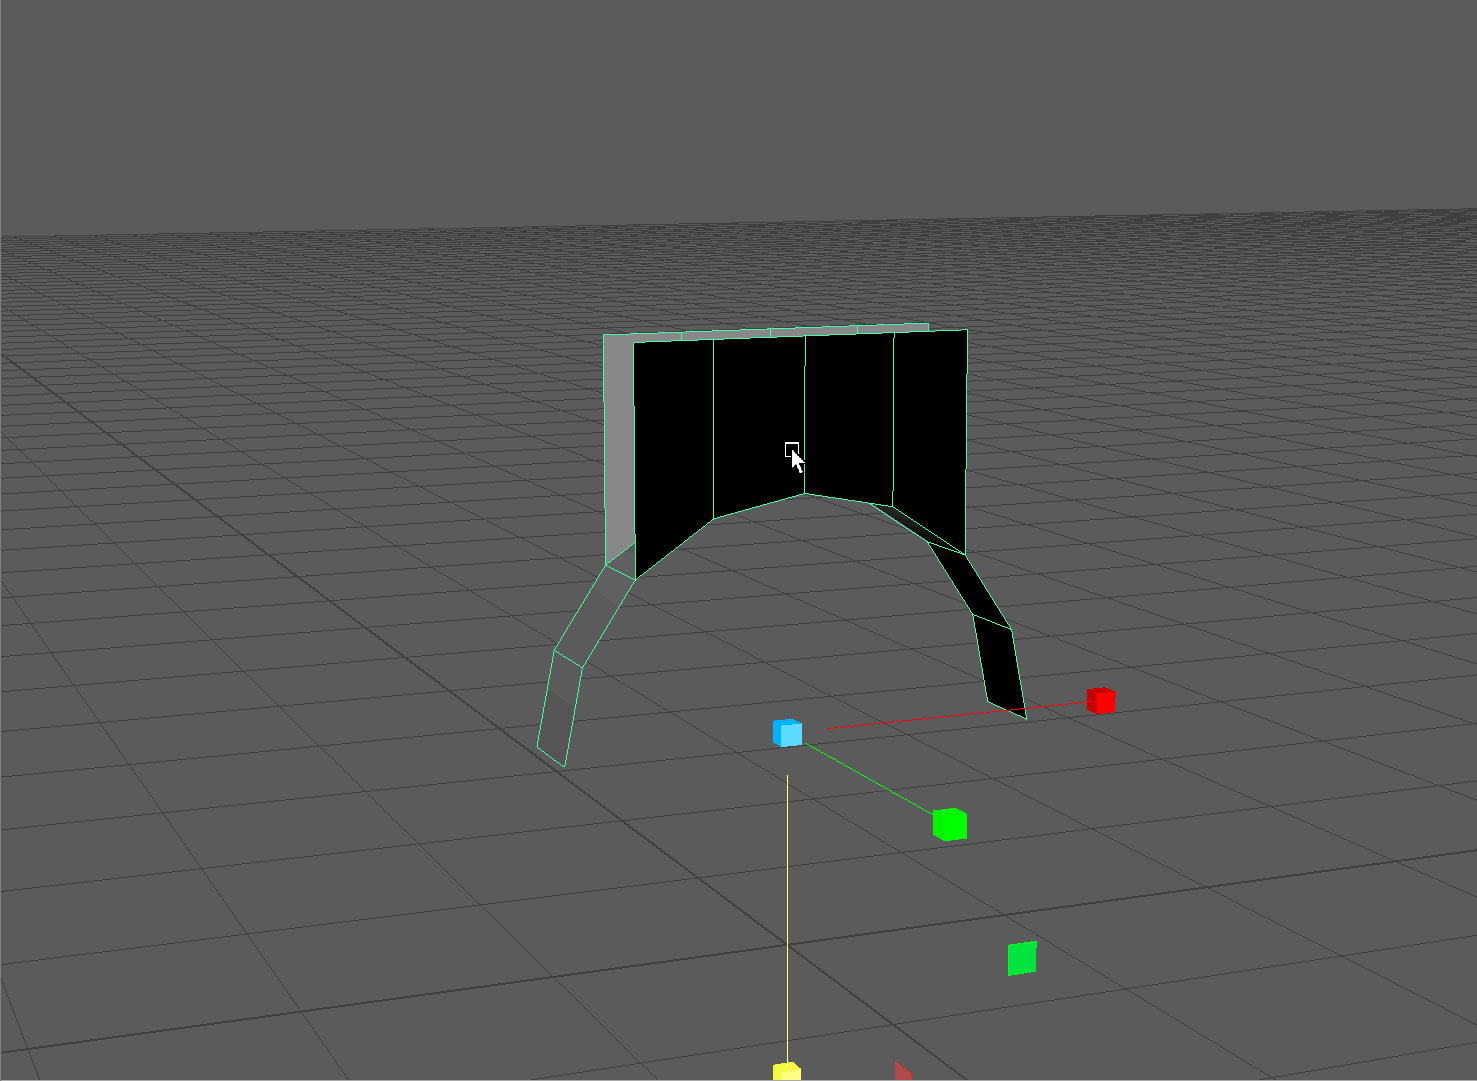
- Using the Bridge tool, bridge the sides of our arch together.
- Double click an edge part of the top edge loop.
Deselect the two edges on the side.
Using the Bridge tool, bridge the top of our arch together.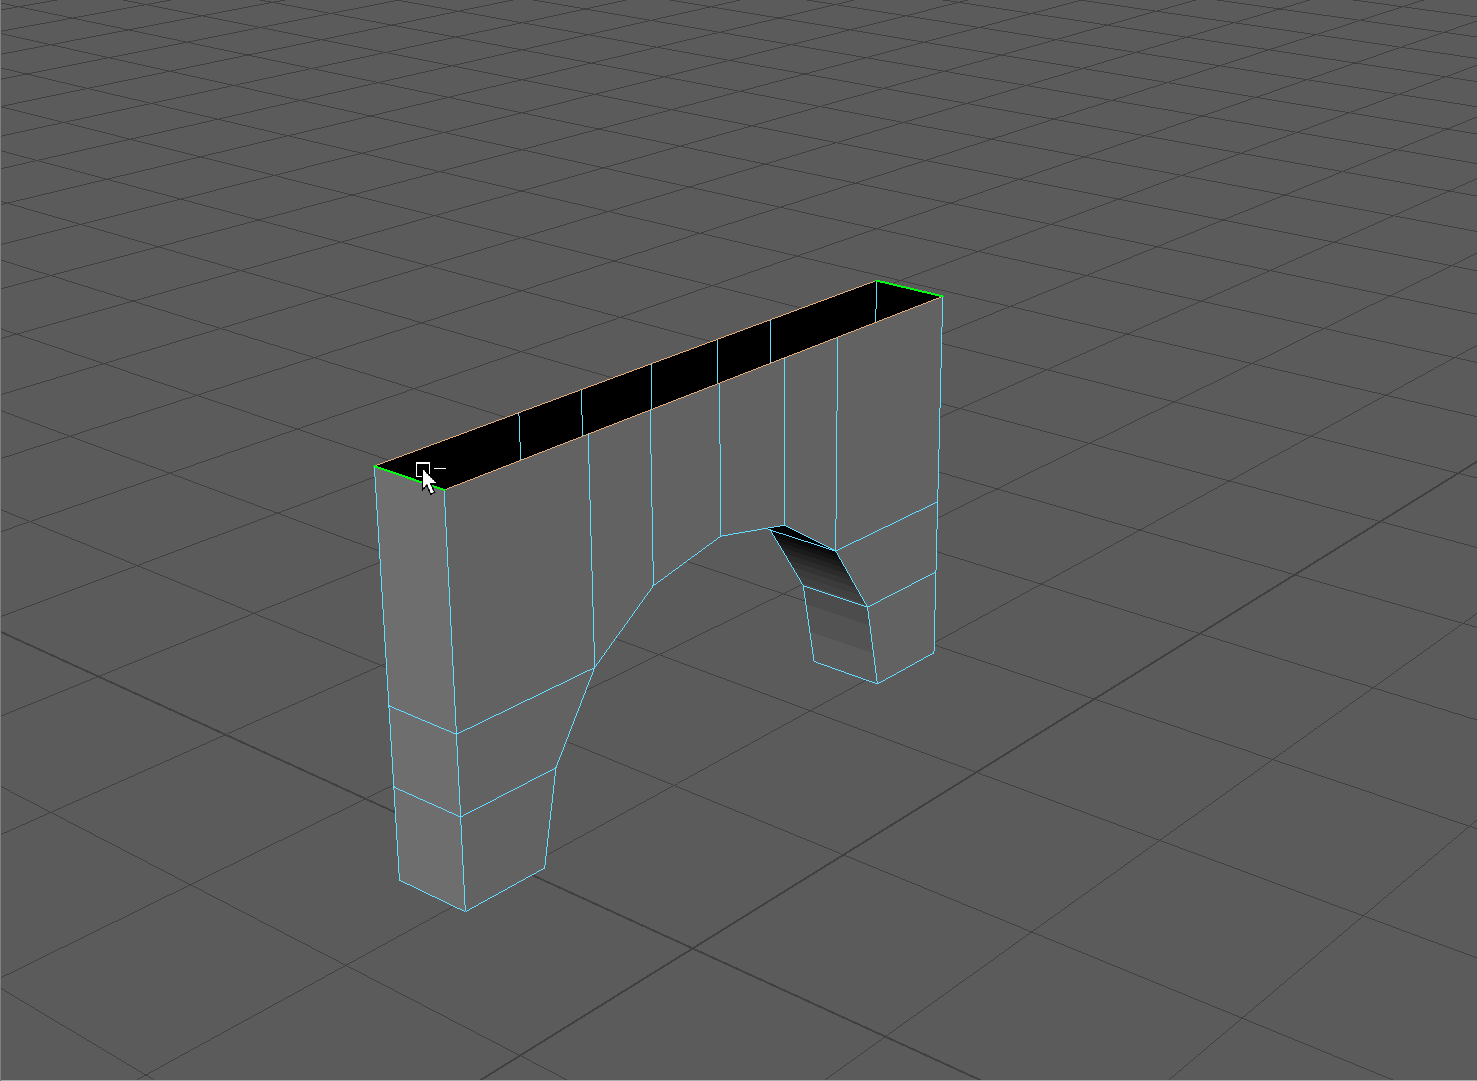
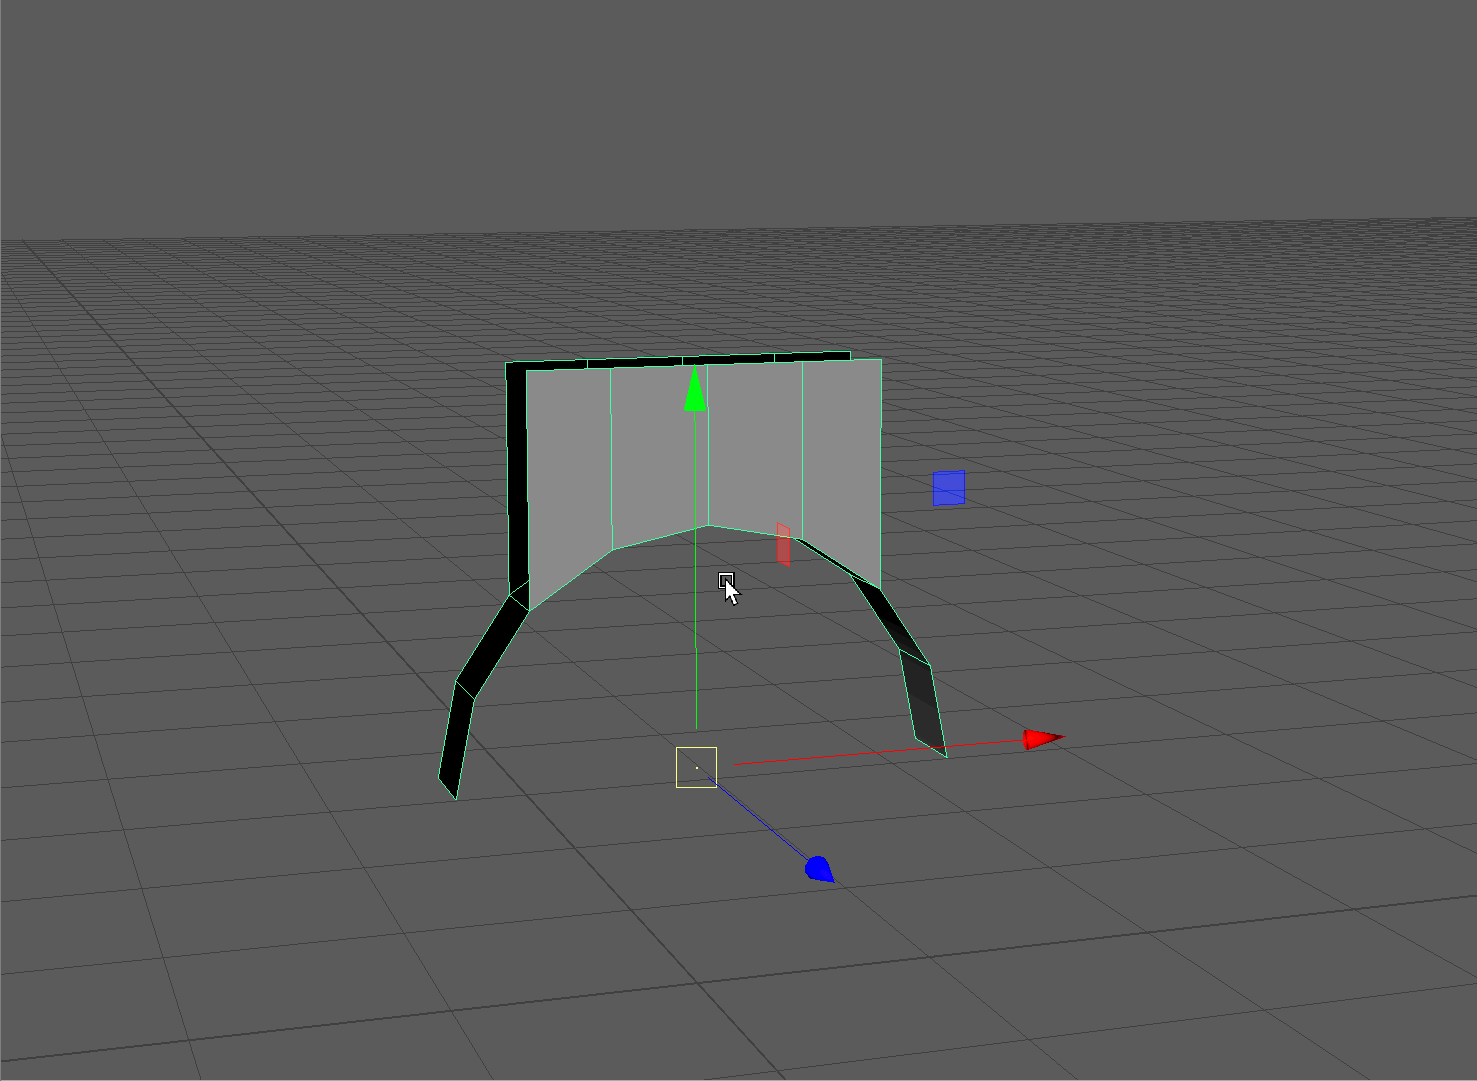
- Select the edge loop on the bottom of our arch.
Extrude along the Y Axis.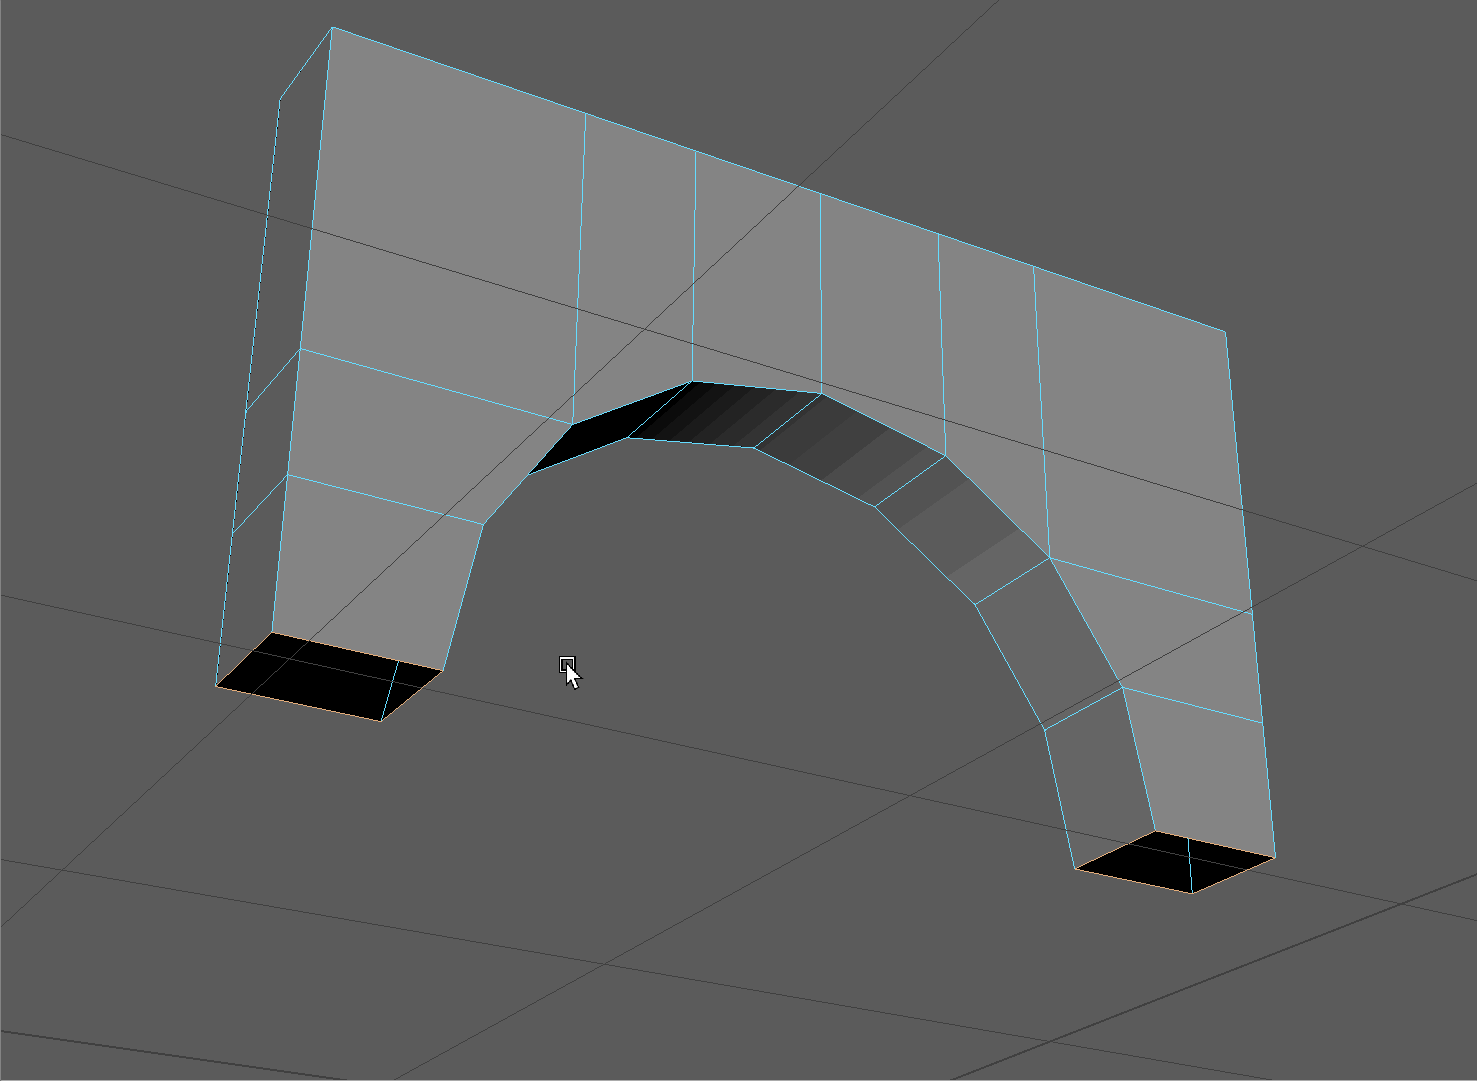
- Bridge the bottom of our arch.
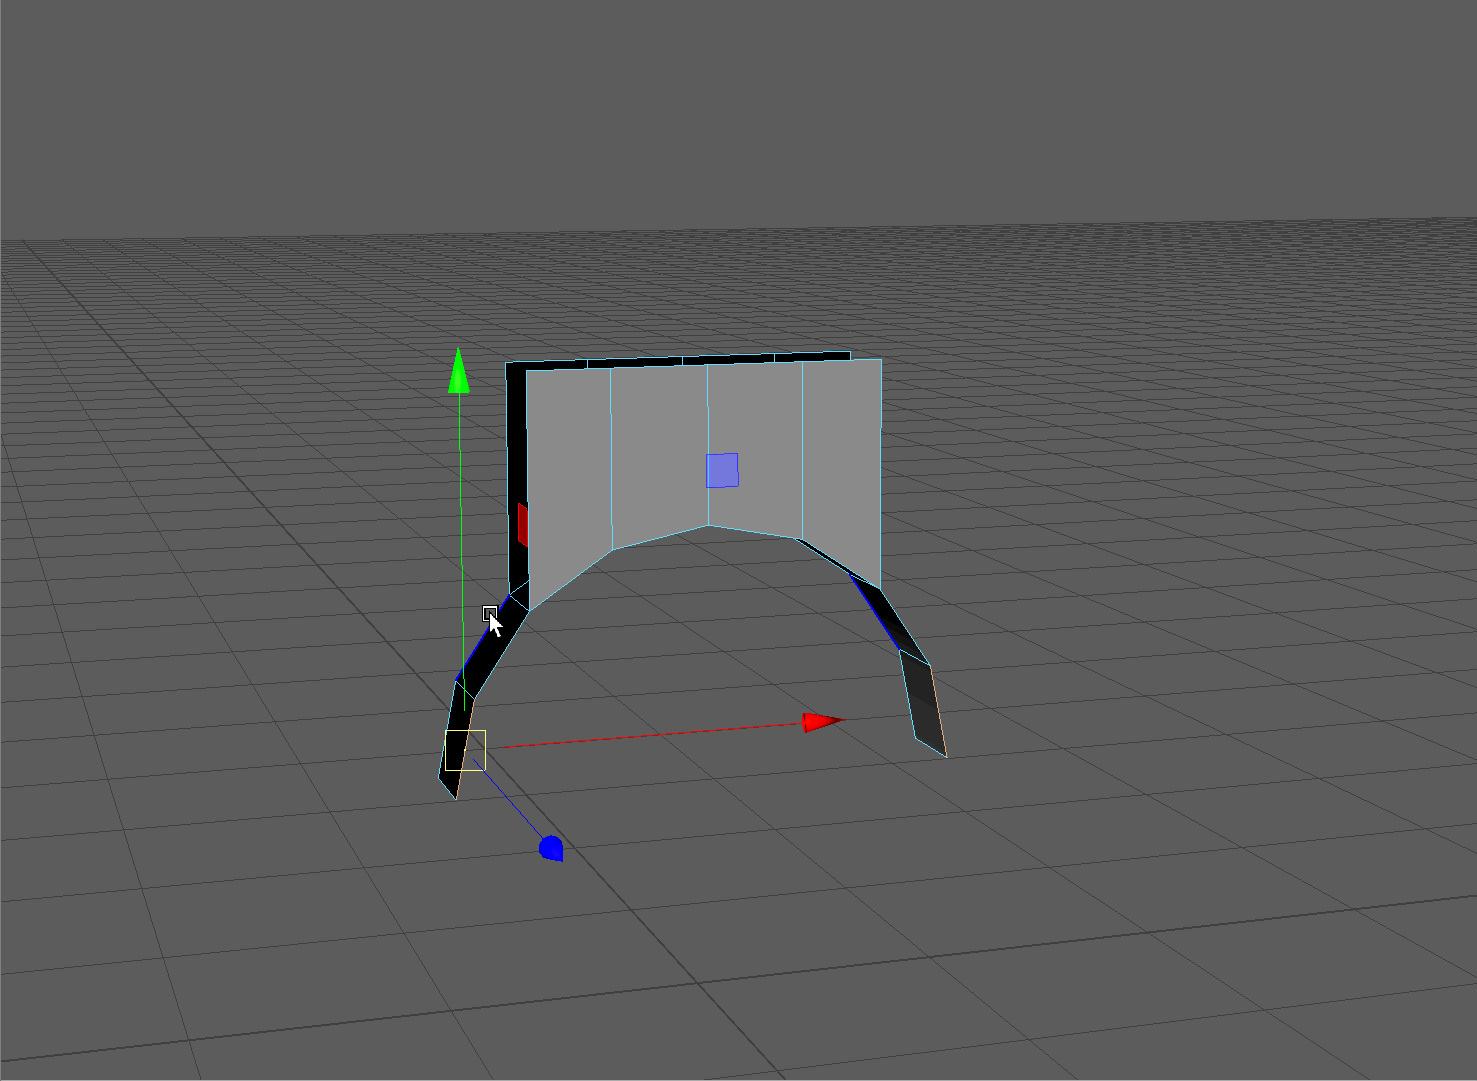
- Snap the Pivot point of our model to the bottom-most vertices.
Place on model on the origin point of our world.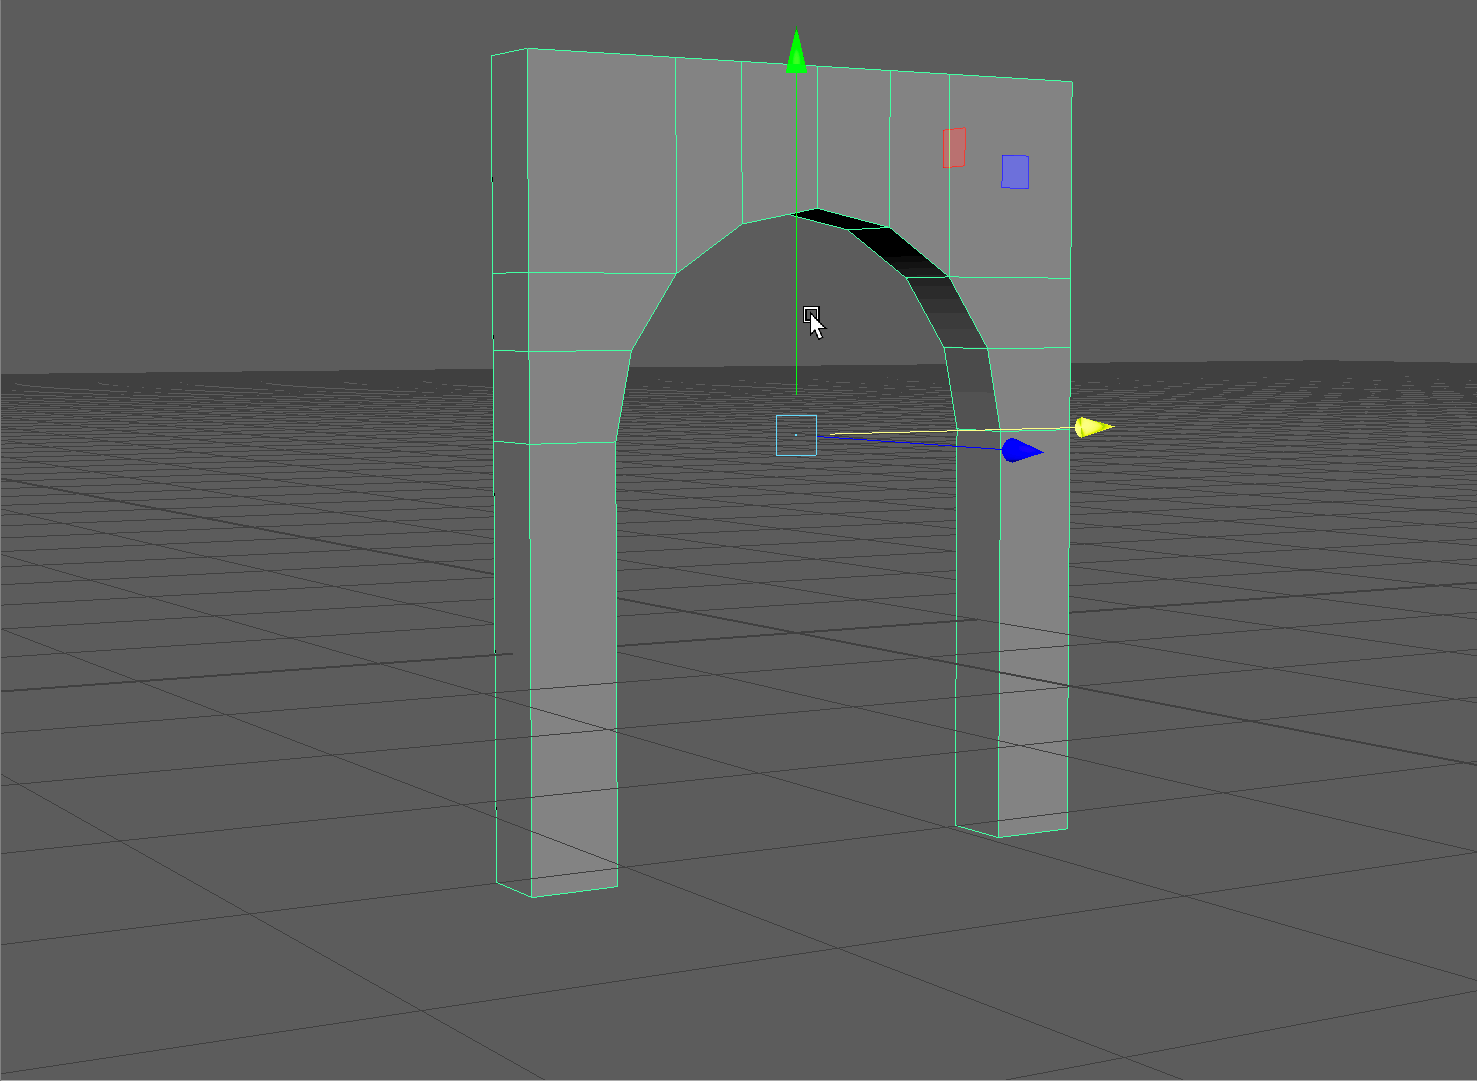
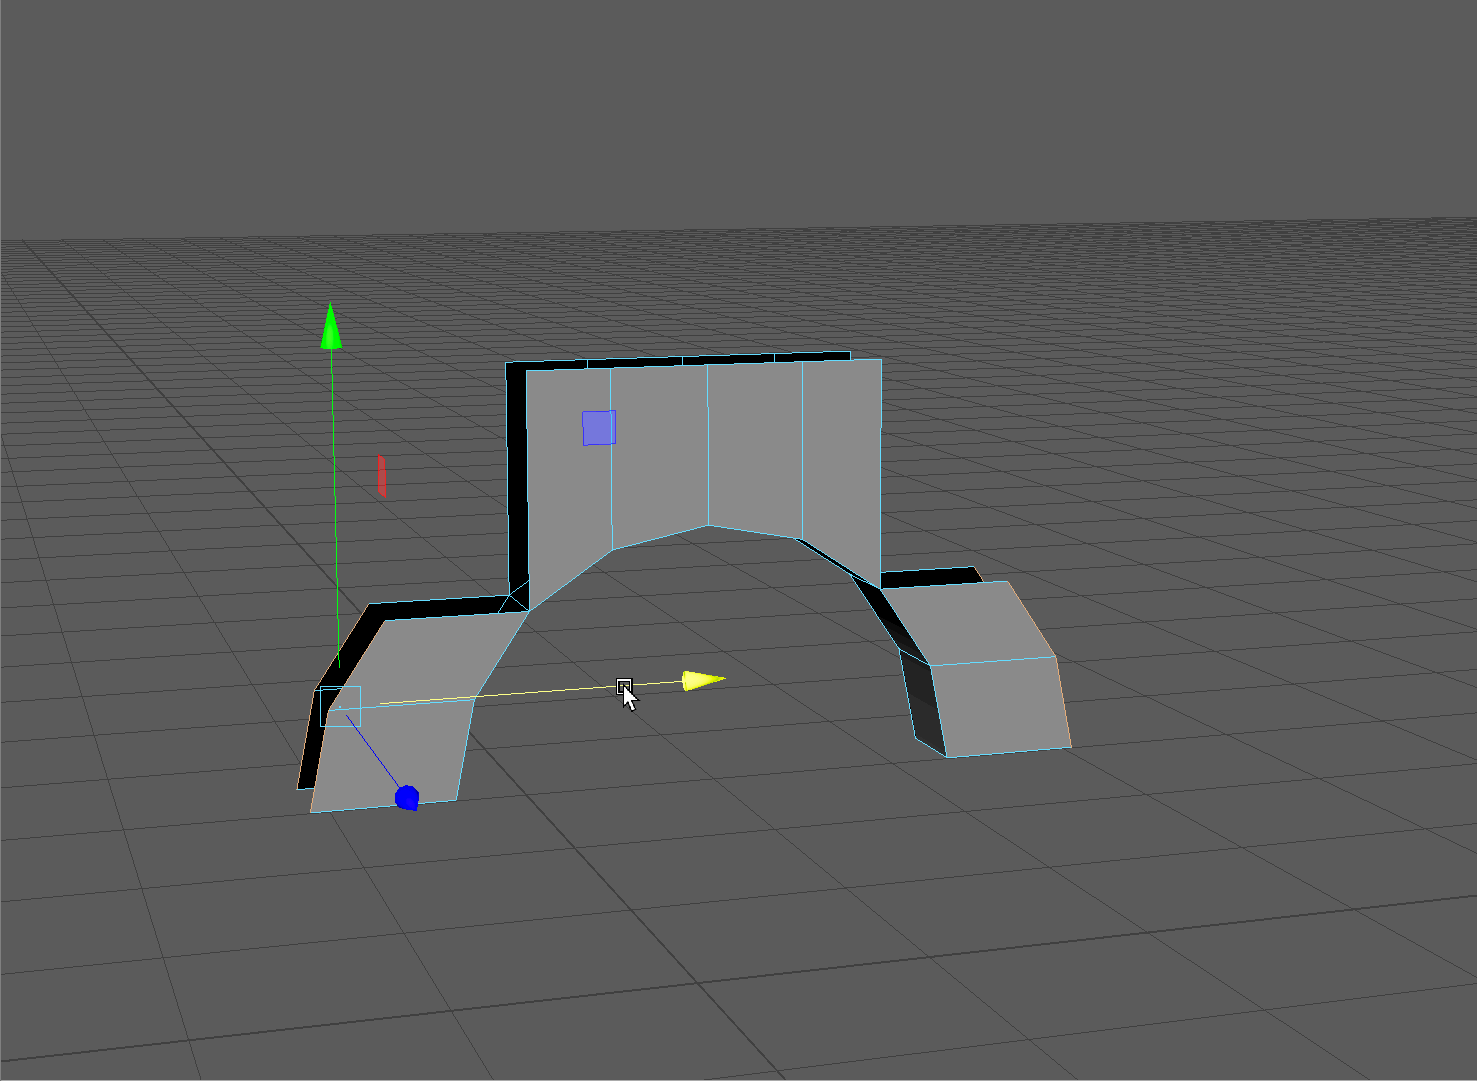
- Duplicate our arch by dragging the move tool on the Z Axis while holding Shift
Move the pivot point of this new model to be on the front left bottom corner (see gif below)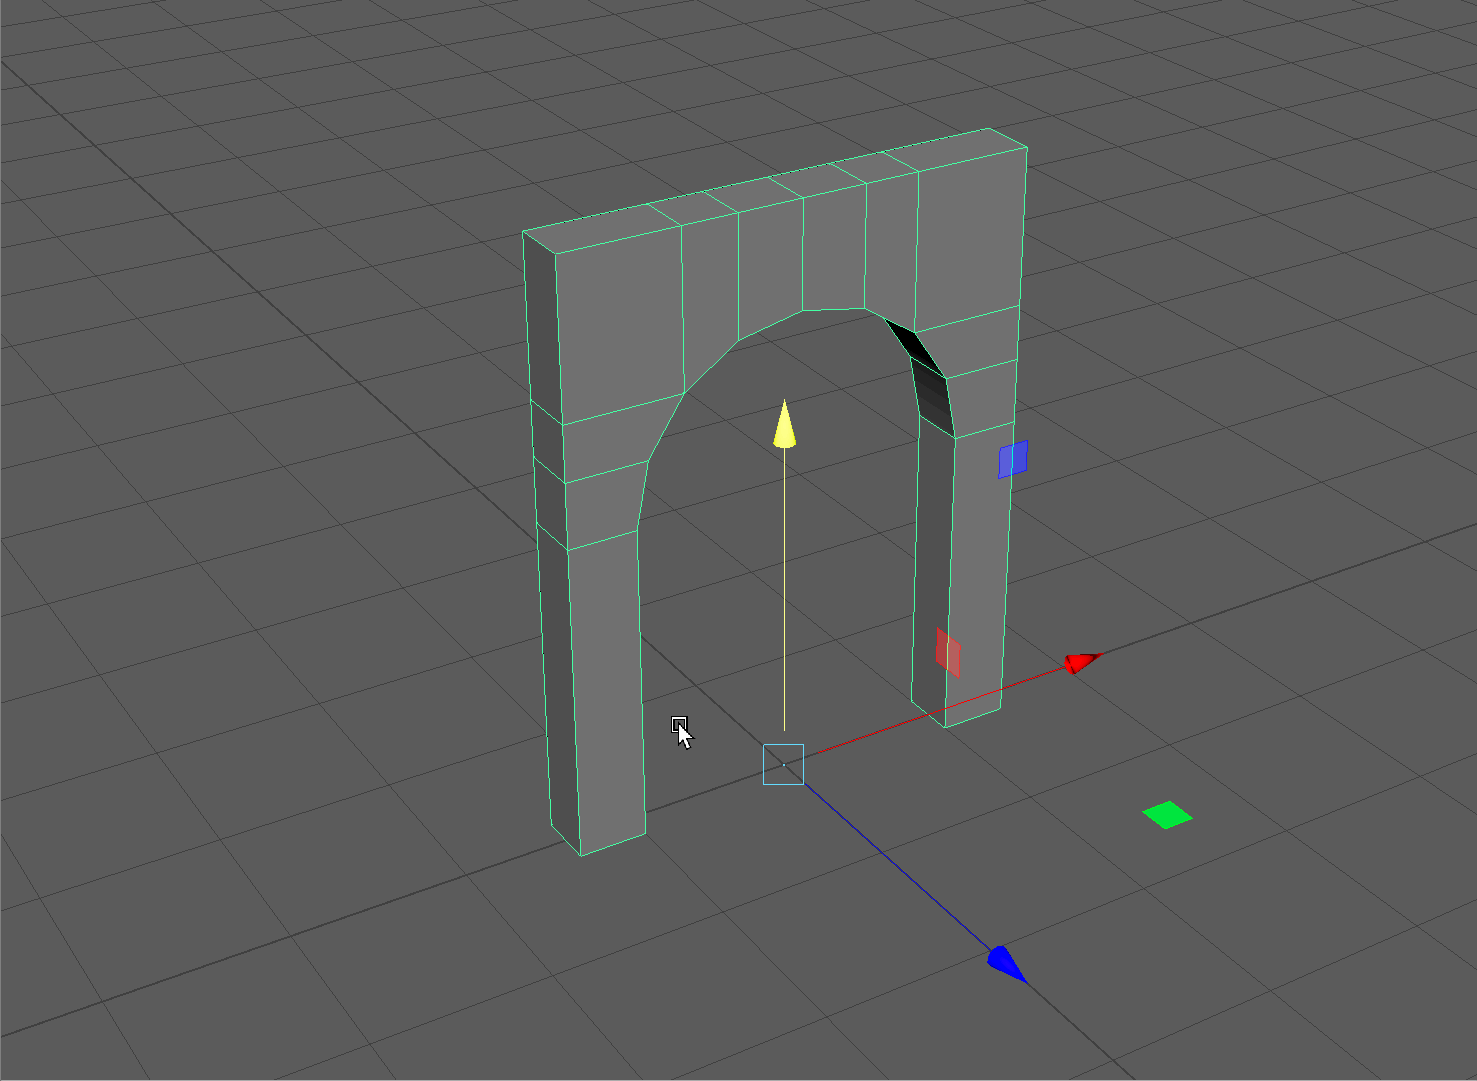
- Rotate the new arch by 90 degrees along the Y Axis.
Snap it to the bottom corner of our original arch.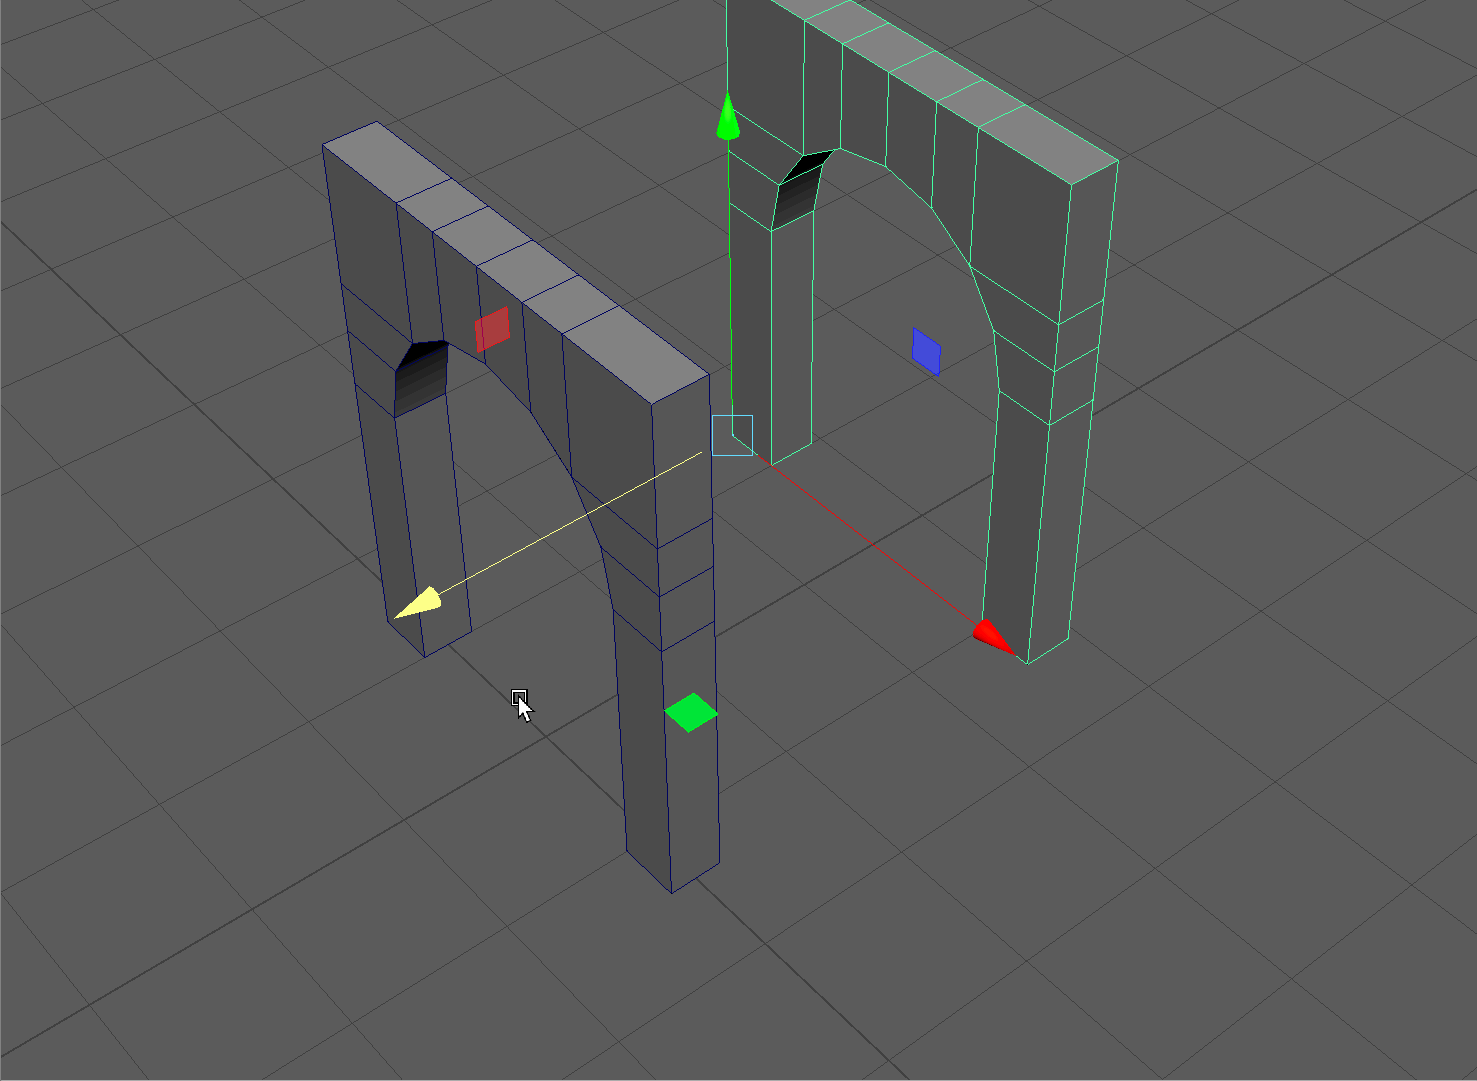
- Duplicate the new arch and snap it to our original arch.
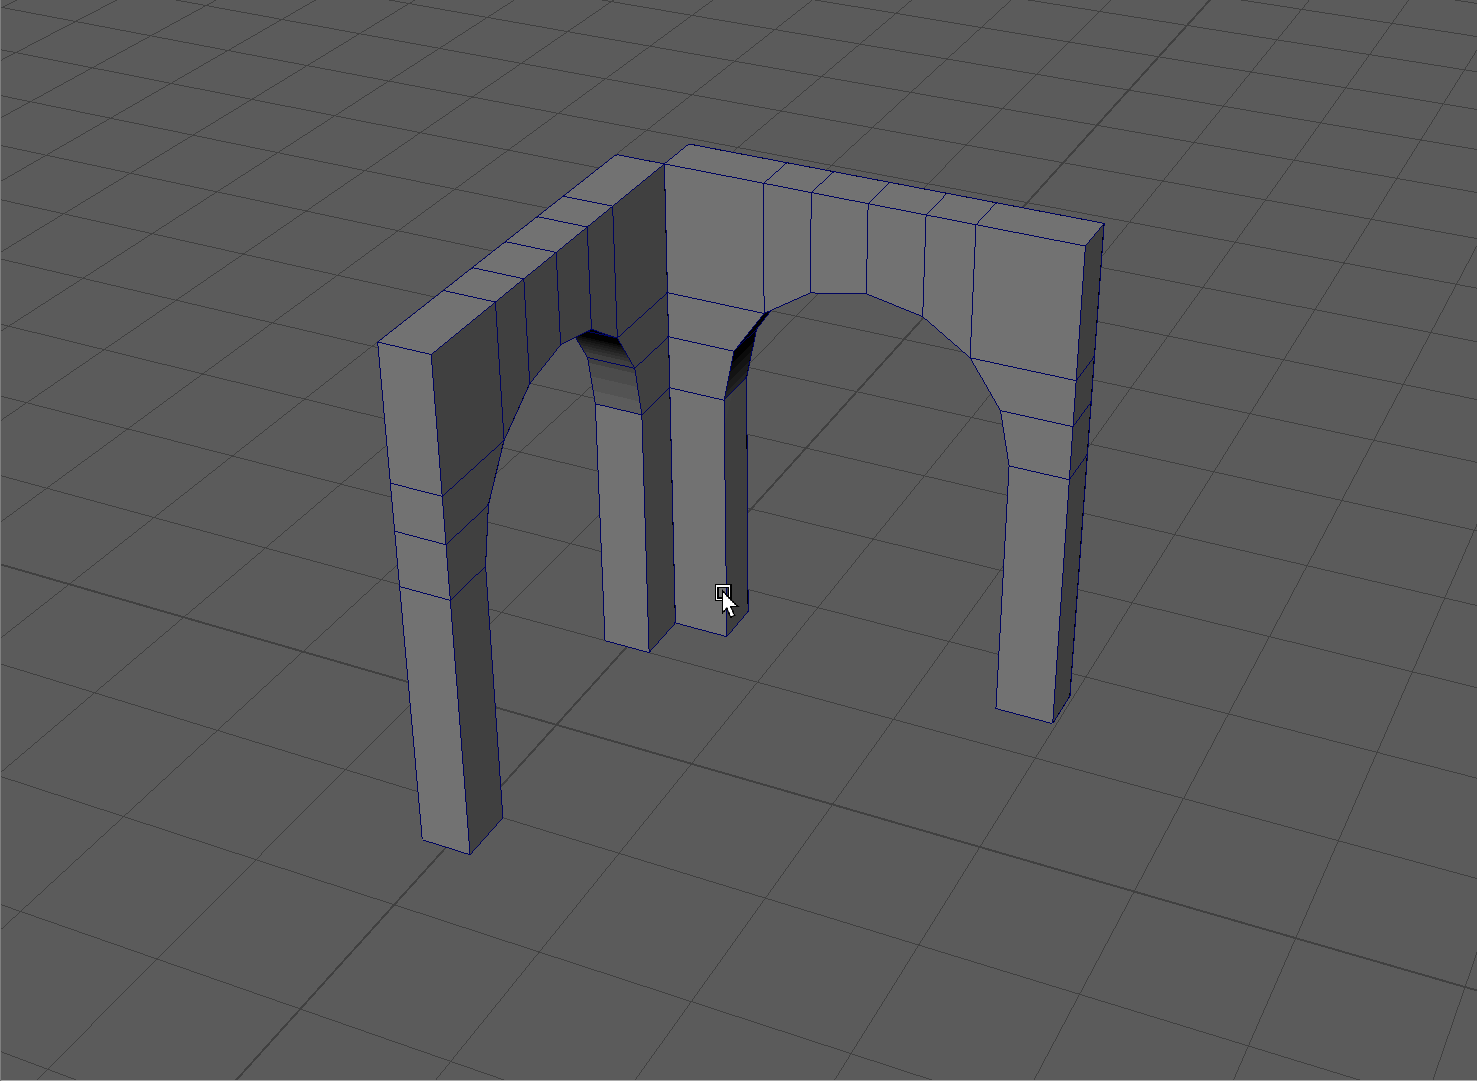
- Using the Combine tool, combine our arches together.
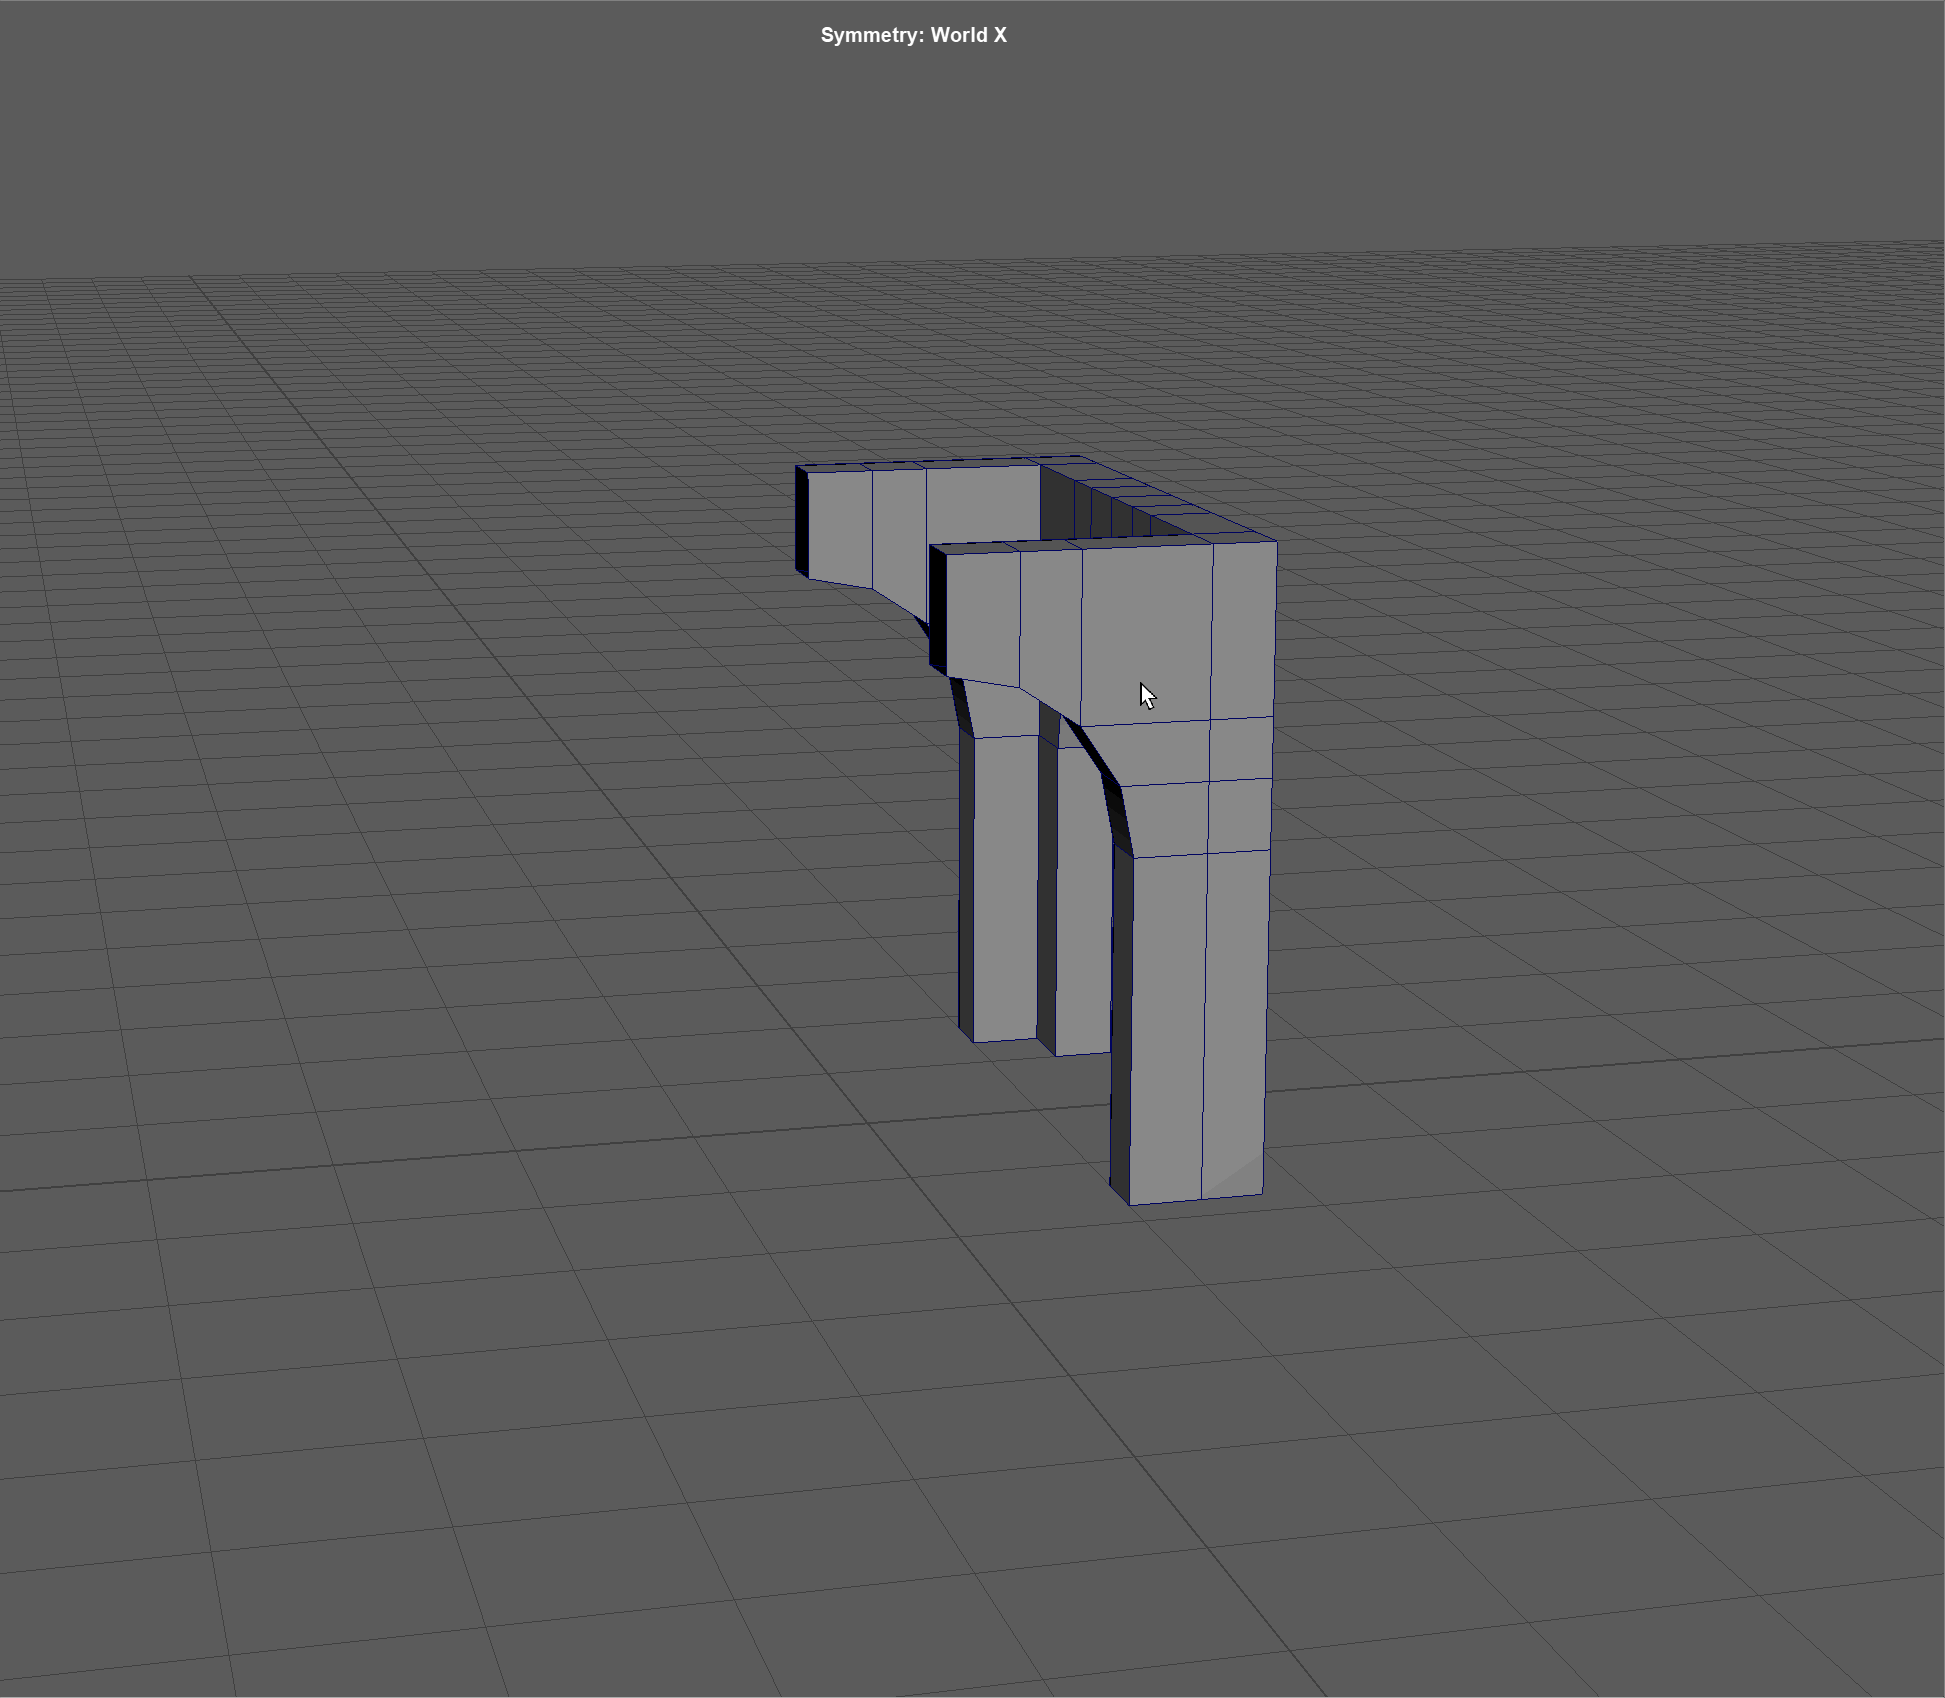
- With Symmetry still on, delete the interior faces of the corner of our archway.
- Select and Merge all vertices.
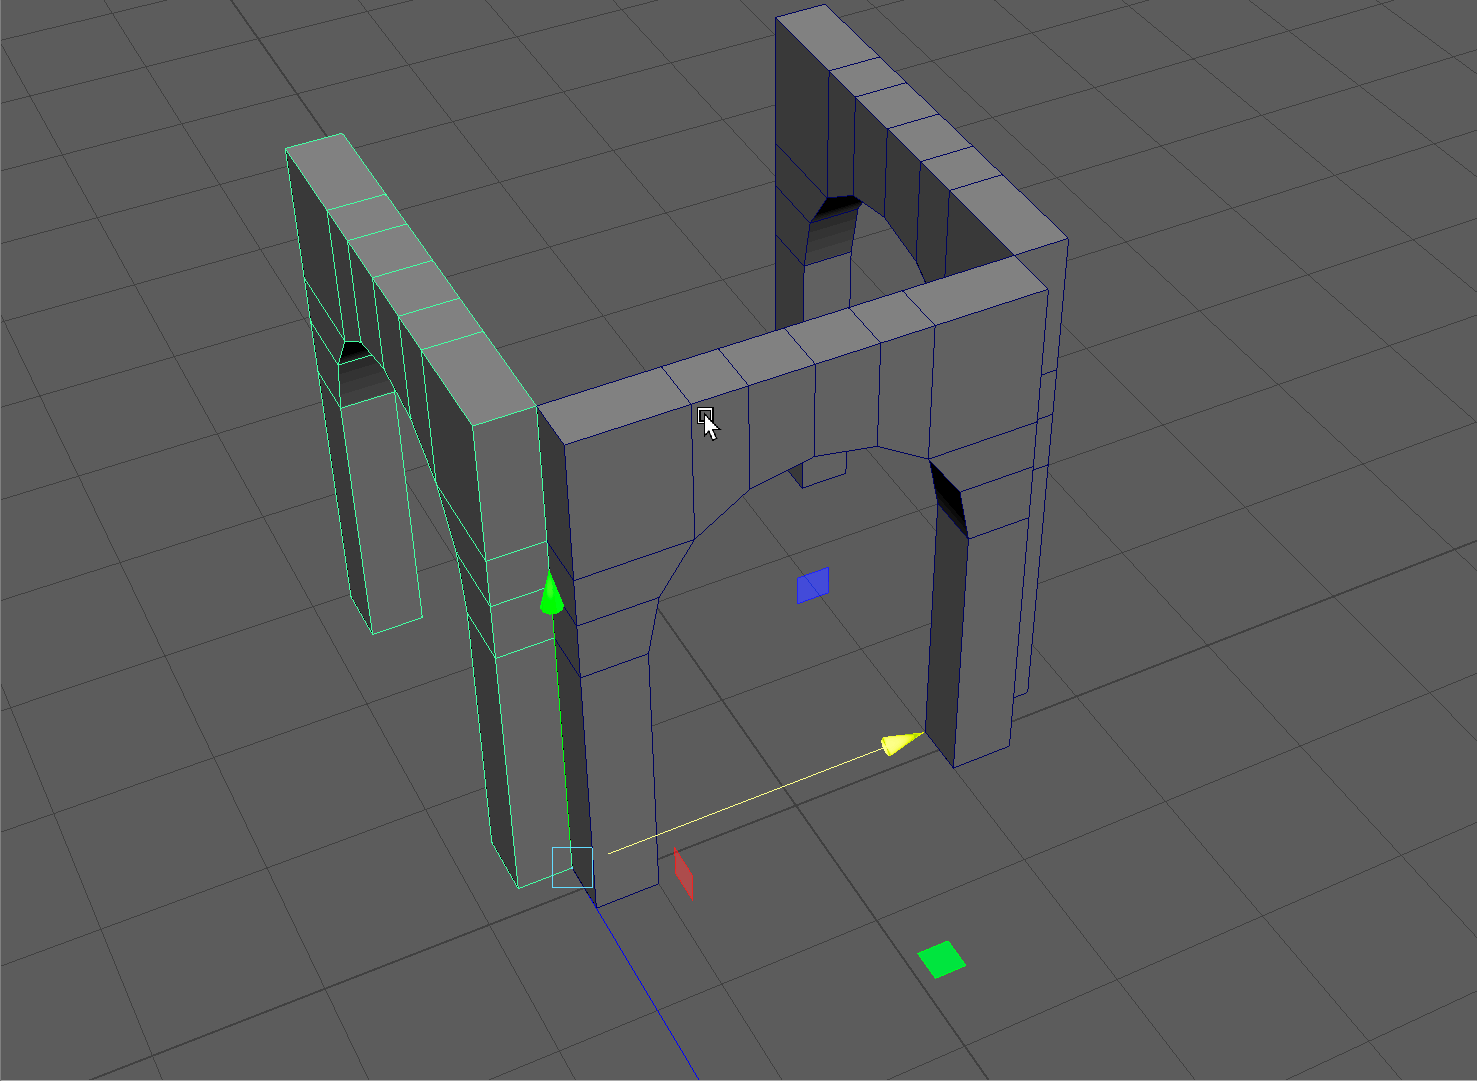
- Extrude the sides of our arch and snap them to the front vertices along the Z Axis.
- Bridge the front of our model.
- Bridge the top and bottom of our model.
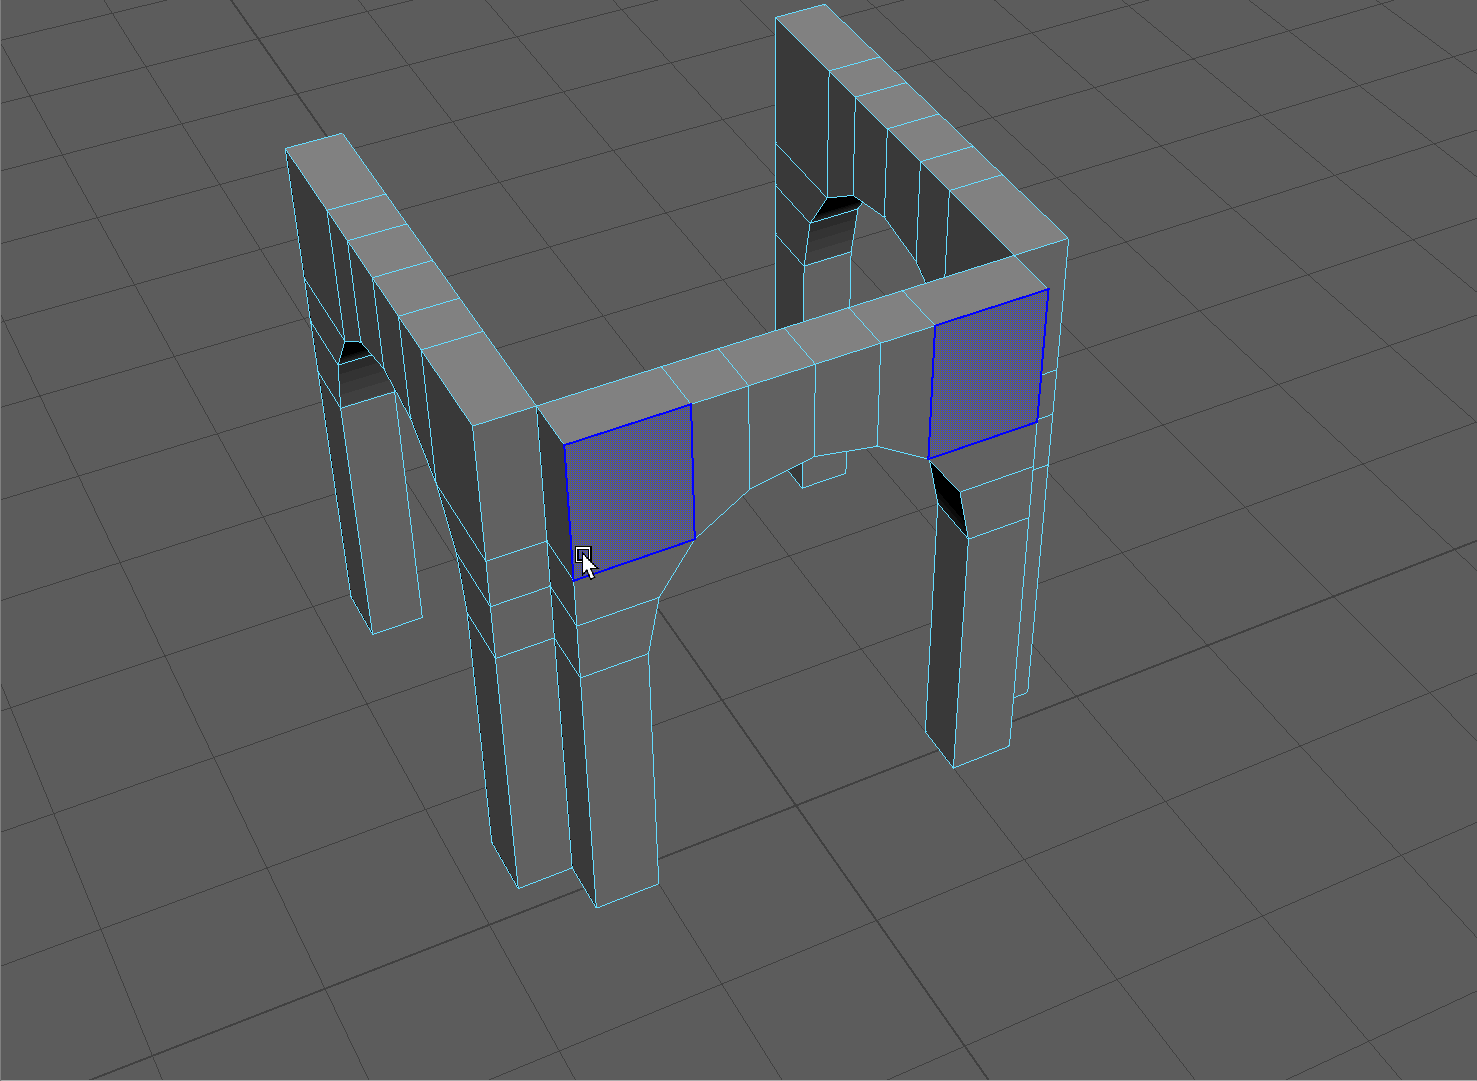
- We are going to use a new tool, the Mirror tool, to complete our model.
start by deleting the unedited half of our archway.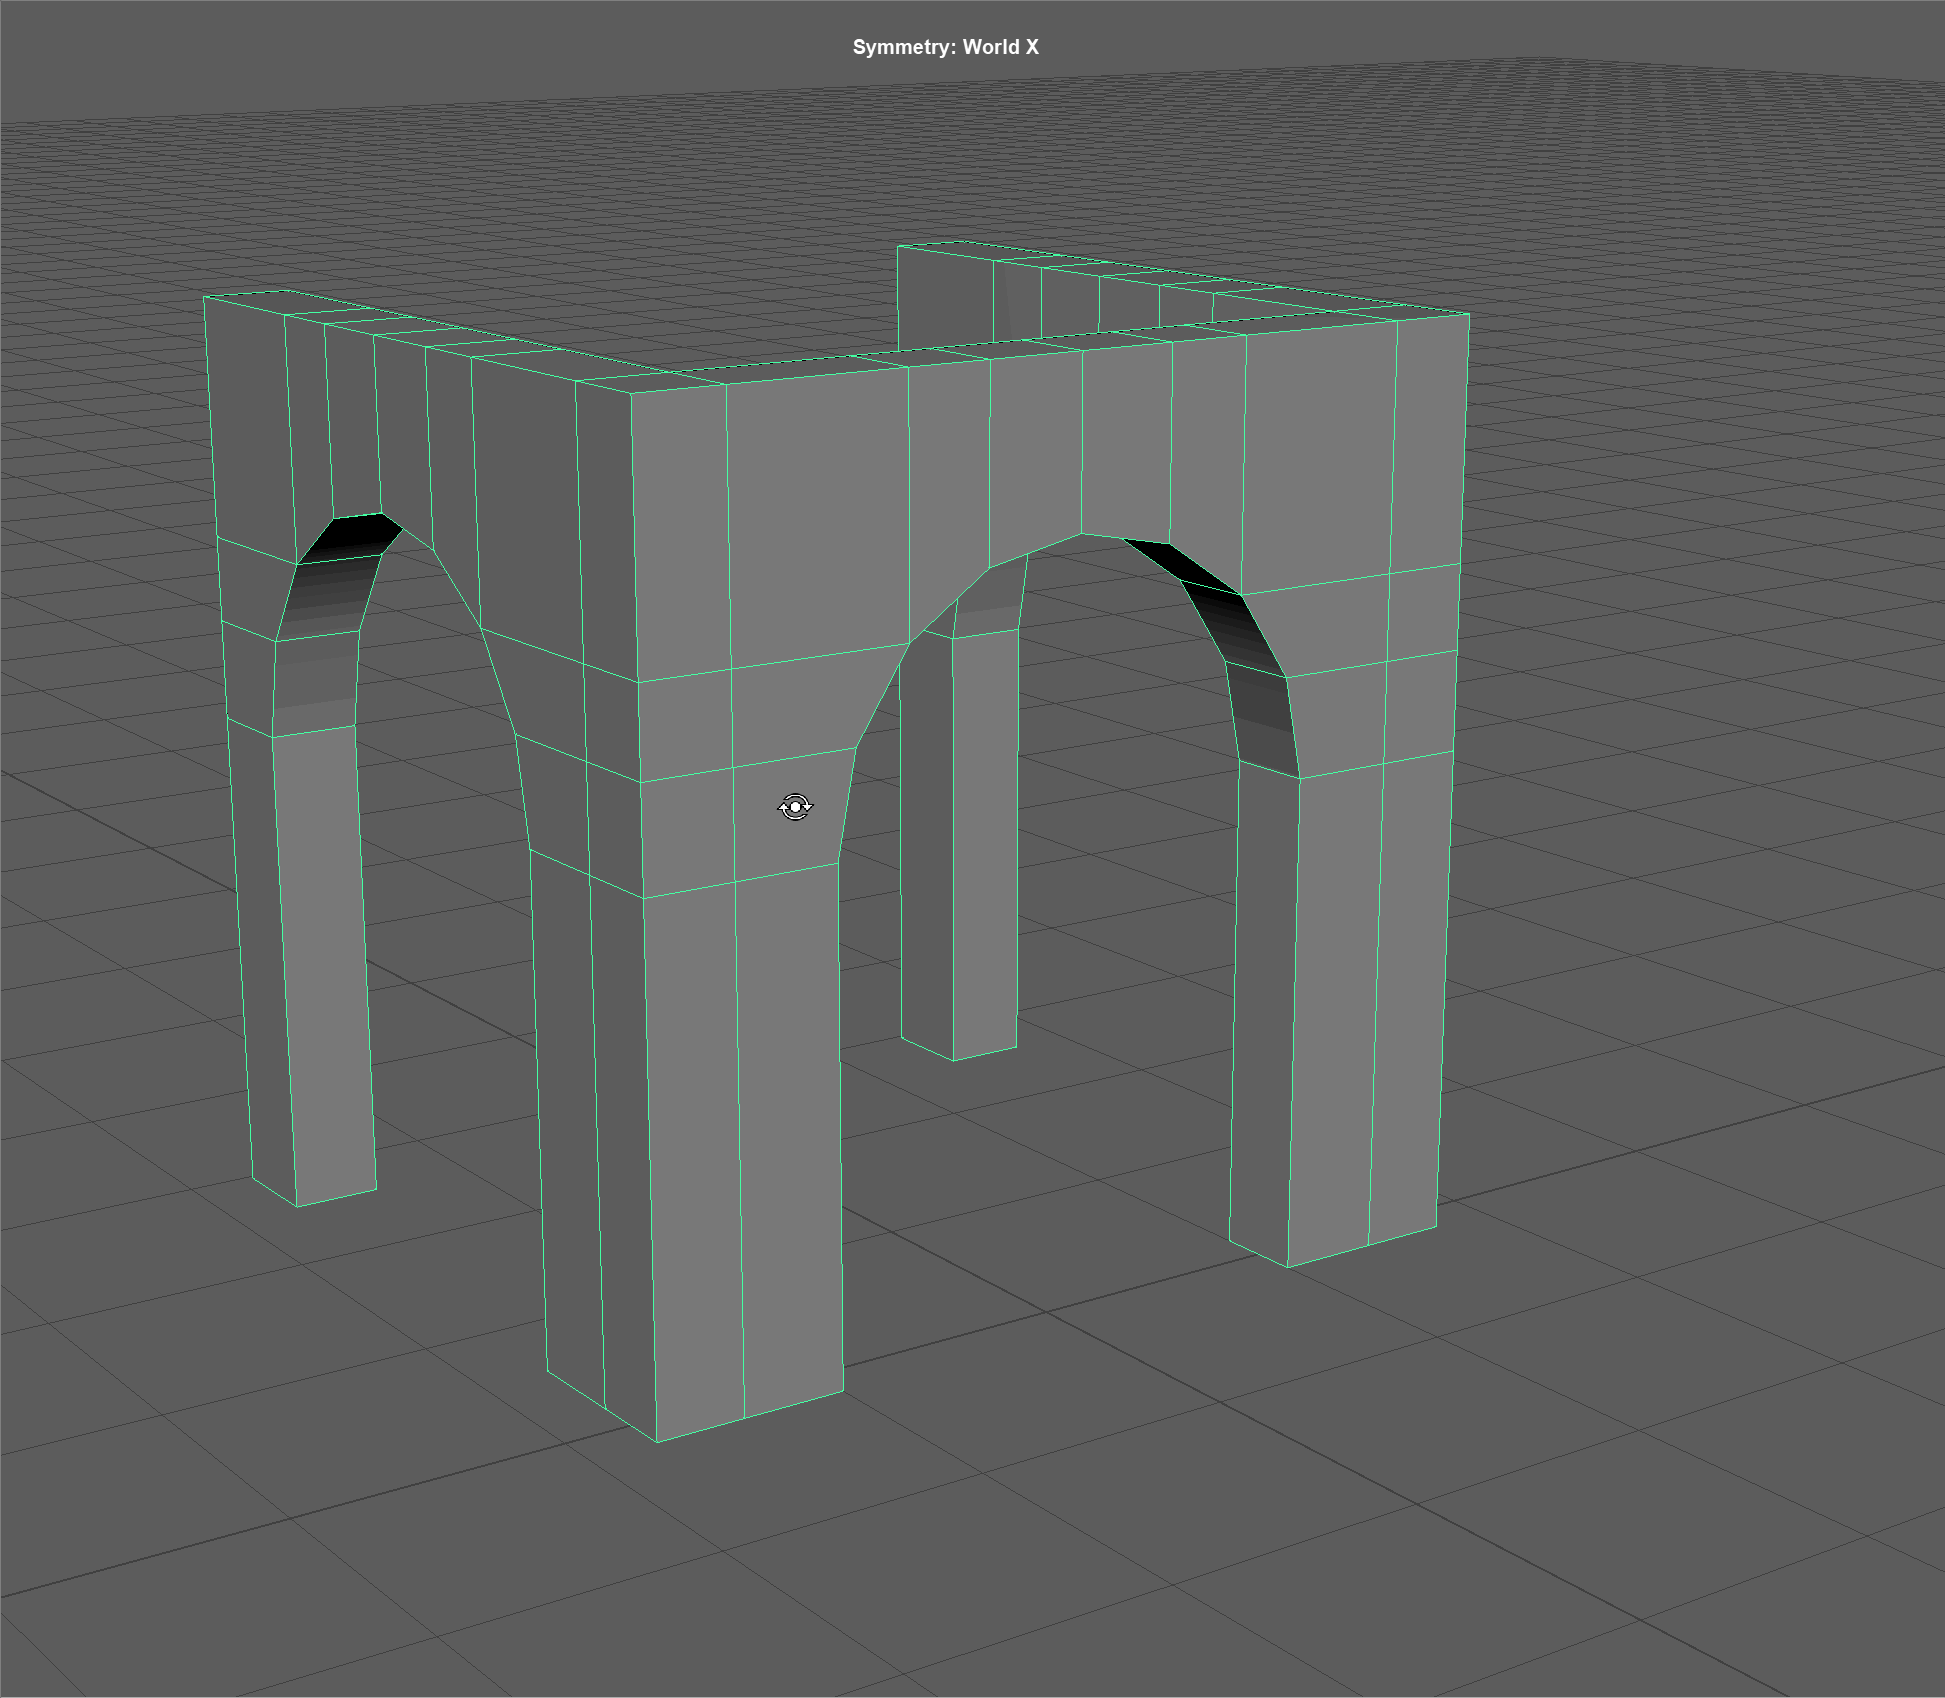
- Snap our pivot to the back-most vertices of our model.
Then snap the pivot to the bottom-most vertices.
Finally, snap the model to the center of our grid.
- Let's prepare our model for the Mirror tool by deleting its history.
Select our model and navigate to Edit -> Delete by Type -> History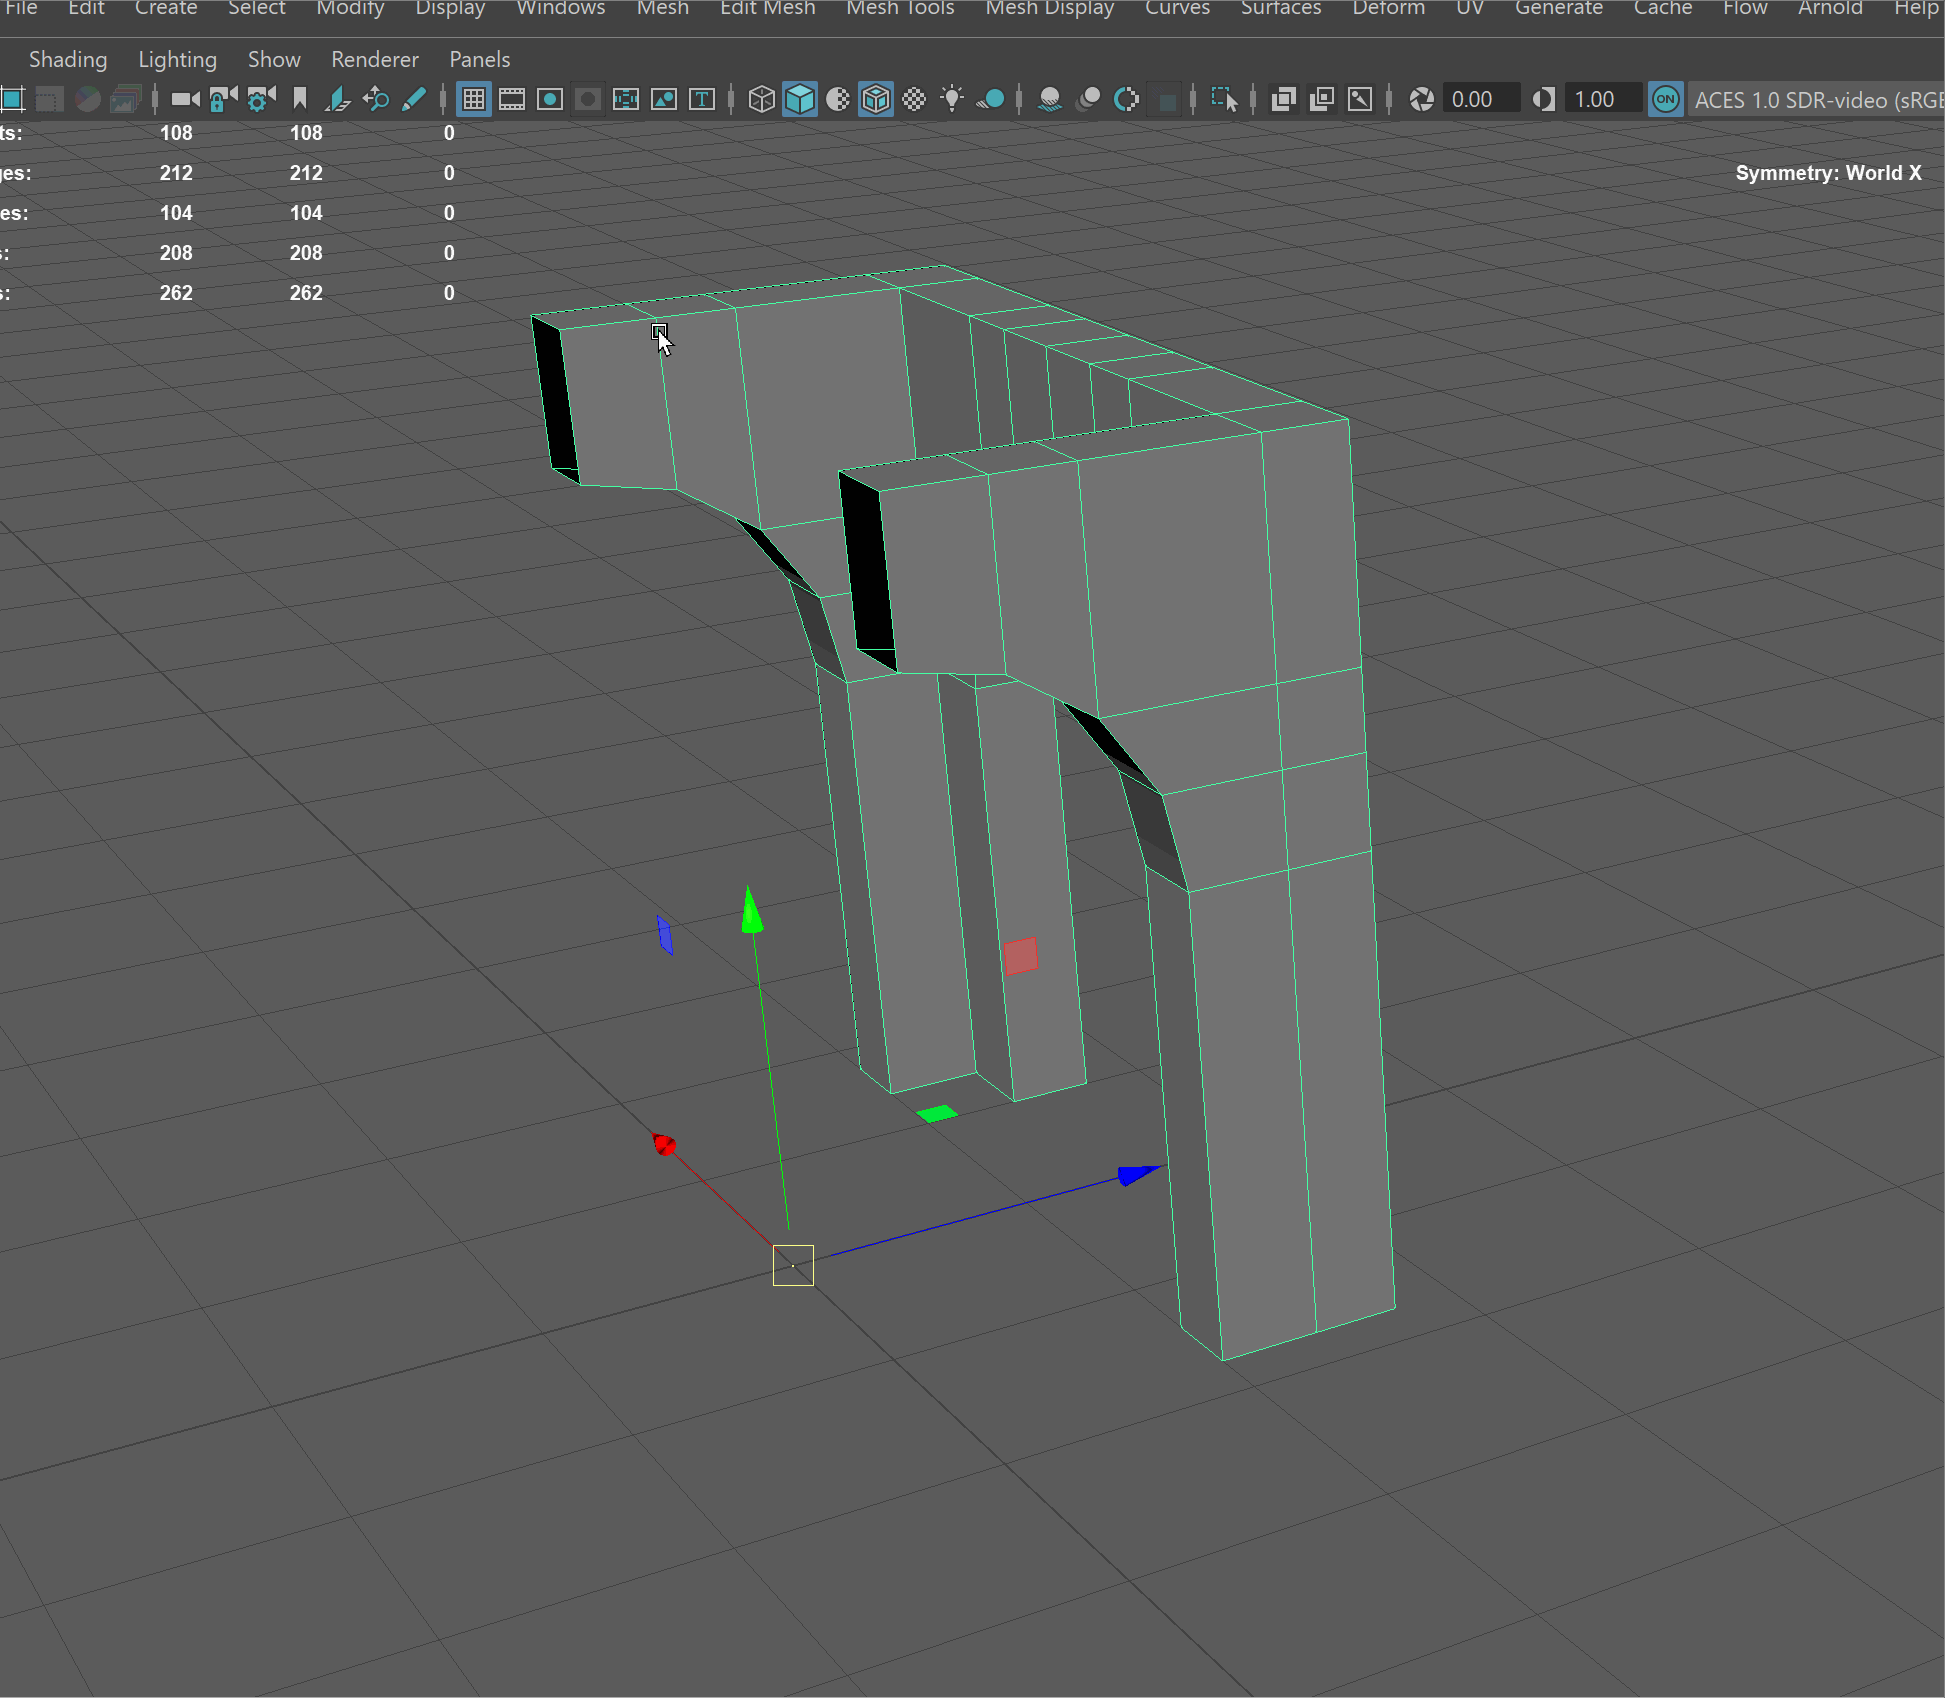
- Select our model in Object mode.
Holding Shift+RMB activate the Mirror tool. This tool allows us to reflect and weld our model along a certain axis.
Make sure you change the following parameters:Axis Position = World (changes the space in which of model reflects).
Axis = Z (changes the Axis over which our model reflects)
Merge Threshold = .01 (minimum distance for our vertices to marge together)
- Finally, let's clean up our model by deleting its history and freezing its transformations.
To Delete History - Edit -> Delete by Type -> History.
To Freeze Transformations - Modify -> Freeze Transformations