Modeling the Utah Teapot
New techniques we will learn in this tutorial:
- Edge sliding
- Live Objects
- Vertex Sliding
- Hiding and un-hiding objects
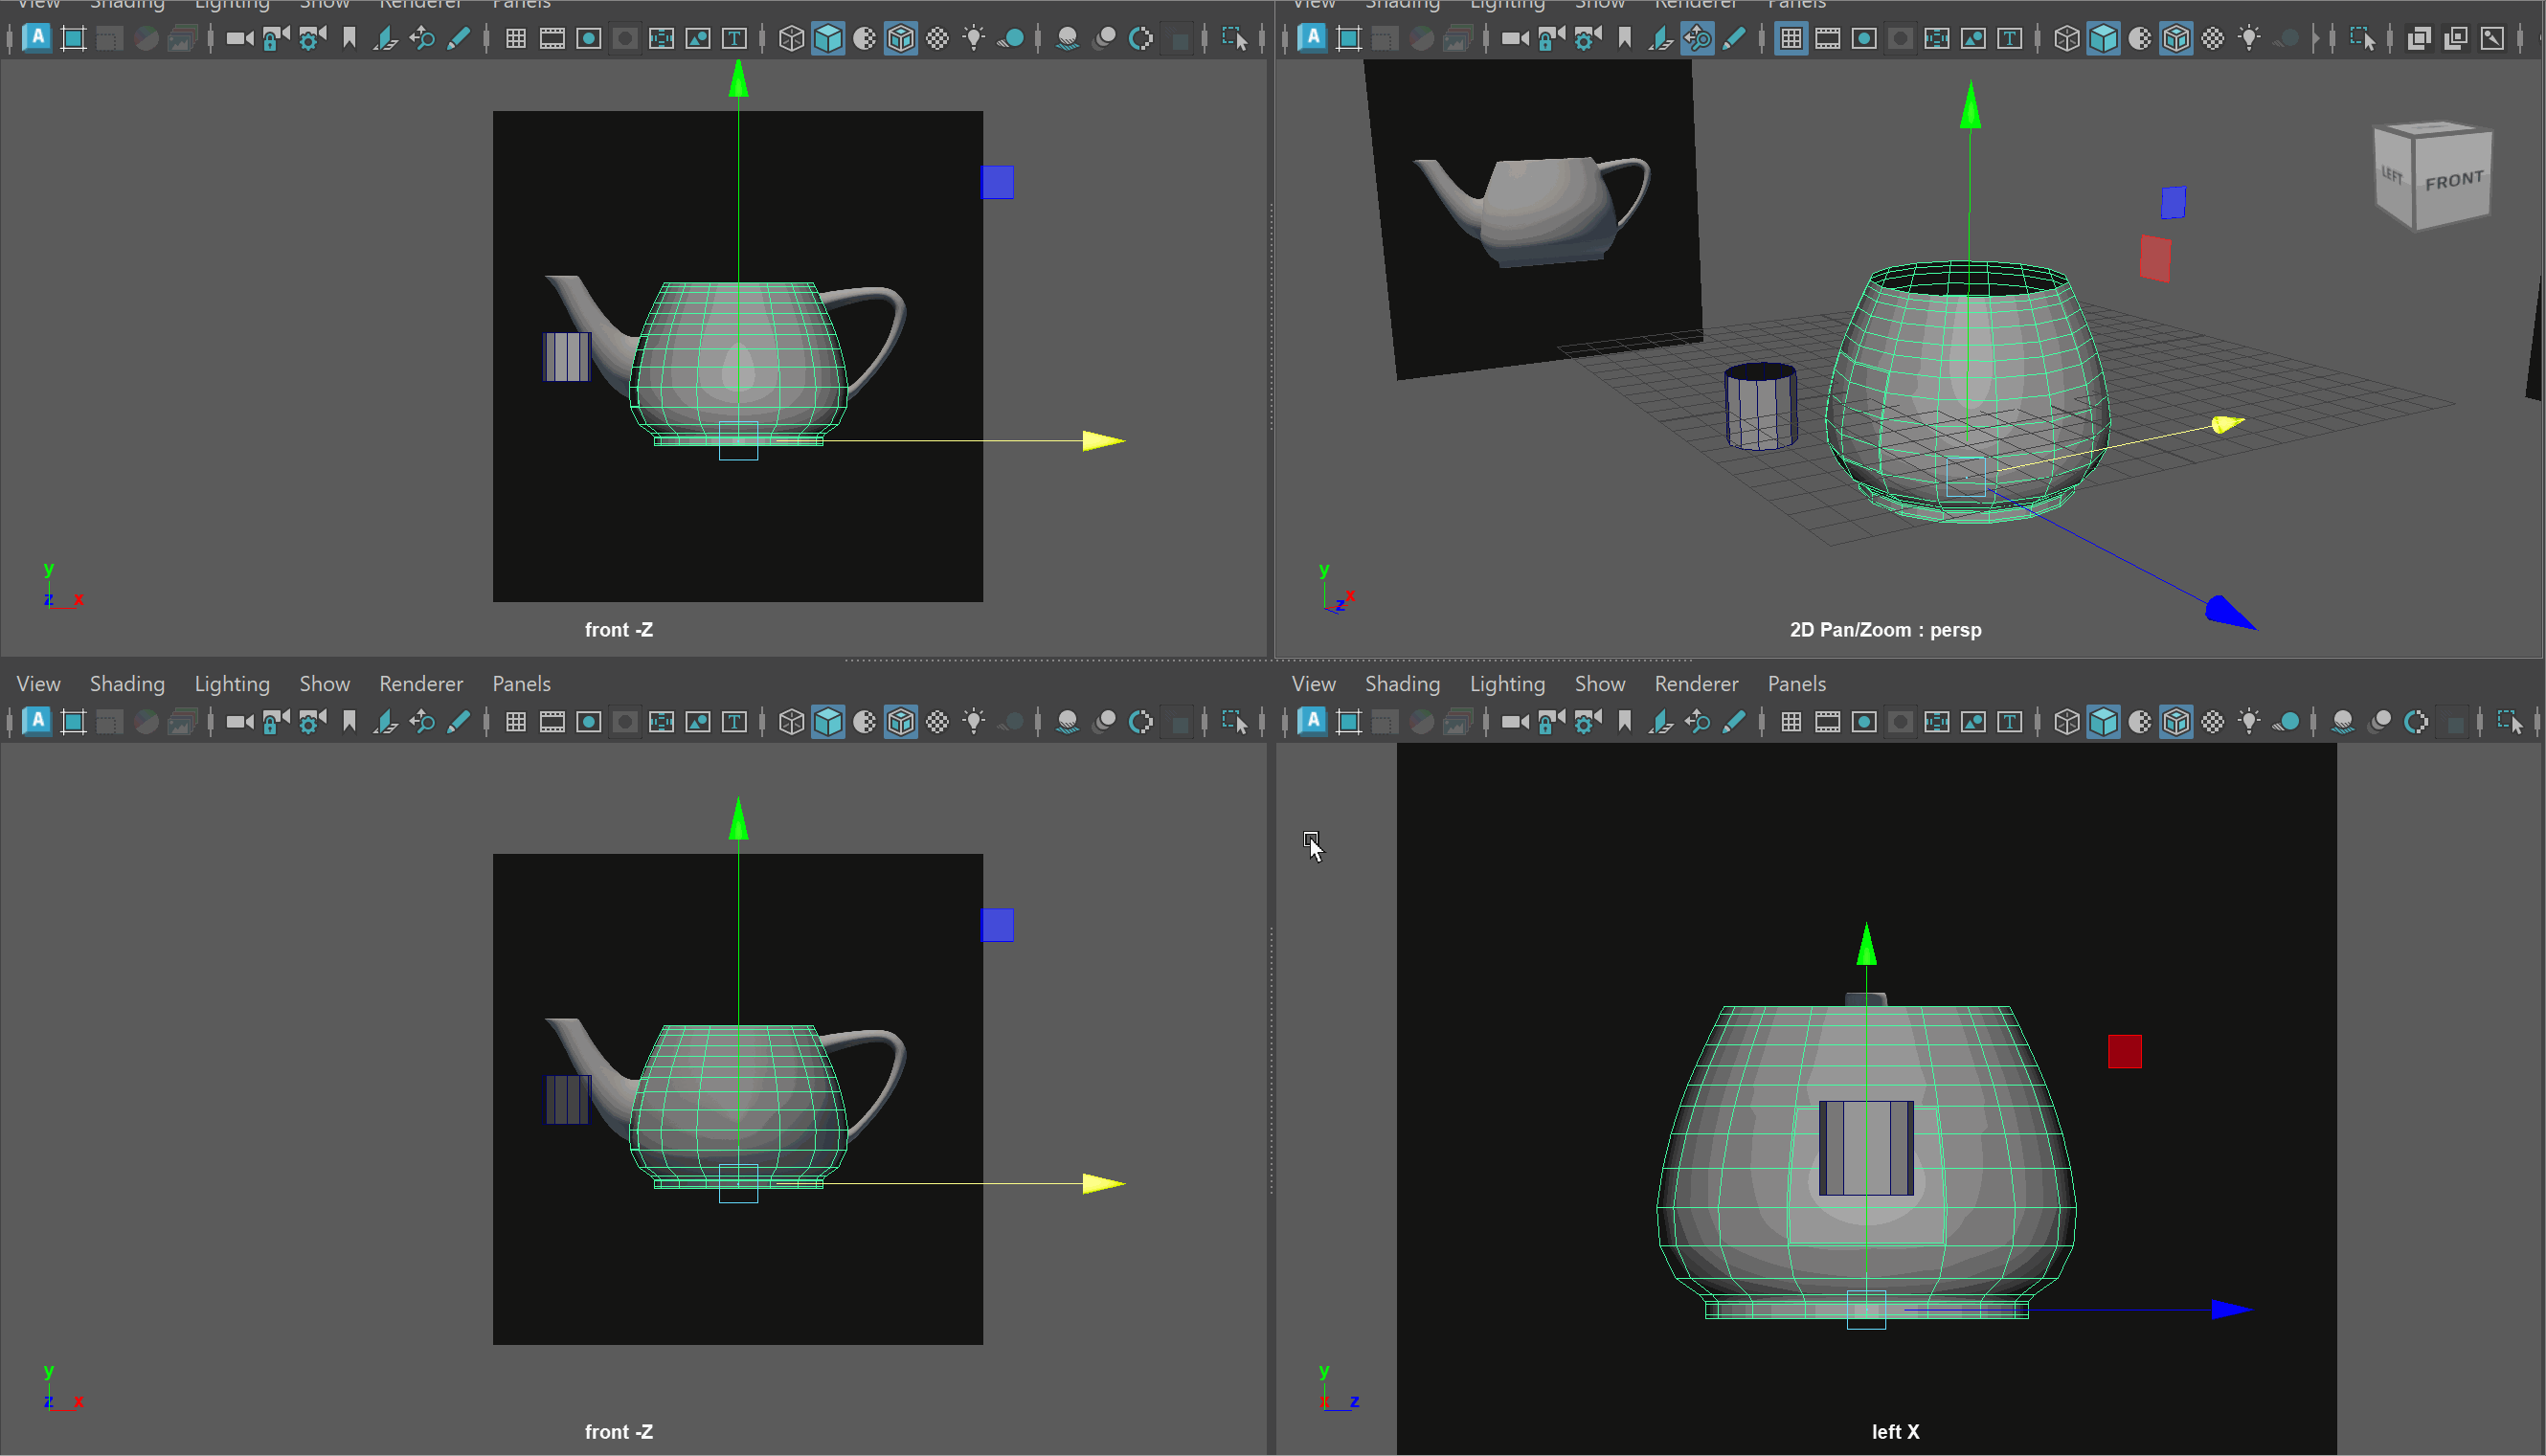
Begin by turning on the visibility for the "Teapot_images" layer. We will use these images for reference while modeling.
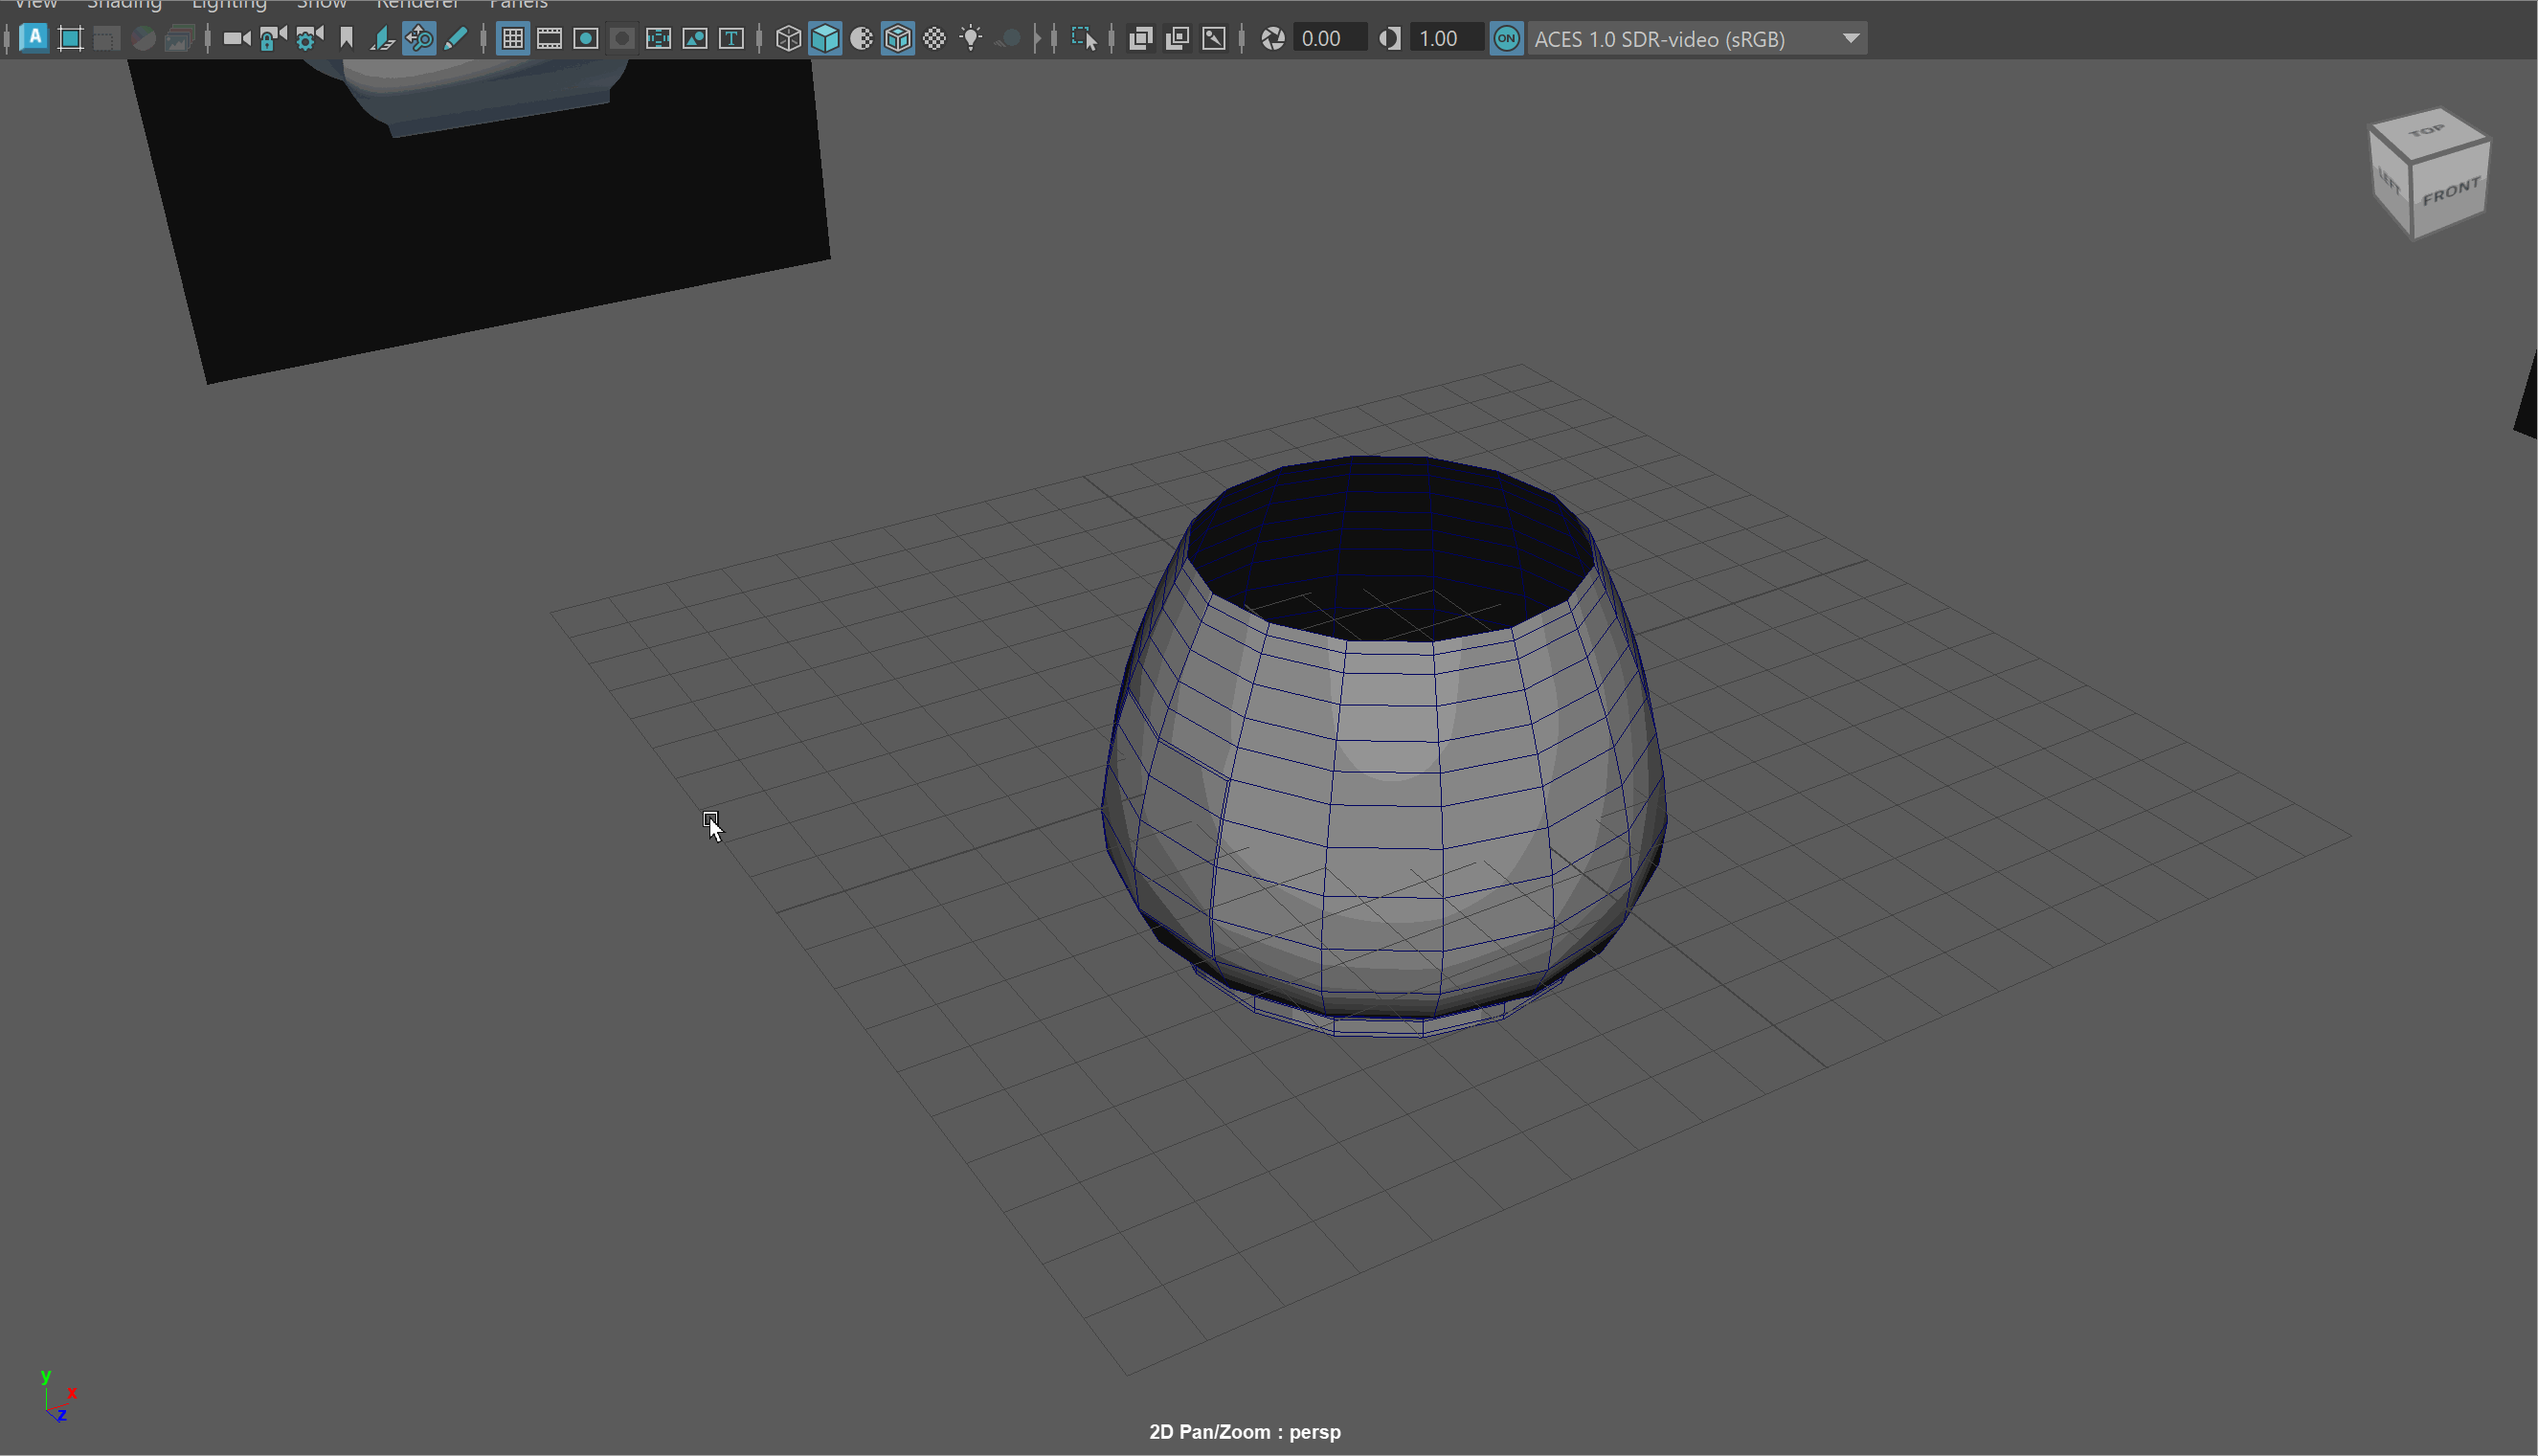
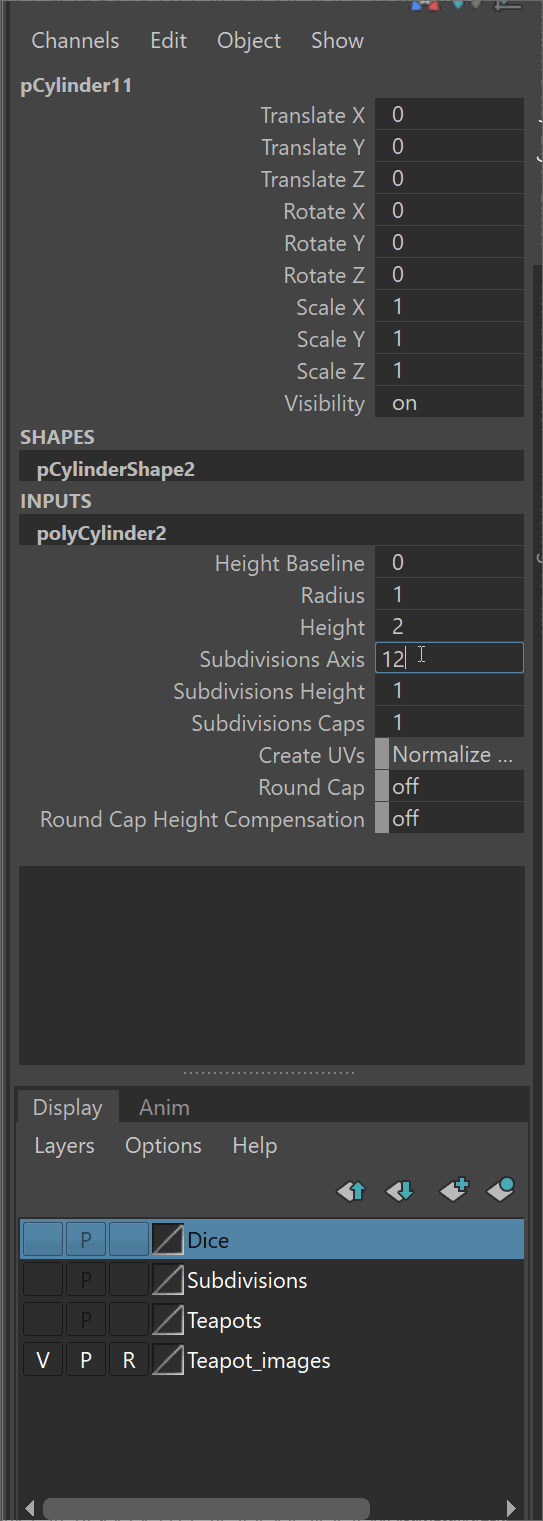
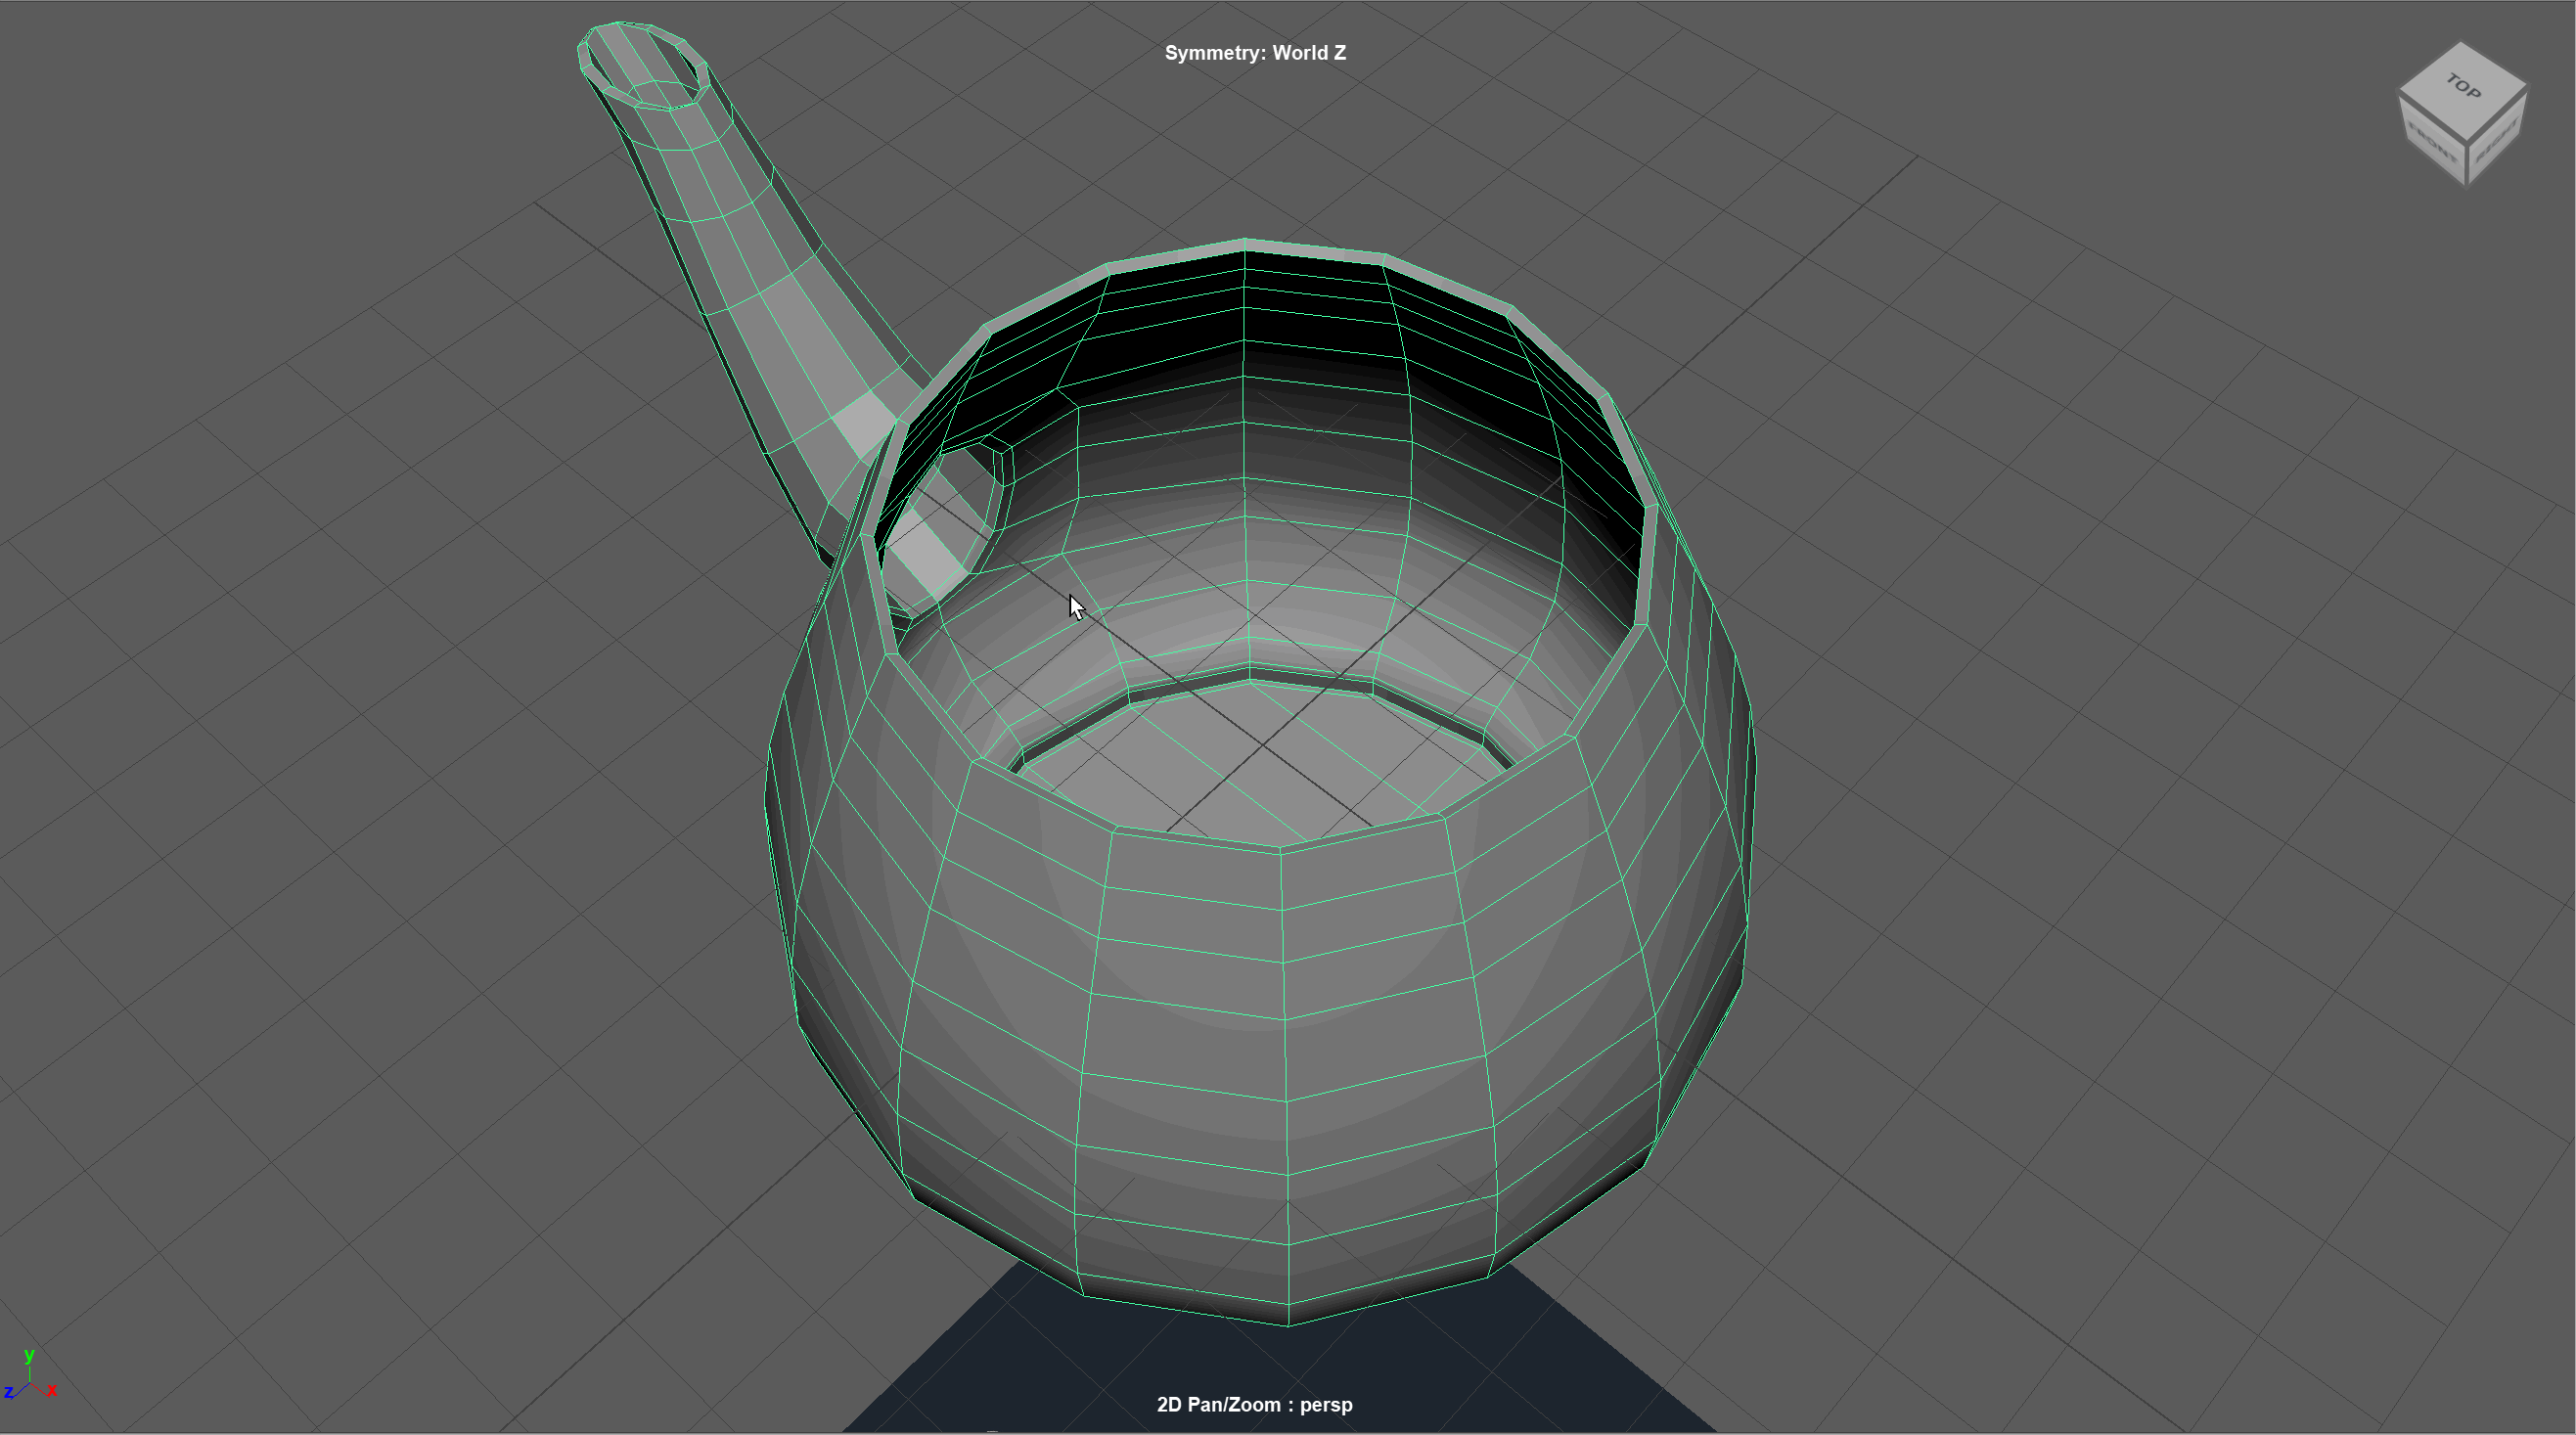
- Start by creating a cylinder with 8 sides.

- Delete the top and bottom faces.
- Exit the perspective view by tapping Space. Hover over the front view and tap Space to enter the front view.
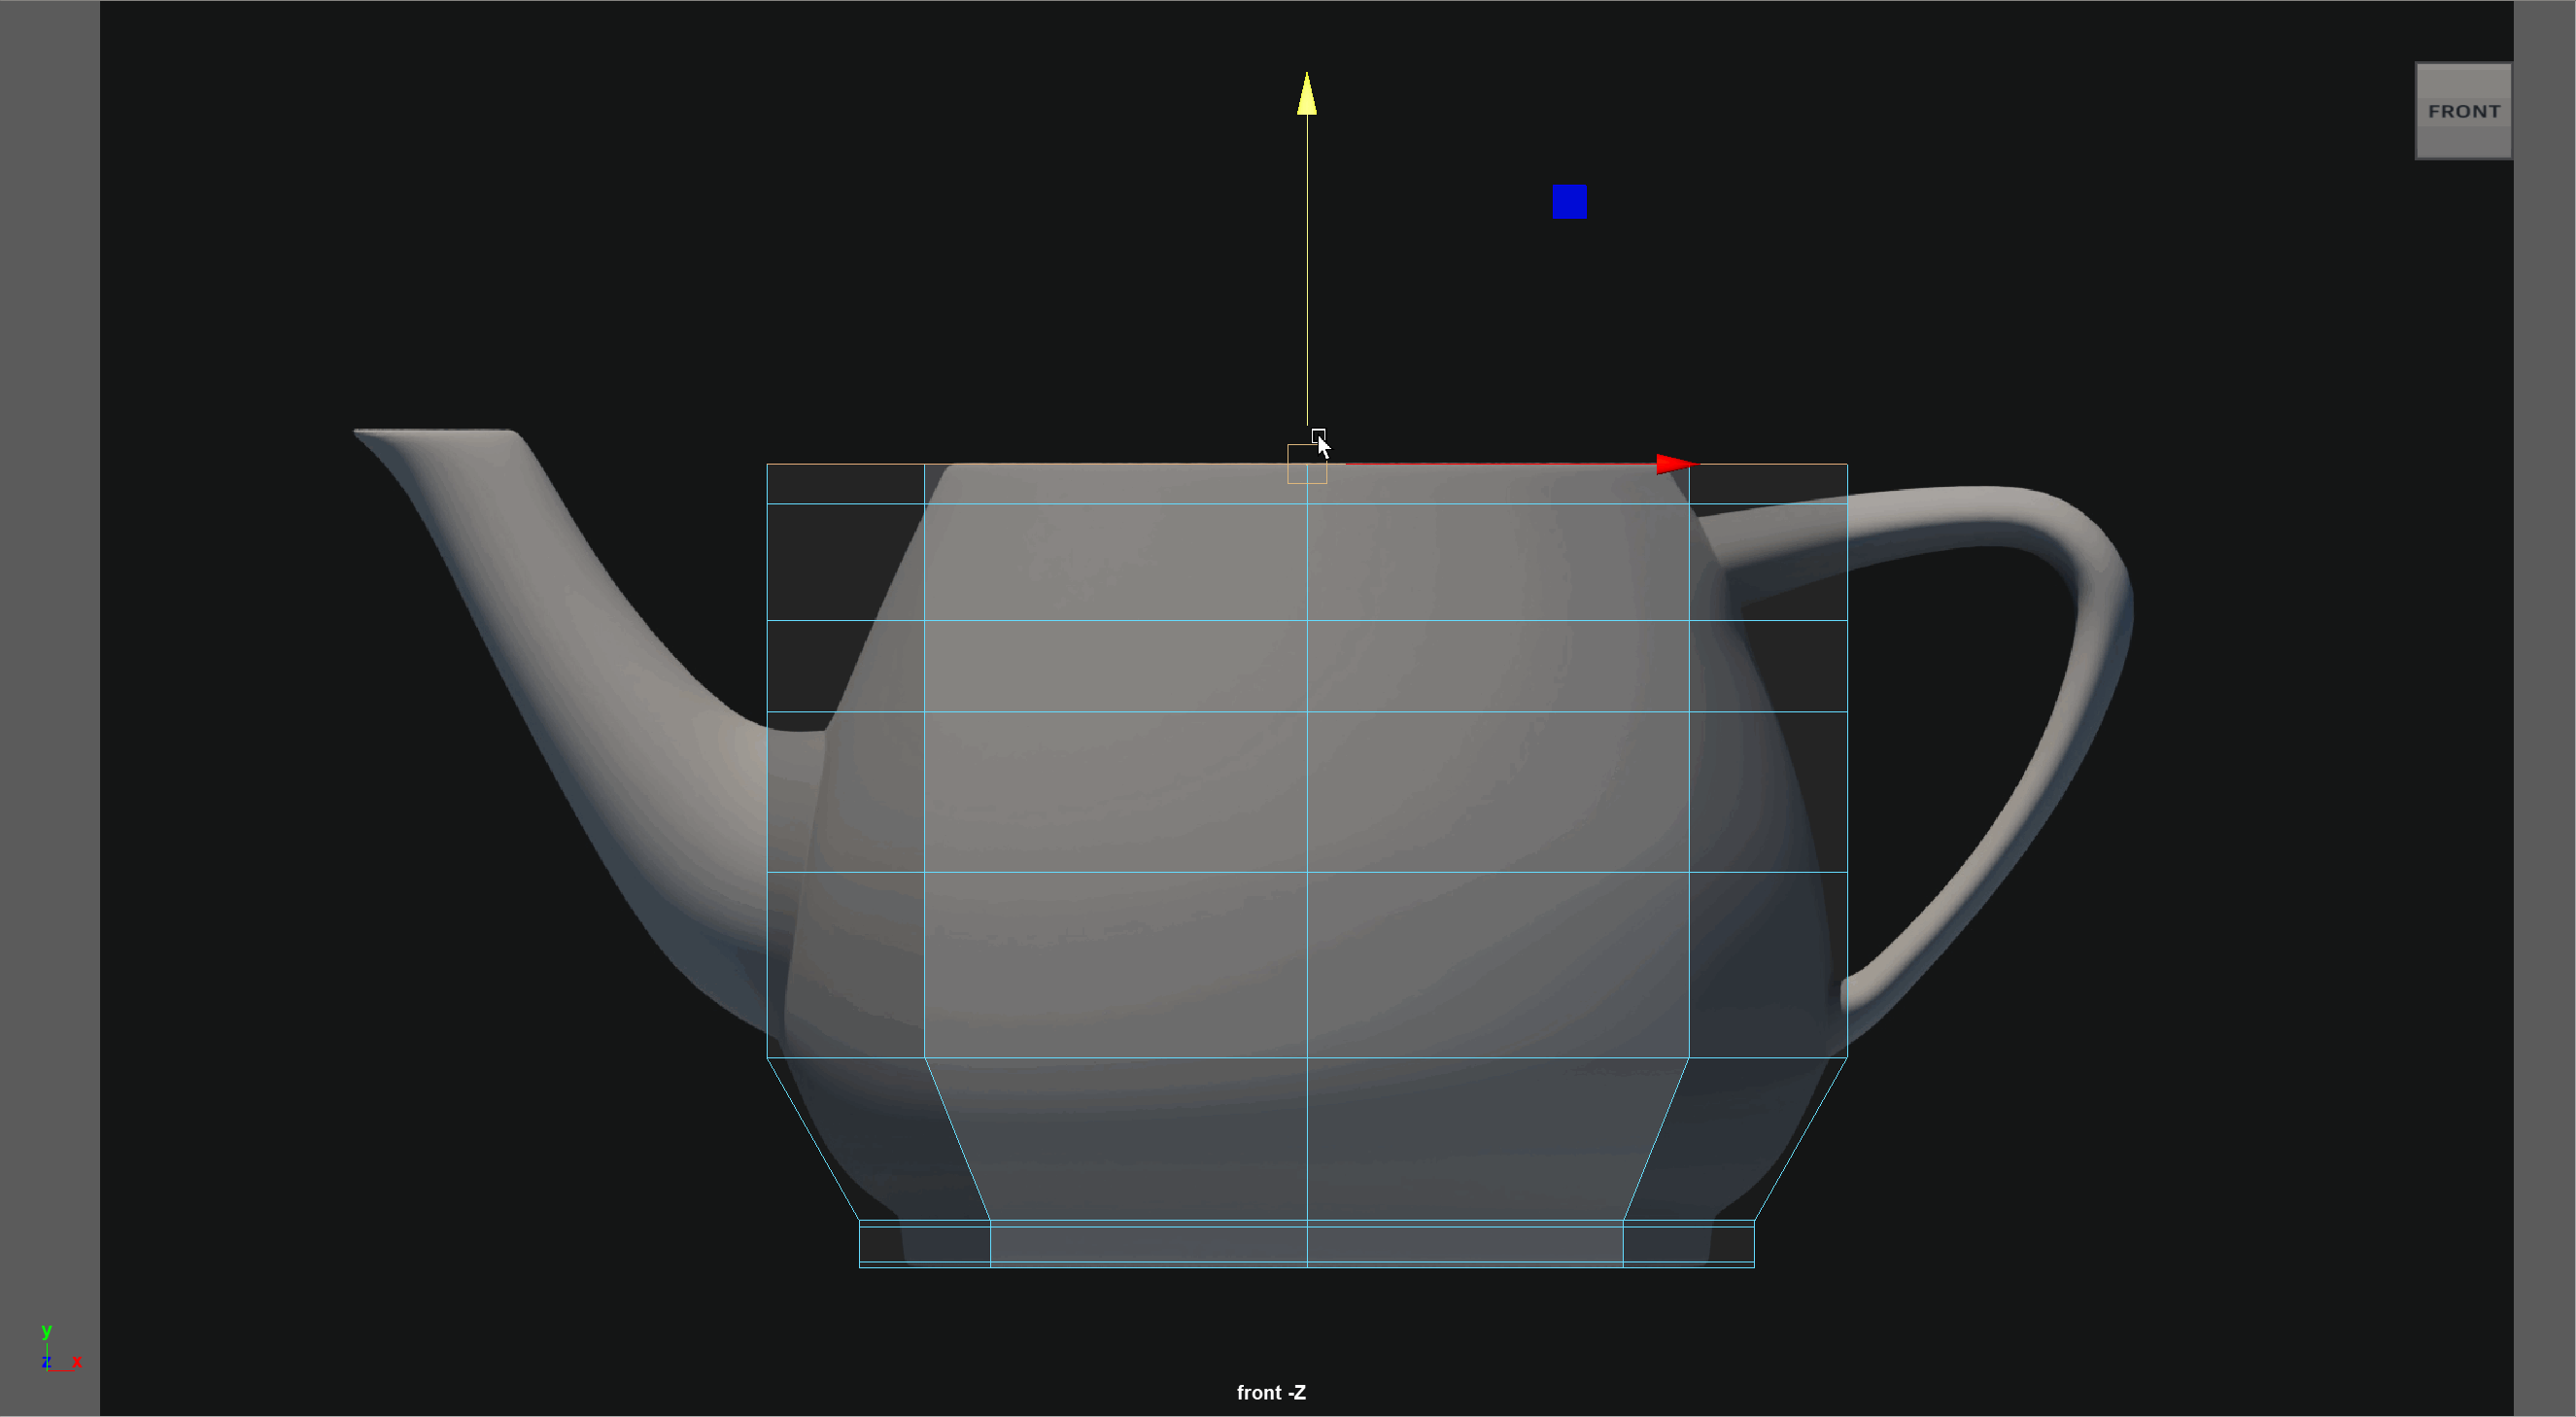
- Scale out cylinder to be the size of the base of our teapot.
- To see things better, let's turn on X-Ray mode which allows use to see through our model.
- In Smooth Preview mode, let's scale our cylinder to be the height of our base.
- Double Click our edge loop to select it, and extrude it up to begin forming the teapot. We know we want a hard edge on the base of our model, so let's add in some edge loops.
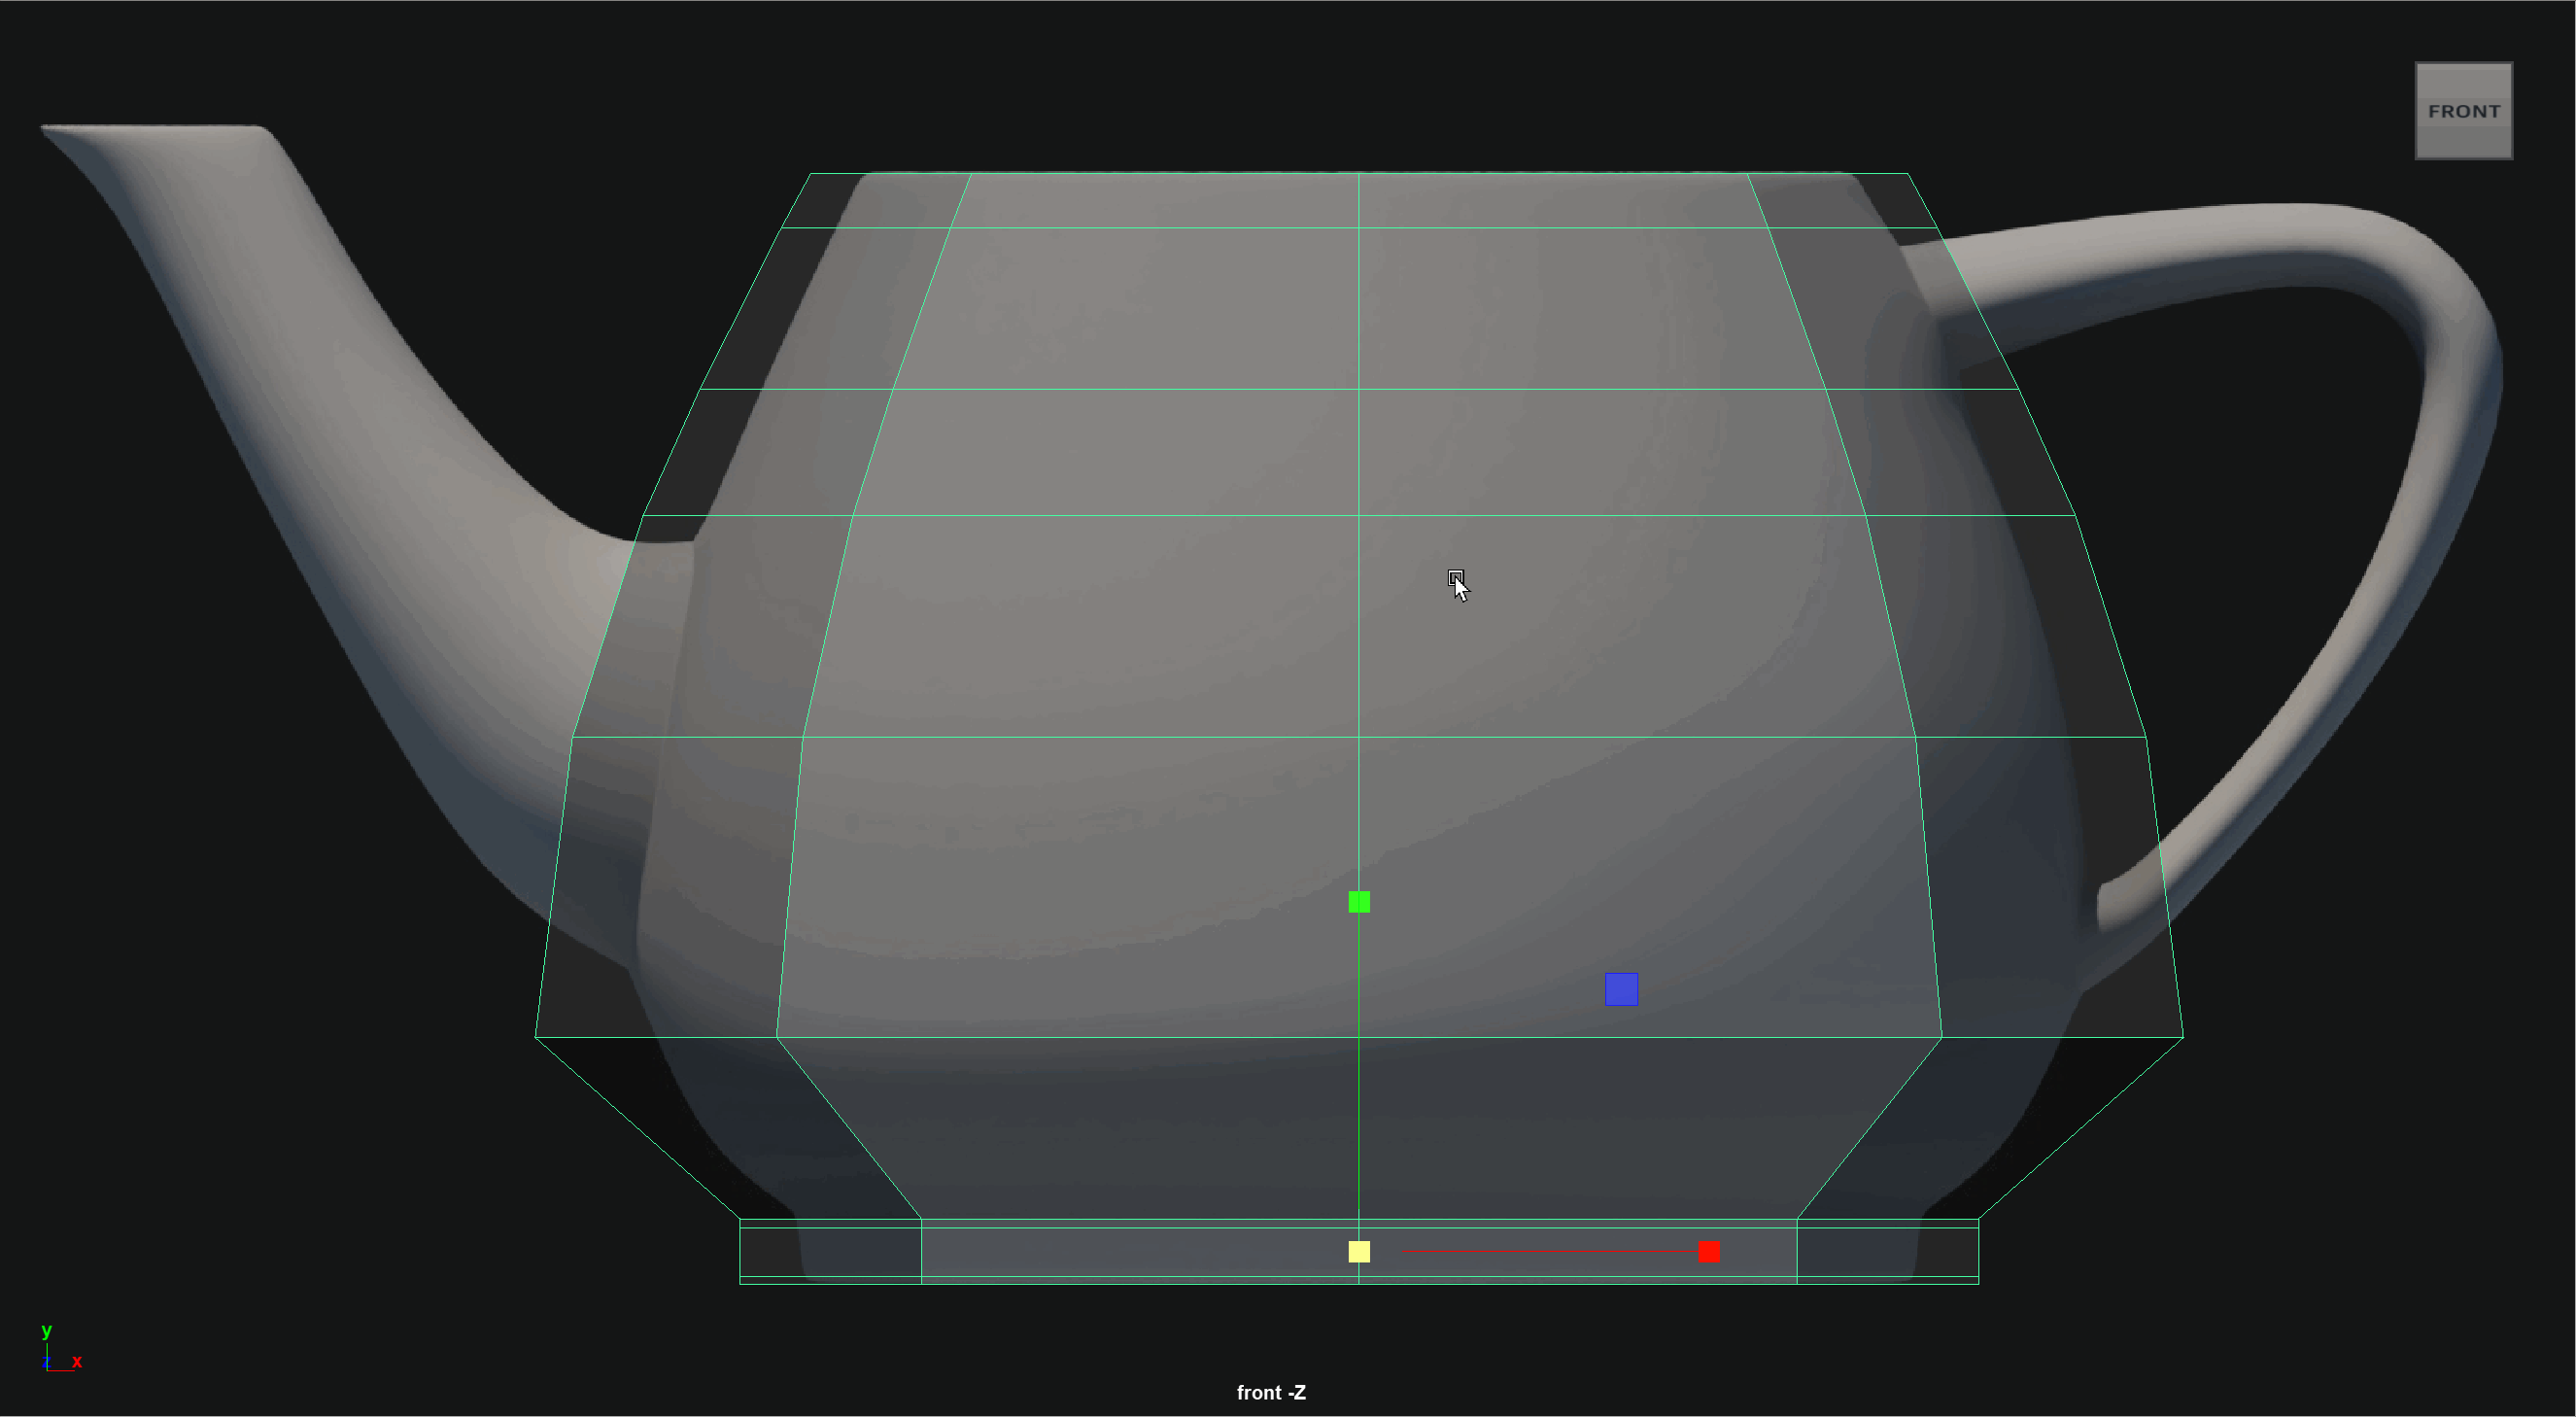
- Continue extruding our model up to key points including the base of our spout, the center of our spout, the top of our spot, the bottom of the top handle and the top of the top handle.
- Scale these edges in smooth preview mode to match the shape of our teapot.
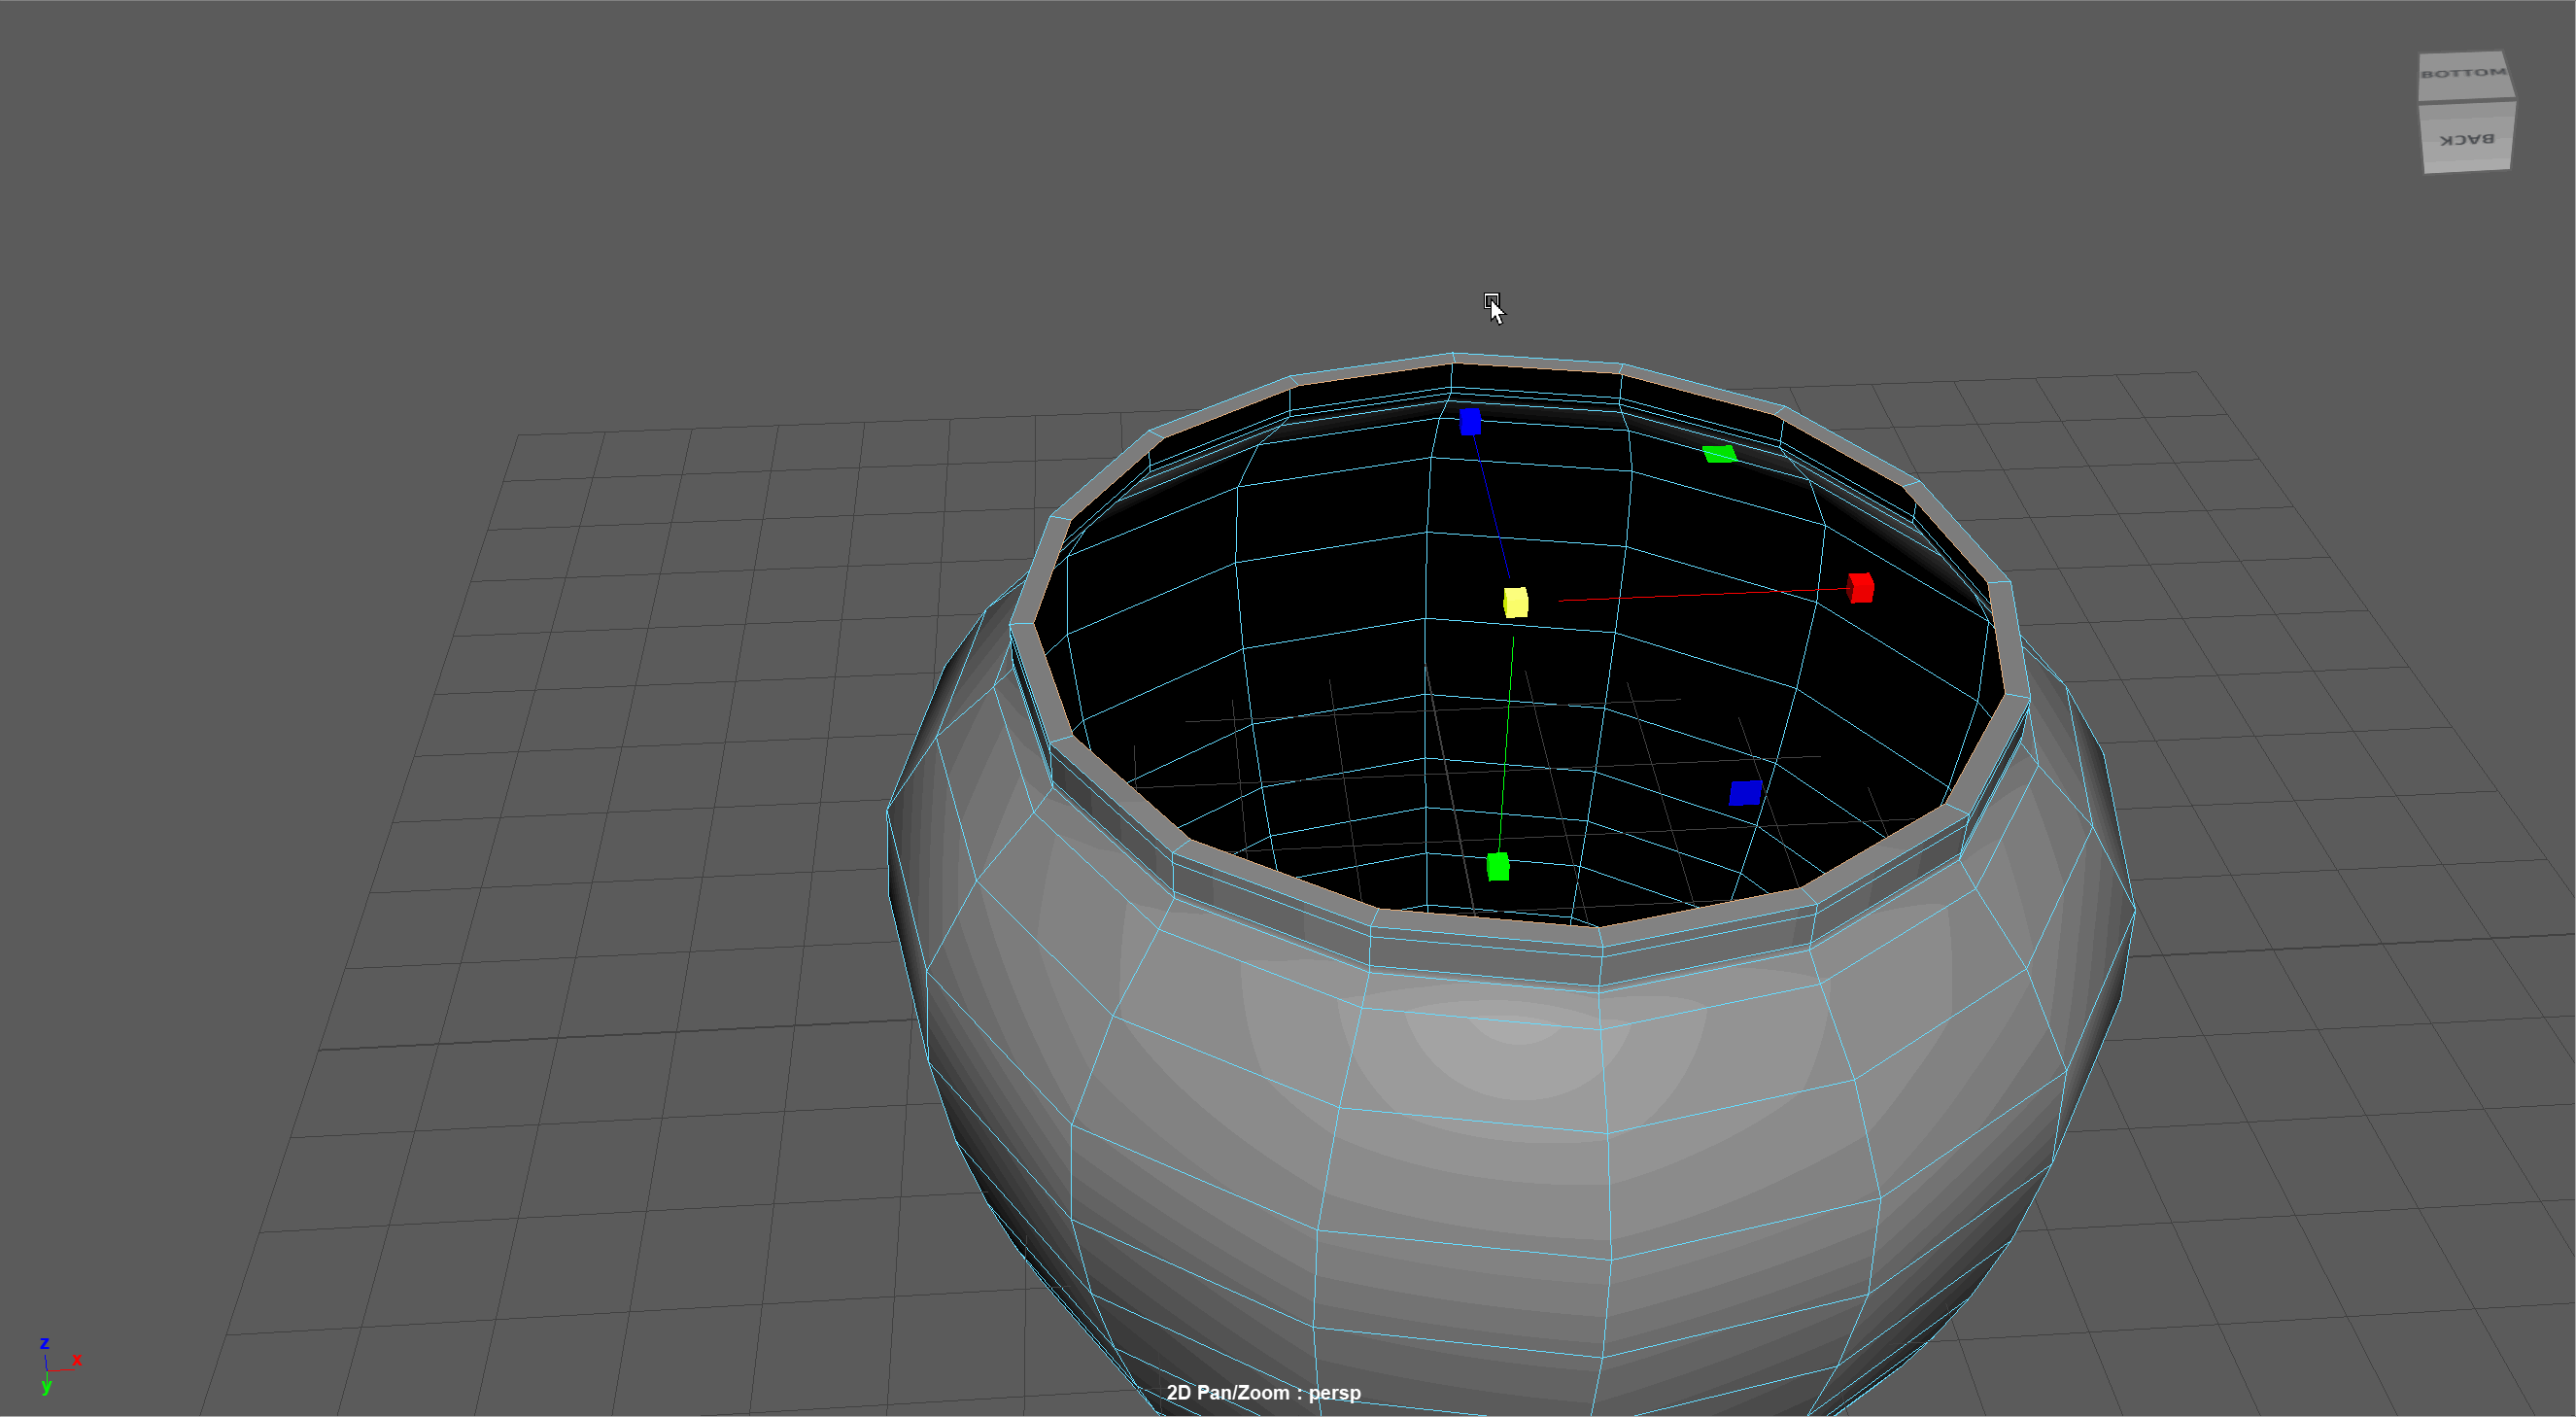
- Smooth our Model with 1 level of subdivision
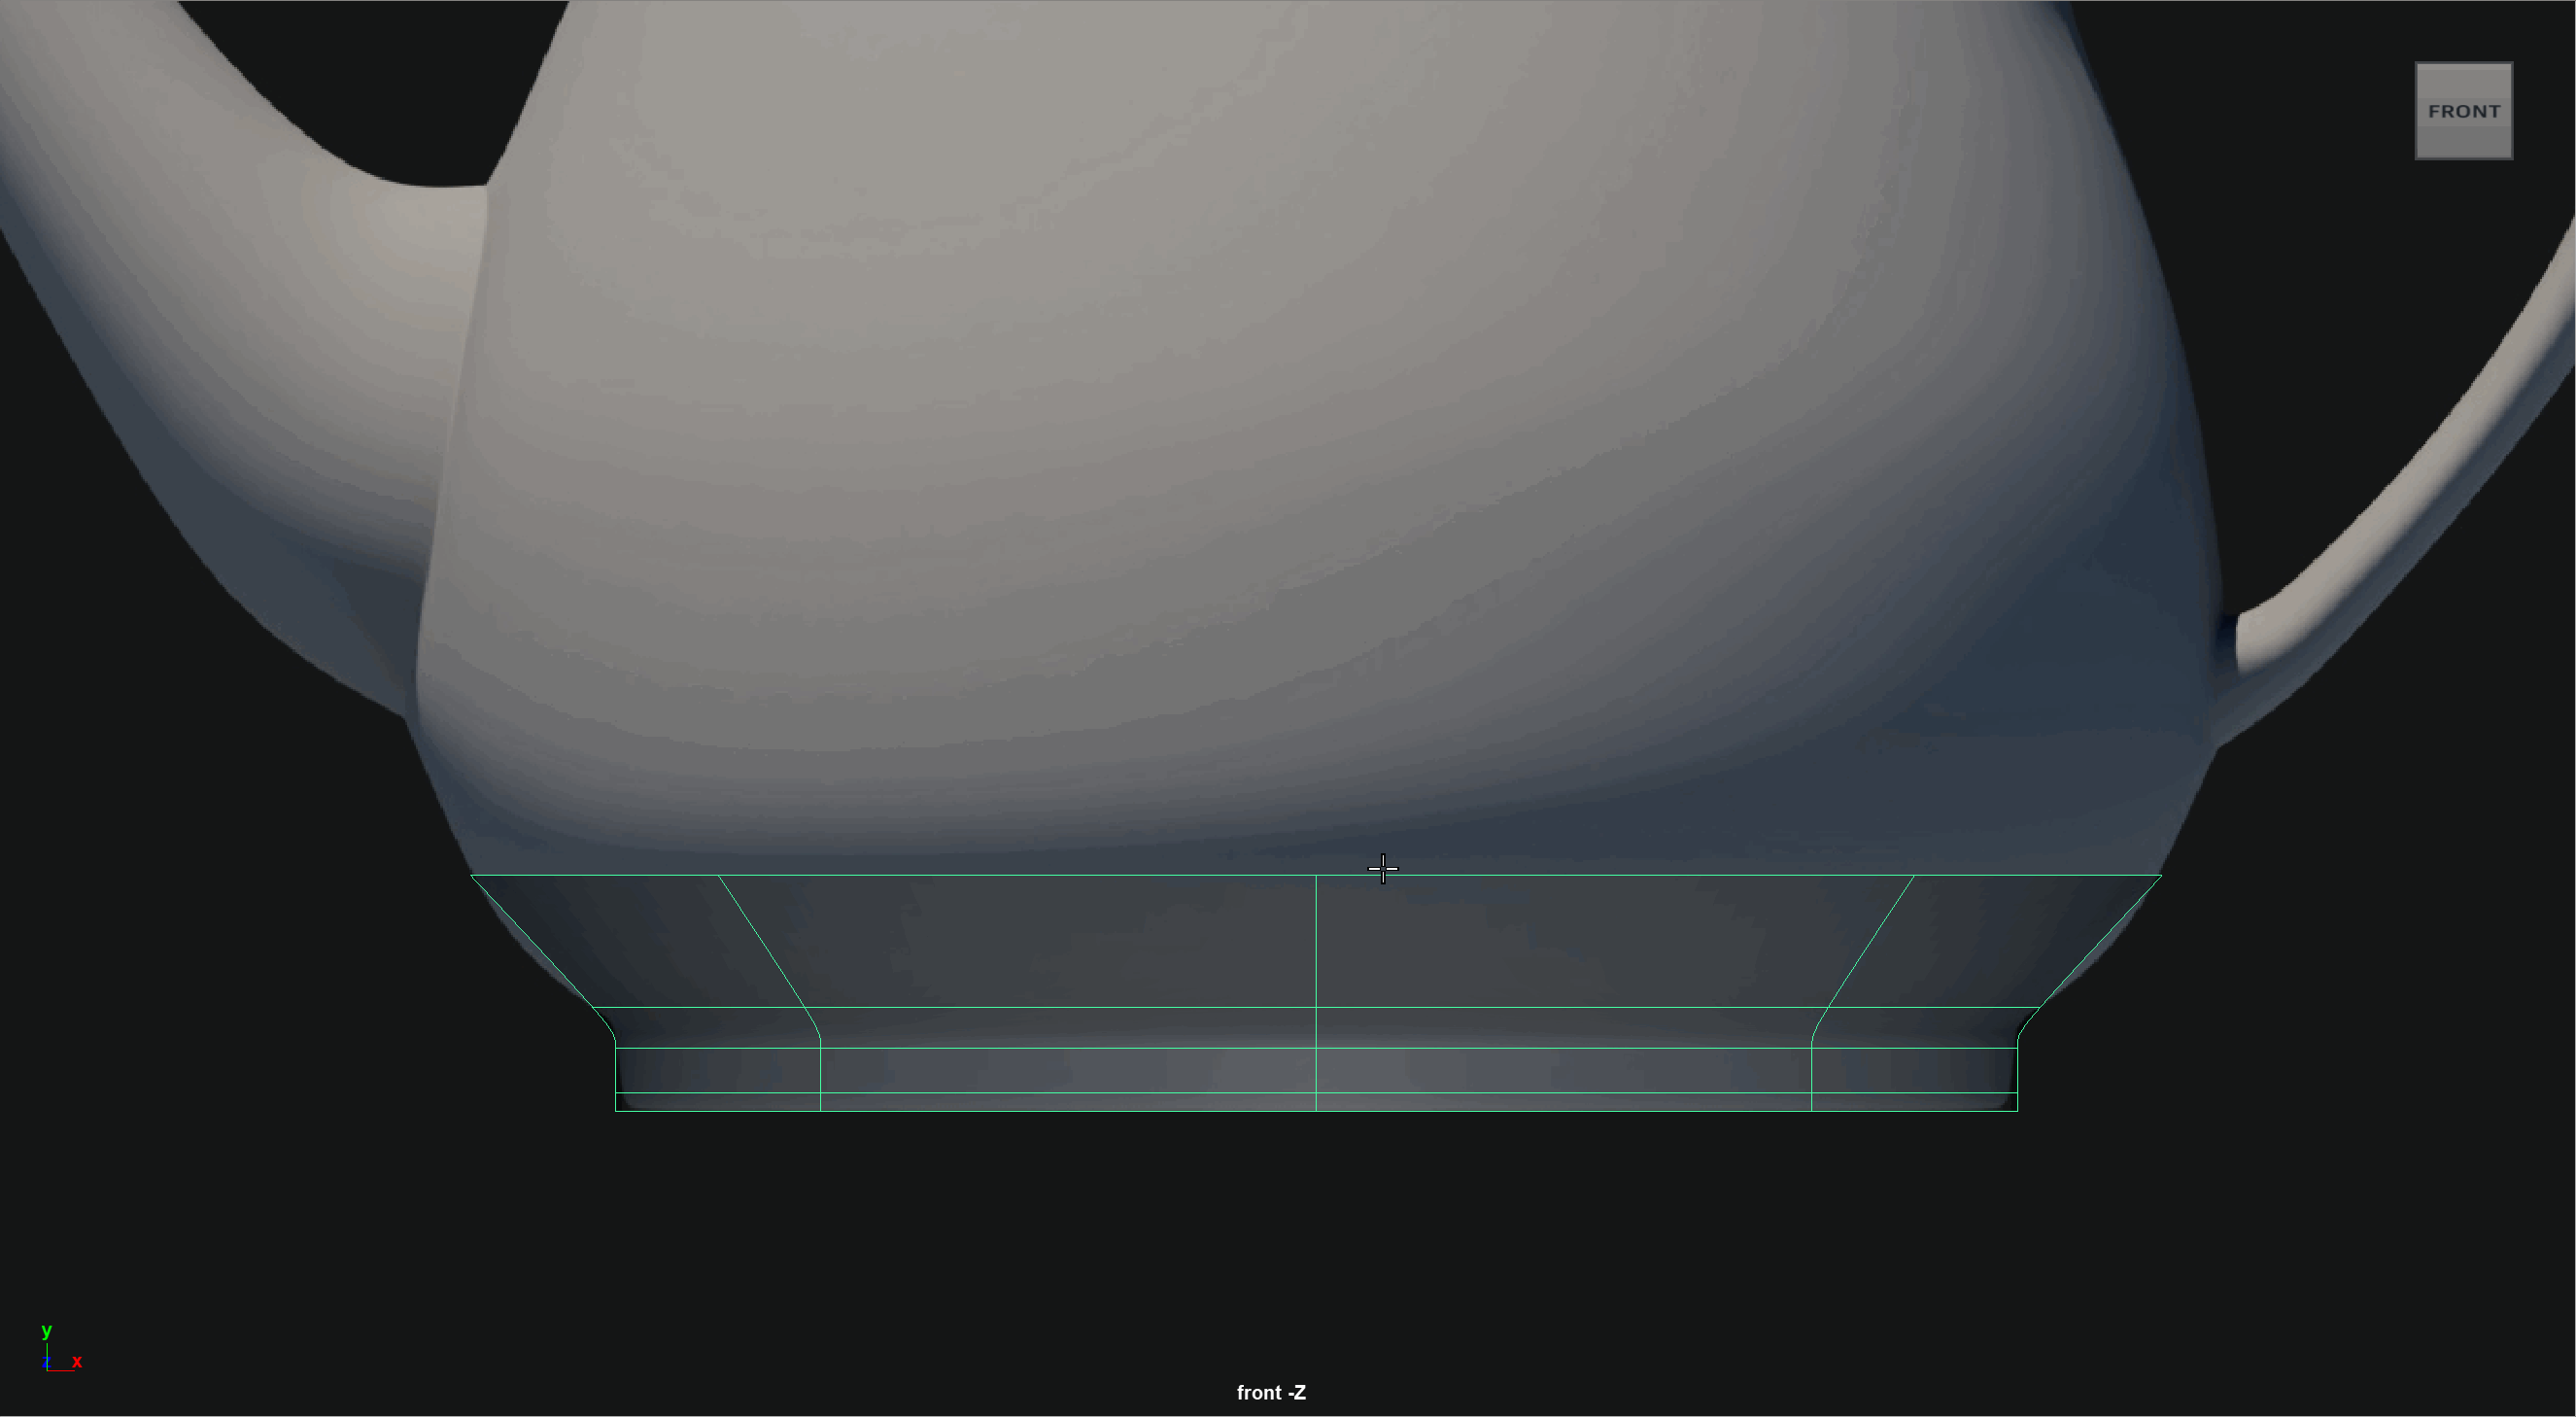
- Delete the extra edge loops at the bottom of the model using Ctrl+Backspace. Its good to keep topology tidy as we subdivide.
- Offset the bottom edge of our model so we can get a hard edge as we begin to close it off. You can use Shift + Scale Tool
- Select the bottom edge loop, then deselected the two pairs of edge loops along that are along the Z axis. Use the bridge tool with 1 level of divisions.
- Use the Target Weld tool to seal up the bottom. We can see how it looks using Smooth Preview (3 Key).
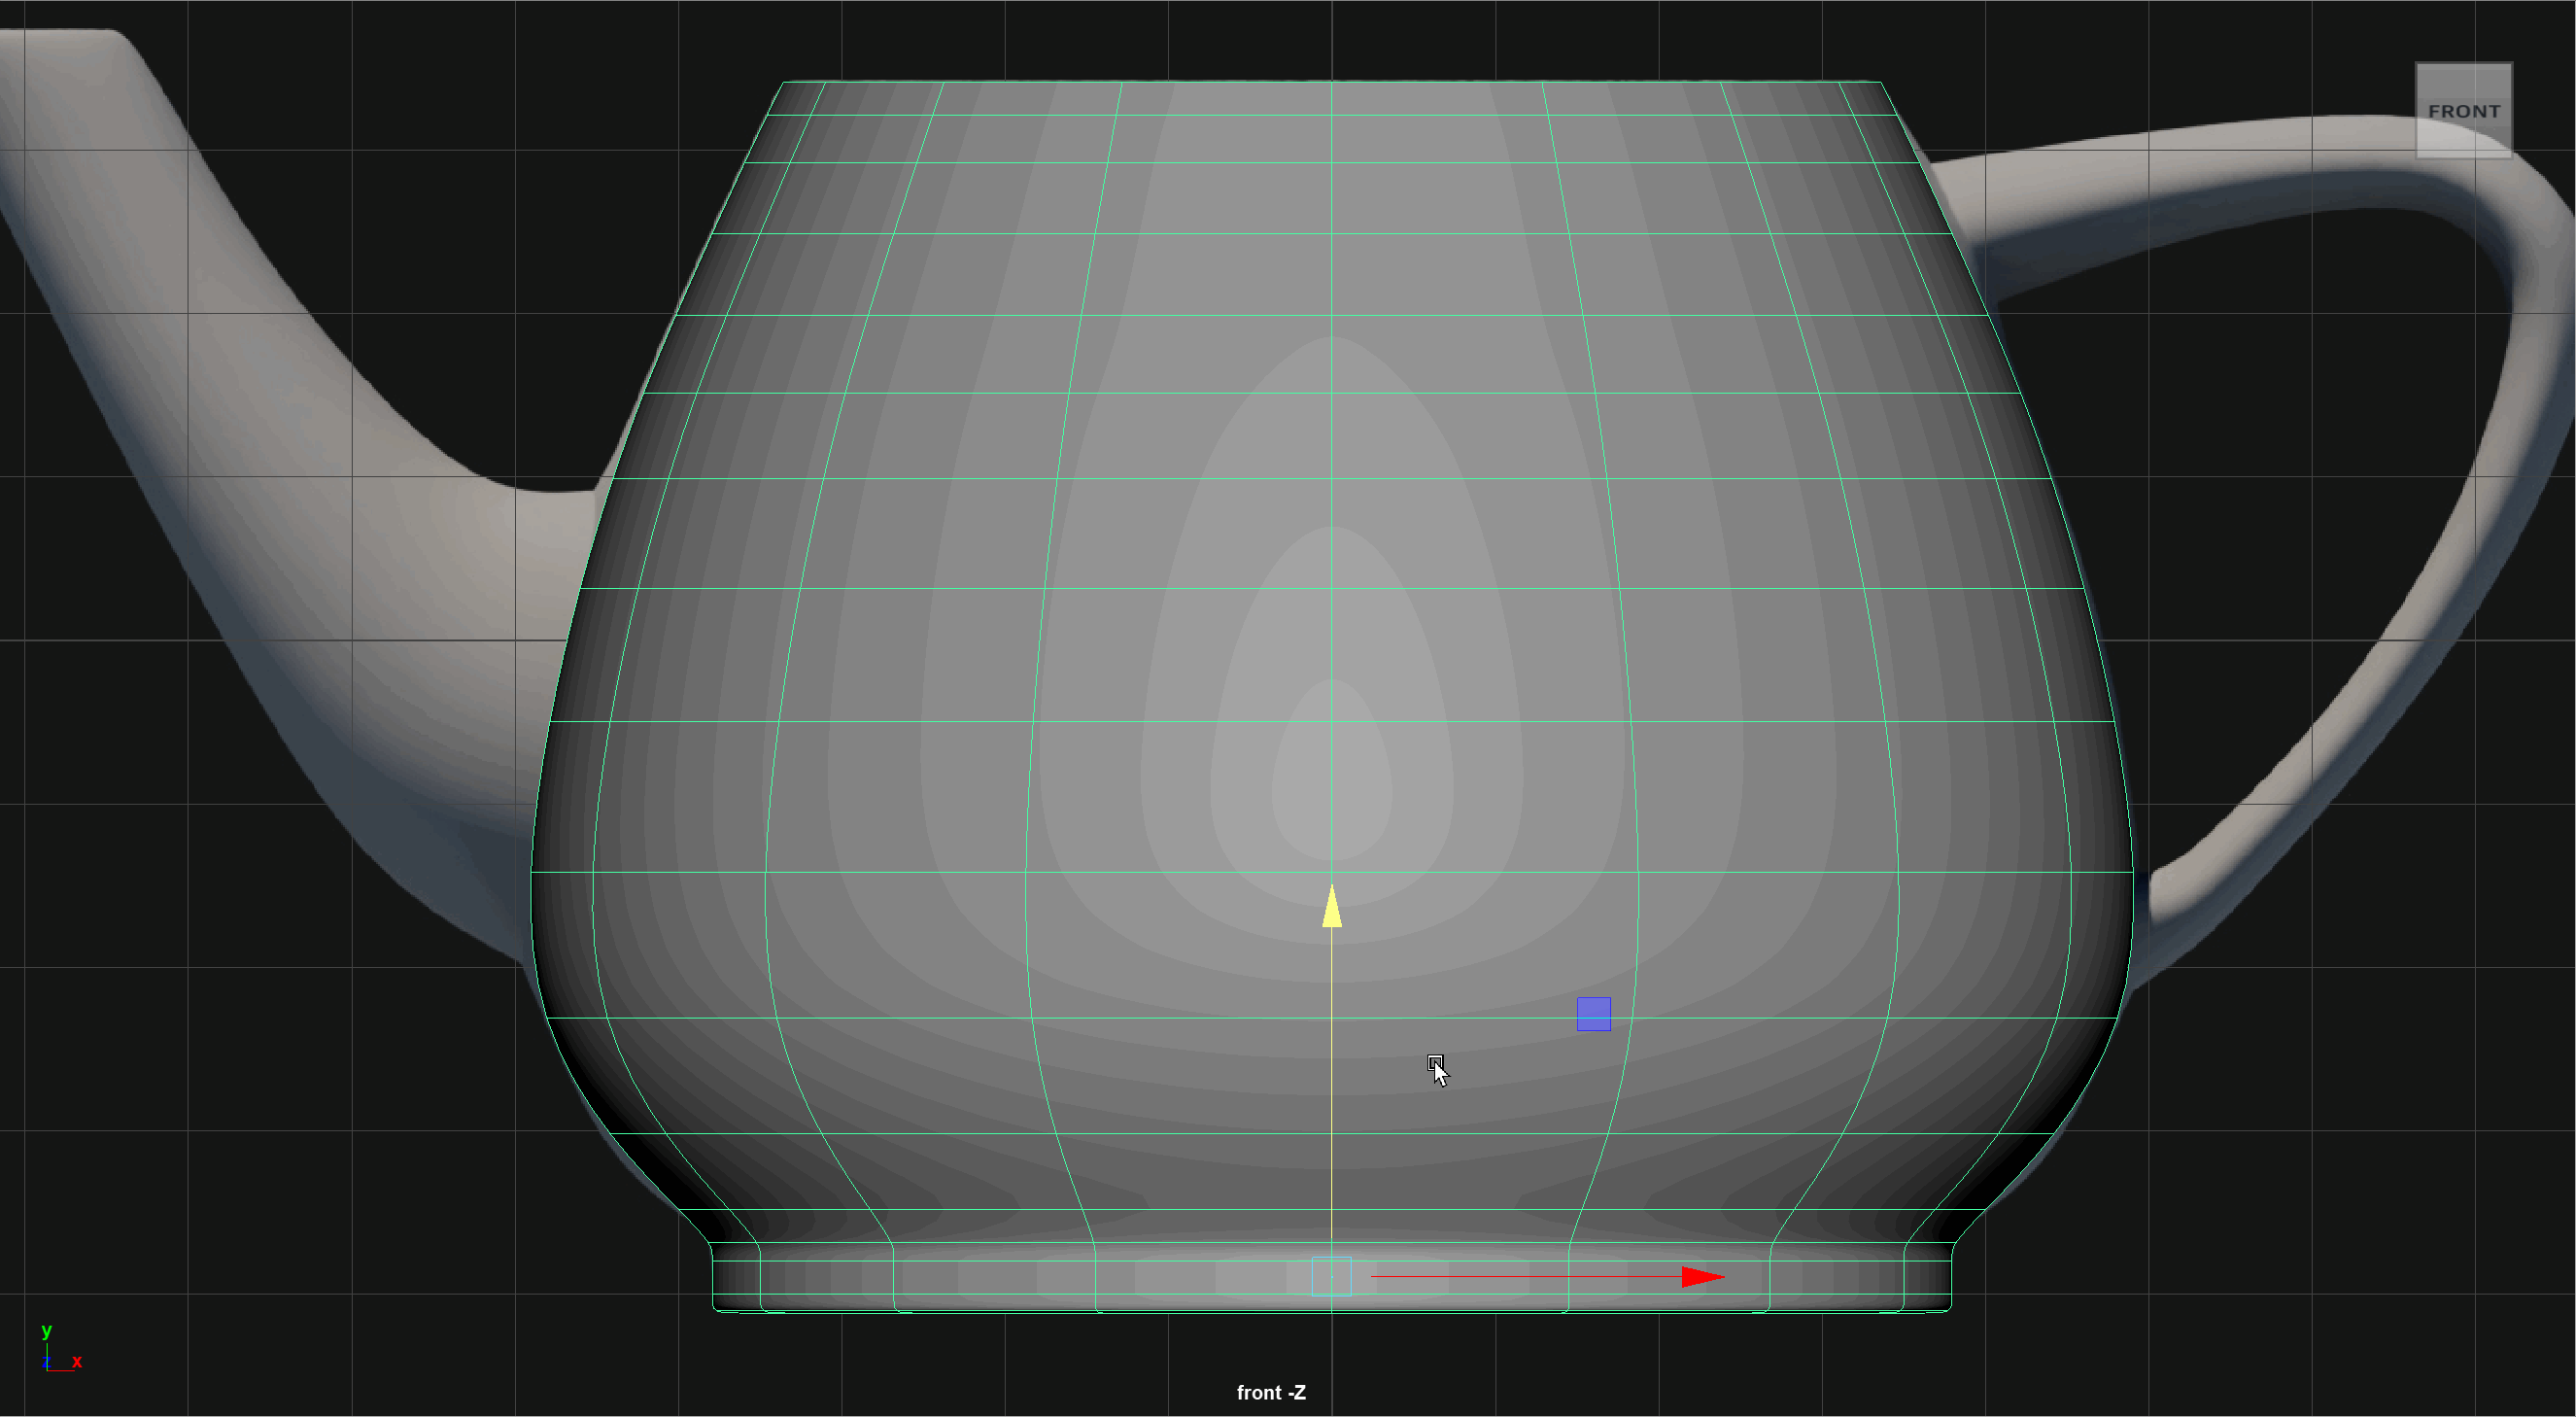
- We might notice our model is a little off. If it is we can minimally scale and move some edges.
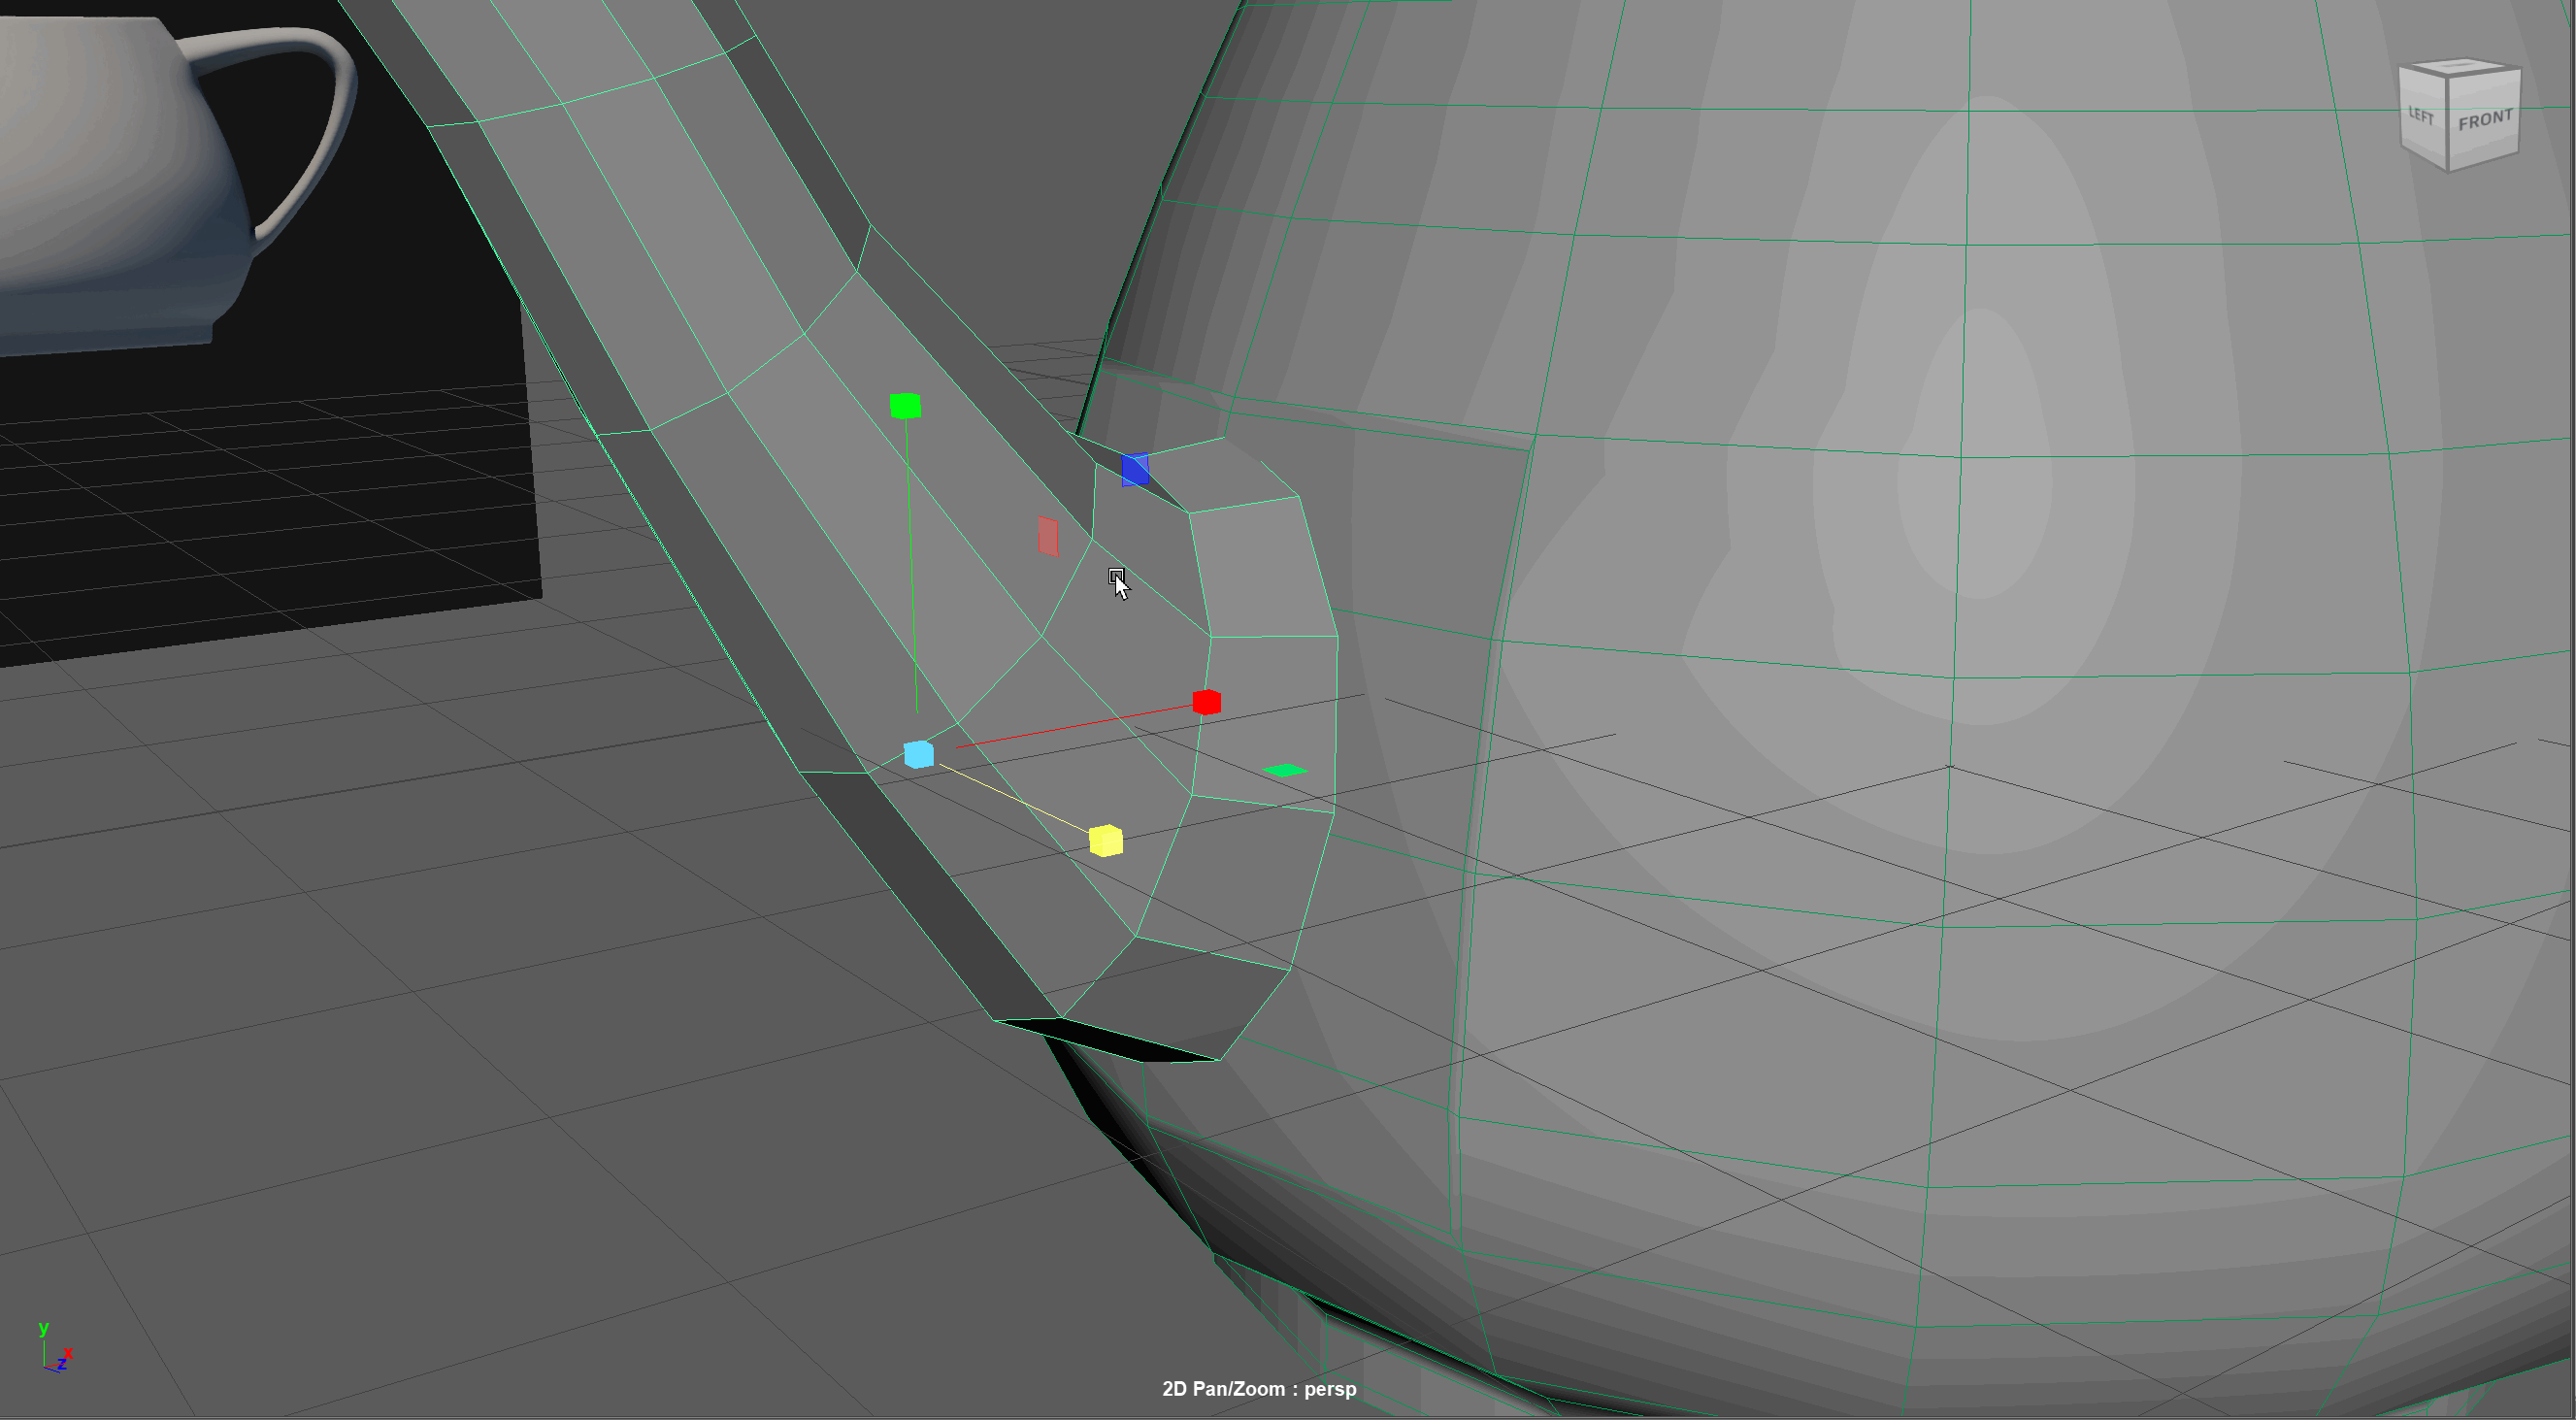
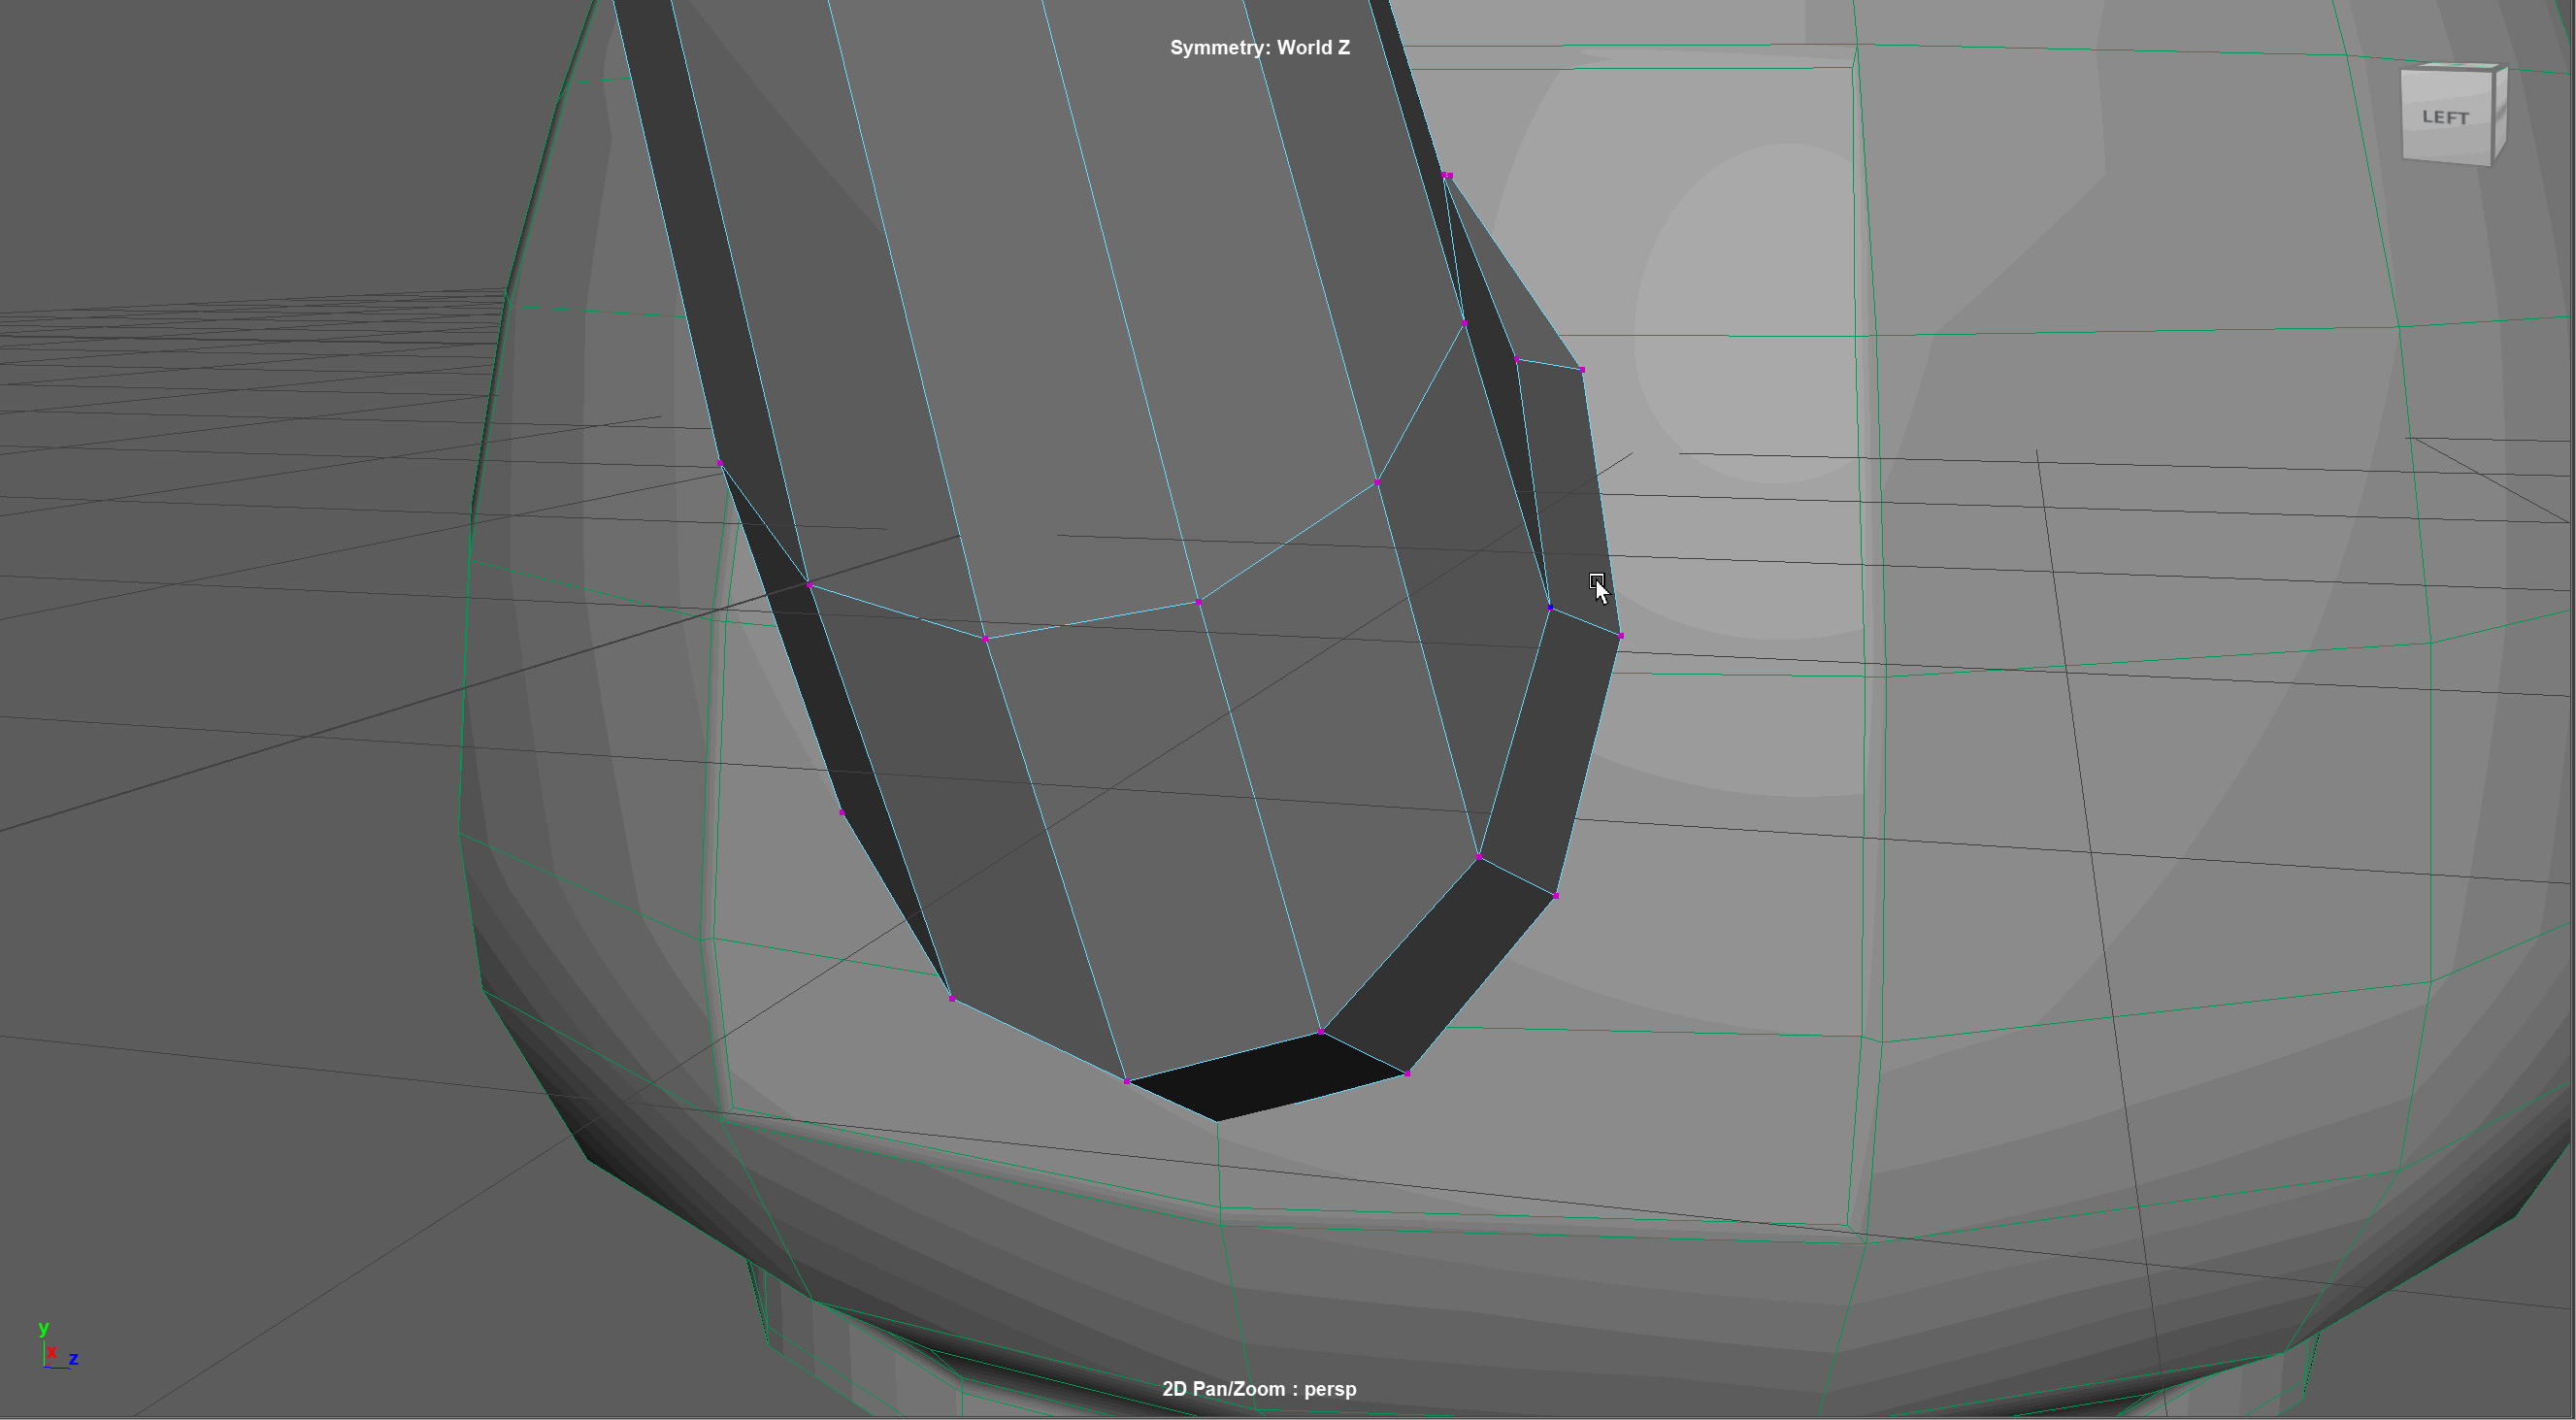
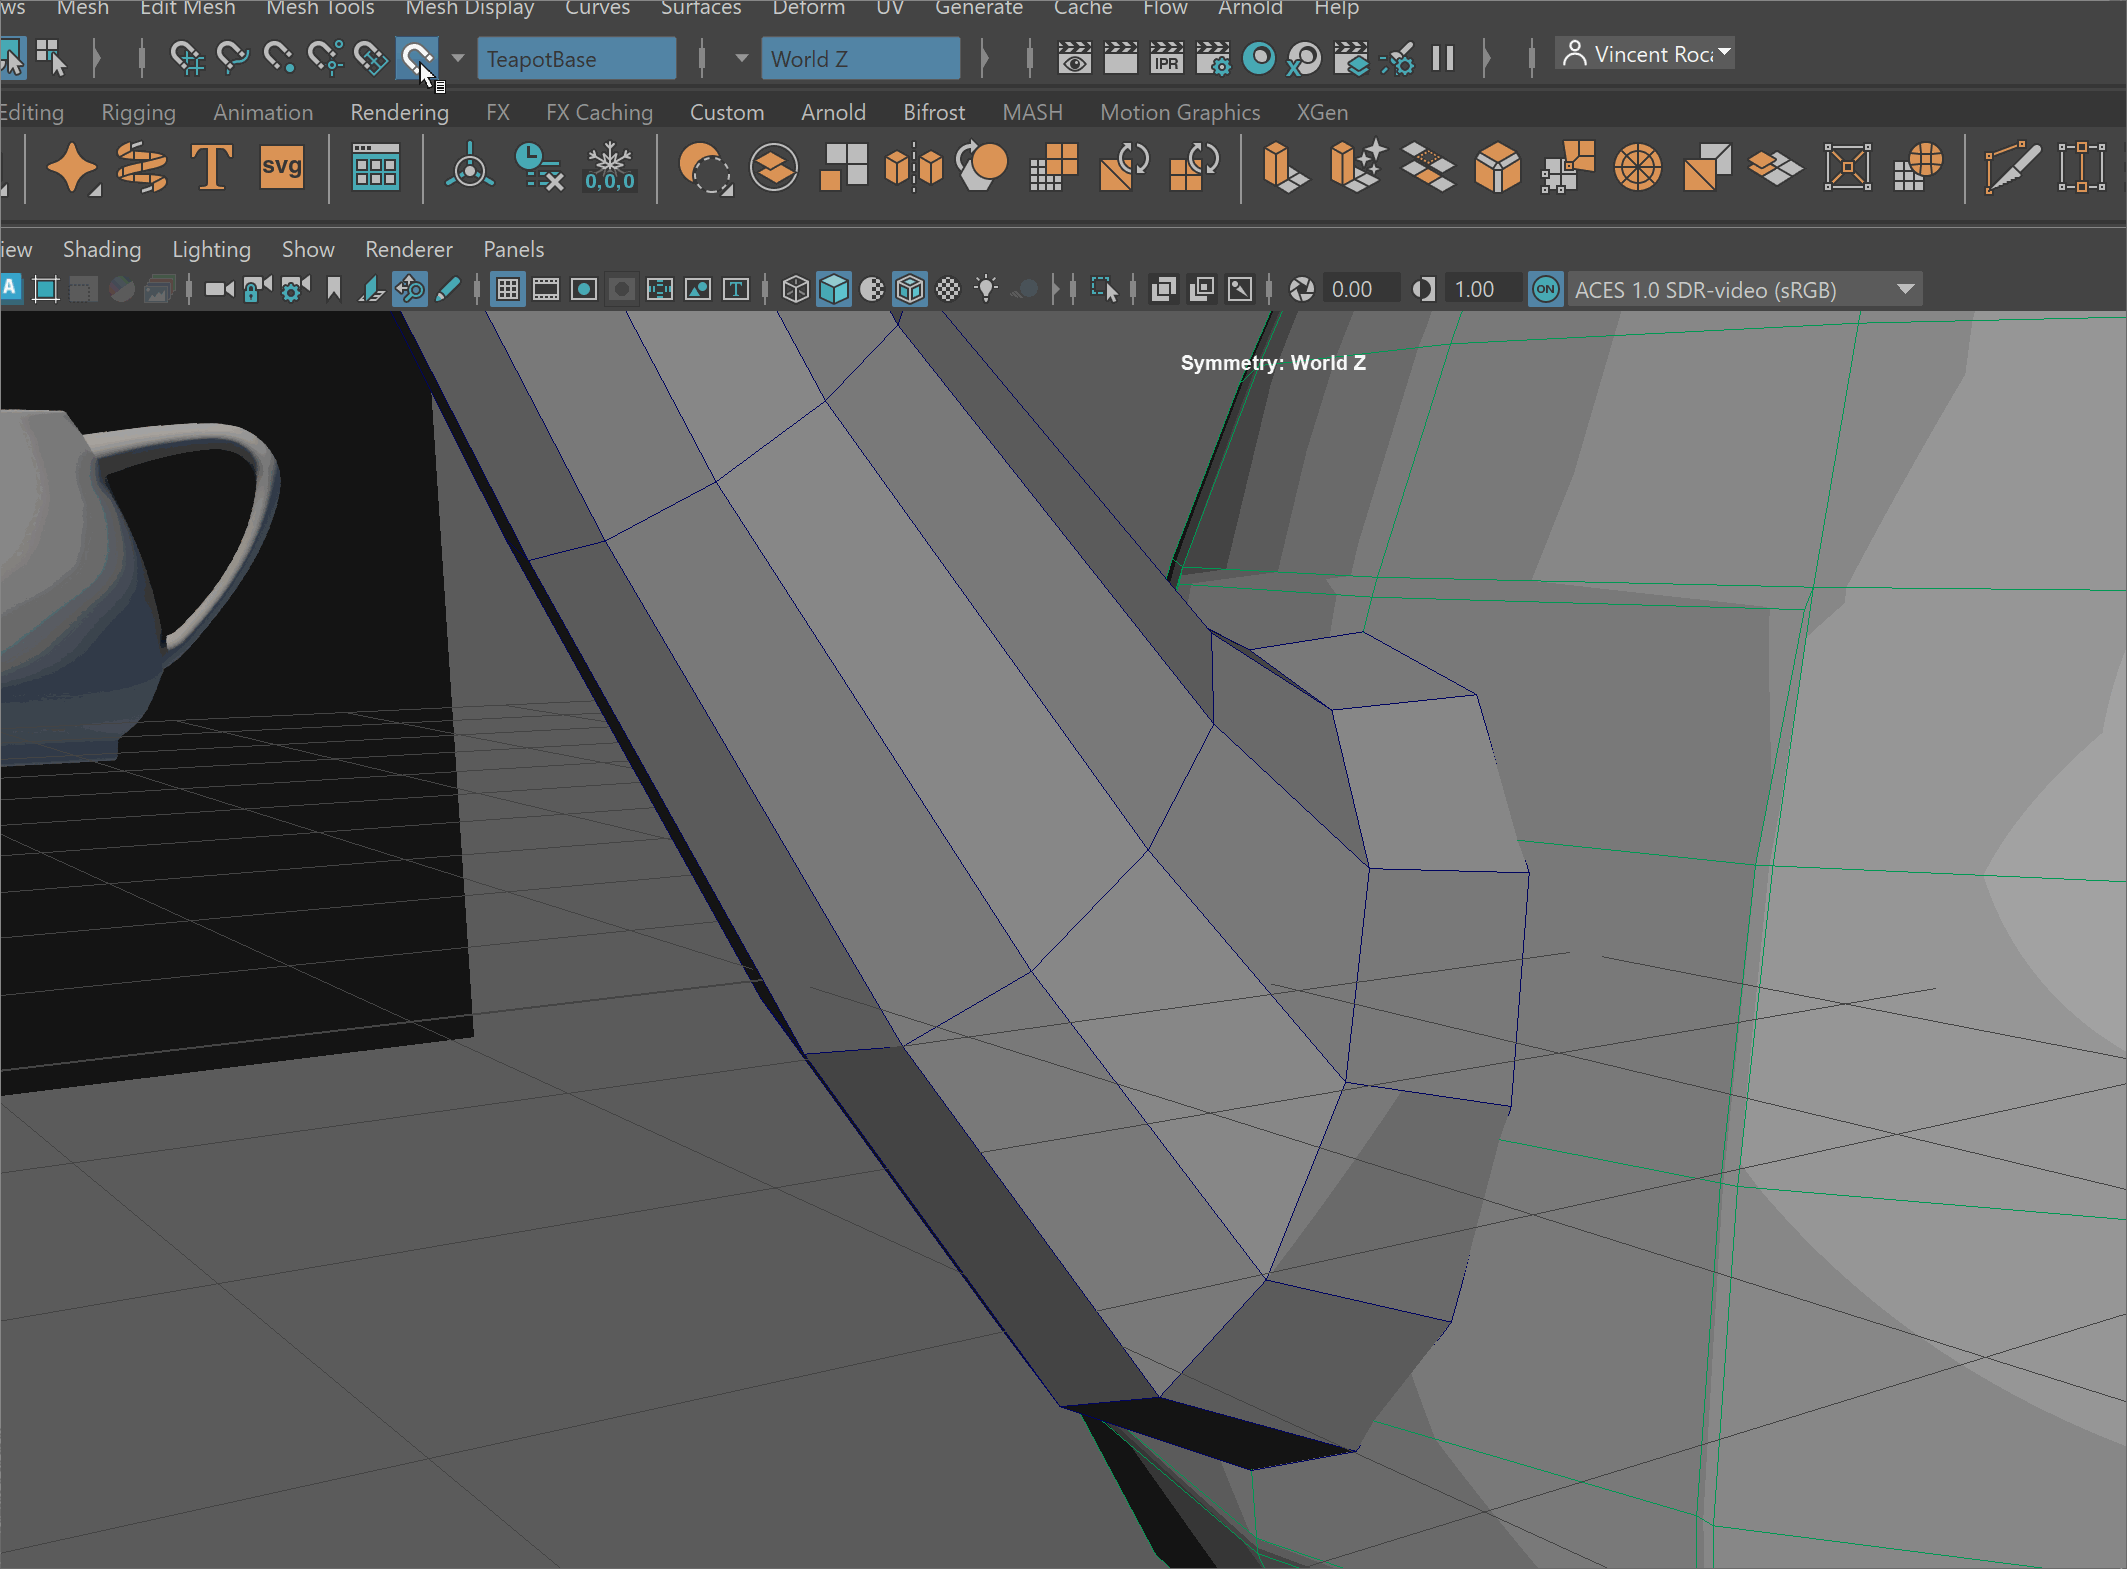
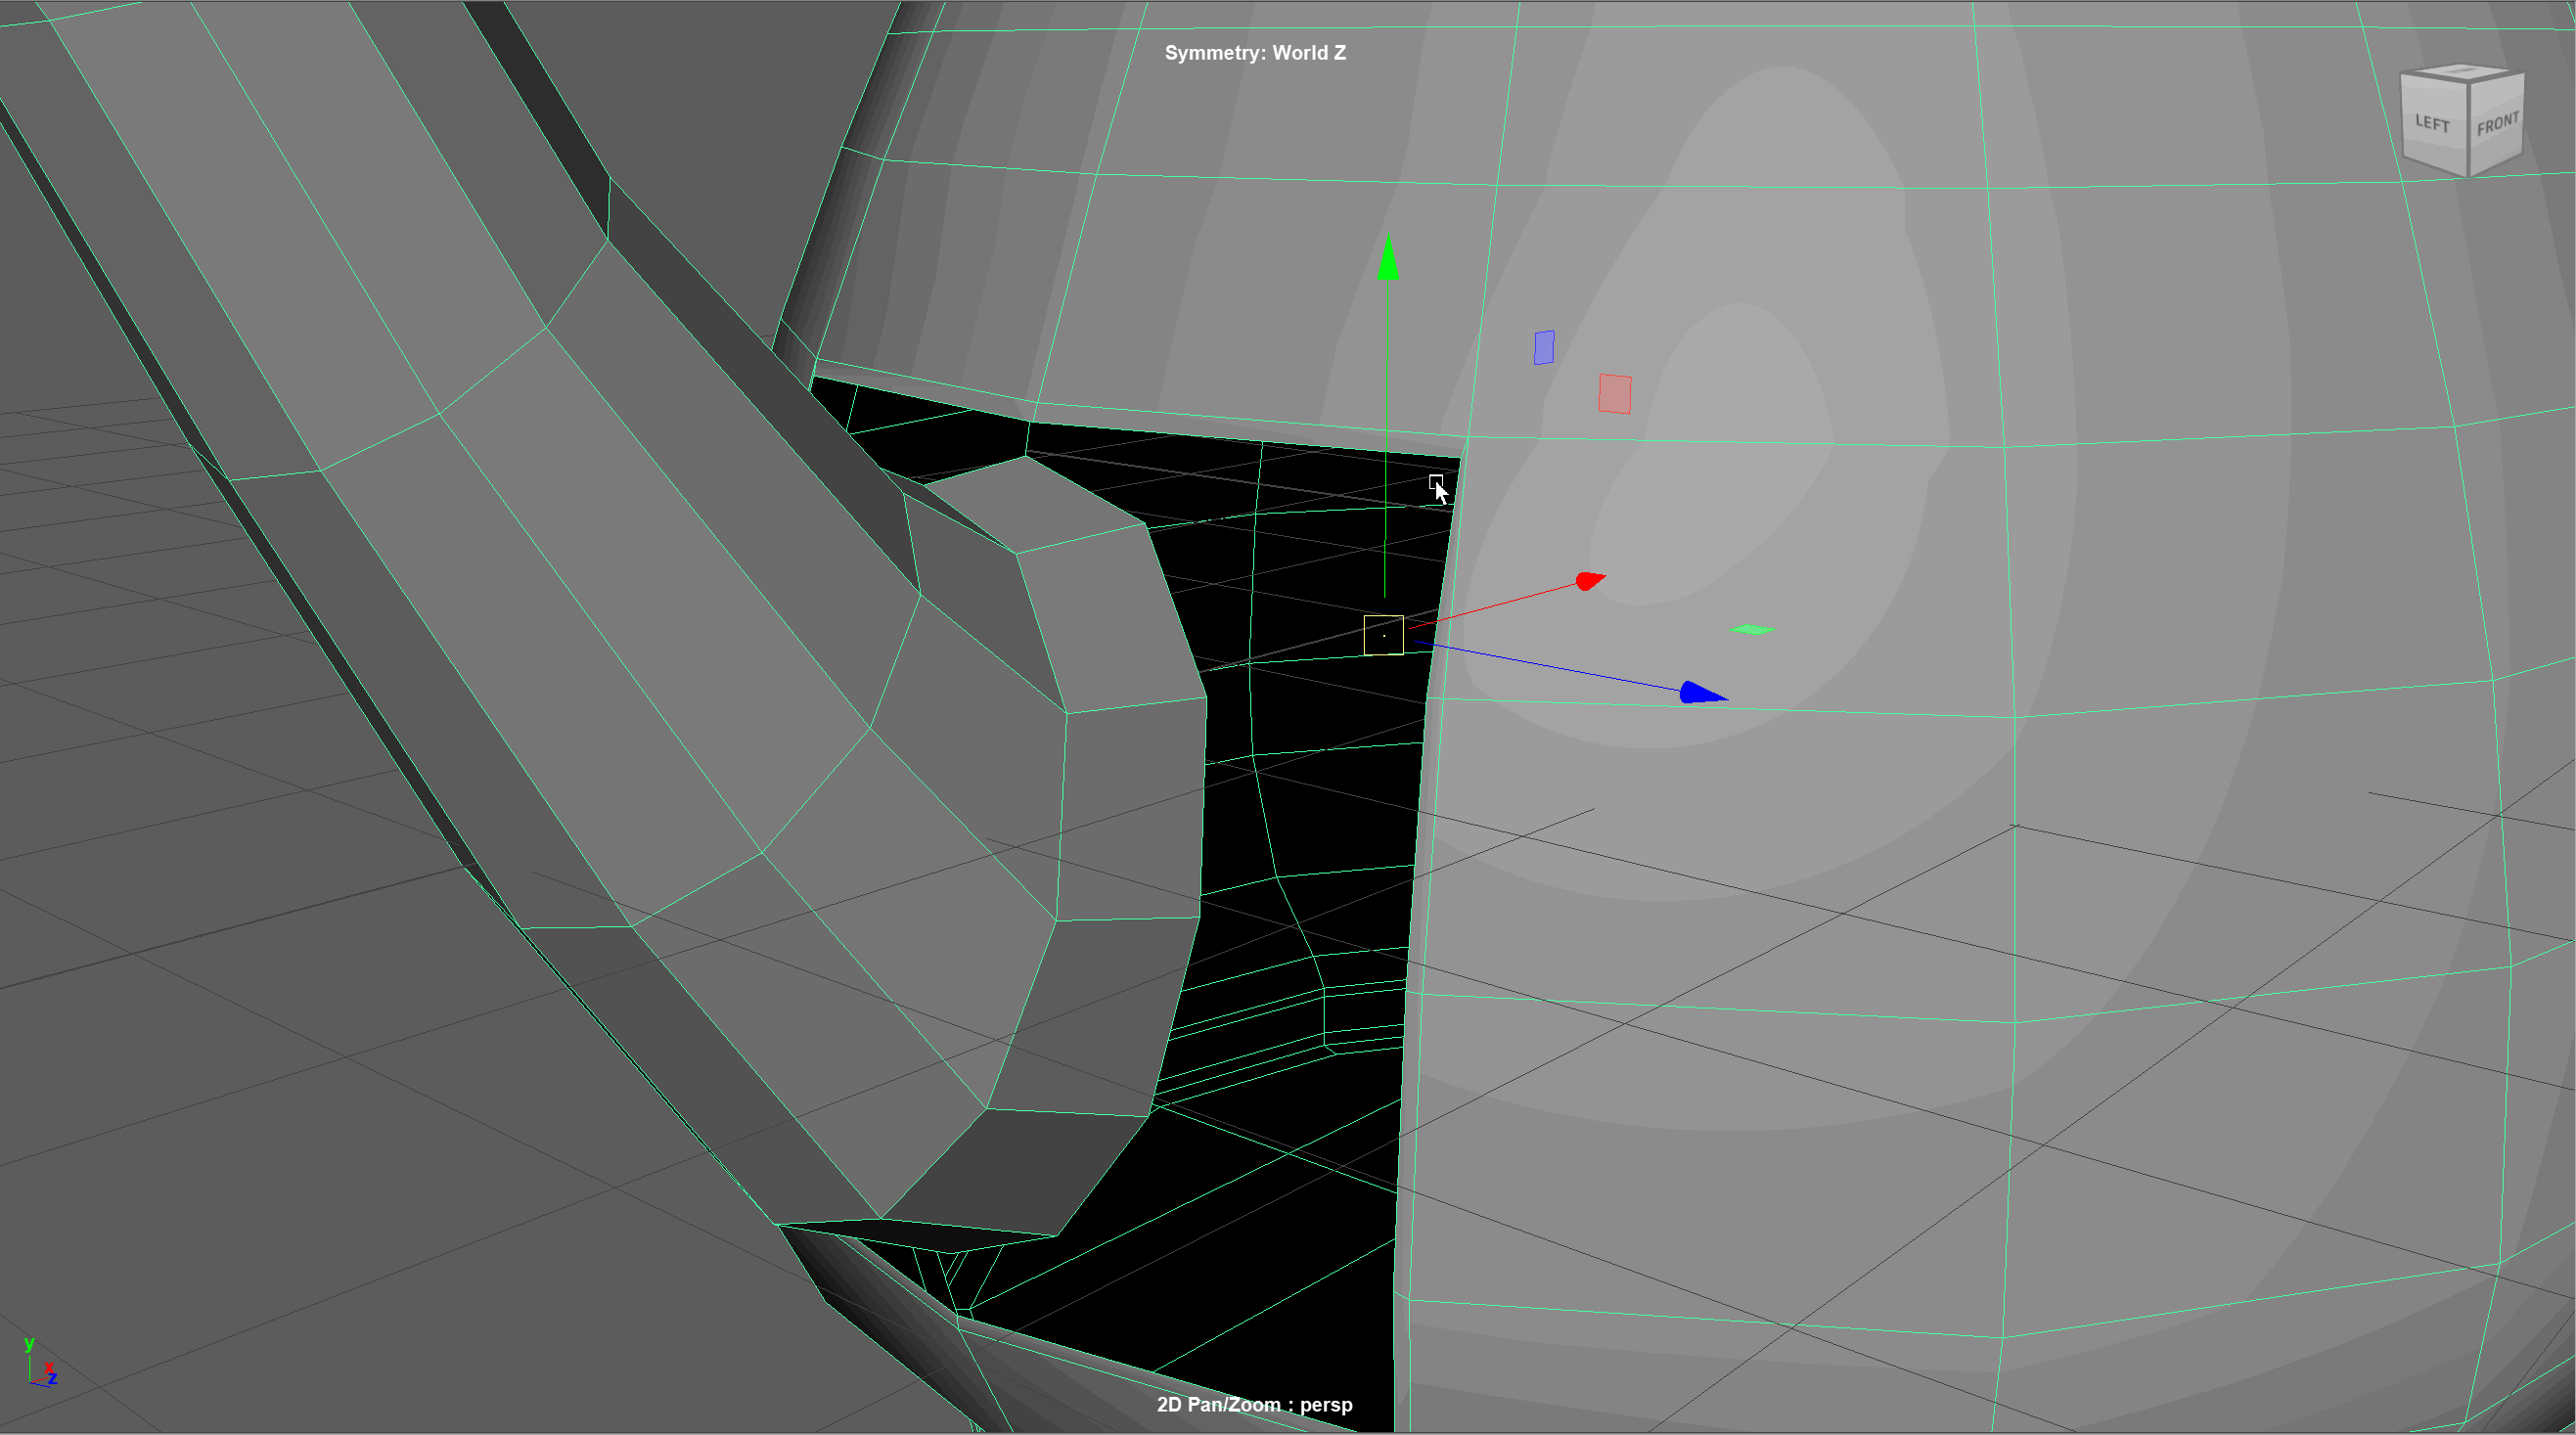
- Select the 8 faces where we will join the spout to the teapot. And use the Offset tool to offset the edge slightly.
- Make a new cylinder for the spout.
- The faces we selected to attach our spout had 12 edges along the border. Set our cylinder to have 12 side.
- Move our cylinder to be in front of the attach area on our teapot and delete the top and bottom faces on the cylinder.
- Navigate to the front view.
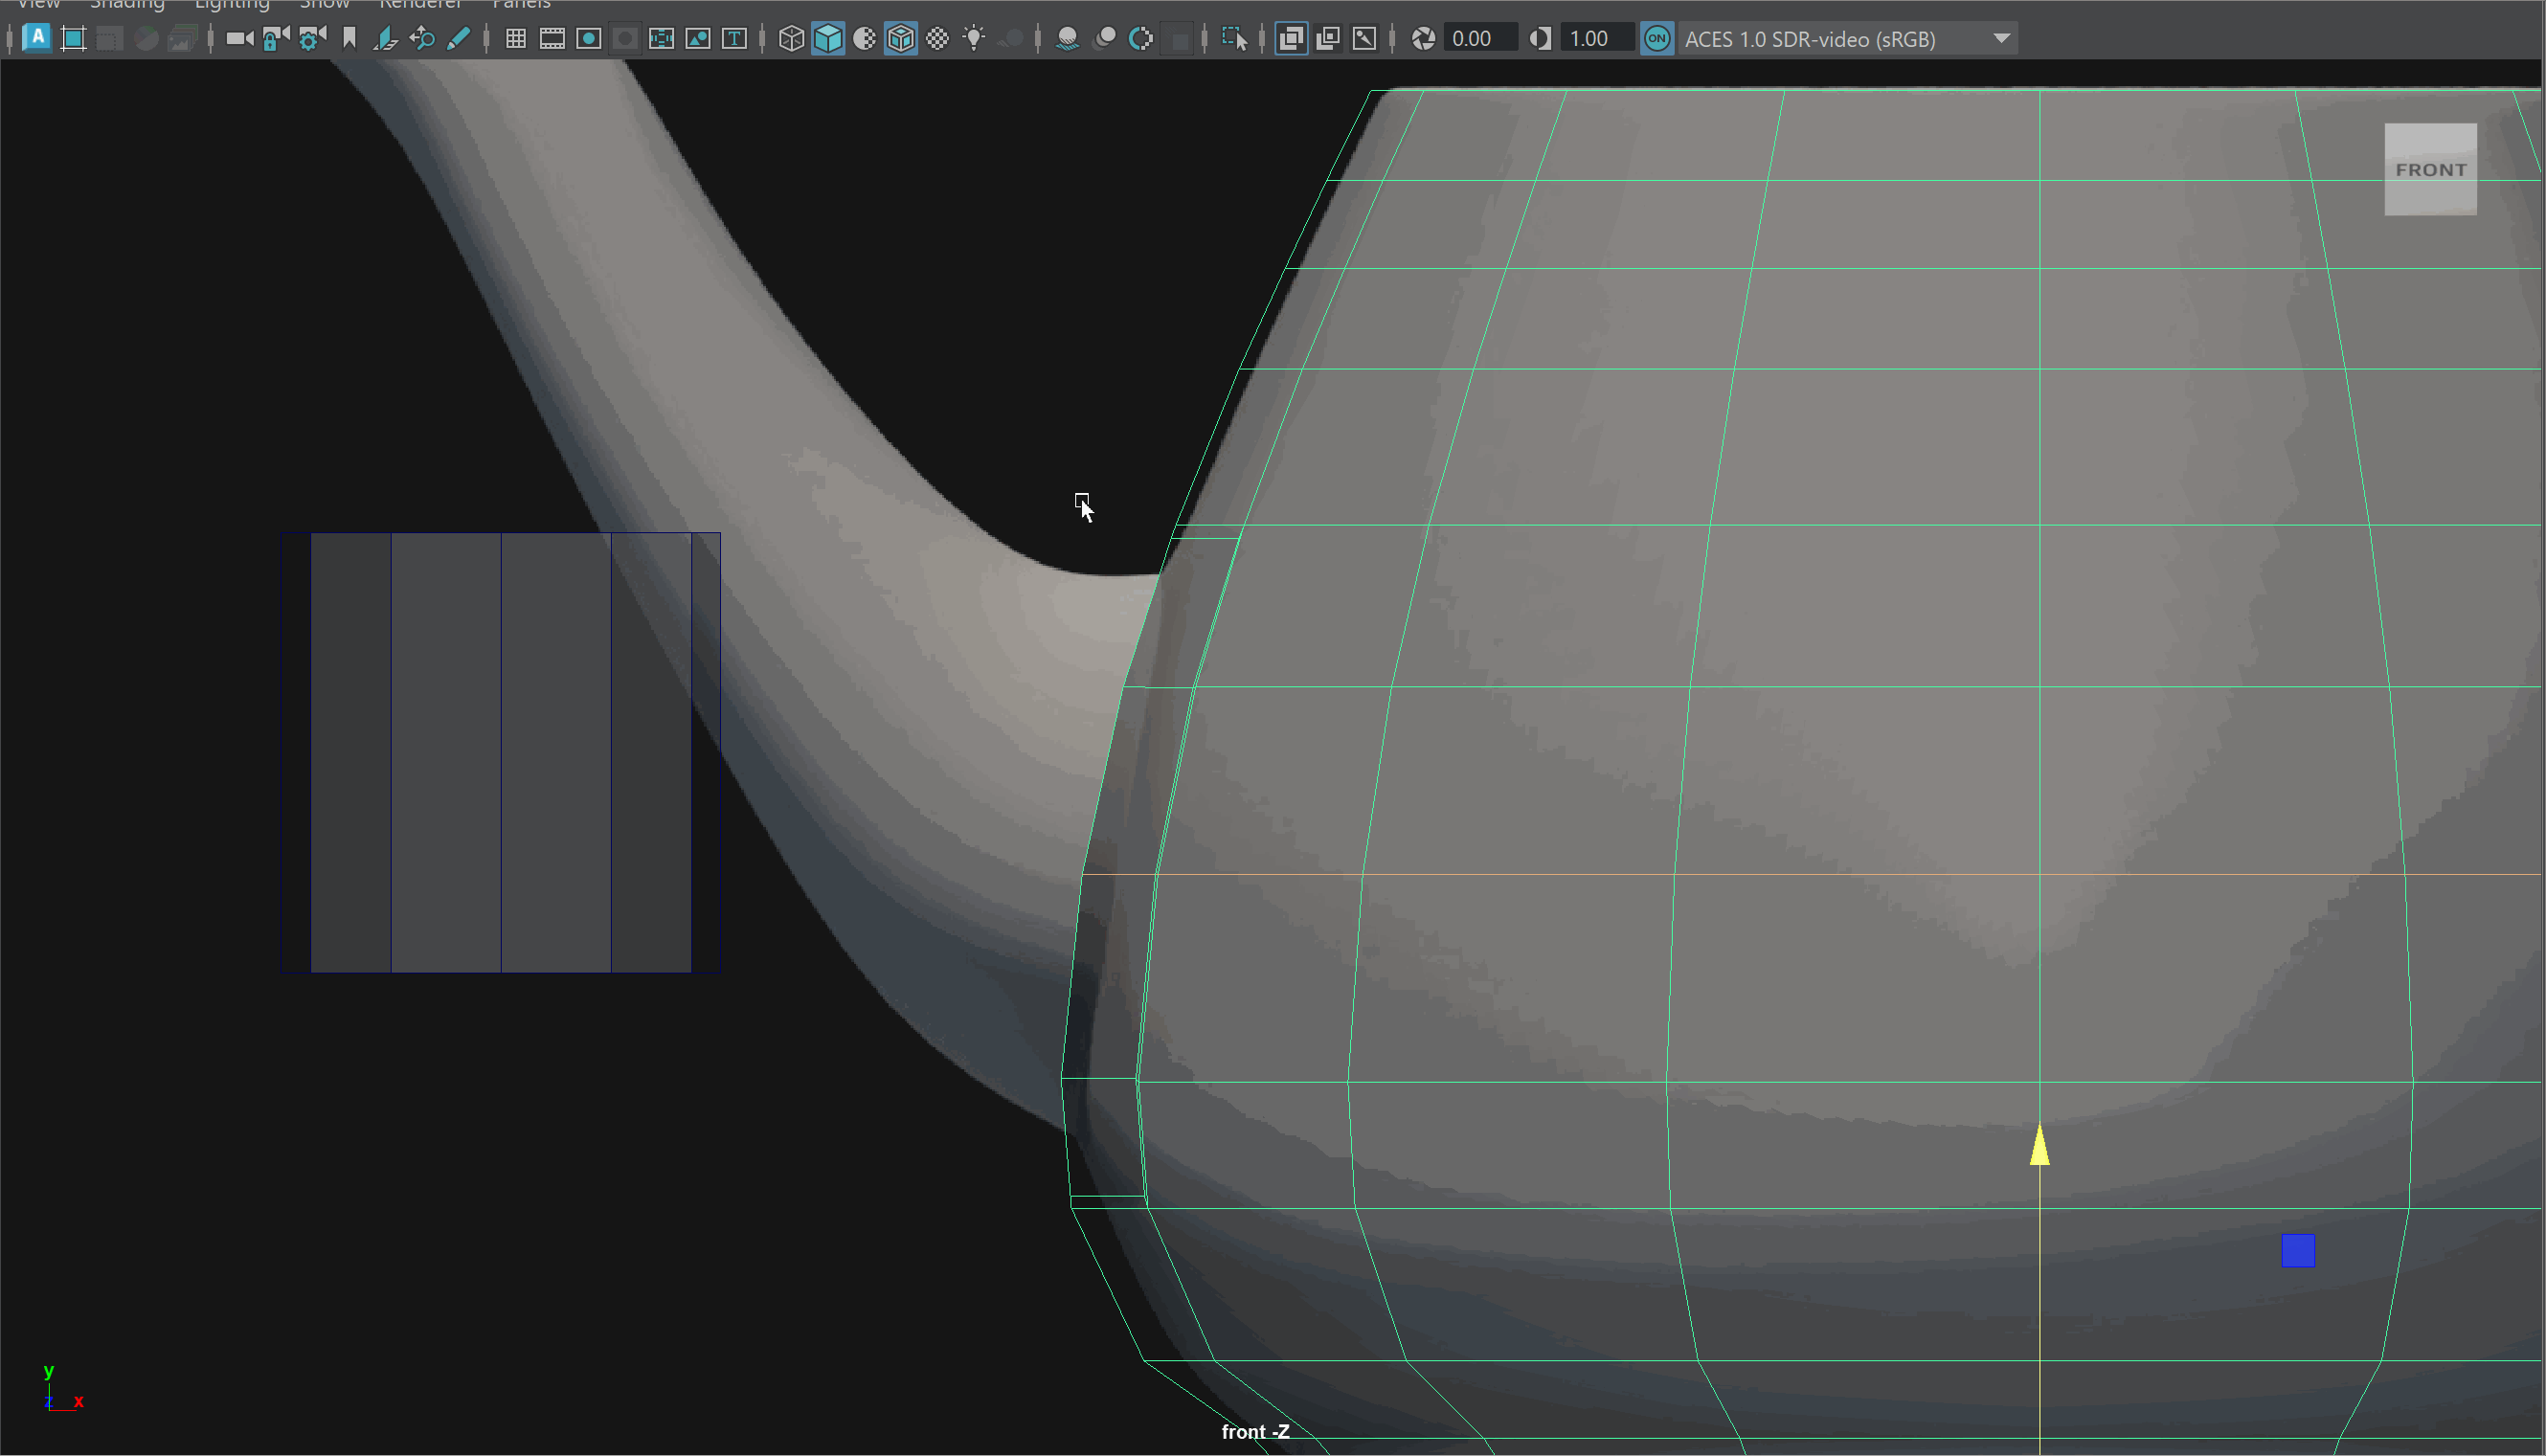
- We might notice we need a little more space to attach our spout to our teapots. If so, we can slide edges on our model to move them.
Sliding edges will attempt to keep to same topology, same shape, while allowing us to move our edges.
To slide an edge loop, select the edge loop and press Ctrl+Shift while dragging with the Middle Mouse Button pressed.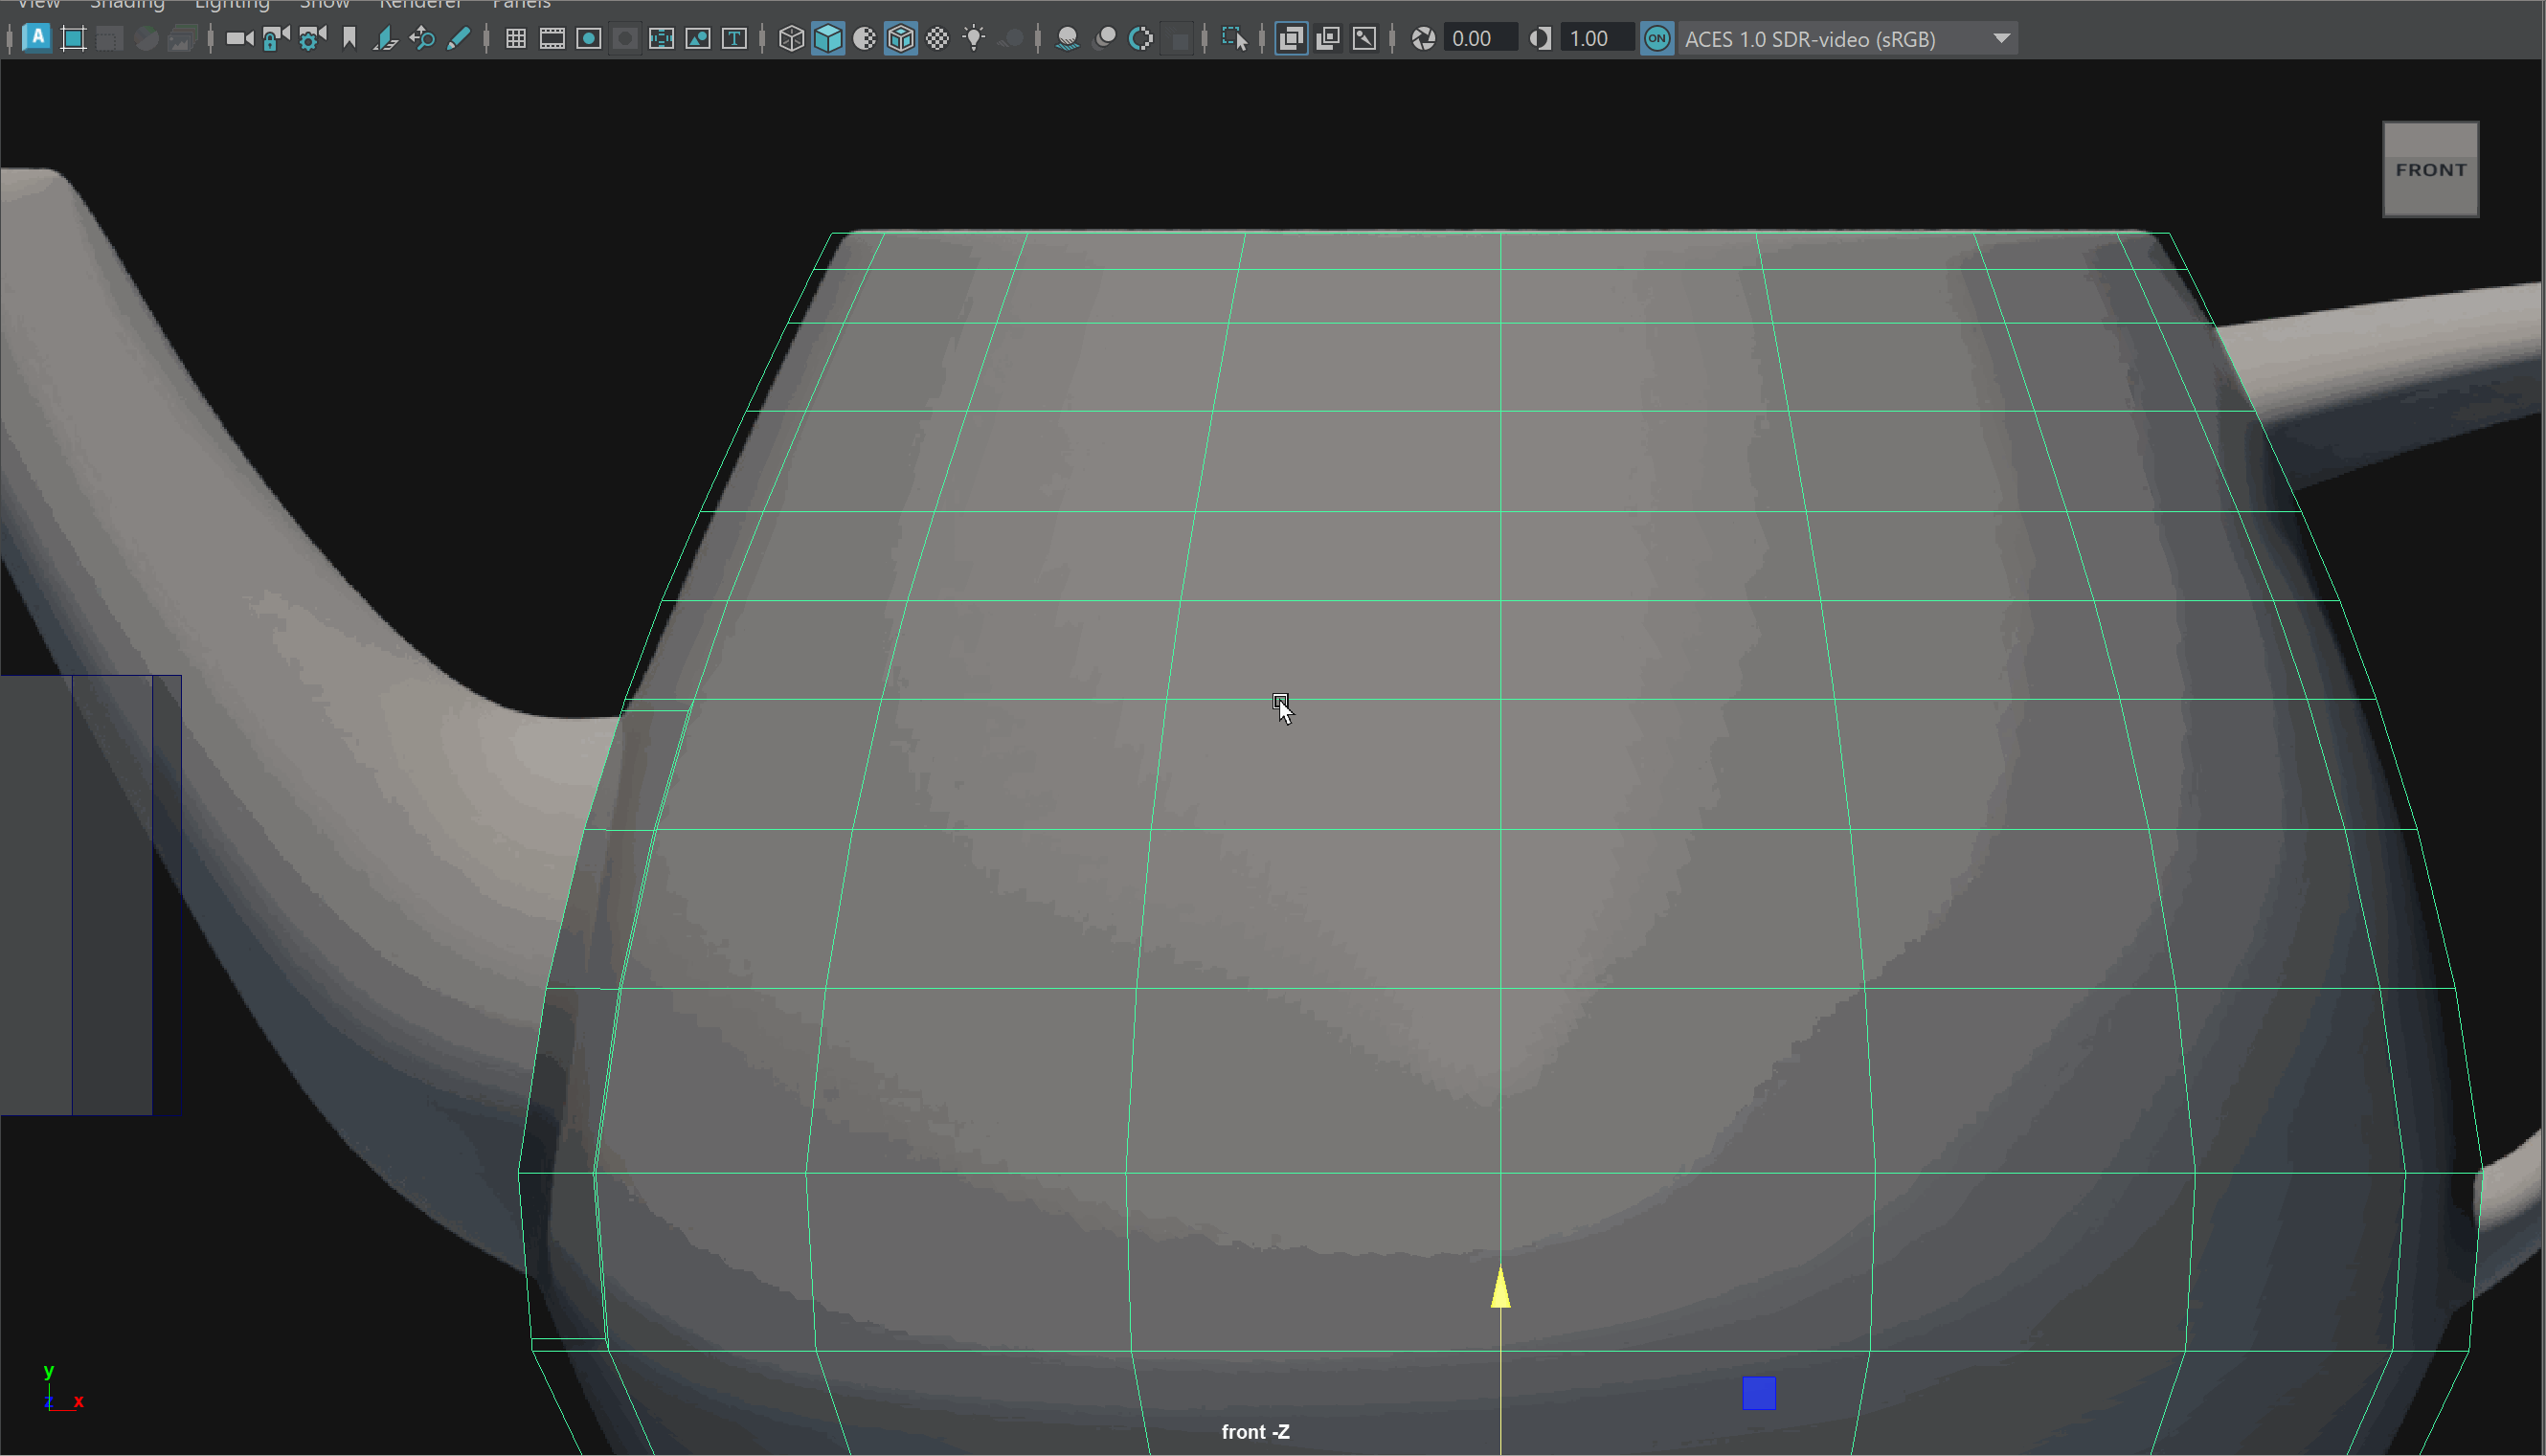
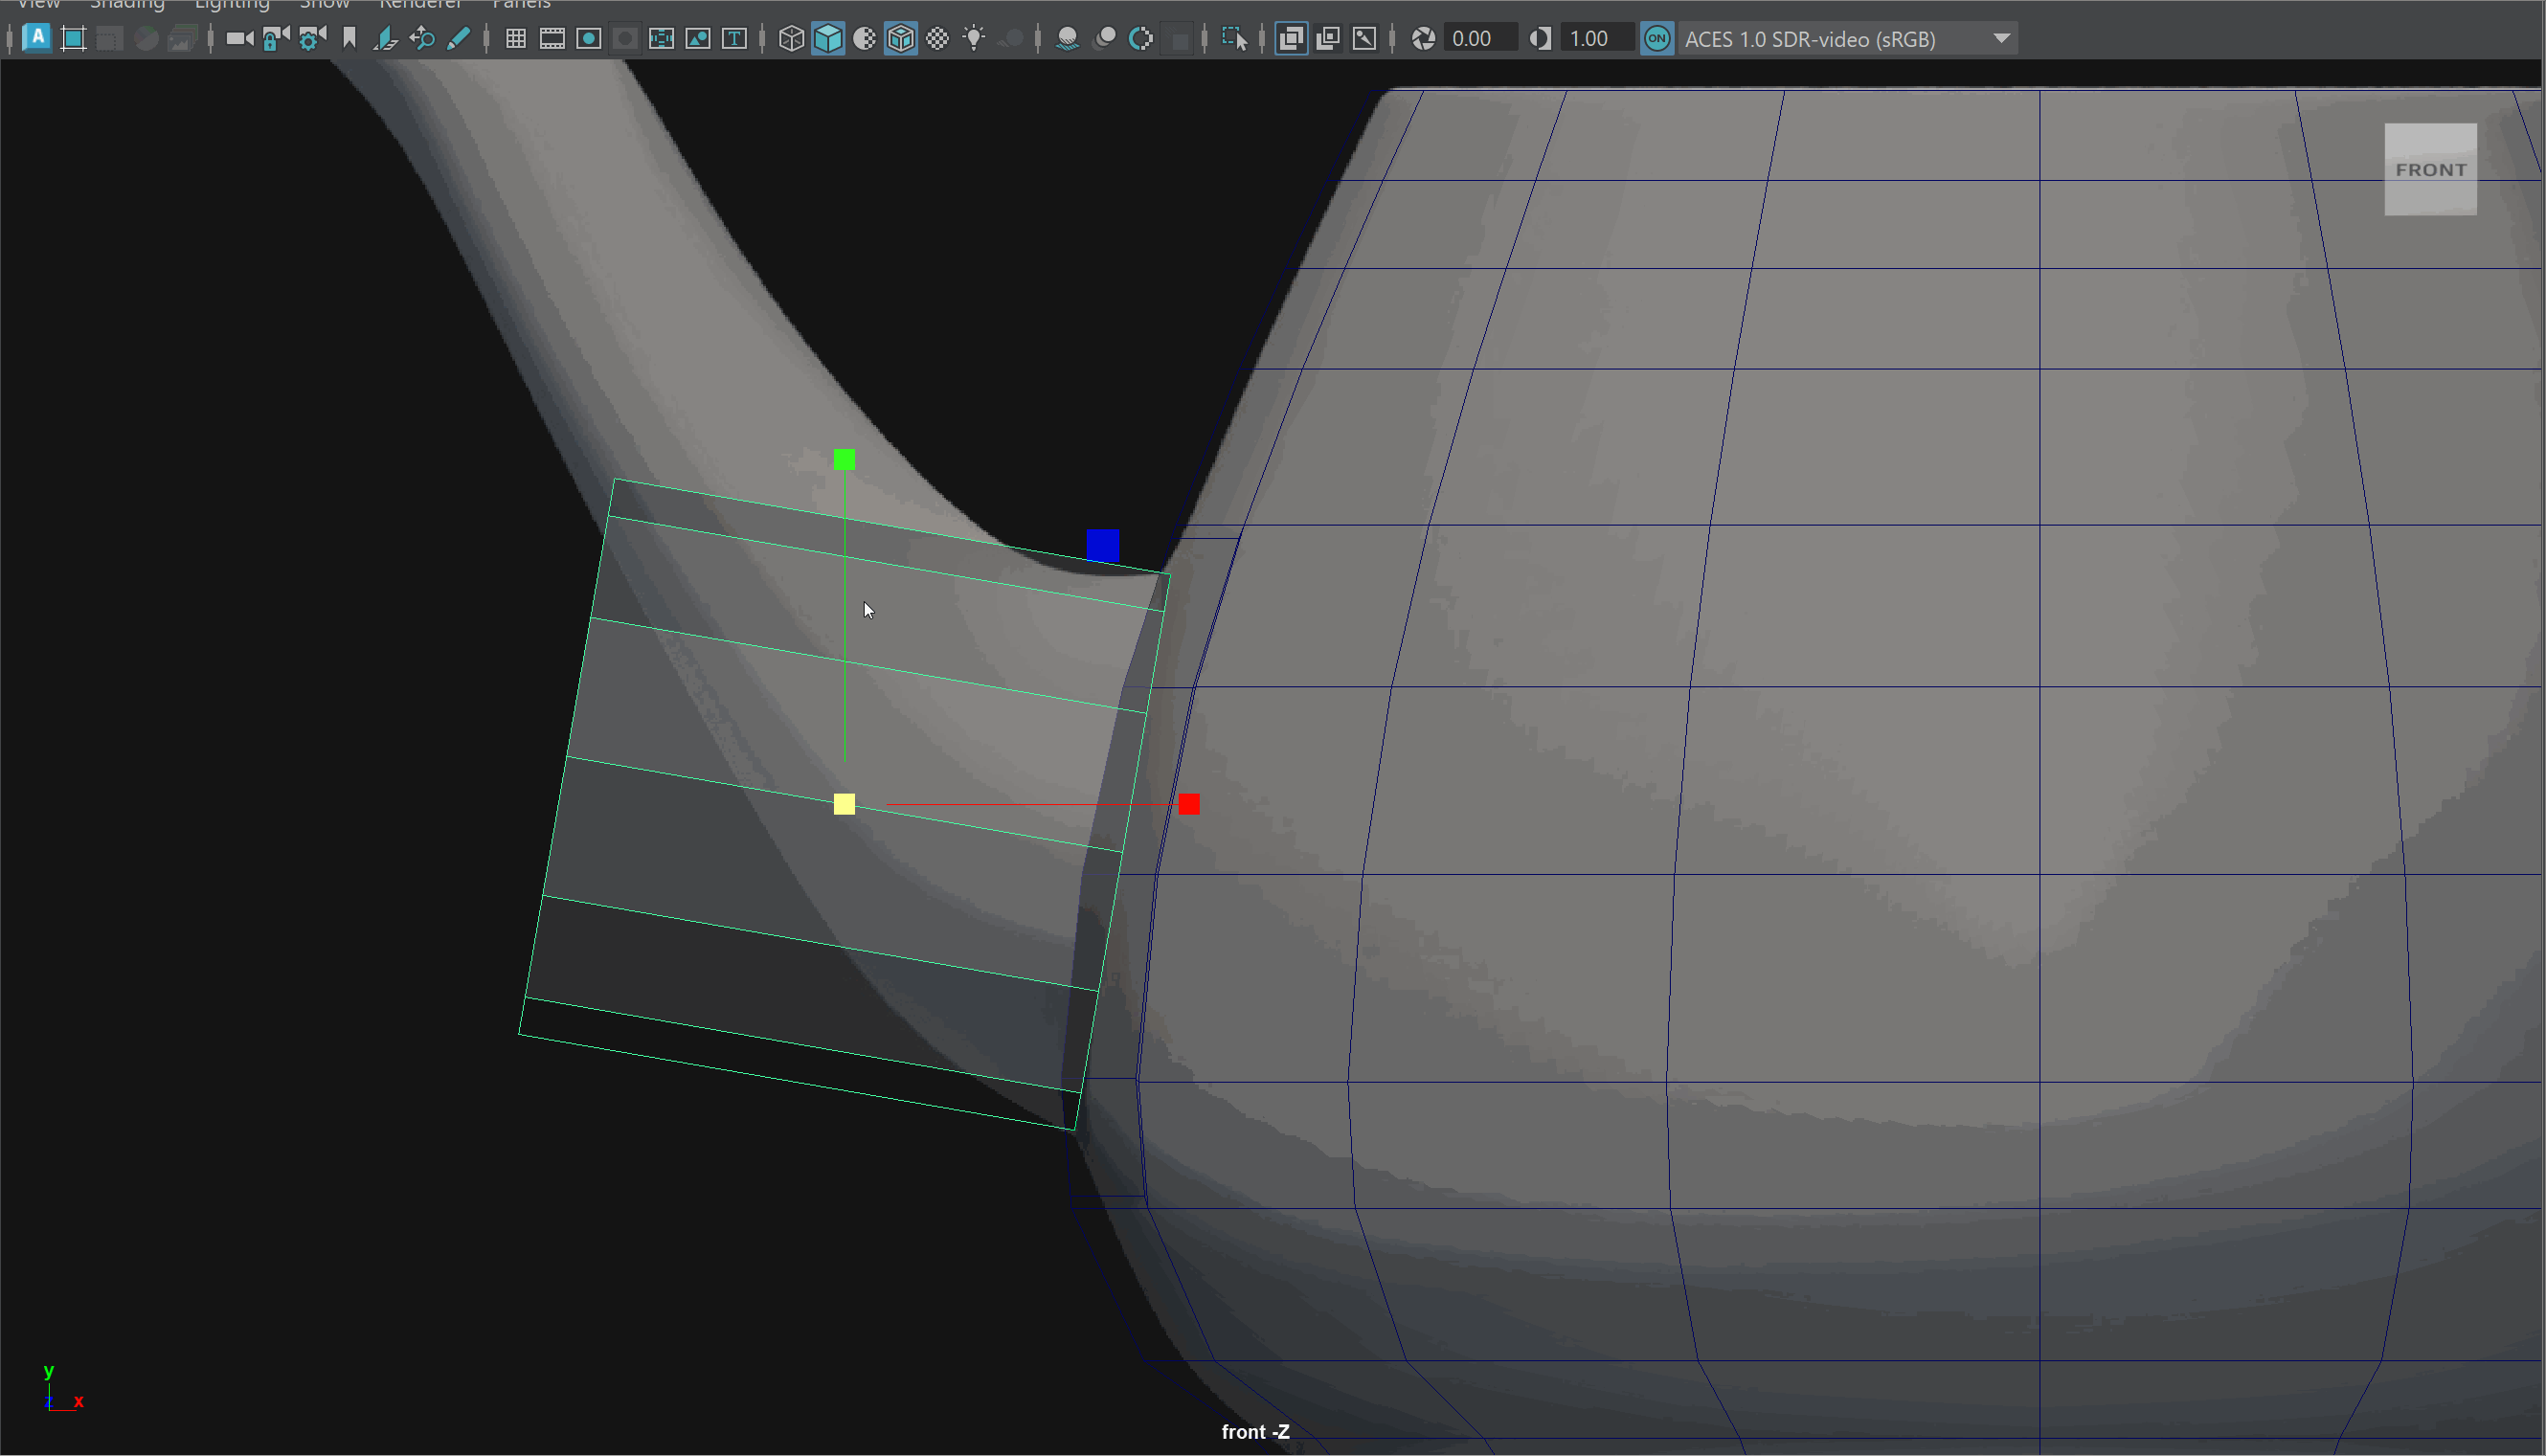
- We can also go ahead and delete any extra edge loop on our teapot using Ctrl+Backspace
- Let's also Slide an edge loop down using Ctrl+Shift while dragging with the Middle Mouse Button pressed to move one edge loop to the center of our lower handle and one edge loop closer to the top of our lower handle.
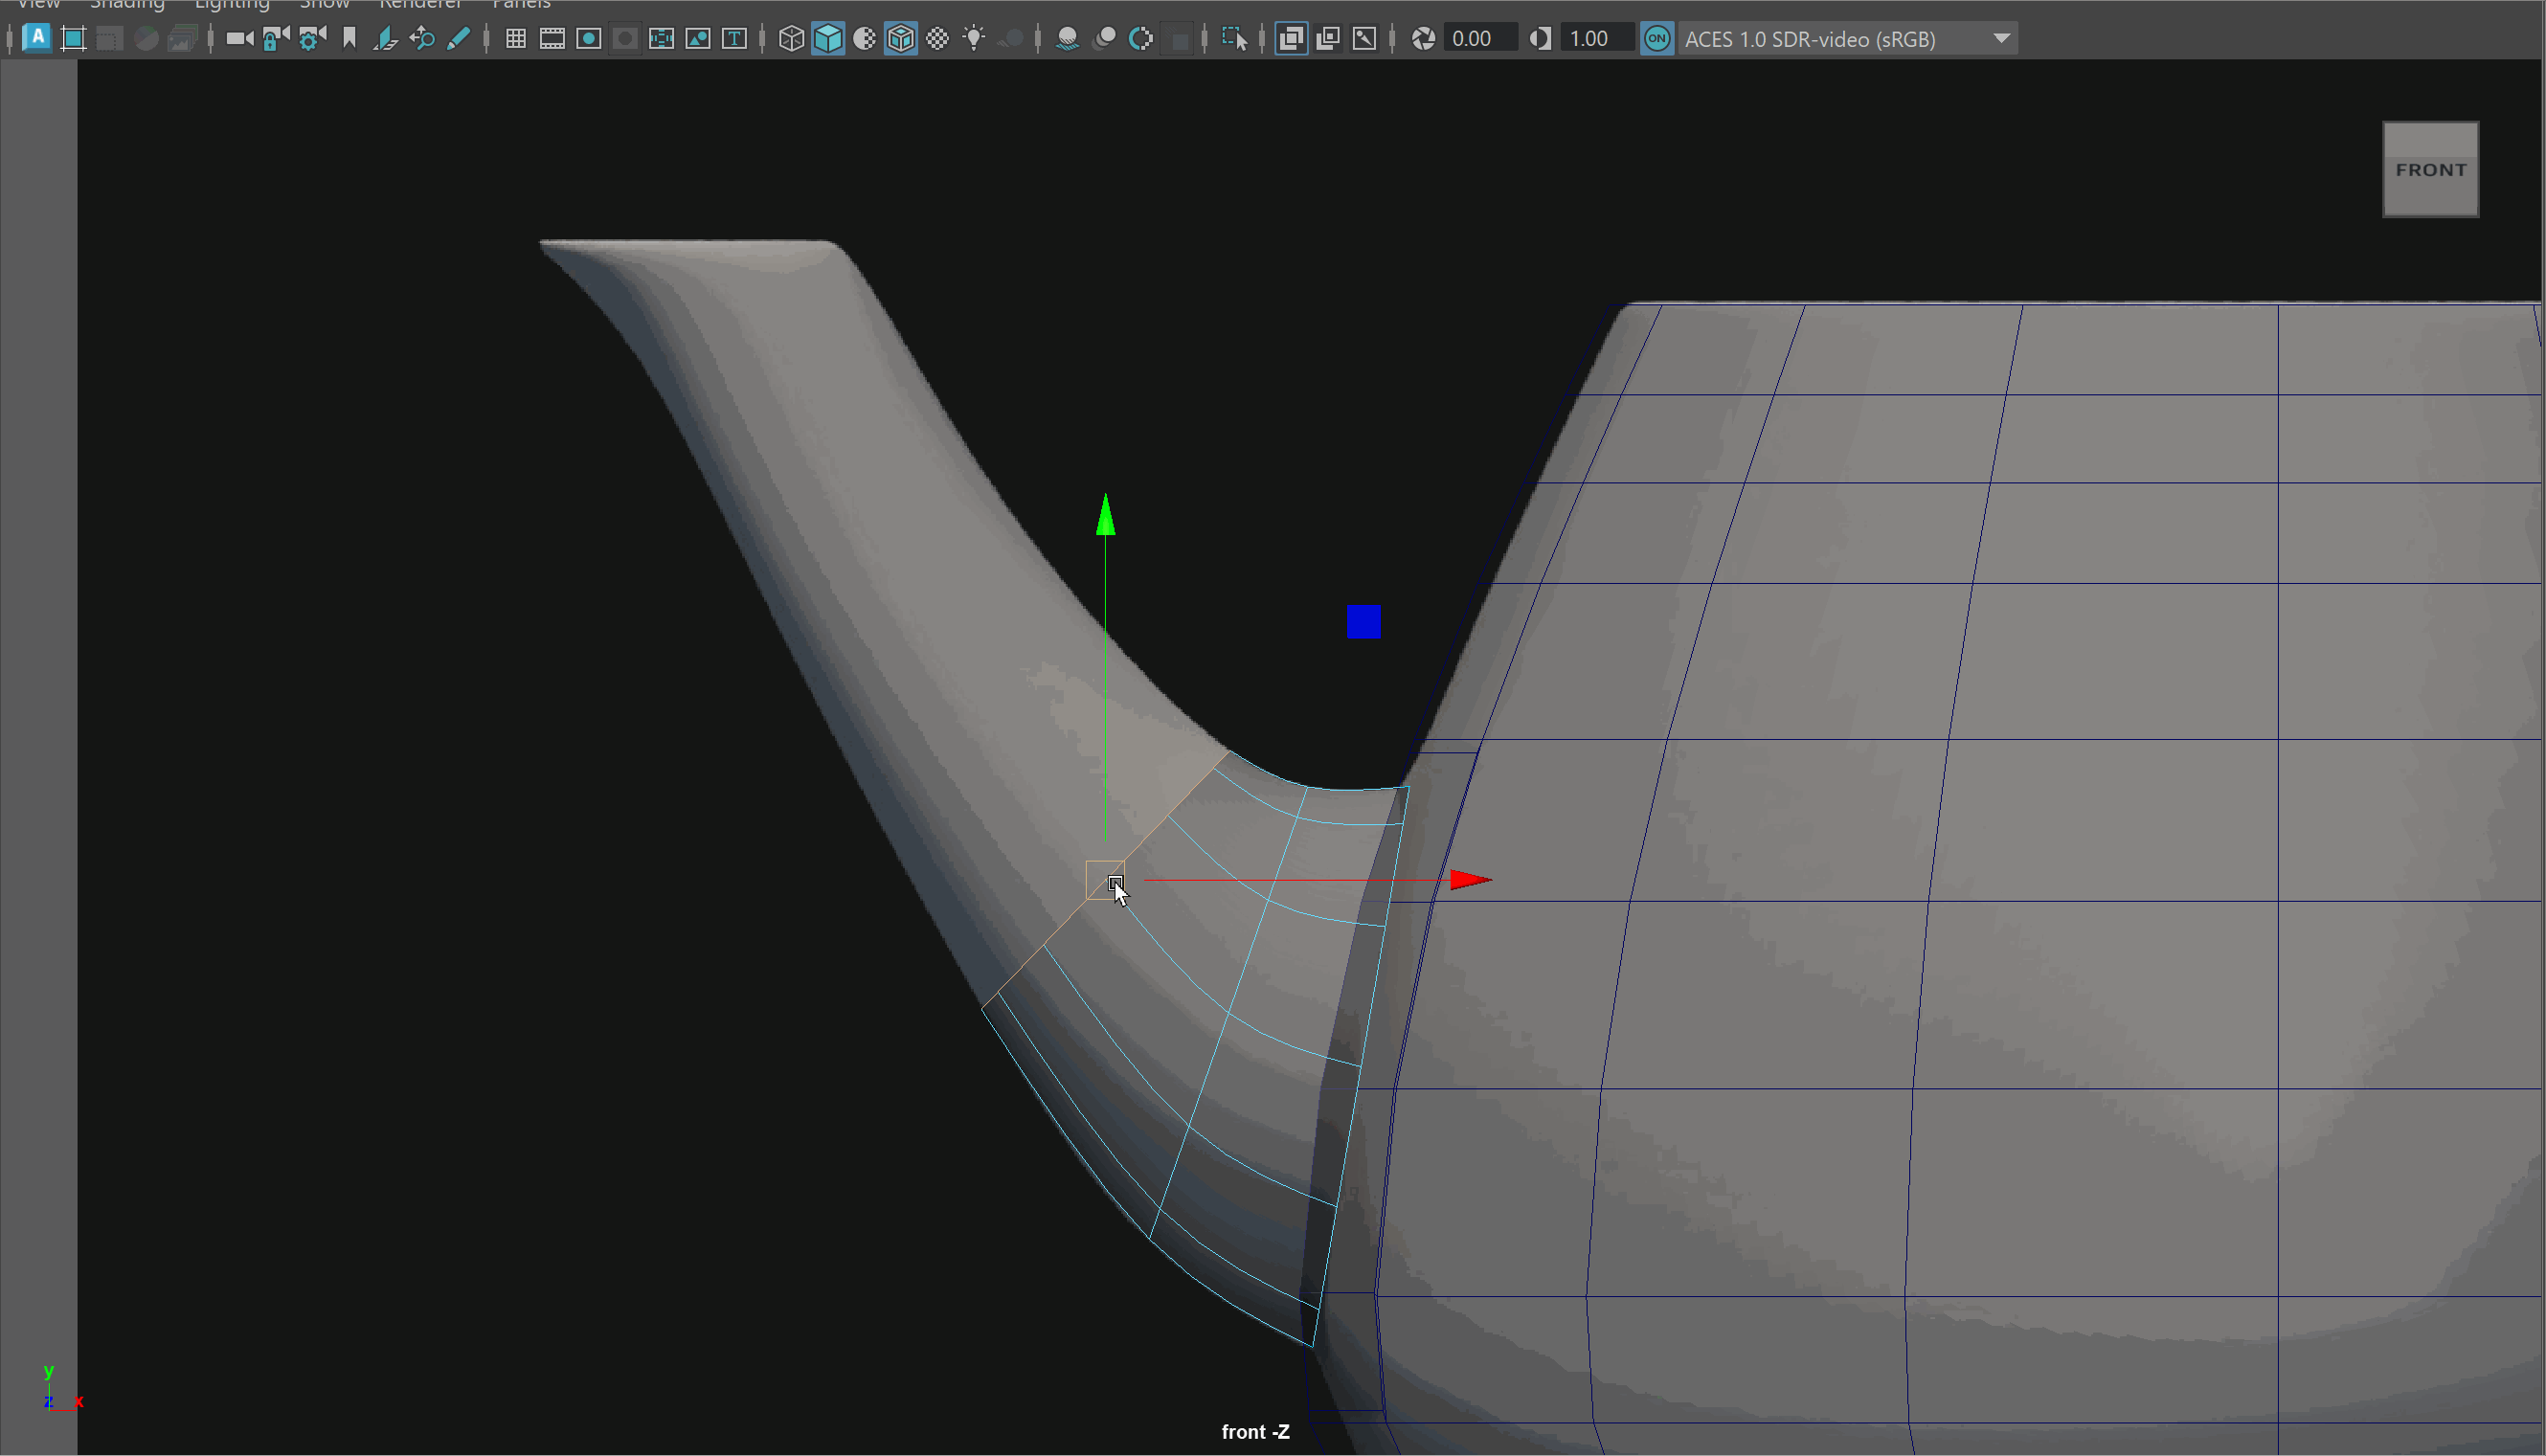
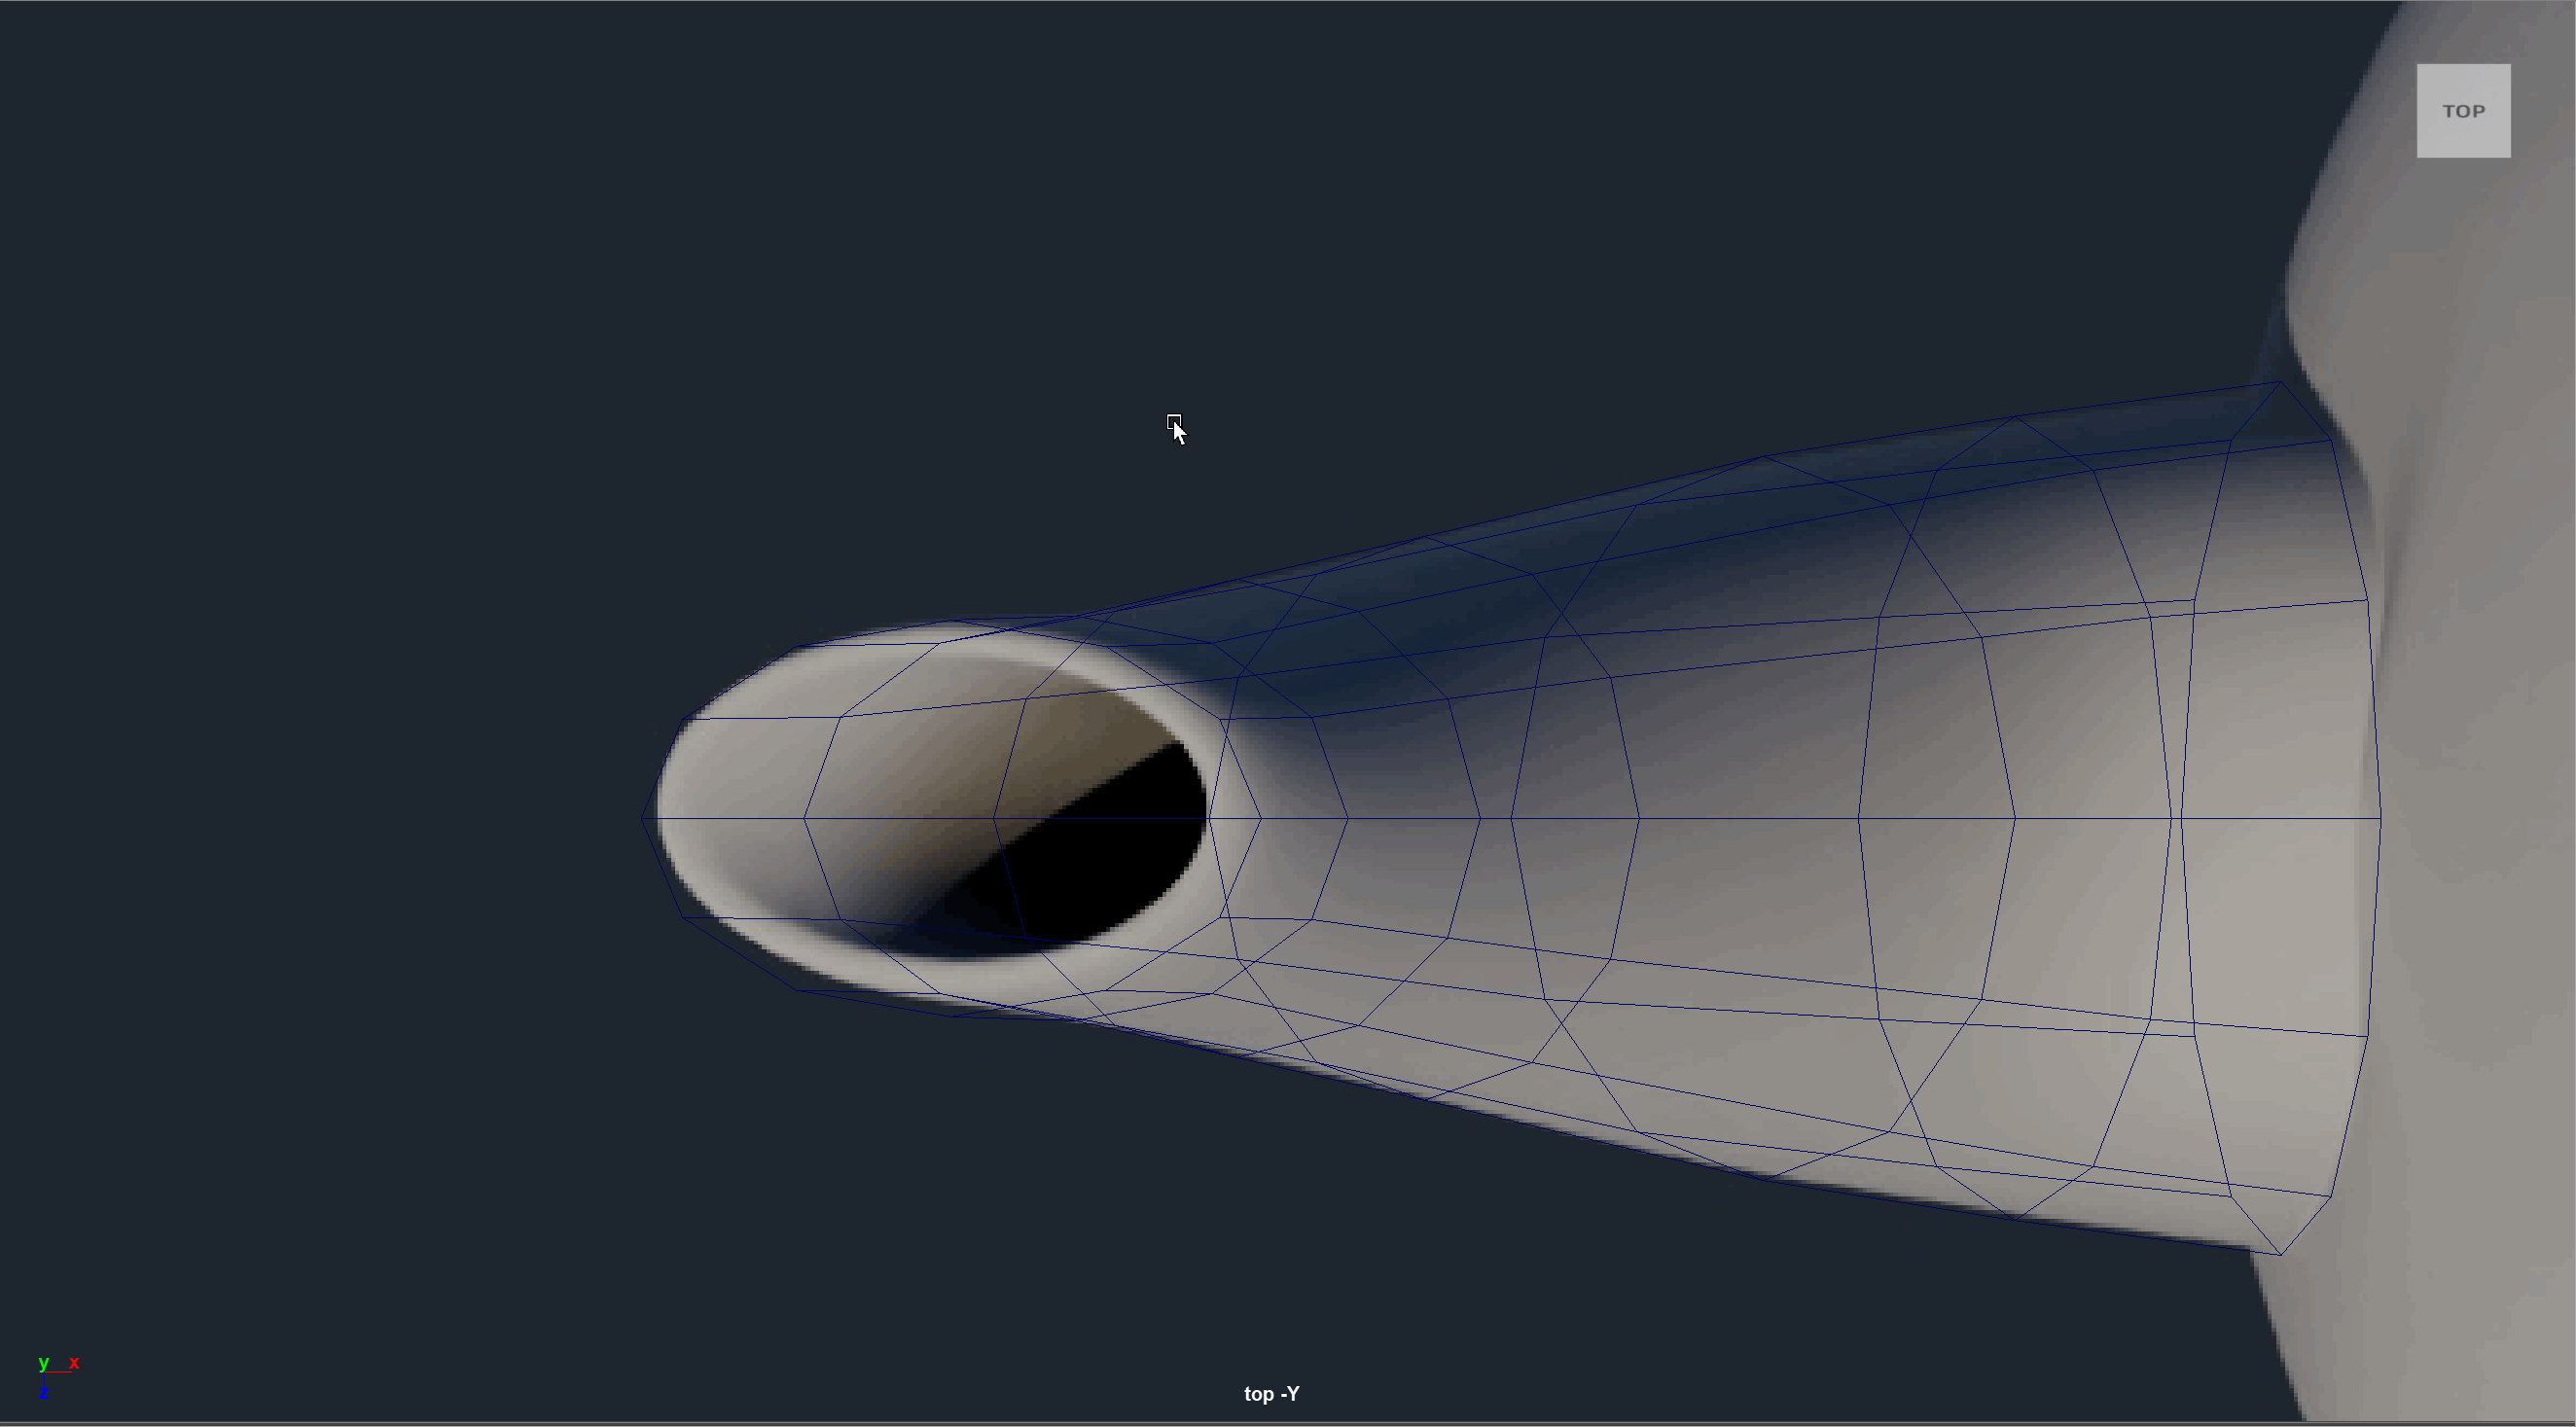
- Scale and position your cylinder to be the size of the spout opening.
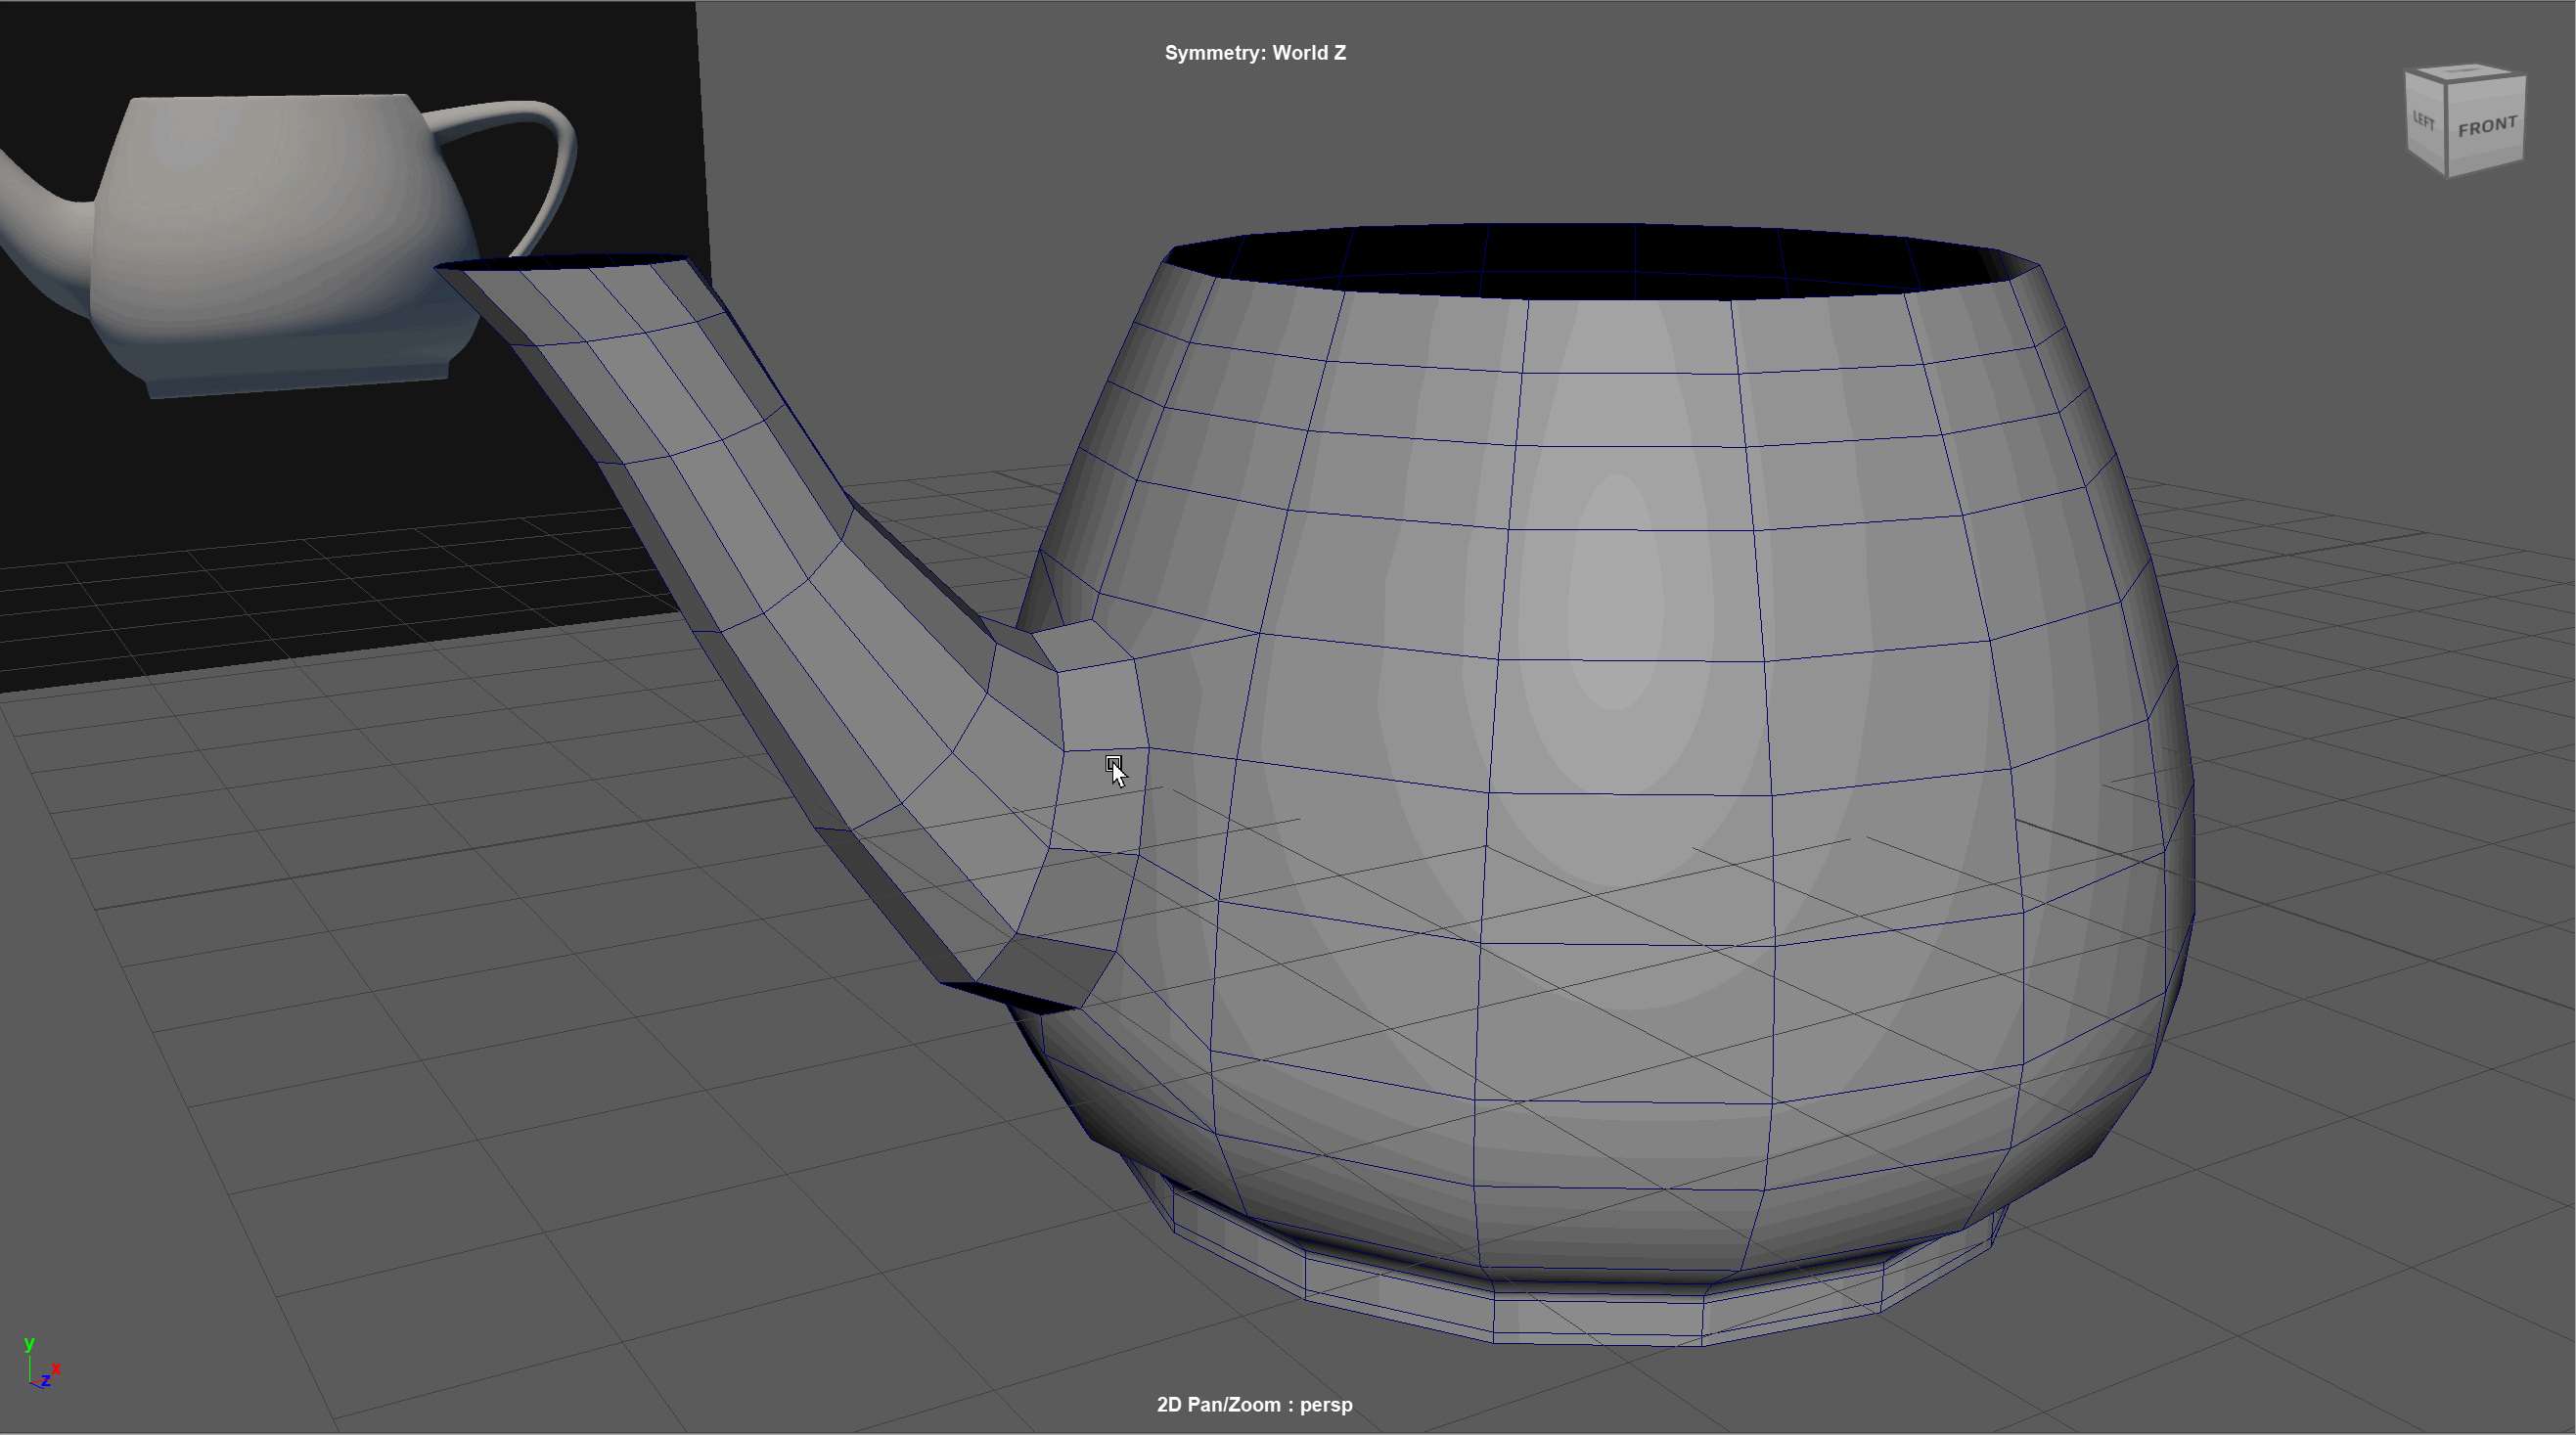
- Begin extruding our the edge loop of our spout to form the spout shape. Use move, rotate and scale tools while toggling on smooth preview to get the correct shape. The rotation of the edge loops should follow the flow of the spout.
- Continue extruding out the spout making sure the edge loops follow the flow of the spout. We can use the scale tool on the y-axis of the last edge loop to make sure it is perfectly straight.
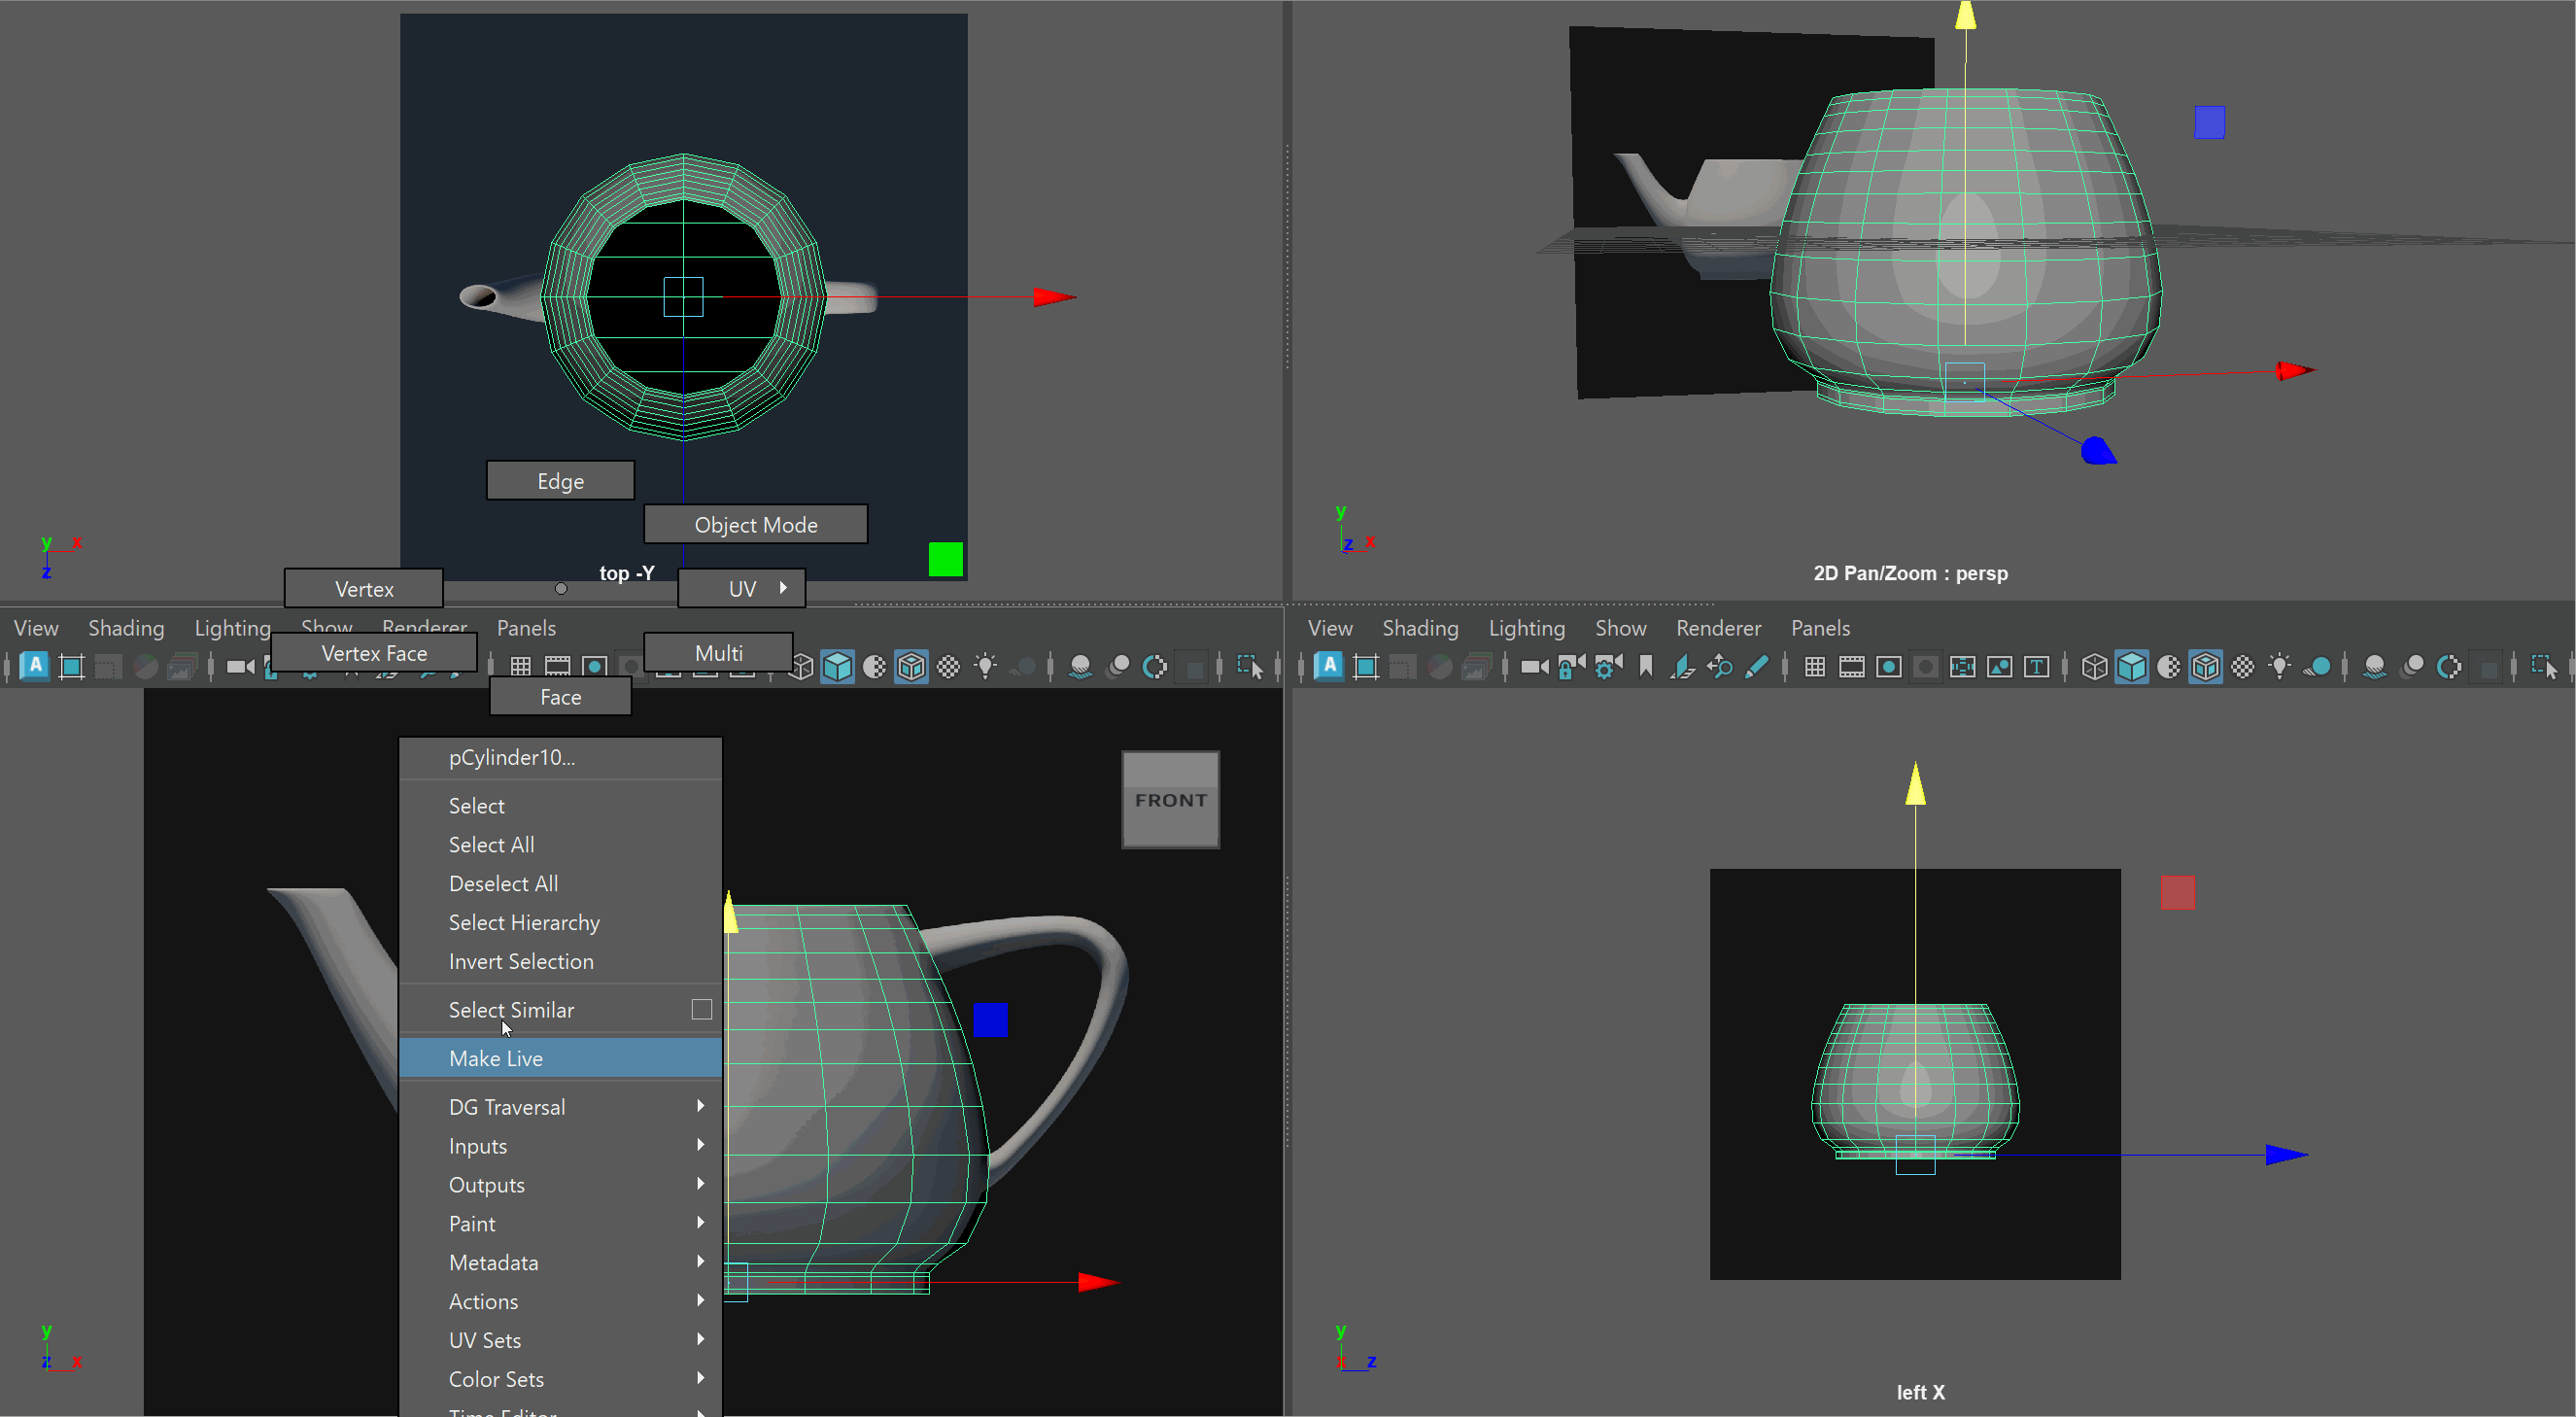
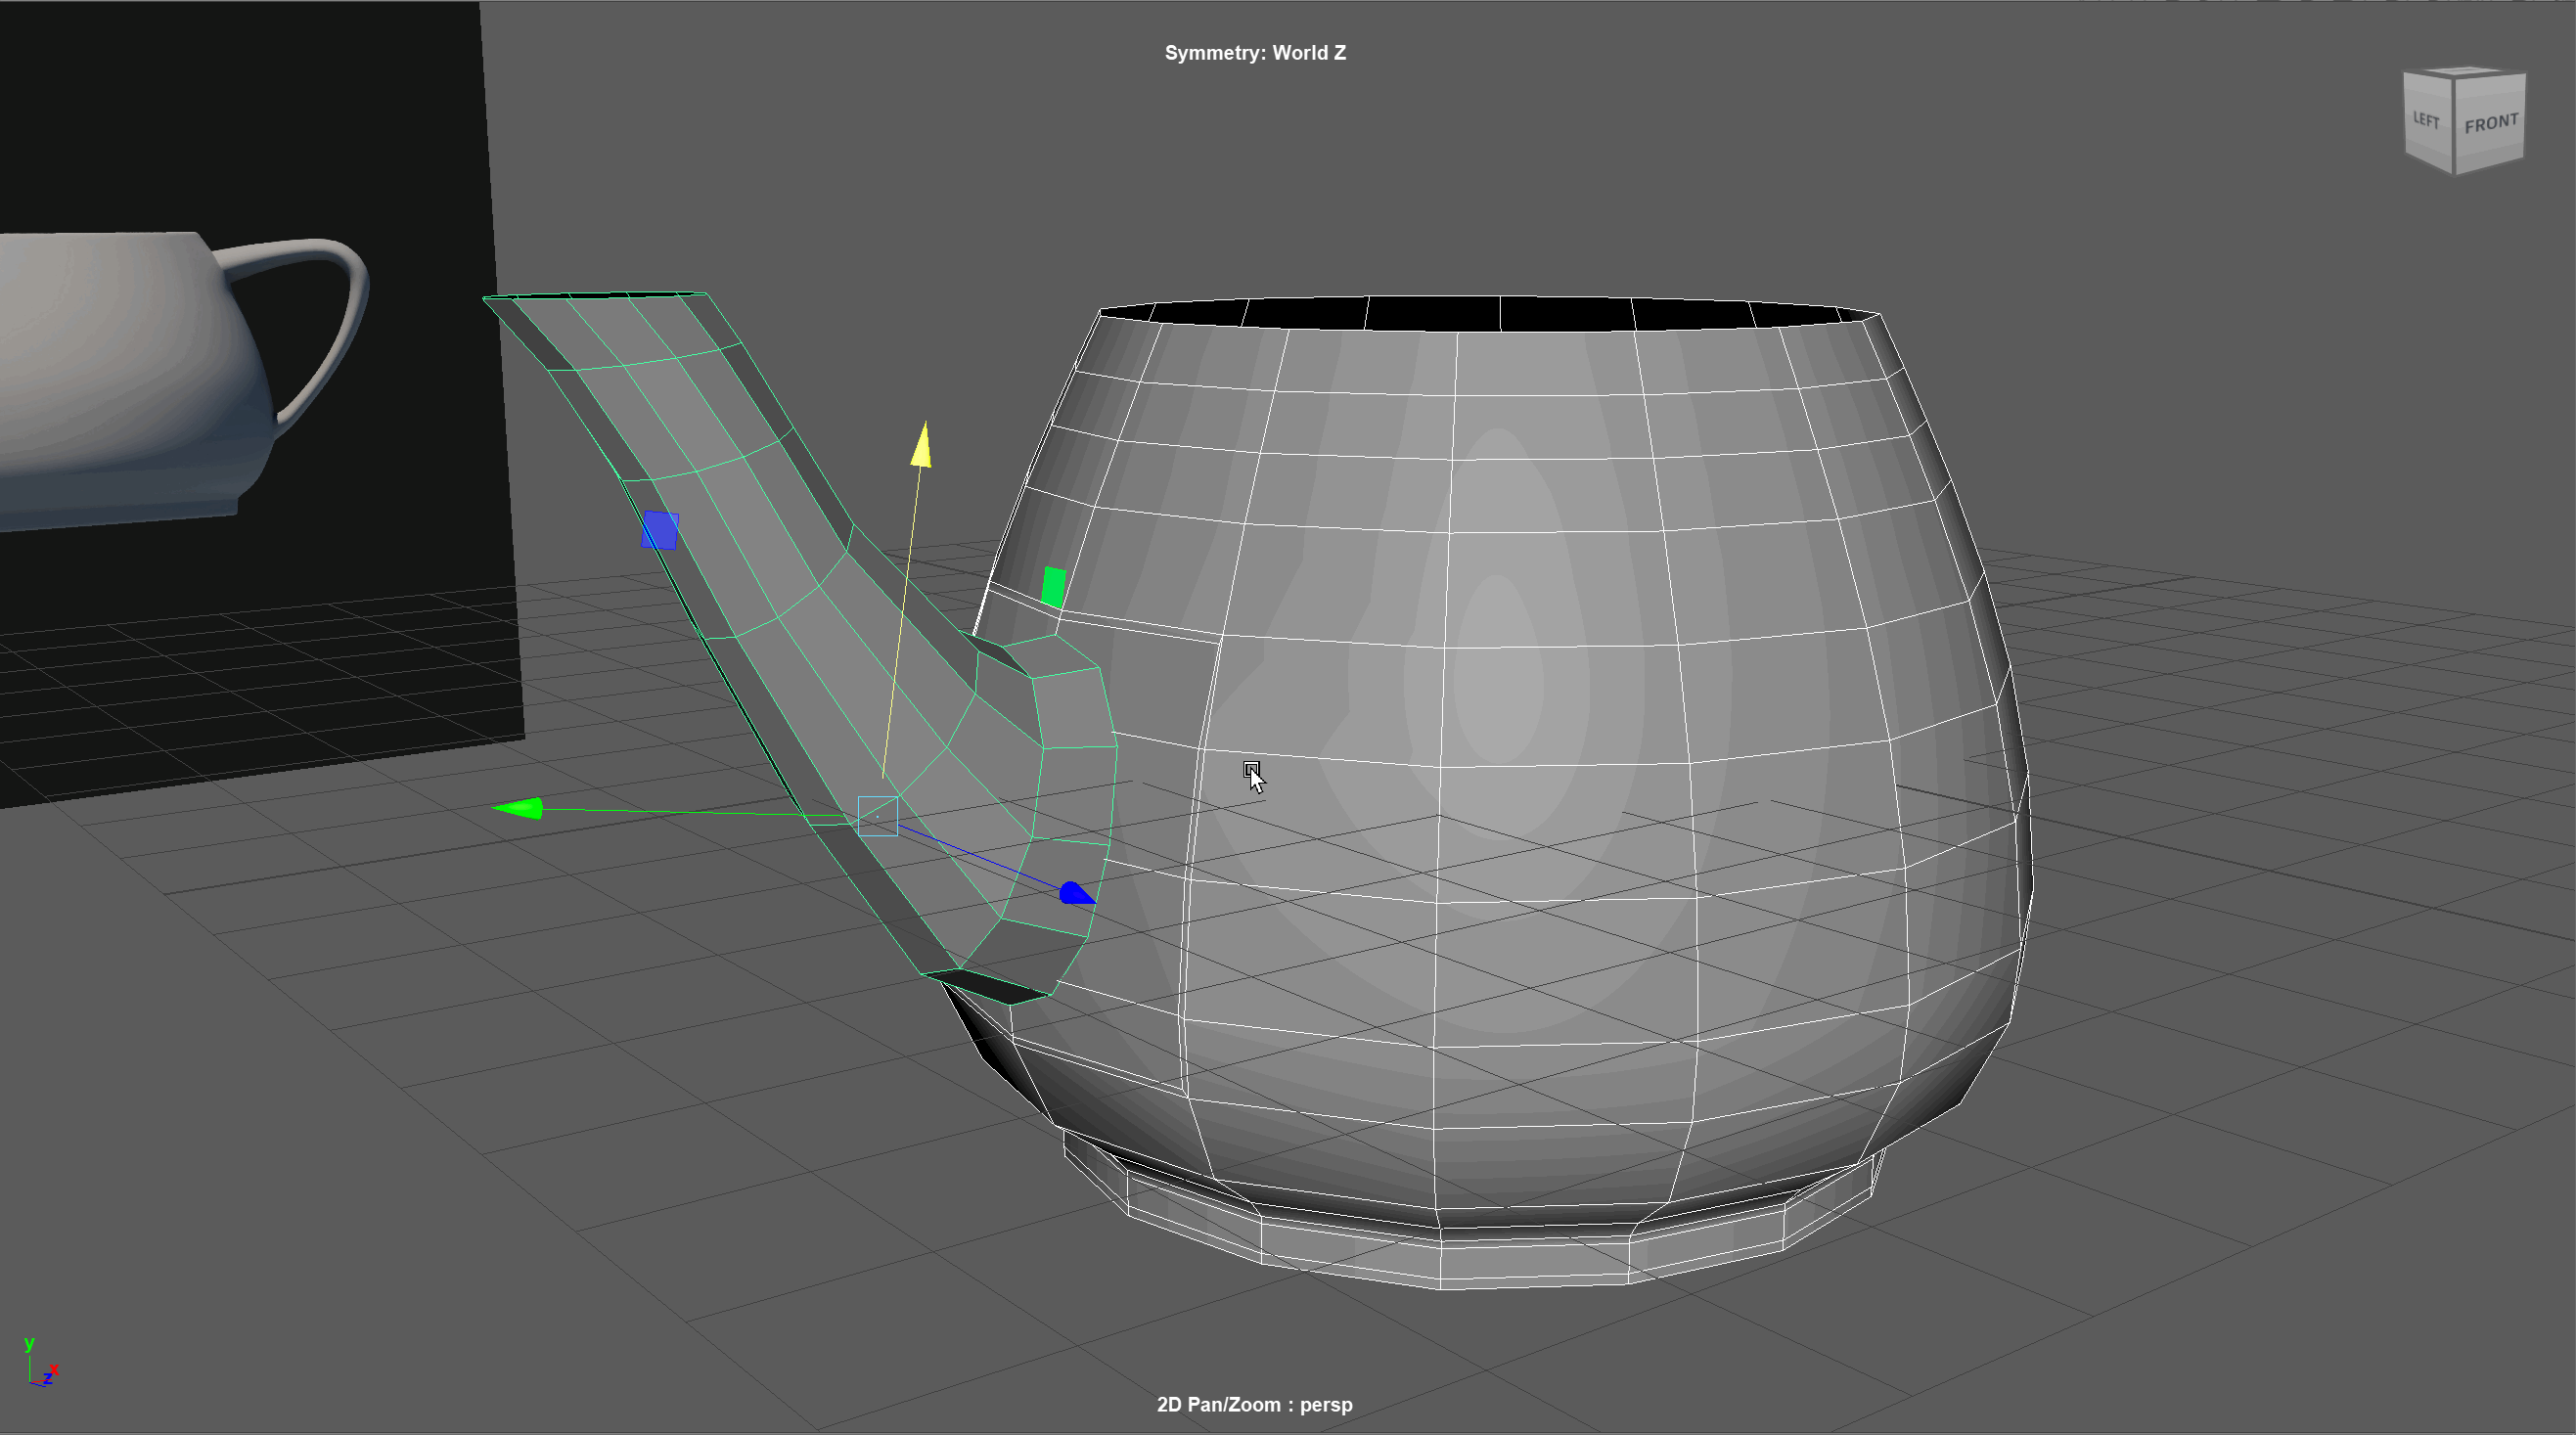
- Let's enter the top view. Its hard to see our spout with the teapot in the way. Before we hide our teapot, let's rename it so we know where to find it later.

- Click on your teapot and press Ctrl+H to hide your teapot
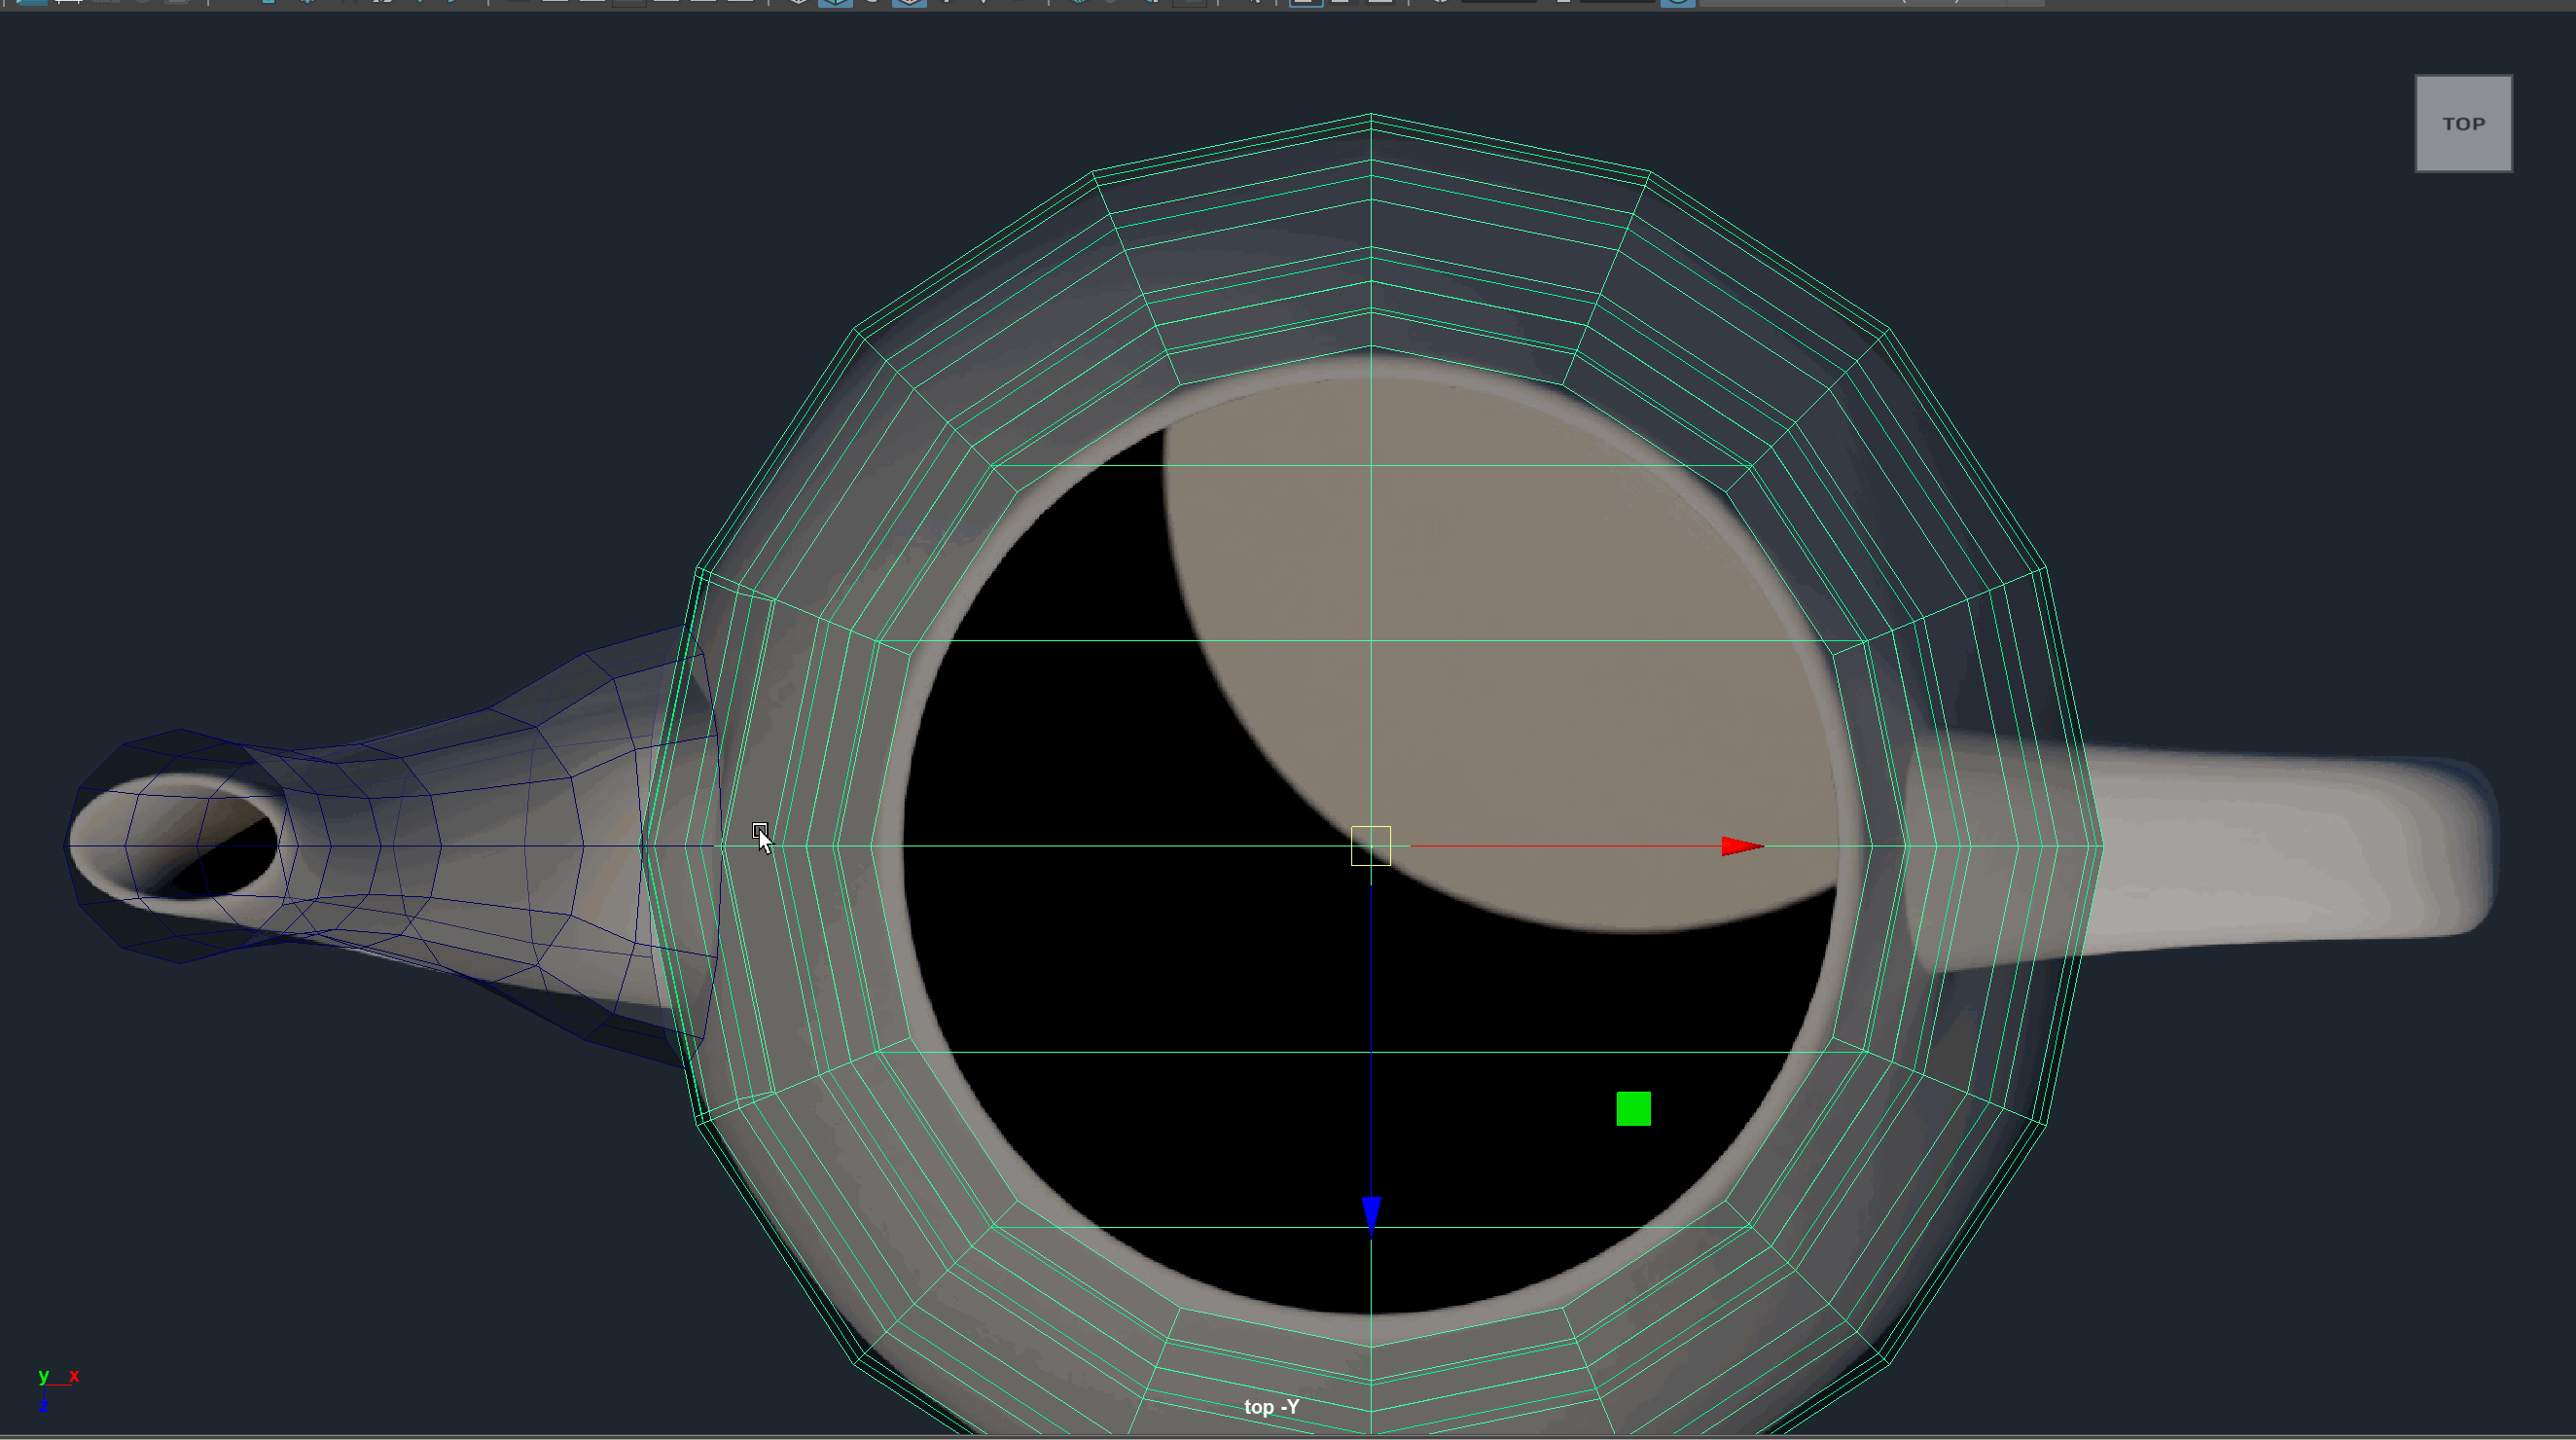
- We can toggle on Wireframe mode to get a better view of our model by pressing the 4 key. With wireframe on, scale the edge loops on your spout along the x axis to match them to the image.
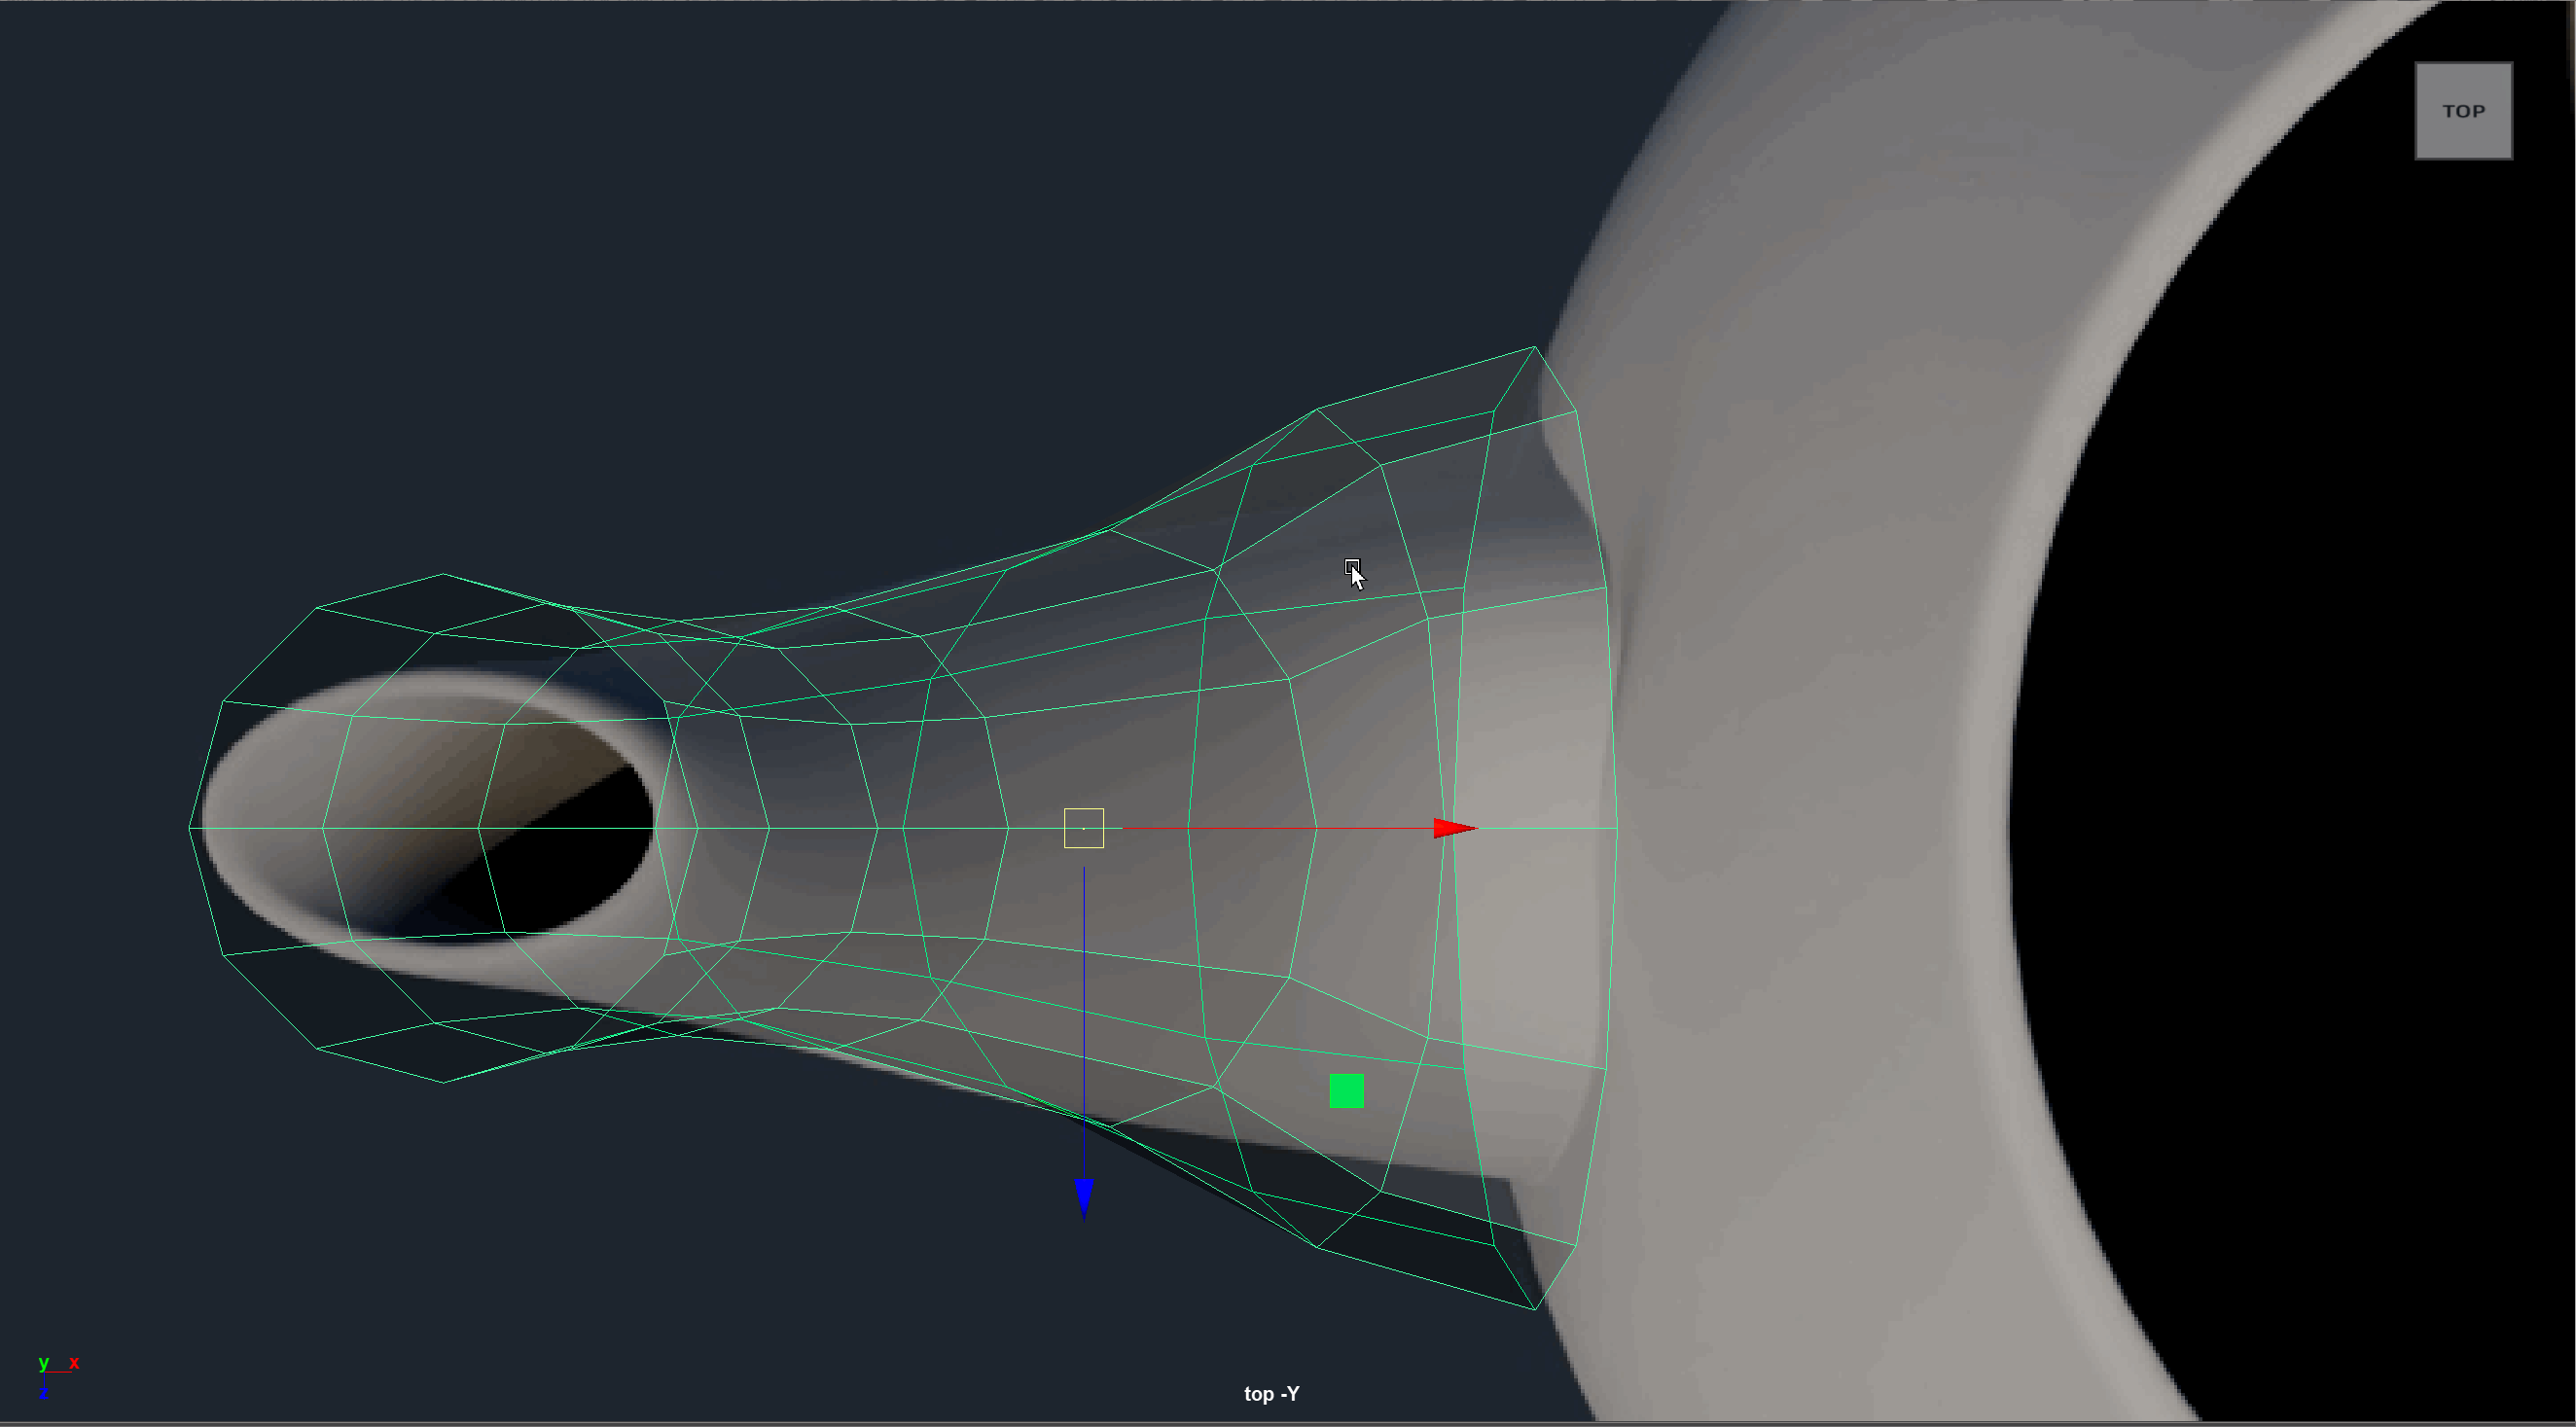
- Check the Left view to make sure everything looks lined up.
- Un-hide your teapot by selecting it from the Outliner and pressing Shift+H
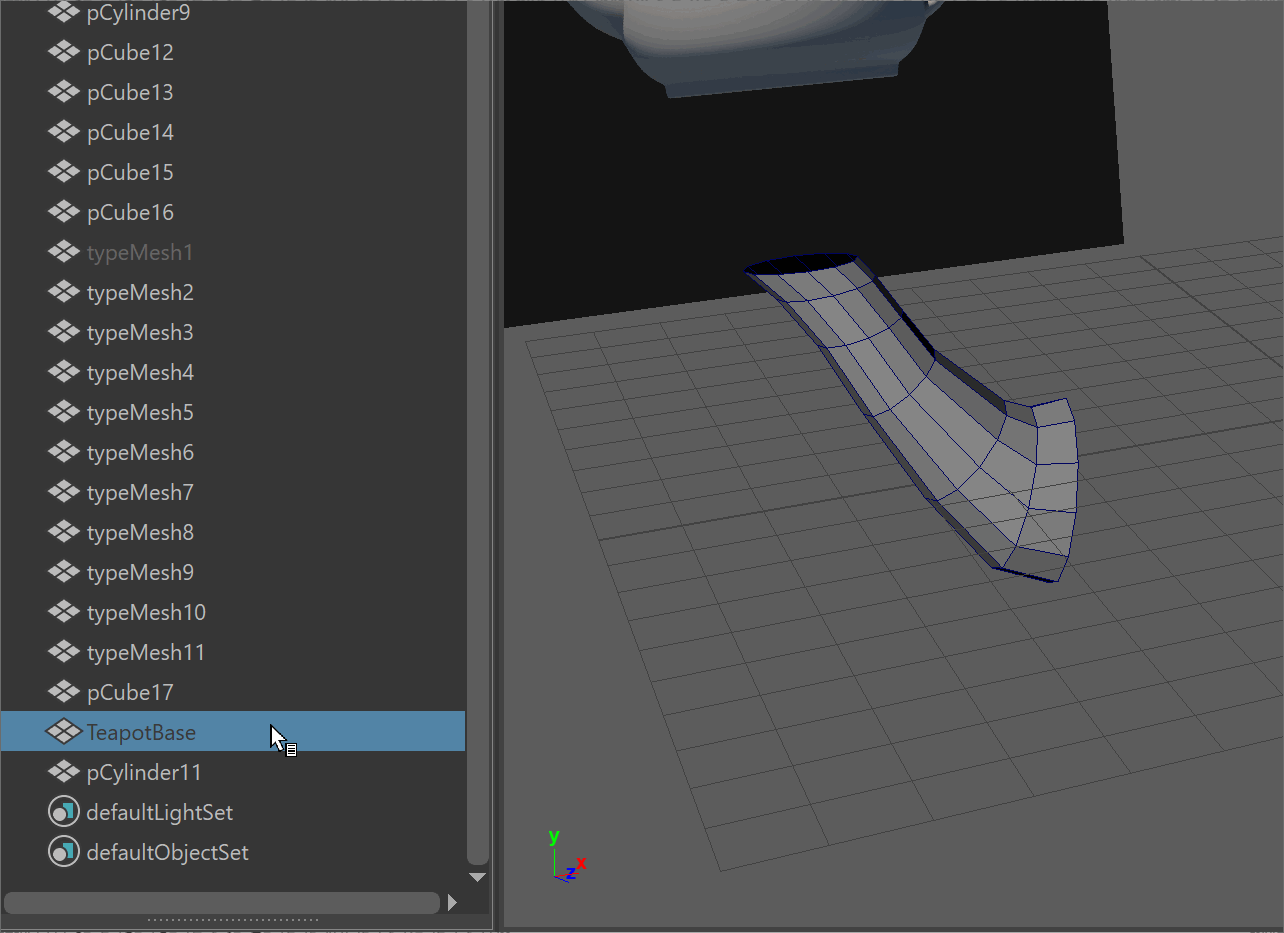
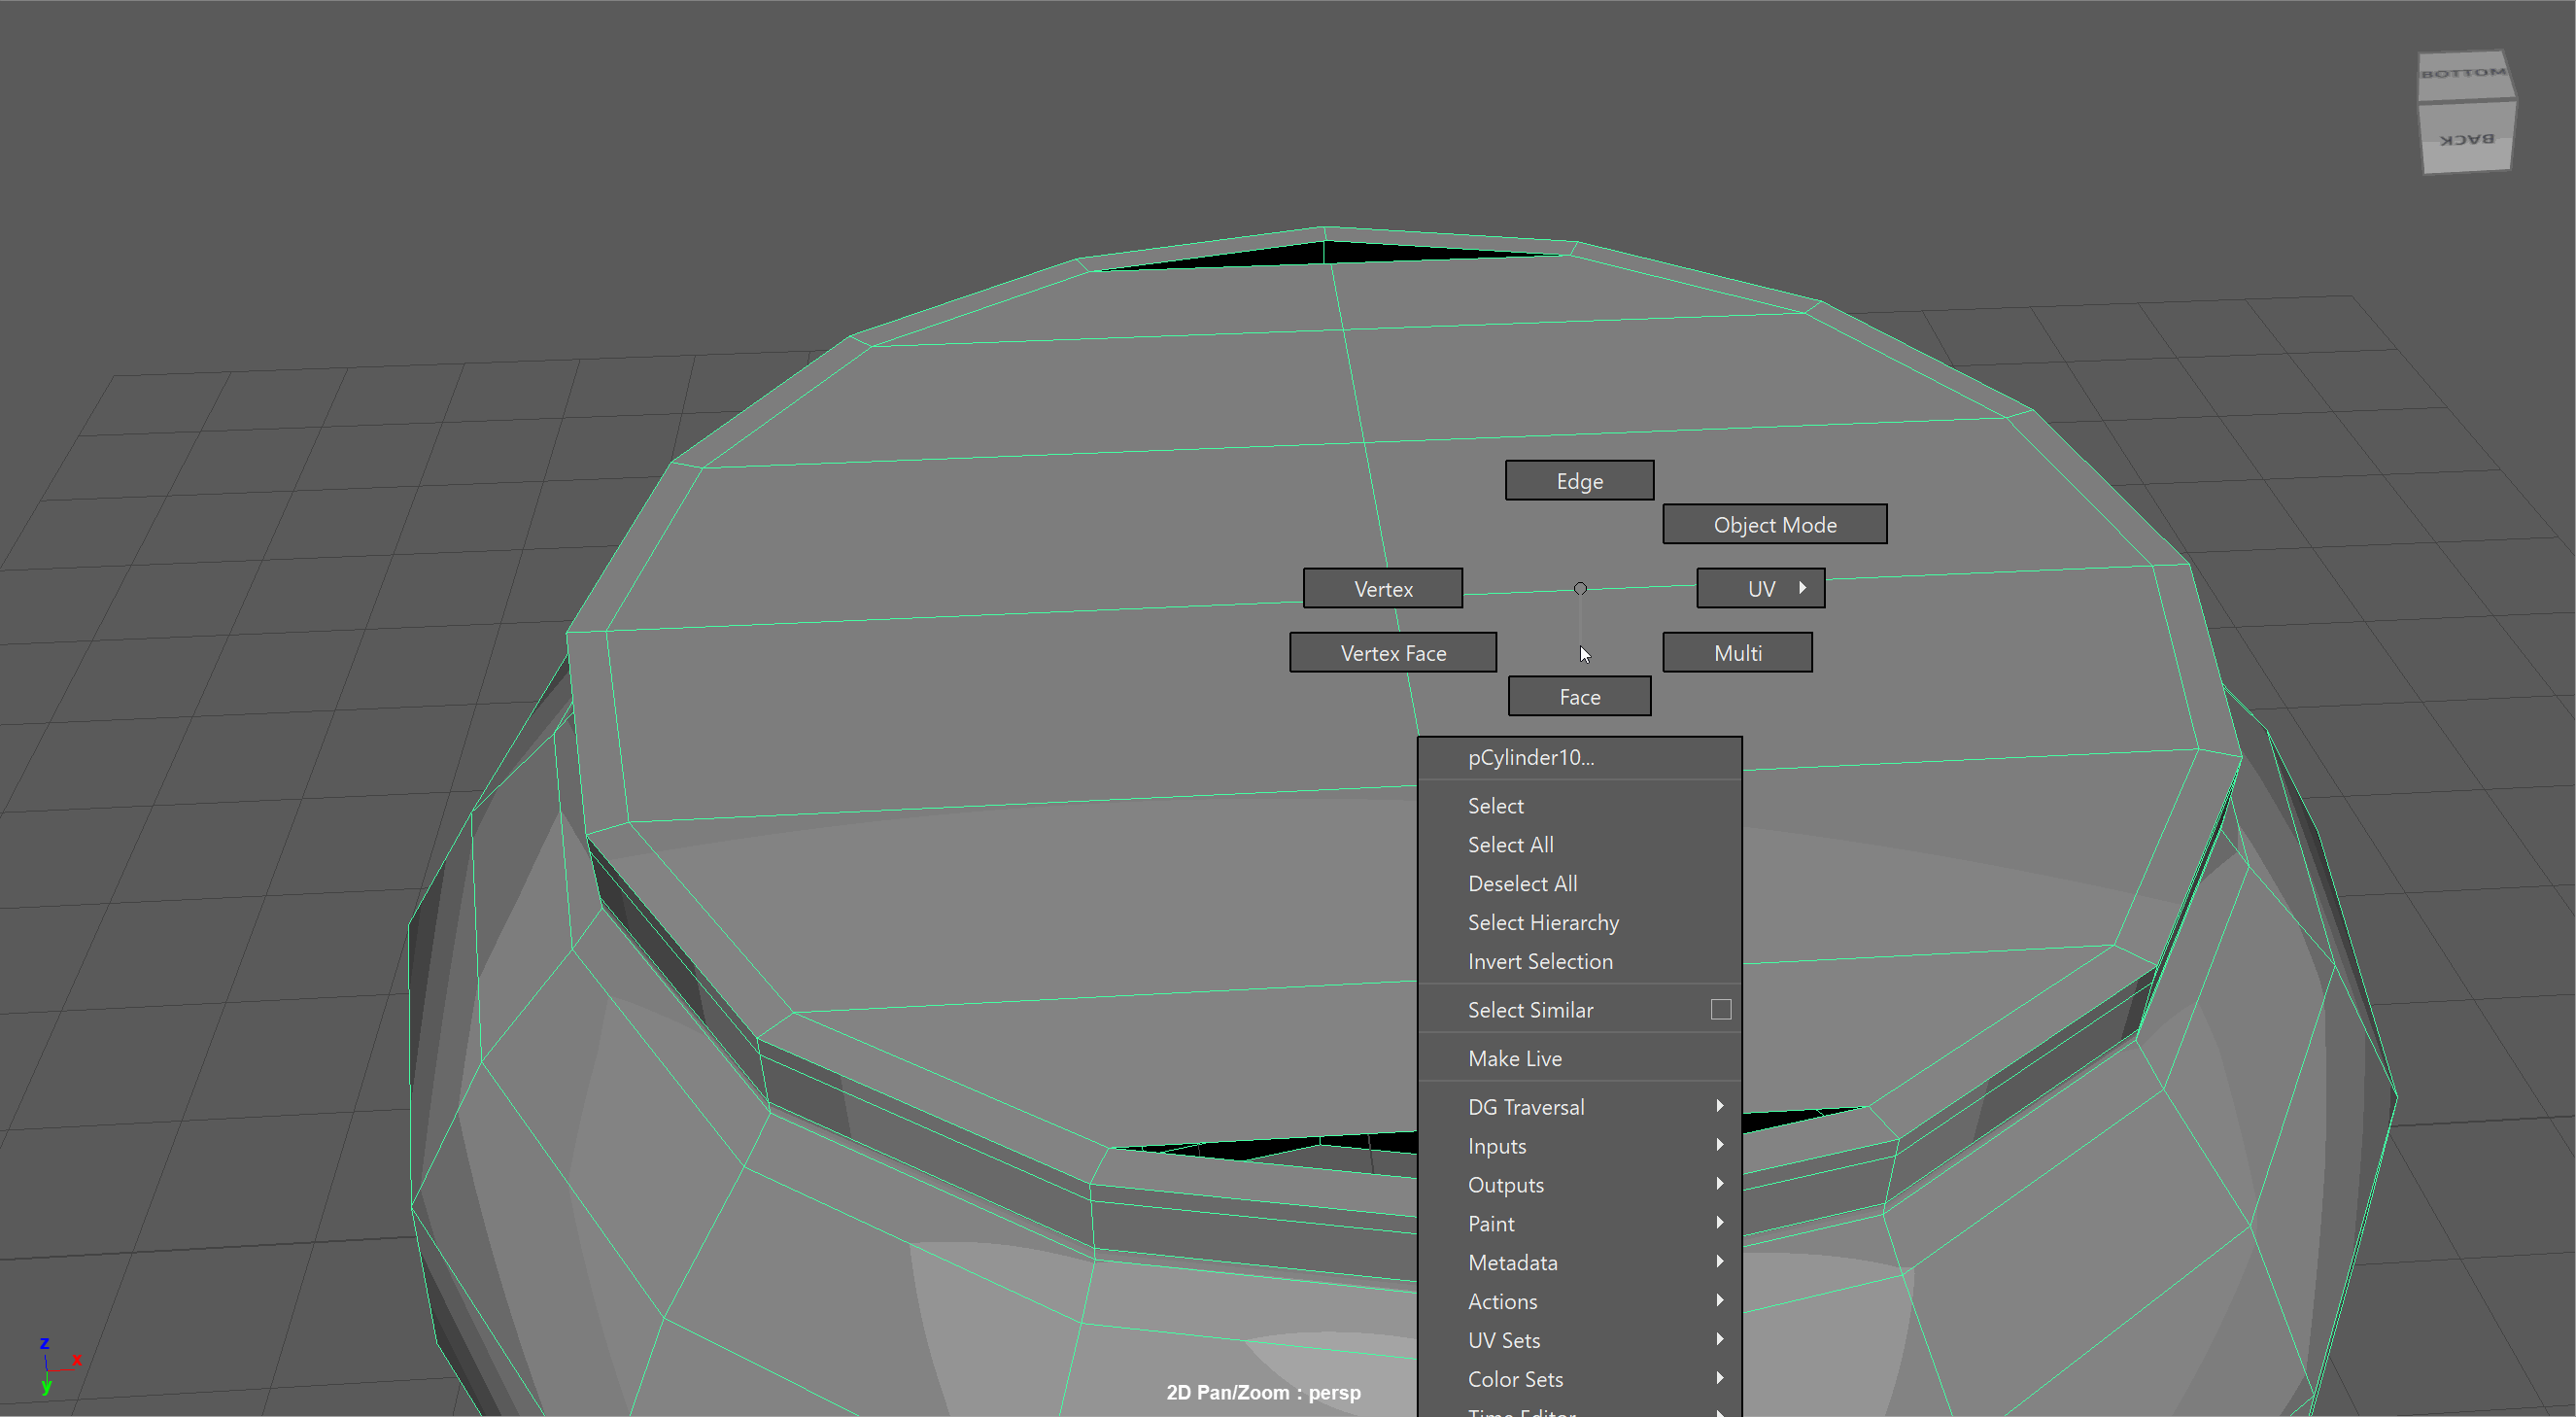
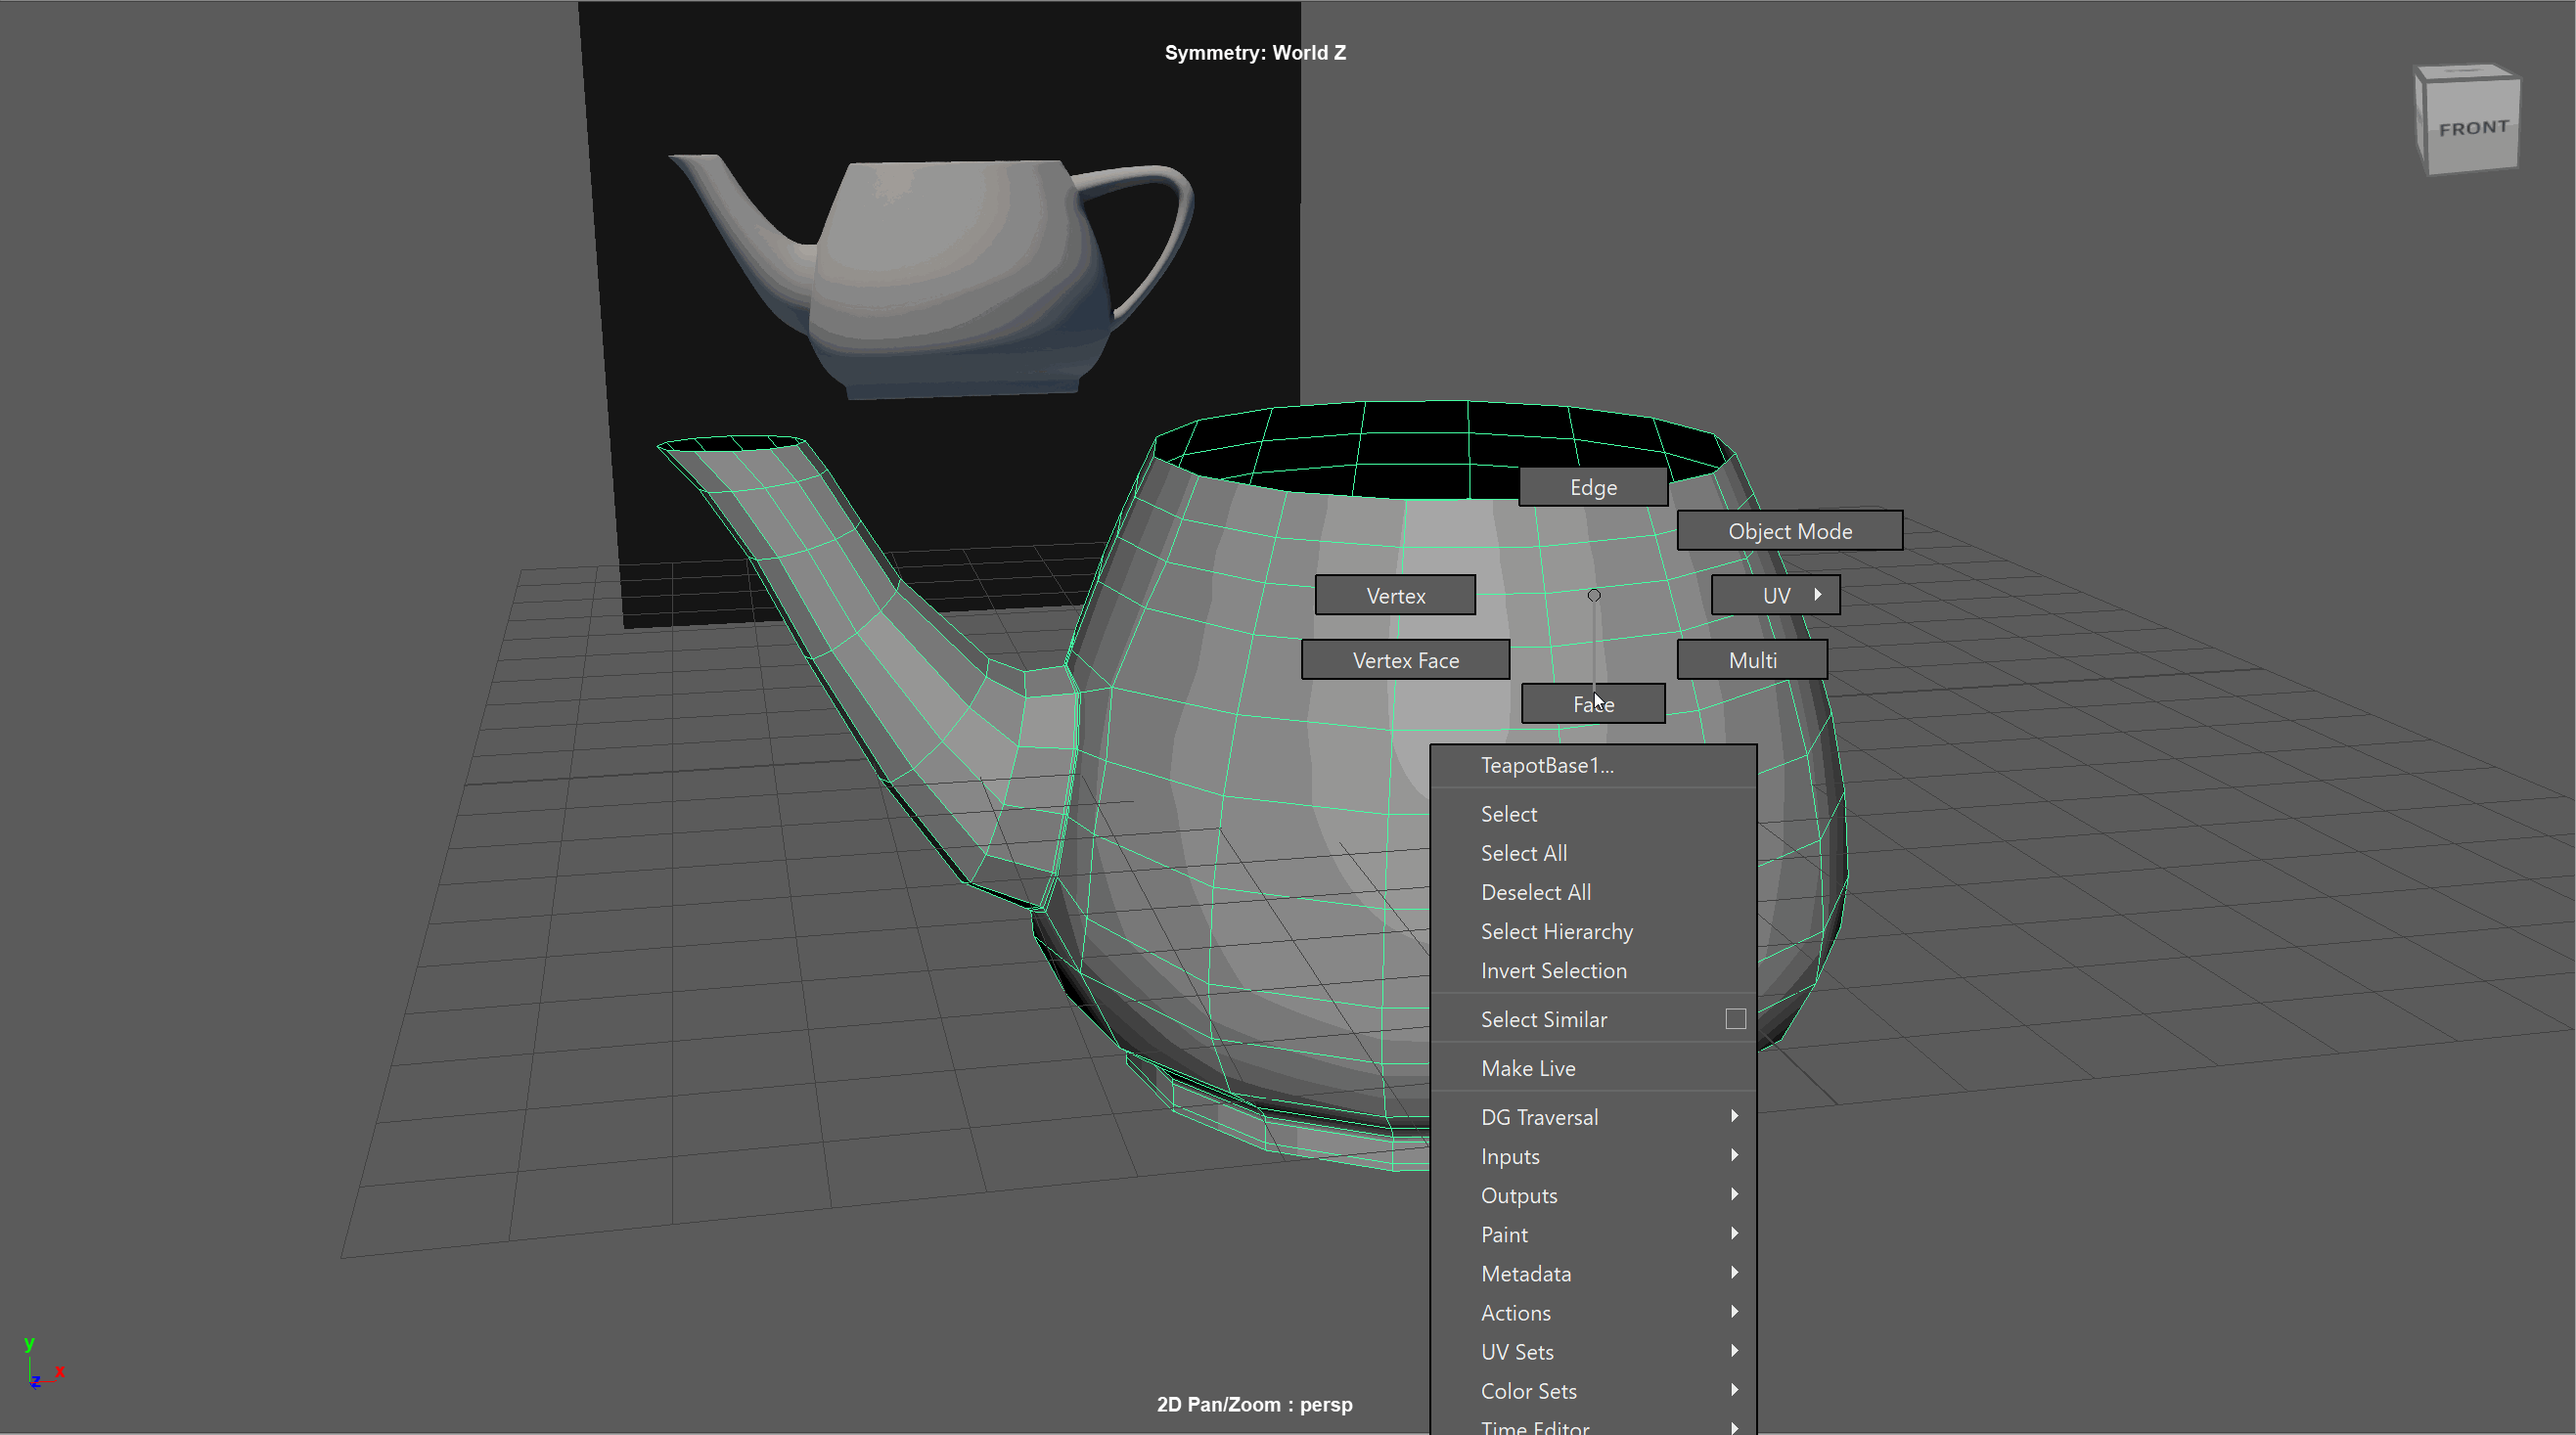
- Let's make our teapot Live by selecting on the teapot and selecting the live button. Making a model live will allow the components of other models to snap to its surface.
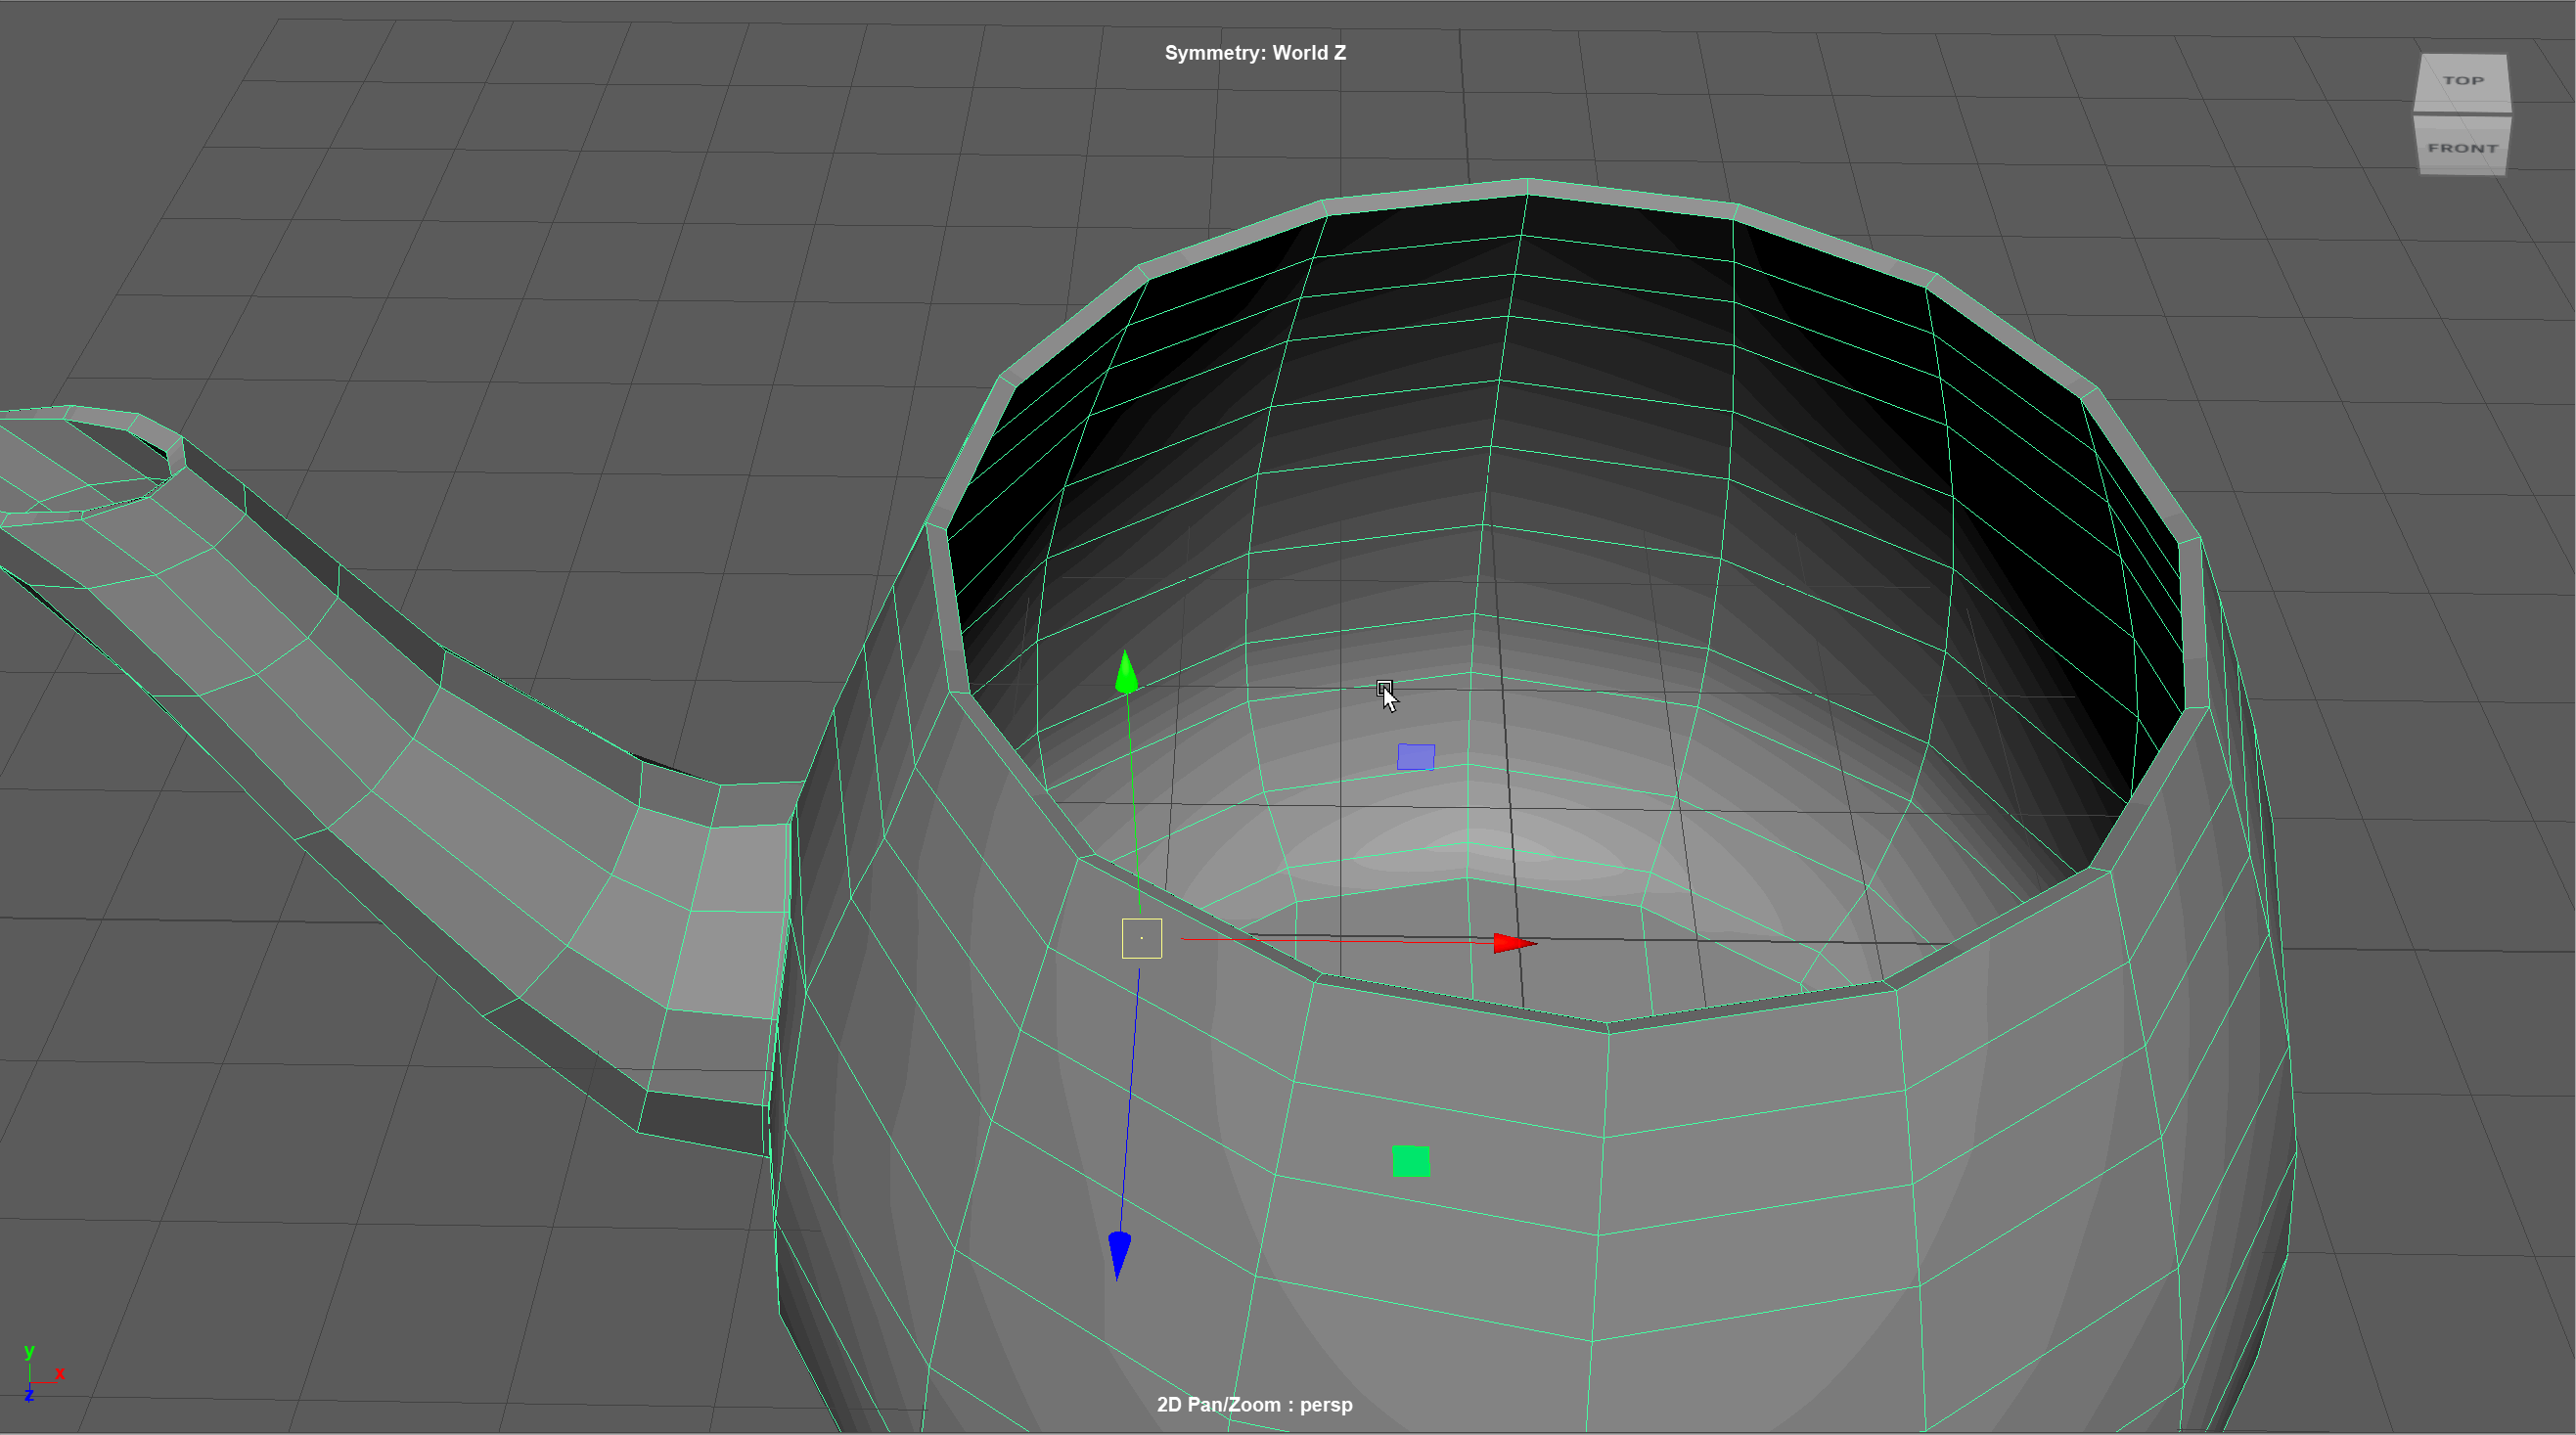
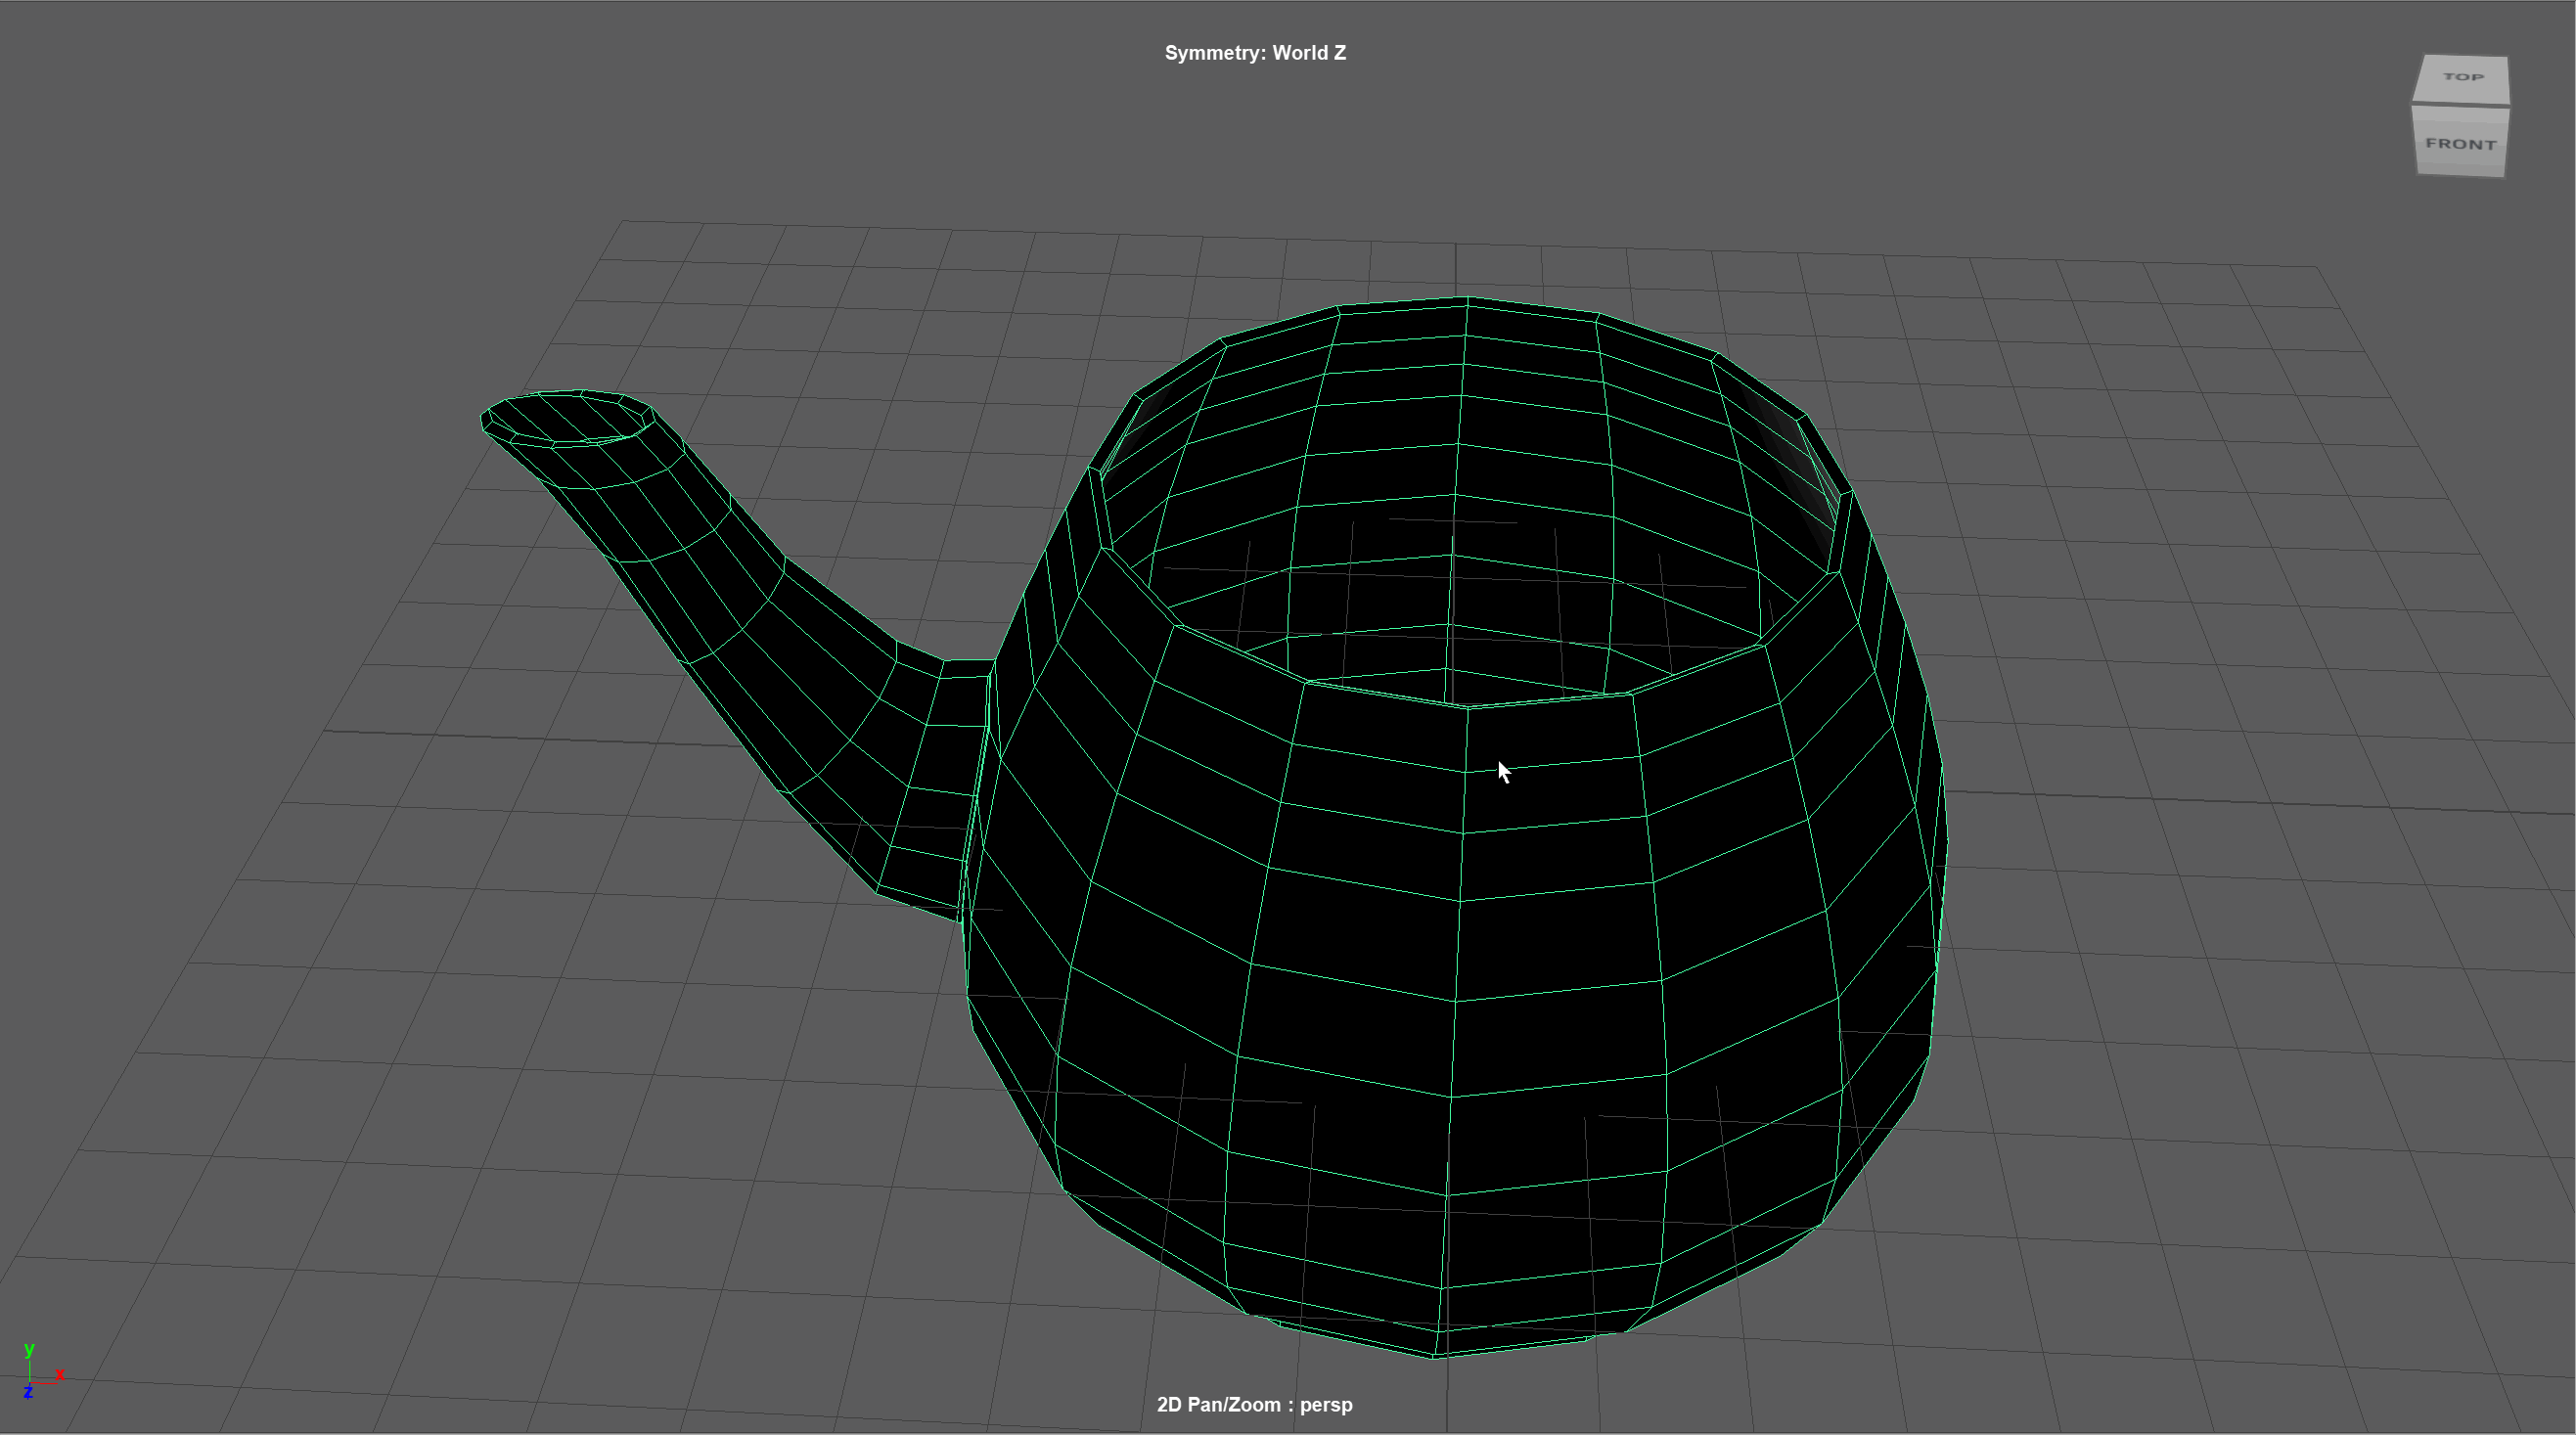
- Turn on Symmetry along the World - Z axis.
- Using the move tool, drag each vertex slightly on the base of the spout to snap them to the surface of the teapot. Only move them along the Z and Y axis. Try to keep them in somewhat of the same relative position.
- Turn off Live on the teapot.
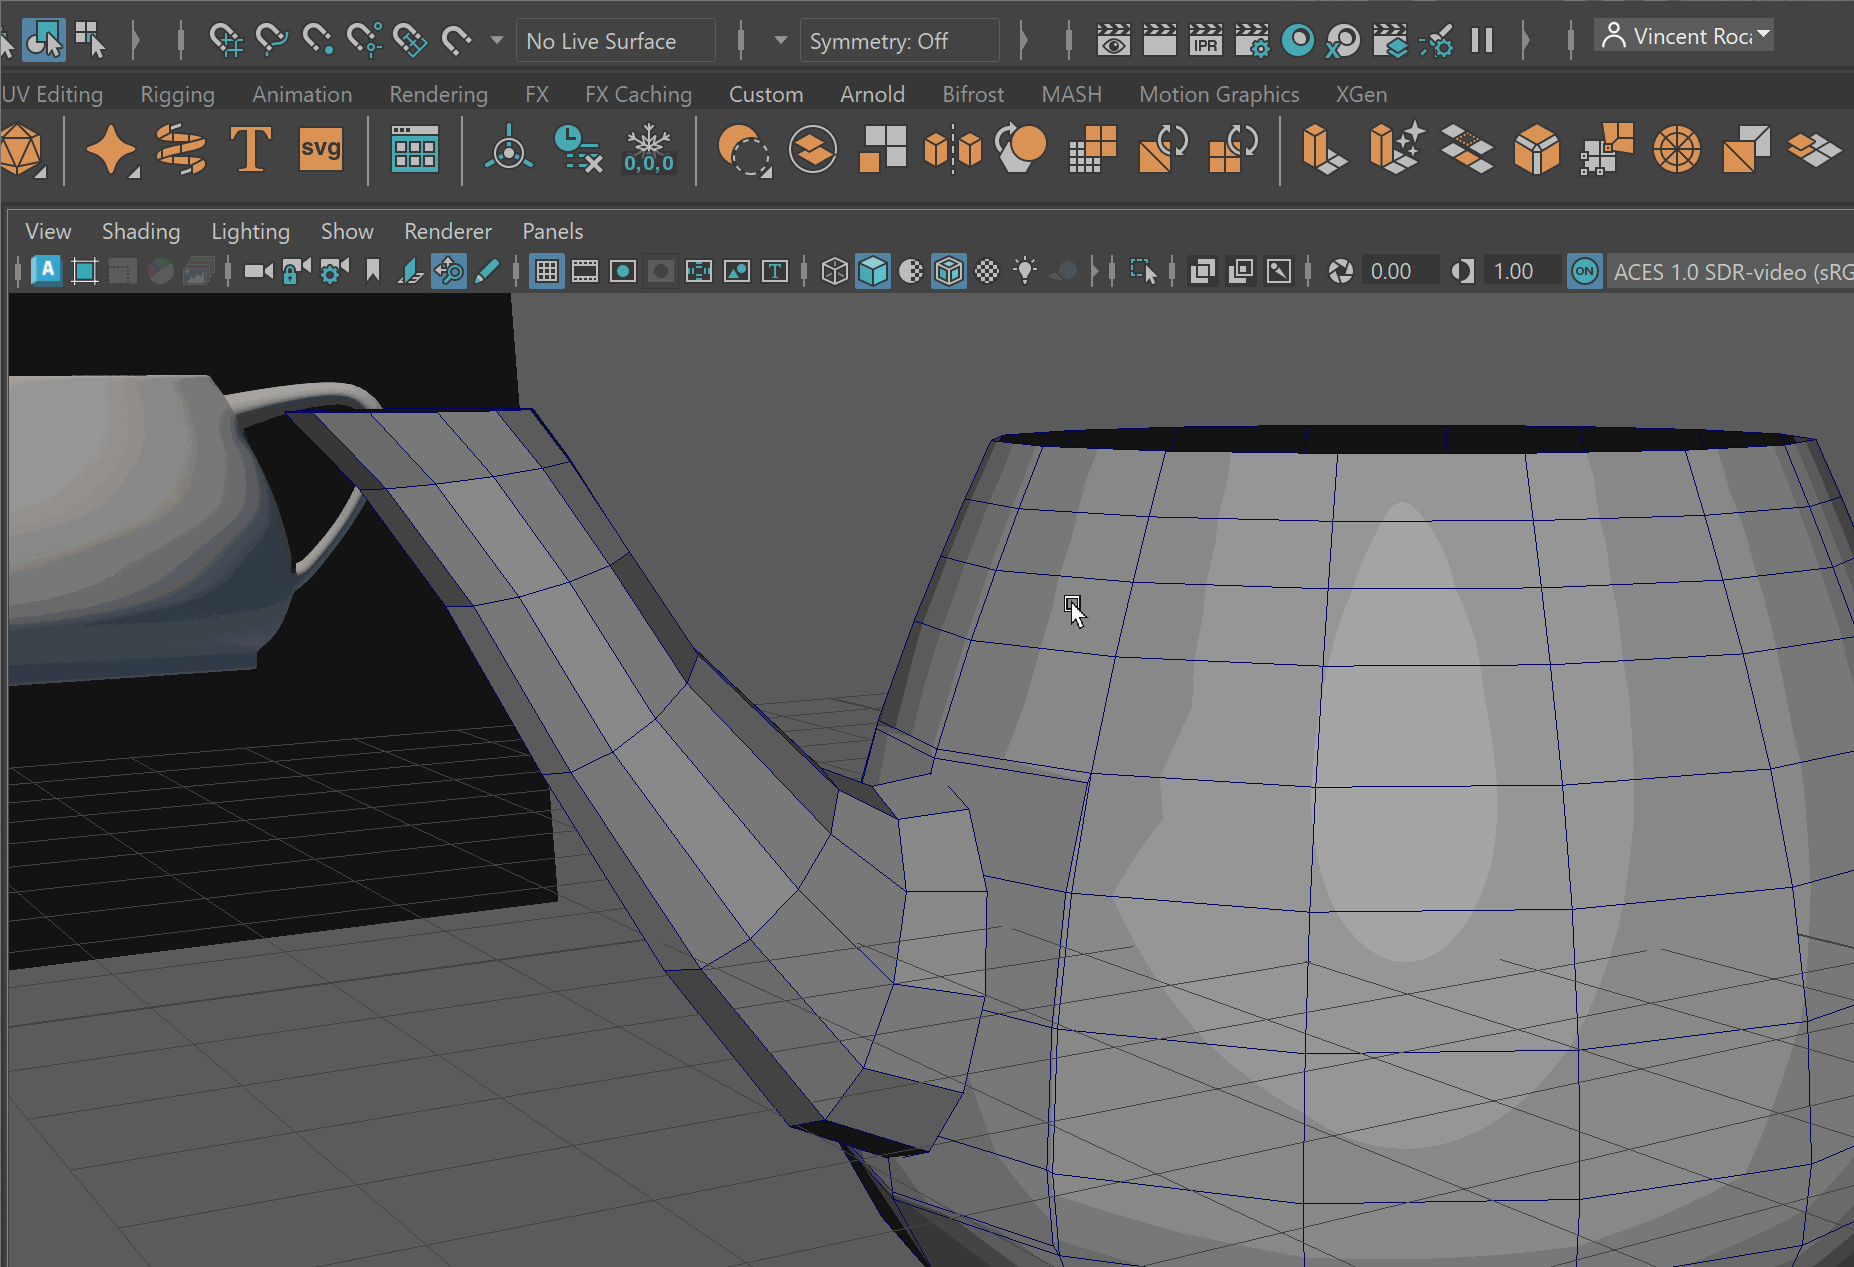
- Combine the teapot and the spout together.
- Delete the faces to make room to attach our spout.

- Use the Target Weld tool in object mode to weld the spout to the teapot.
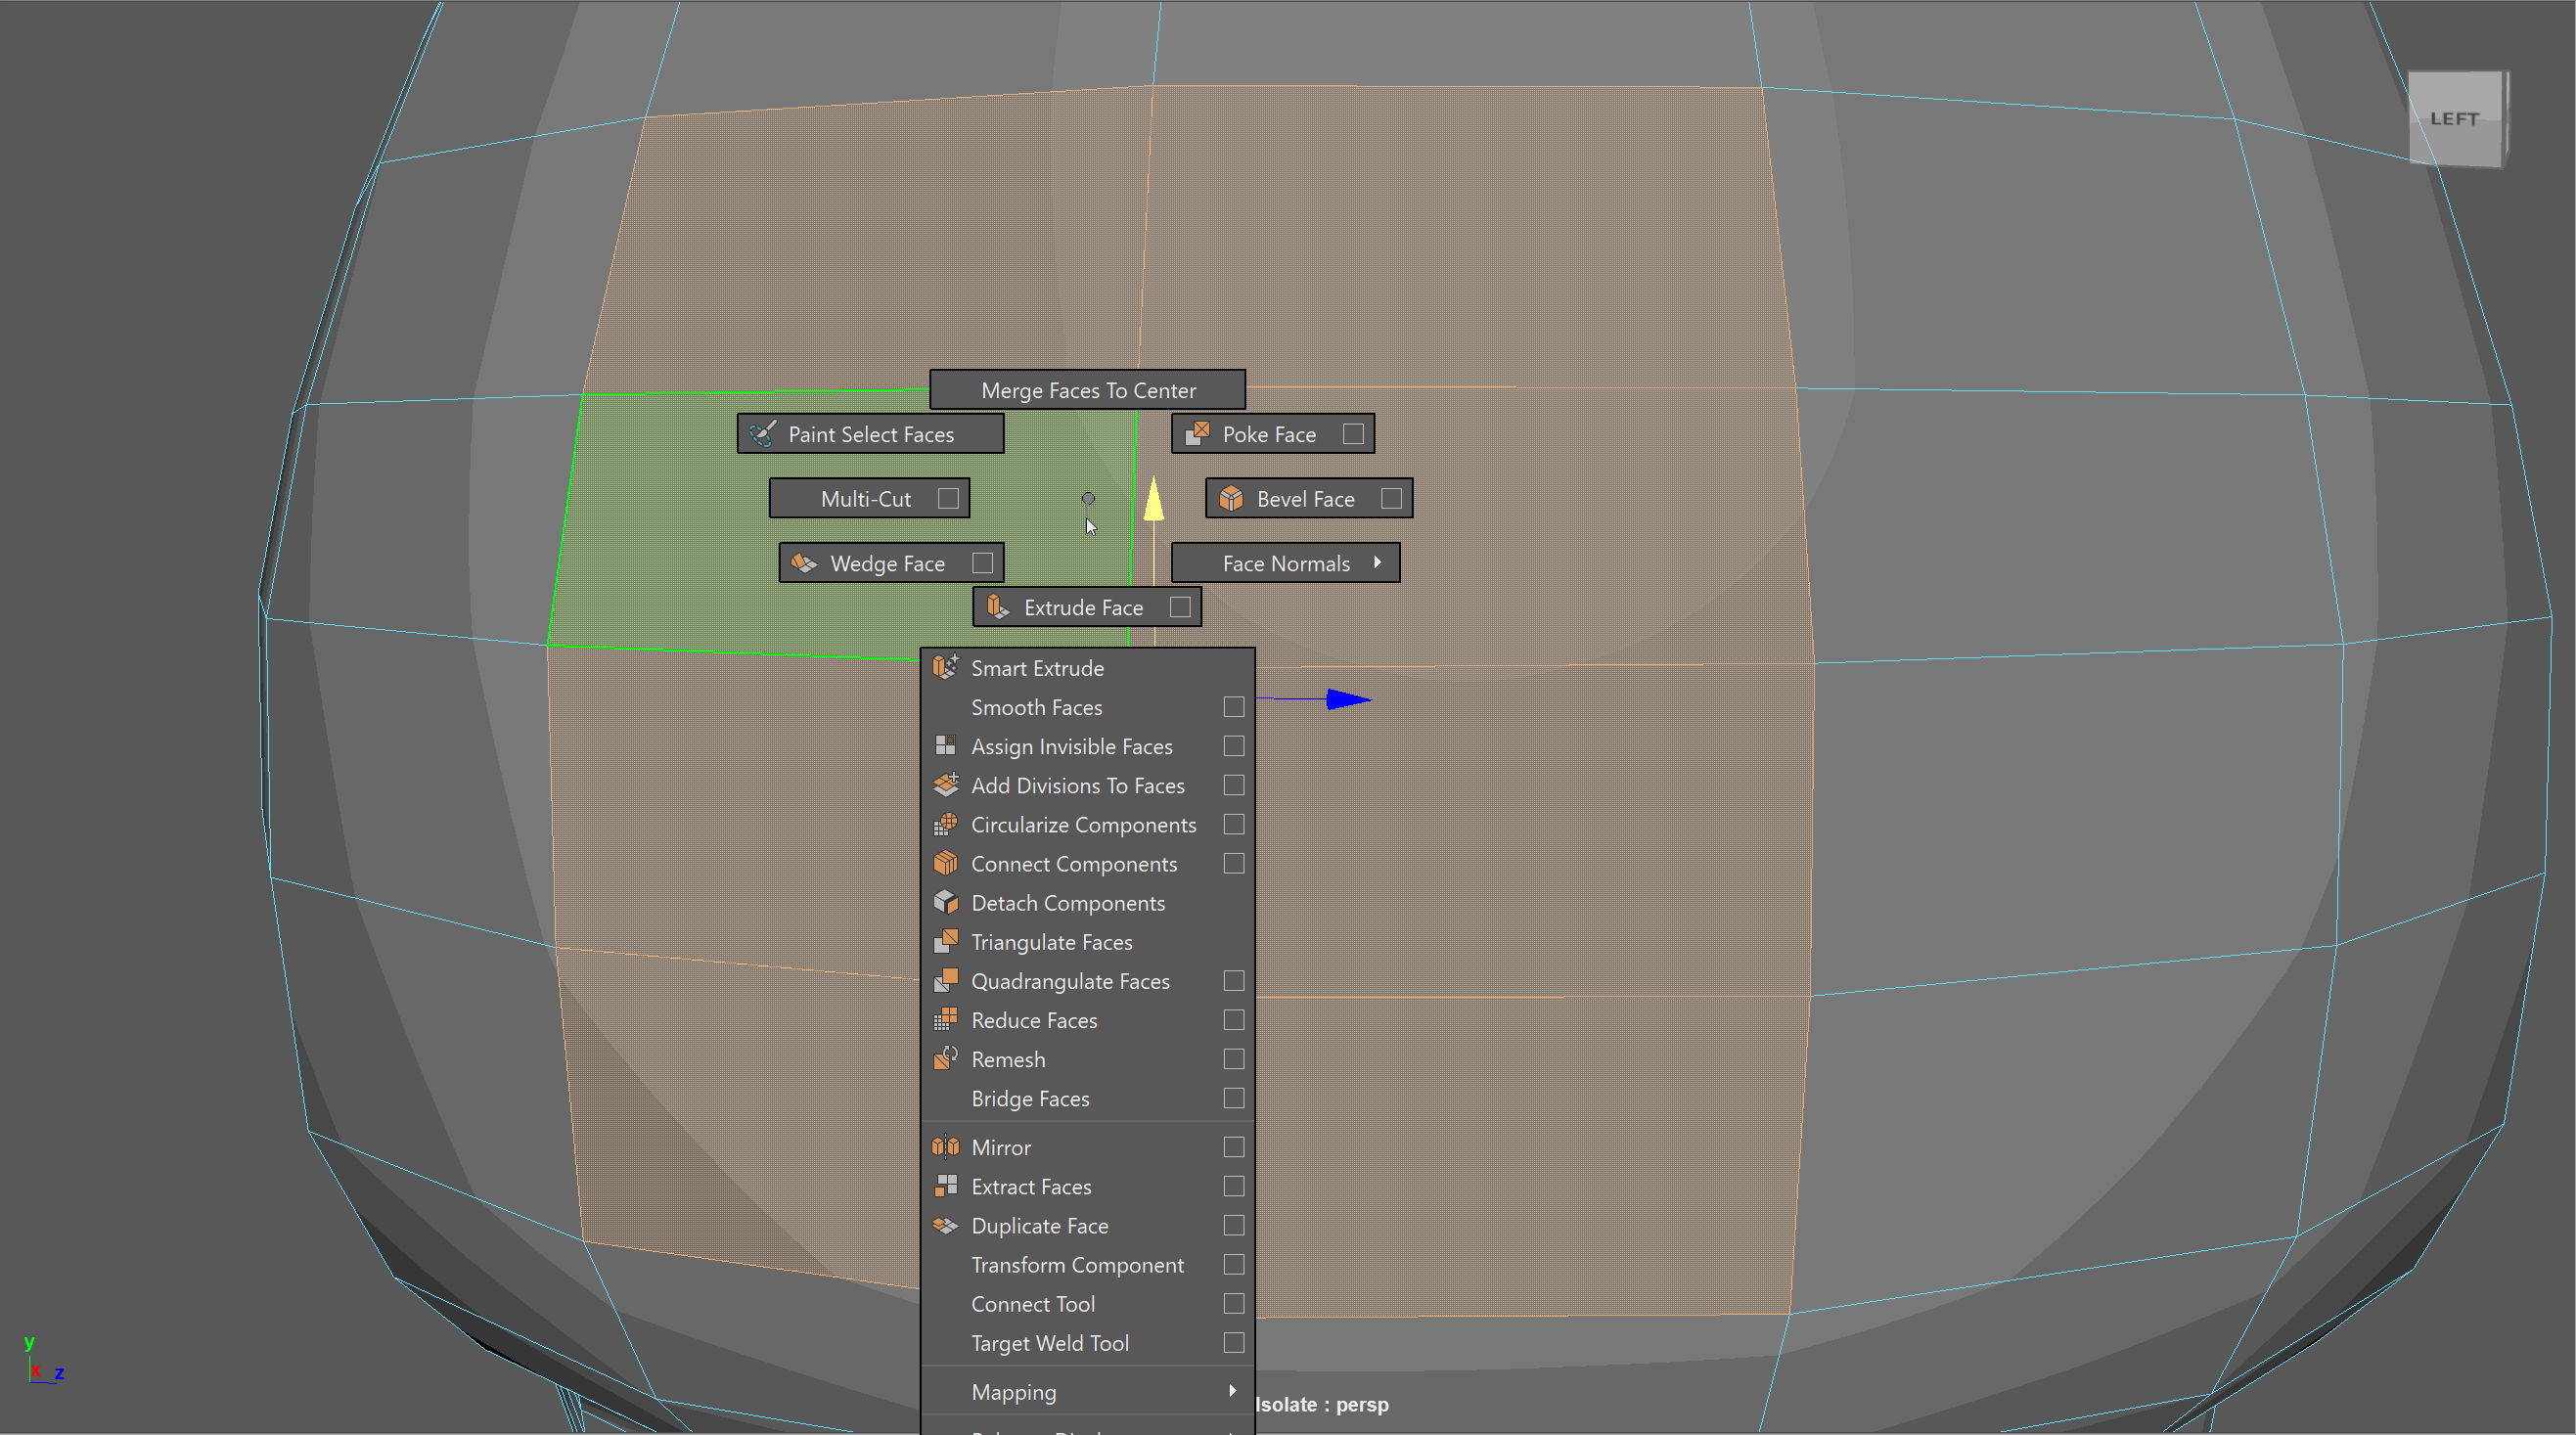
- Let's use Ctrl with the Multi Cut tool to add in some edge loops to give the transition between our teapot and spout a hard edge.
- We can slide our vertices just like our edges by holding Ctrl+Shift while dragging with the Middle Mouse Button pressed. Drag in the corners to make the topology flow better. Adjust other vertices as needed.

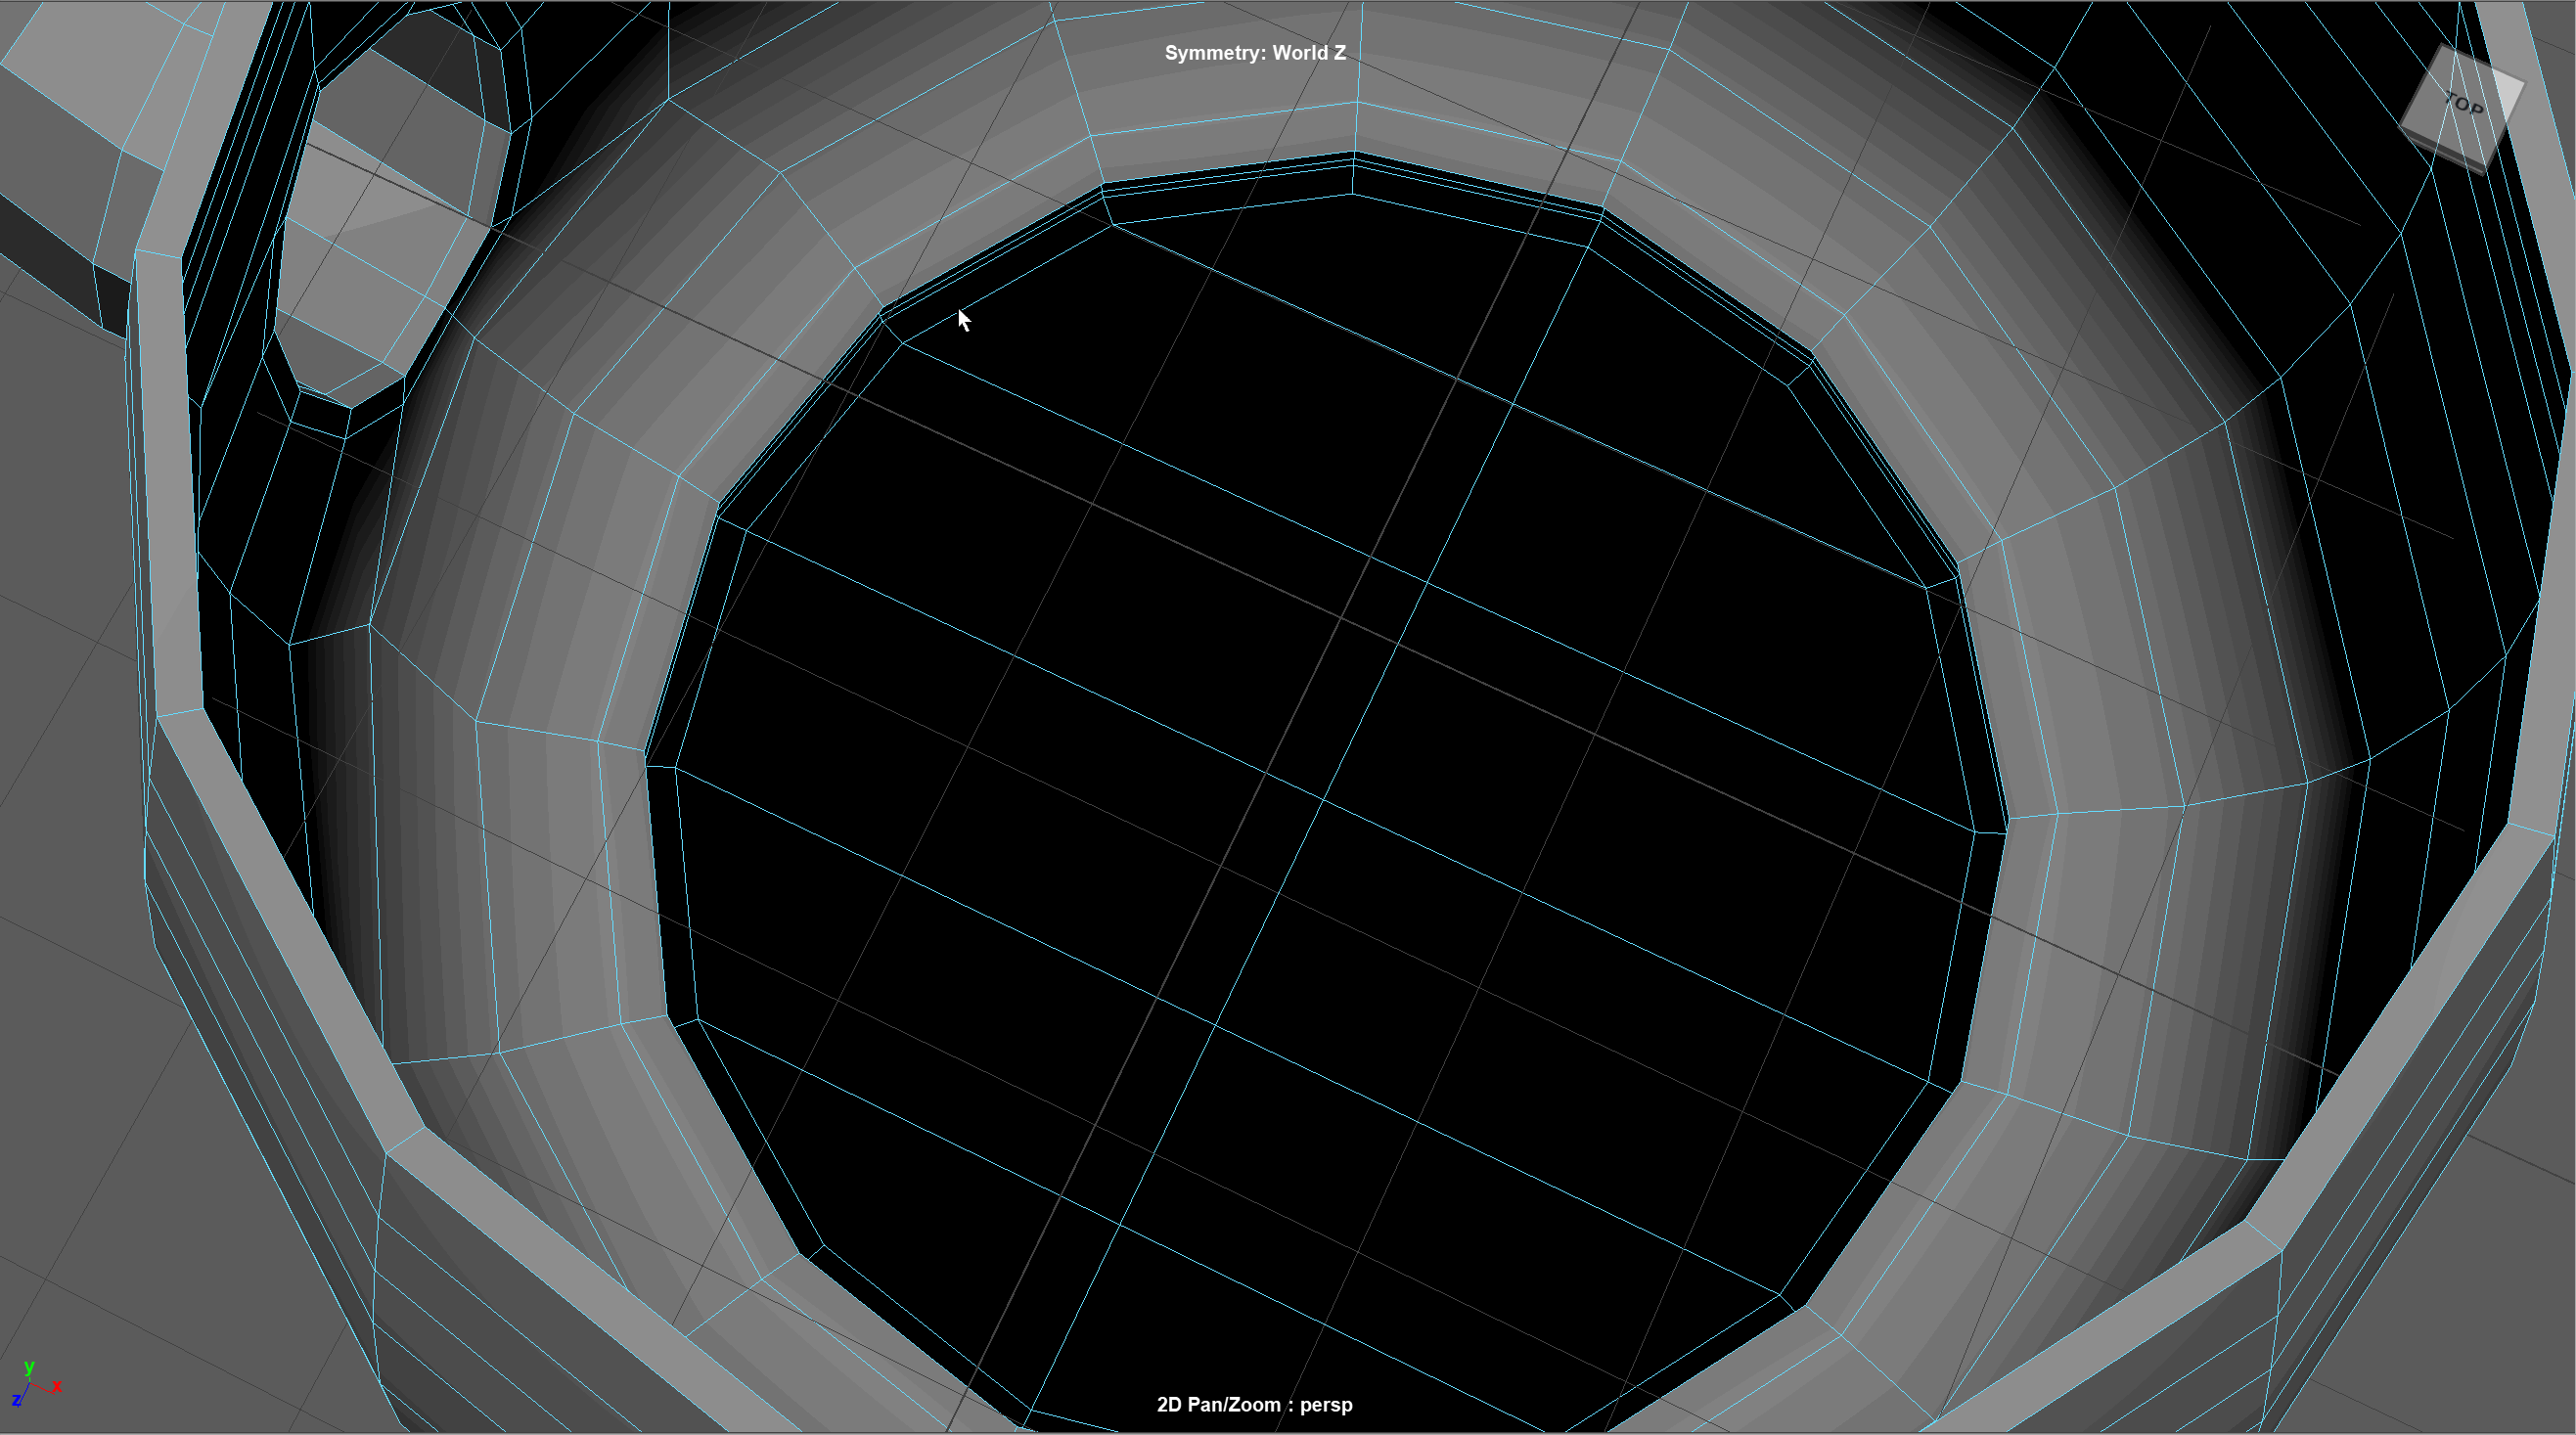
- Extrude the full model inward.
- Reverse the normals.
- Let's clean of the bottom. First using the Shift + Double Click method to select a ring of faces towards the bottom of our model. Delete those faces. Double click on the Island of faces we created to select them. Delete those faces.
- Use the same method we used to bridge the bottom of our teapot to close up our teapot.
- Snap the inner top edge loop to the top edge loop of the teapot along the Y Axis. Scale the top inner edge loop of the spout along the Y Axis to make it level. Snap it in place.